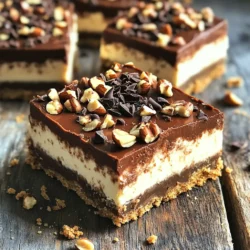
No-Bake Chocolate Hazelnut Cheesecake Bars
Indulge in these No-Bake Chocolate Hazelnut Cheesecake Bars, a perfect treat for any occasion! With a rich and creamy filling made from cream cheese and hazelnut spread, nestled on a buttery graham cracker crust, these bars are sure to satisfy your sweet tooth. Easy to make and even easier to enjoy, they require no baking! Click through to discover the full recipe and experience this delicious dessert today!