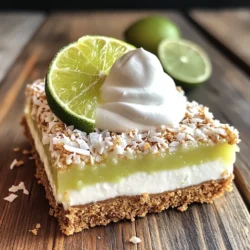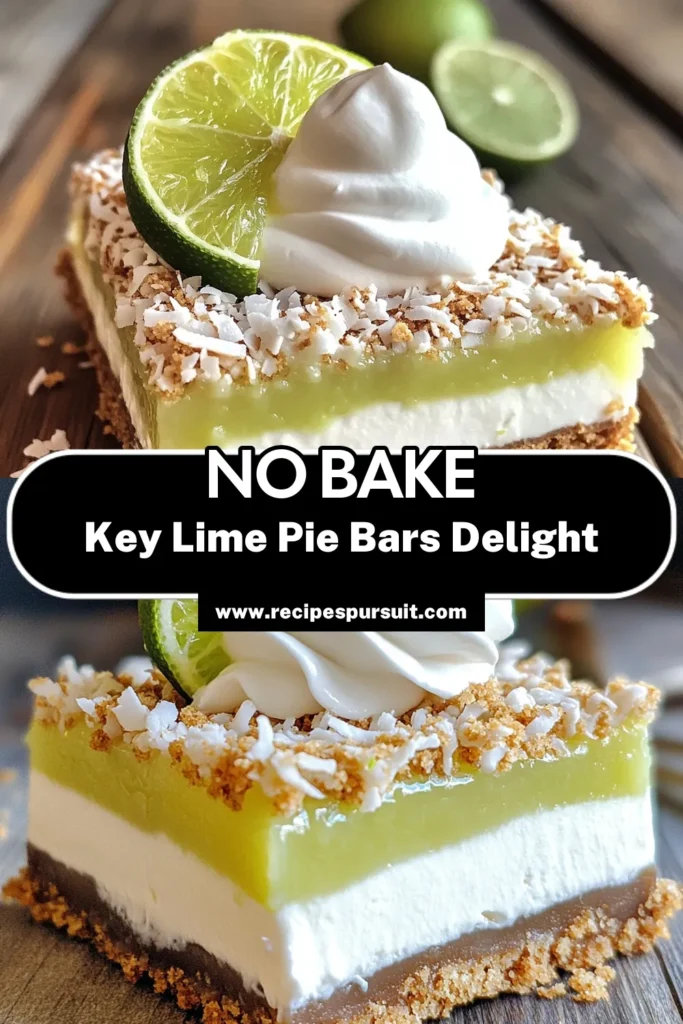
Get ready to make a treat that shines with zesty delight! My No-Bake Key Lime Pie Bars are easy to prepare and bursting with flavor. In this post, I’ll guide you through each simple step, from crafting the perfect crust to creating a smooth filling. You’ll love how quick it is to whip up this refreshing dessert. Let’s dive in and make your next gathering unforgettable!
Ingredients
Complete List of Ingredients
To make these no-bake key lime pie bars, gather the following items:
– 1 ½ cups graham cracker crumbs
– 1/3 cup unsweetened shredded coconut
– 1/4 cup granulated sugar
– 1/2 cup unsalted butter, melted
– 1 (8 oz) package cream cheese, softened
– 1 (14 oz) can sweetened condensed milk
– 1/2 cup fresh key lime juice (or regular lime juice)
– 1 tablespoon lime zest
– Pinch of salt
– Whipped cream for topping (optional)
– Lime slices for garnish (optional)
Optional Garnishes
While the bars taste great on their own, you can make them even prettier. Consider adding:
– Whipped cream: A dollop on top adds creaminess.
– Lime slices: Fresh slices enhance the look and flavor.
Ingredient Substitutions
If you need to swap ingredients, here are some easy options:
– Graham cracker crumbs: Use crushed cookies or digestive biscuits.
– Unsweetened shredded coconut: Omit it if you prefer a plain crust.
– Cream cheese: Try mascarpone for a different flavor.
– Sweetened condensed milk: Use coconut cream for a dairy-free option.
– Key lime juice: Regular lime juice works just as well.
These substitutions keep the essence of the bars while allowing for some personal twists. Happy cooking!
Step-by-Step Instructions
Preparing the Crust
First, grab a mixing bowl. Add 1 ½ cups of graham cracker crumbs, 1/3 cup of unsweetened shredded coconut, and 1/4 cup of granulated sugar. Then pour in 1/2 cup of melted unsalted butter. Stir this mix until everything is well combined. You want the crumbs to stick together nicely. Next, take an 8×8-inch baking dish and grease it lightly. Press the crumb mixture firmly into the bottom of the dish. Use a measuring cup to pack it down evenly. This step is key for a good base. Once done, put the dish in the fridge while you work on the filling.
Making the Key Lime Filling
In a clean mixing bowl, beat 1 package of softened cream cheese with an electric mixer until it’s smooth. Gradually add in 1 can of sweetened condensed milk, mixing until well combined. This should create a creamy texture. Now, it’s time to add the fun flavors! Pour in 1/2 cup of fresh key lime juice and add 1 tablespoon of lime zest. Don’t forget a pinch of salt to balance the taste! Mix until the filling is smooth and vibrant in color.
Assembling and Chilling the Bars
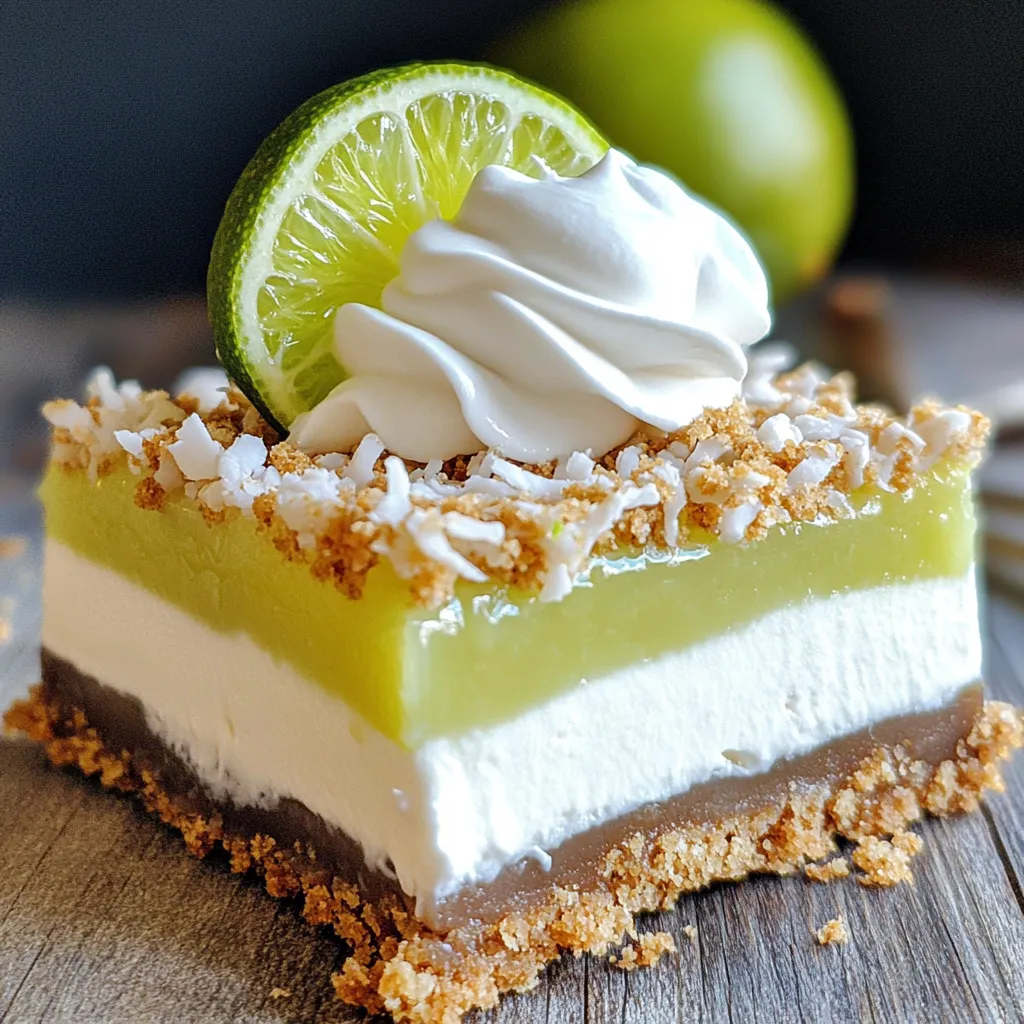
Take the chilled crust out of the fridge. Pour the key lime filling over the crust. Use a spatula to spread it evenly. Once the filling is smooth, cover the dish with plastic wrap. Place it back in the fridge for at least 4 hours. This helps the bars set properly. When they are firm, remove the bars from the dish, cut them into squares, and serve. For a special touch, top each bar with whipped cream and a slice of lime. Enjoy this easy and tangy delight!
Tips & Tricks
Perfecting the Crust Texture
To get the best crust, use fresh graham cracker crumbs. You can crush them easily with a rolling pin. Mix the crumbs with shredded coconut, sugar, and melted butter. Make sure it feels moist but not soggy. When you press it down, pack it tightly. This step helps the crust hold its shape when you cut the bars.
Ensuring Smooth Cream Cheese Mixture
Start with softened cream cheese for a smooth filling. If it’s too cold, it will be lumpy. Beat it well with an electric mixer until creamy. Gradually add sweetened condensed milk while mixing. This method keeps it from clumping. Lastly, add lime juice and zest slowly. This lets all the flavors blend nicely.
Achieving the Best Flavor Balance
The key to a great flavor is the right amount of key lime juice. Use fresh juice for a bright taste. If fresh limes are hard to find, regular lime juice will work too. A pinch of salt helps enhance the flavors. Always taste the mixture before you pour it into the crust. Adjust the lime or sweetness if needed.
Variations
Coconut Key Lime Bars
To make coconut key lime bars, add unsweetened shredded coconut to the crust. This gives the bars a tropical twist. You can mix in about one-third cup of shredded coconut. This extra flavor makes each bite more exciting. It pairs well with the tartness of the key lime filling.
Frozen Key Lime Pie Bars
You can also turn these into frozen key lime pie bars. After pouring the filling over the crust, freeze the bars instead of chilling them. Allow them to freeze for about four hours. Once set, cut them into squares. These bars are refreshing on hot days and perfect for summer gatherings.
Adding Flavor Enhancements
Want to boost the flavor? Consider adding some zest! Mix in more lime zest for a stronger lime taste. You can also add a splash of vanilla extract to the filling. This creates a richer flavor profile. Experiment with these enhancements to discover your favorite version of these bars.
Storage Info
Best Practices for Refrigeration
To keep your no-bake key lime pie bars fresh, store them in the fridge. Use an airtight container or cover the dish with plastic wrap. This helps maintain their creamy texture and tangy flavor. Aim to chill them for at least four hours before serving. This allows the filling to set properly.
Freezing Key Lime Pie Bars
You can freeze these bars for longer storage. Cut them into squares before freezing. Wrap each square in plastic wrap. Then, place them in a freezer-safe bag. They freeze well and make for a quick treat. Just remember to let them thaw in the fridge before serving.
How Long Do They Last?
When stored properly, these bars last up to one week in the fridge. If frozen, they can last up to three months. Always check for any changes in texture or smell before eating. Keeping them well-wrapped helps avoid freezer burn. Enjoy the zesty flavor and creamy texture even after some time!
FAQs
Can I use regular limes instead of key limes?
Yes, you can use regular limes. The taste will change a bit. Key limes are smaller, tarter, and have a unique flavor. If you use regular limes, your bars will be less tangy. Still, they will taste great. Just make sure to use fresh juice for the best taste.
How do I know when the bars are set?
The bars are set when they are firm to the touch. Chill them for at least four hours. You can check by lightly pressing the top. If it feels solid and not jiggly, they are ready. They should also hold their shape when you cut them.
Can I make these bars ahead of time?
Absolutely! These bars are perfect for making ahead. You can prepare them a day or two in advance. Just keep them covered in the fridge. They will stay fresh and tasty. This makes them a great choice for parties or gatherings.
We explored key lime bars from start to finish. You learned about ingredients, step-by-step directions, and tips for success. Variations gave you fun ideas to try, like coconut or frozen bars. Storage tips ensured your treats stay fresh longer. Remember, with a few simple steps, you can enjoy these delicious bars anytime. Don’t hesitate to experiment with flavors! Enjoy your baking and the smiles it brings.