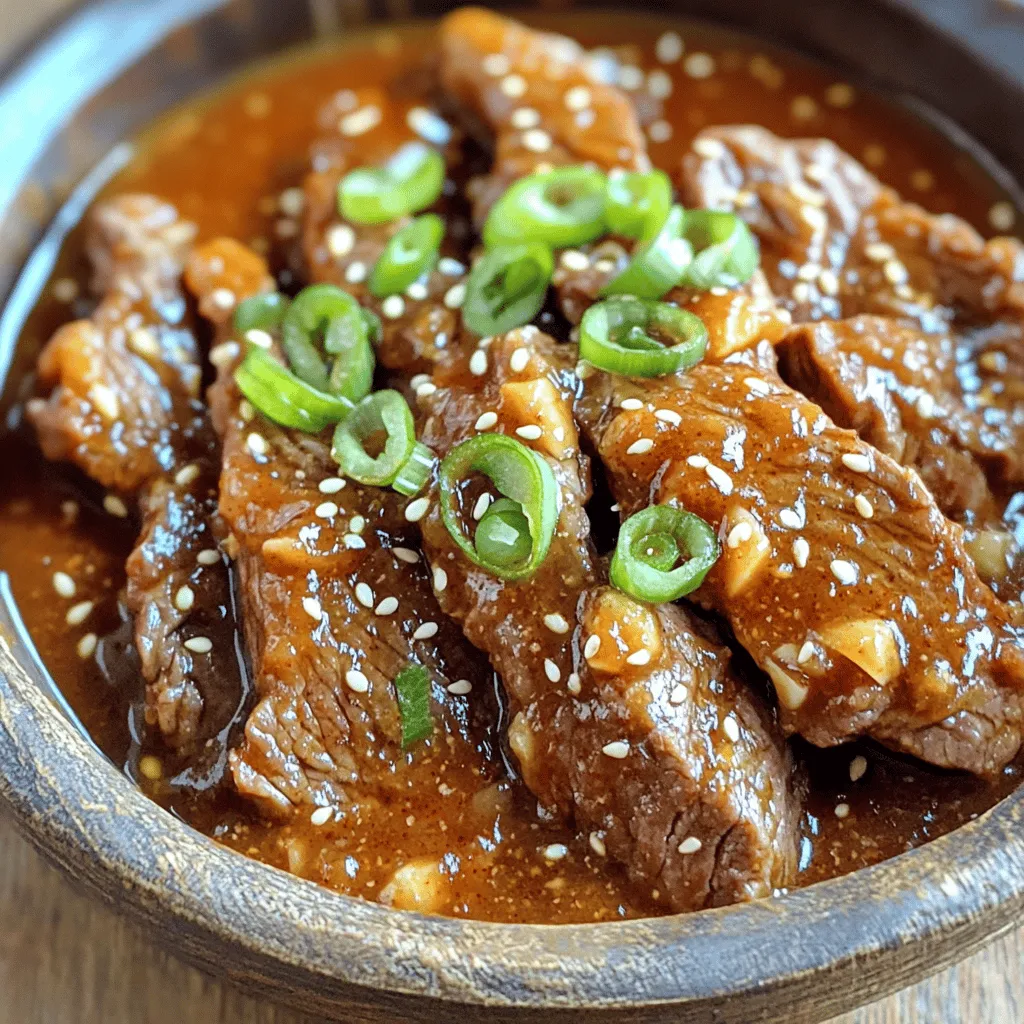
Better Than Takeout Crispy Sweet Chili Beef Delight
Are you craving that perfect mix of sweet and spicy? My Better Than Takeout Crispy Sweet Chili Beef Delight will
Are you craving that perfect mix of sweet and spicy? My Better Than Takeout Crispy Sweet Chili Beef Delight will
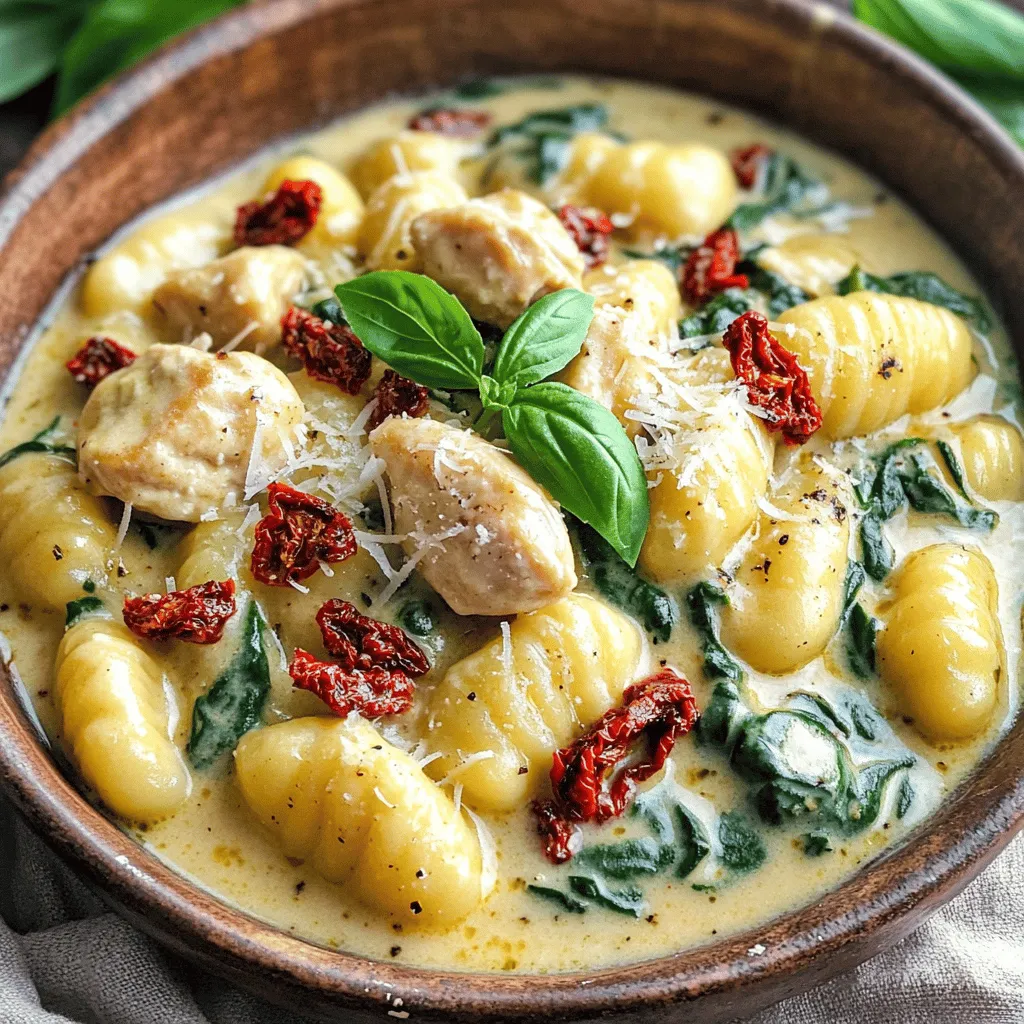
Looking for a simple yet delicious meal? You’ve found it! My Creamy One Pot Sun Dried Tomato Chicken Gnocchi is
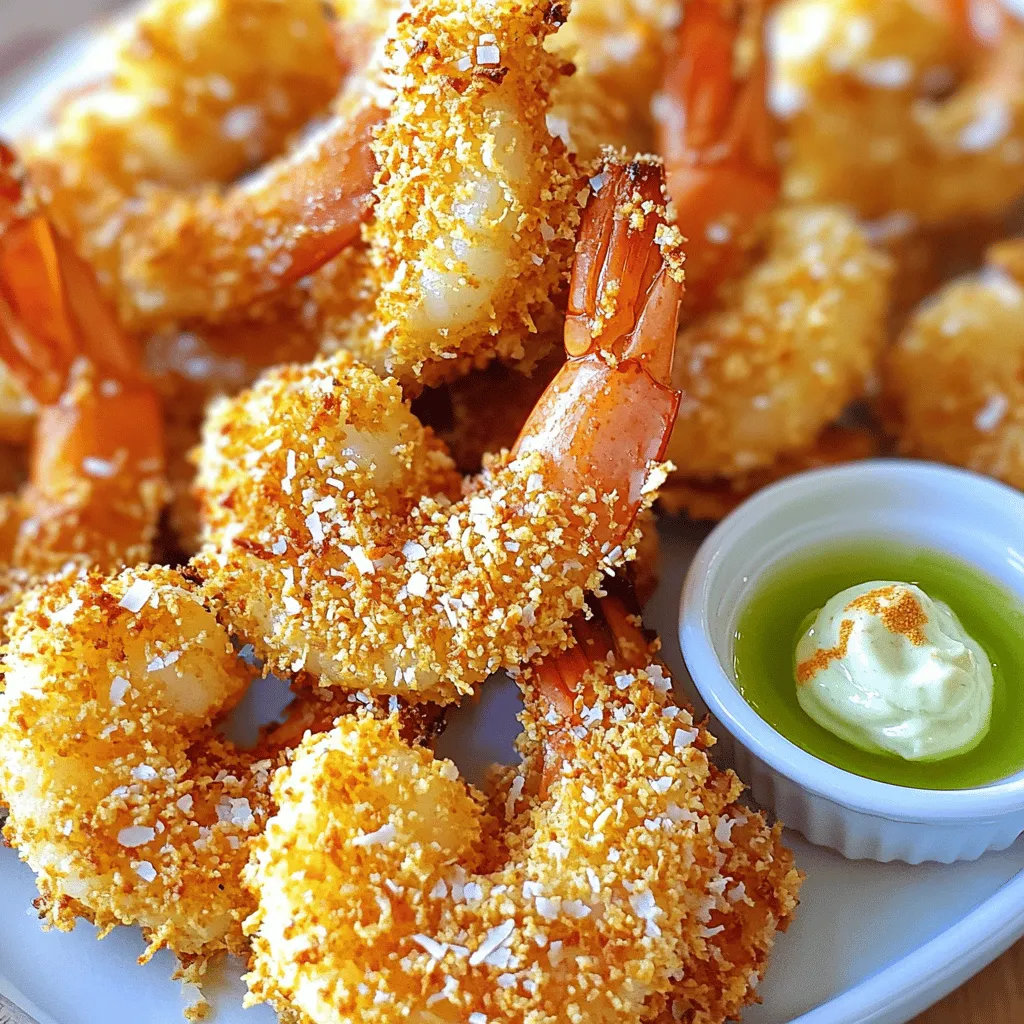
Are you ready to savor a dish that combines crunch with a touch of sweetness? My Air Fryer Crispy Coconut

Get ready to indulge in Bakery Style Double Chocolate Pumpkin Muffins that taste just like your favorite coffee shop treat!
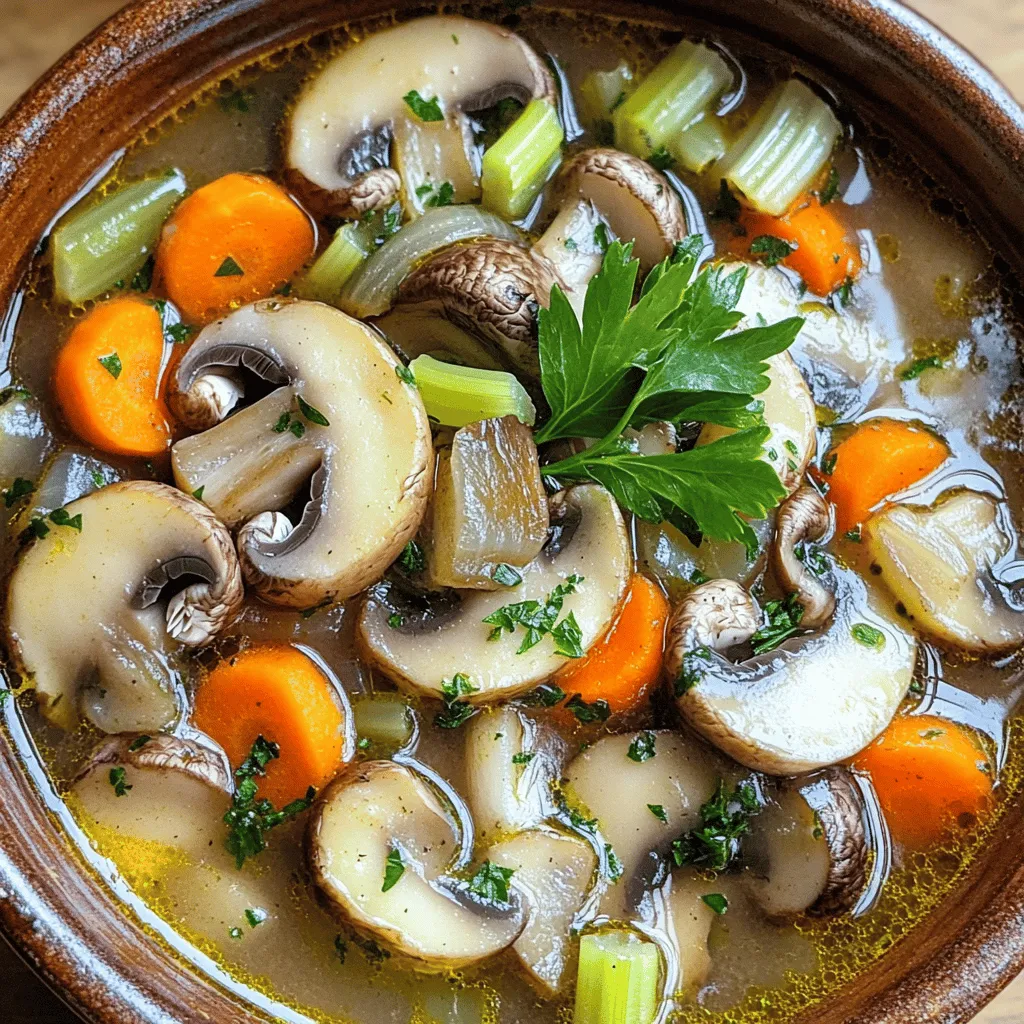
Craving a warm, comforting dish that’s easy to make? This Savory Slow Cooker Garlic Herb Mushroom Stew is your answer!
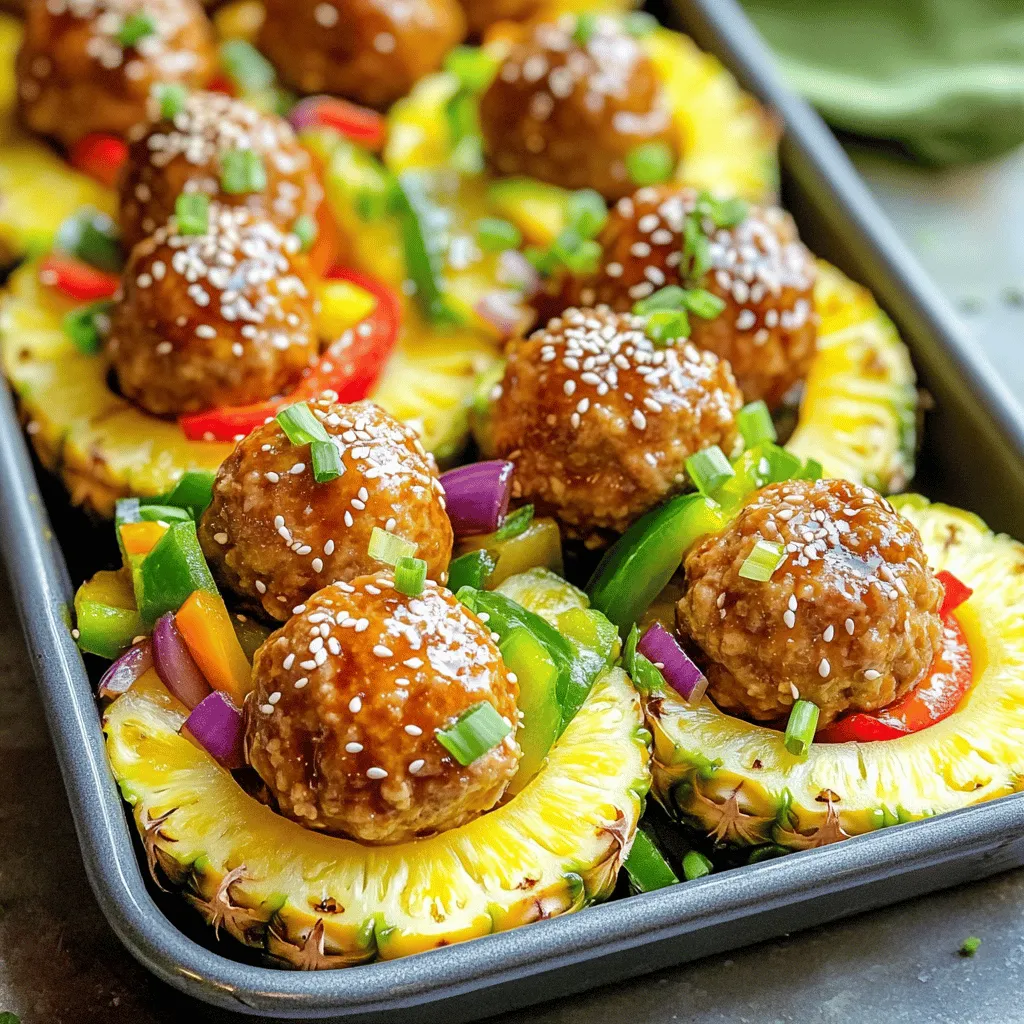
Get ready to delight your taste buds with Sheet Pan Teriyaki Meatball Pineapple Bowls! This dish combines juicy meatballs, fresh
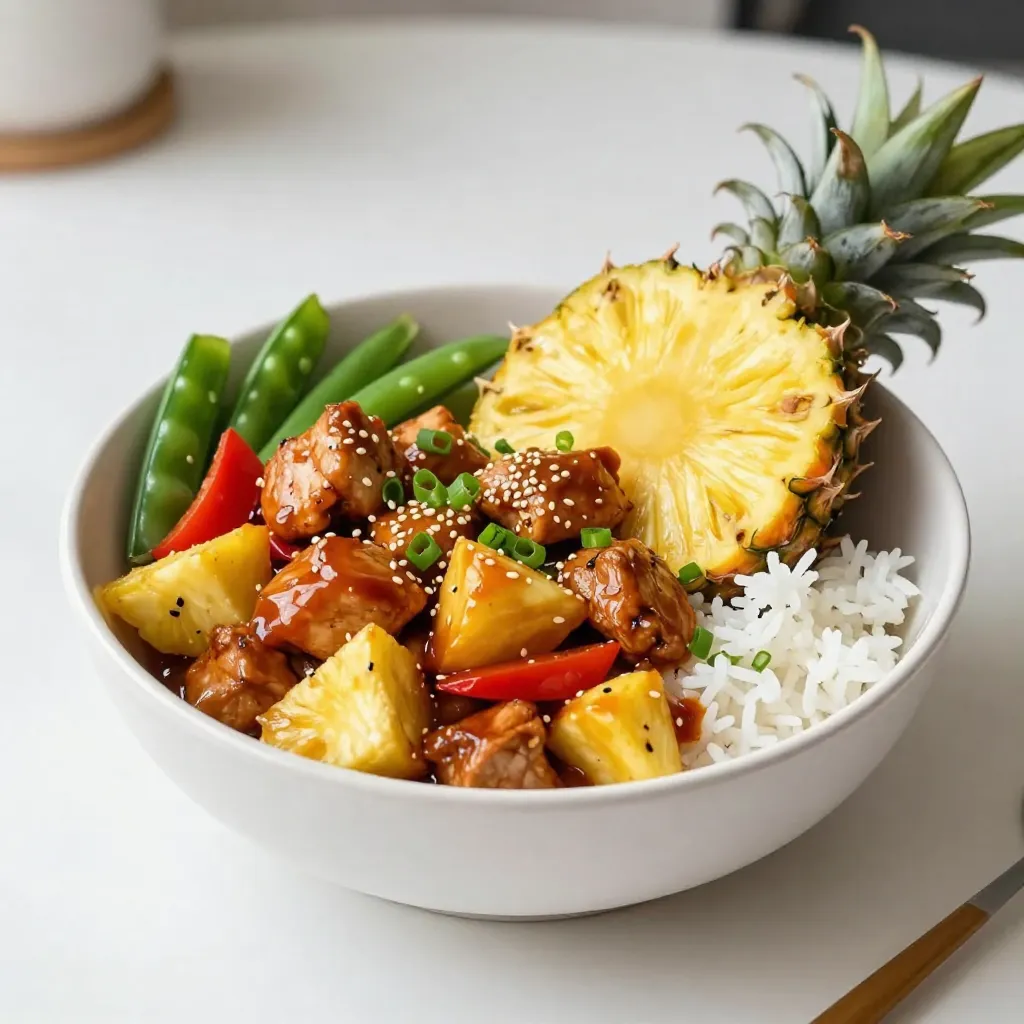
Pineapple Teriyaki Chicken Bowls are bursting with flavor and so easy to make! Whether you are a busy parent or

Are you ready for a delicious and easy weeknight dinner? This One-Pot Creamy Chicken Taco Soup is here to save
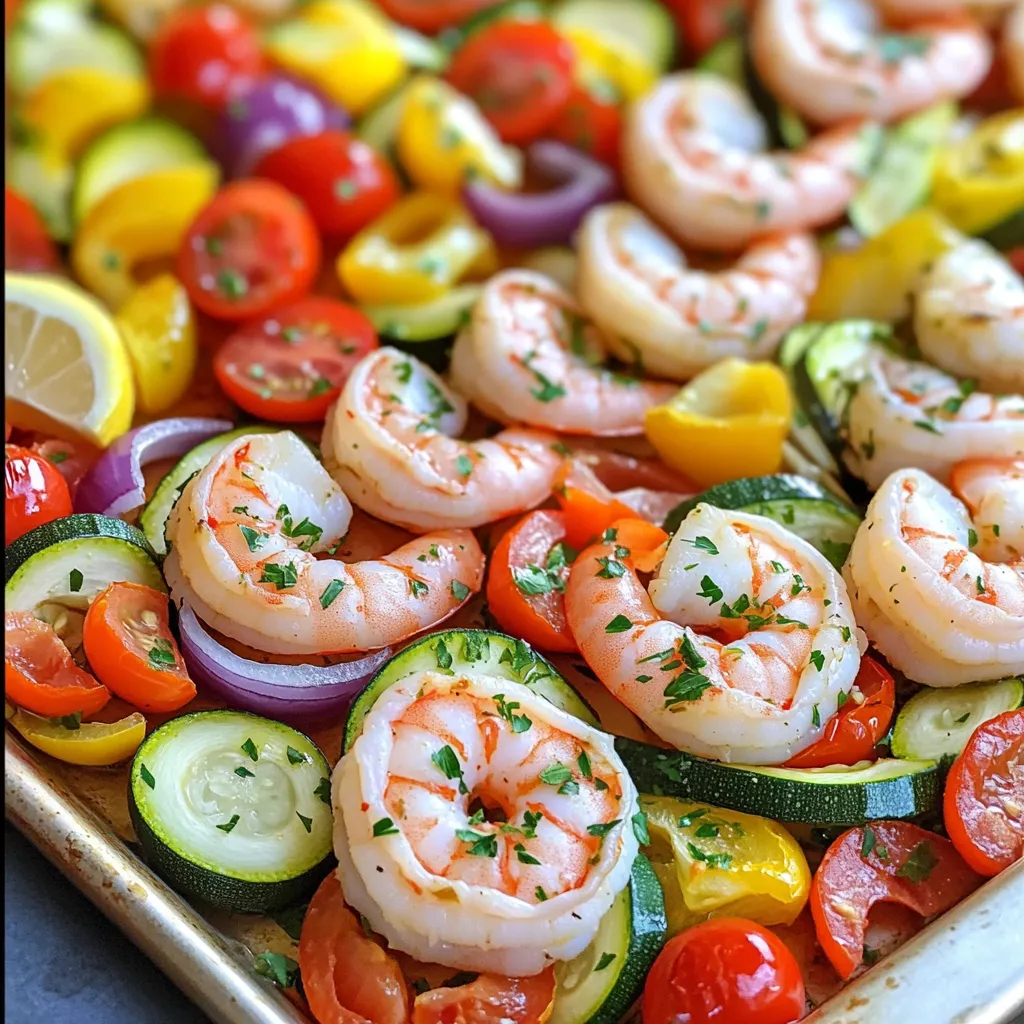
If you’re looking for a quick, healthy dinner, try my Sheet-Pan Greek Shrimp and Veggies. This easy recipe brings together
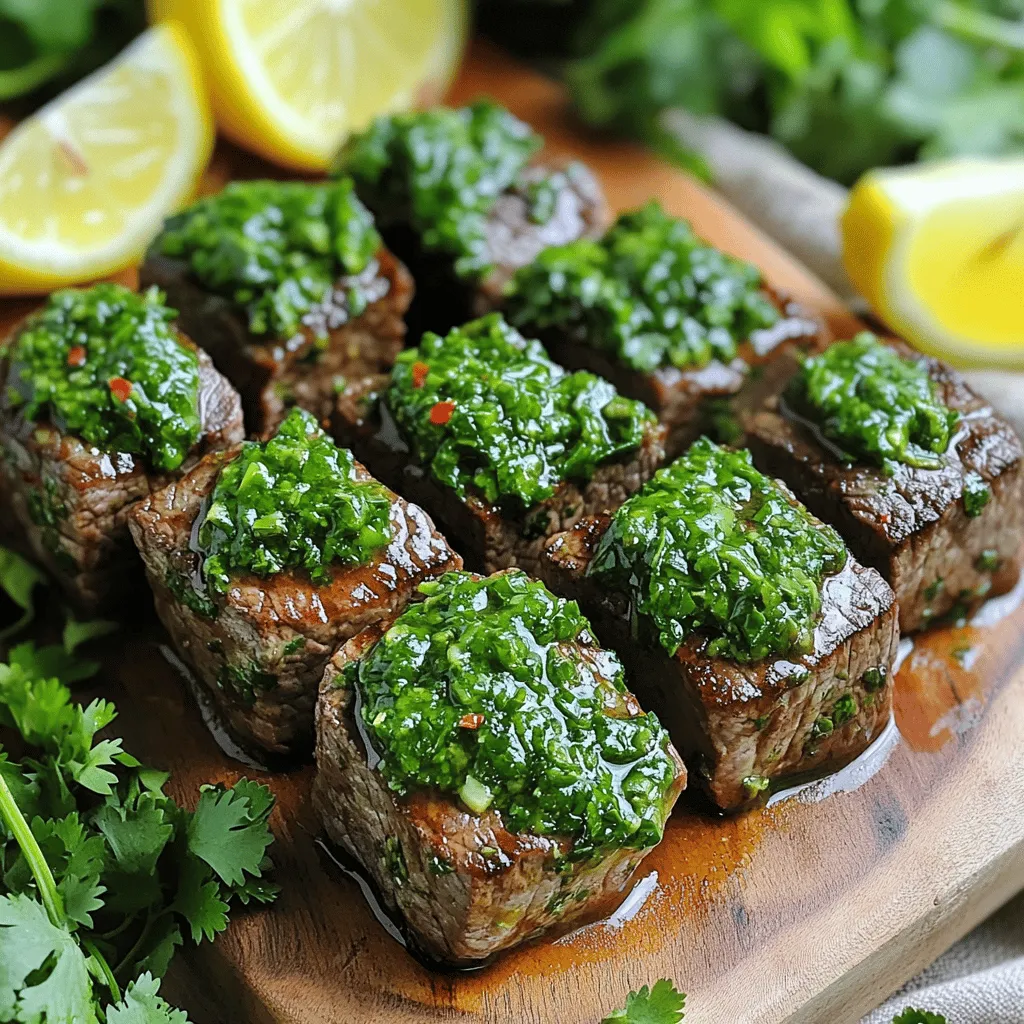
Are you ready to elevate your dinner game with a sizzle? My Air Fryer Chimichurri Steak Bites are the perfect
