Air Fryer Chocolate Chip Cookie Skillet Delight
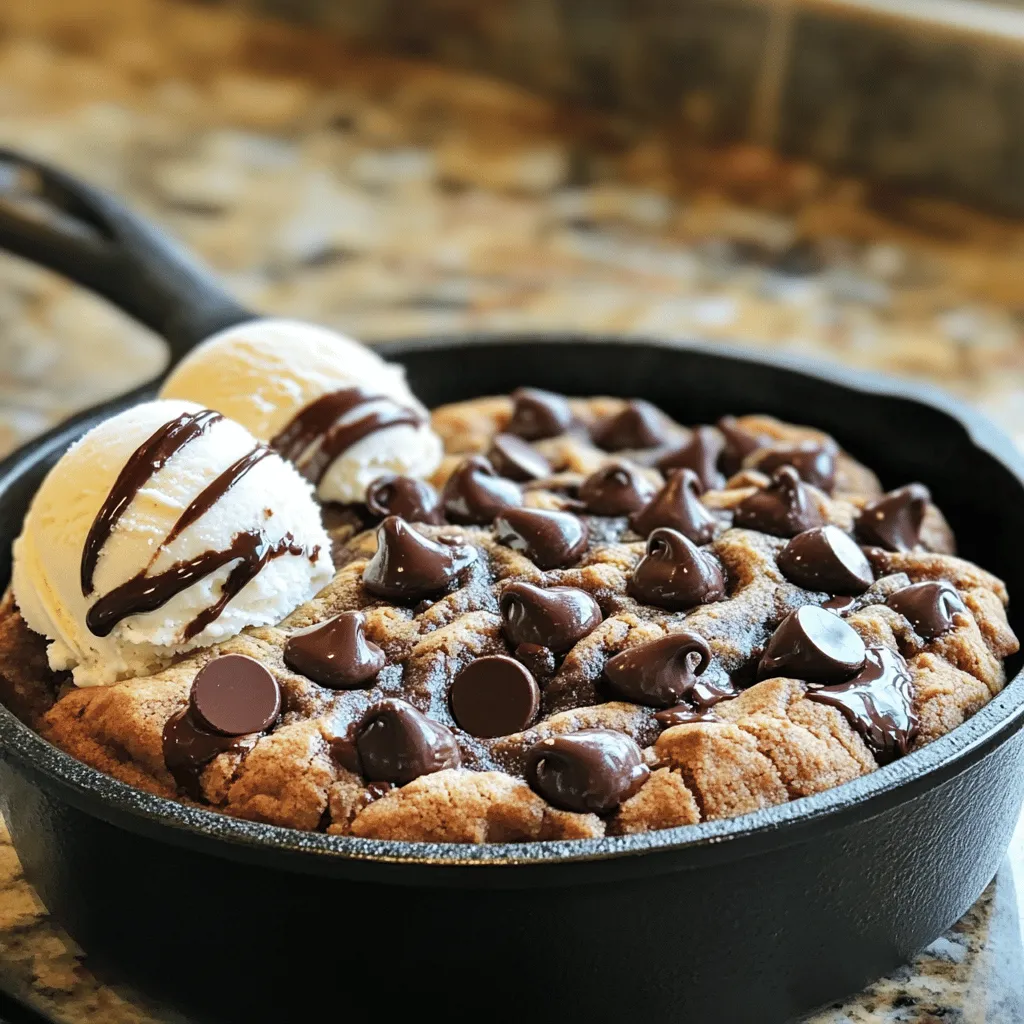
Craving a warm, gooey dessert? Let’s dive into the mouthwatering world of the Air Fryer Chocolate Chip Cookie Skillet! This
Craving a warm, gooey dessert? Let’s dive into the mouthwatering world of the Air Fryer Chocolate Chip Cookie Skillet! This

Welcome to my kitchen, where we’re whipping up a Strawberry Cheesecake French Toast Bake! This dish combines soft bread, creamy
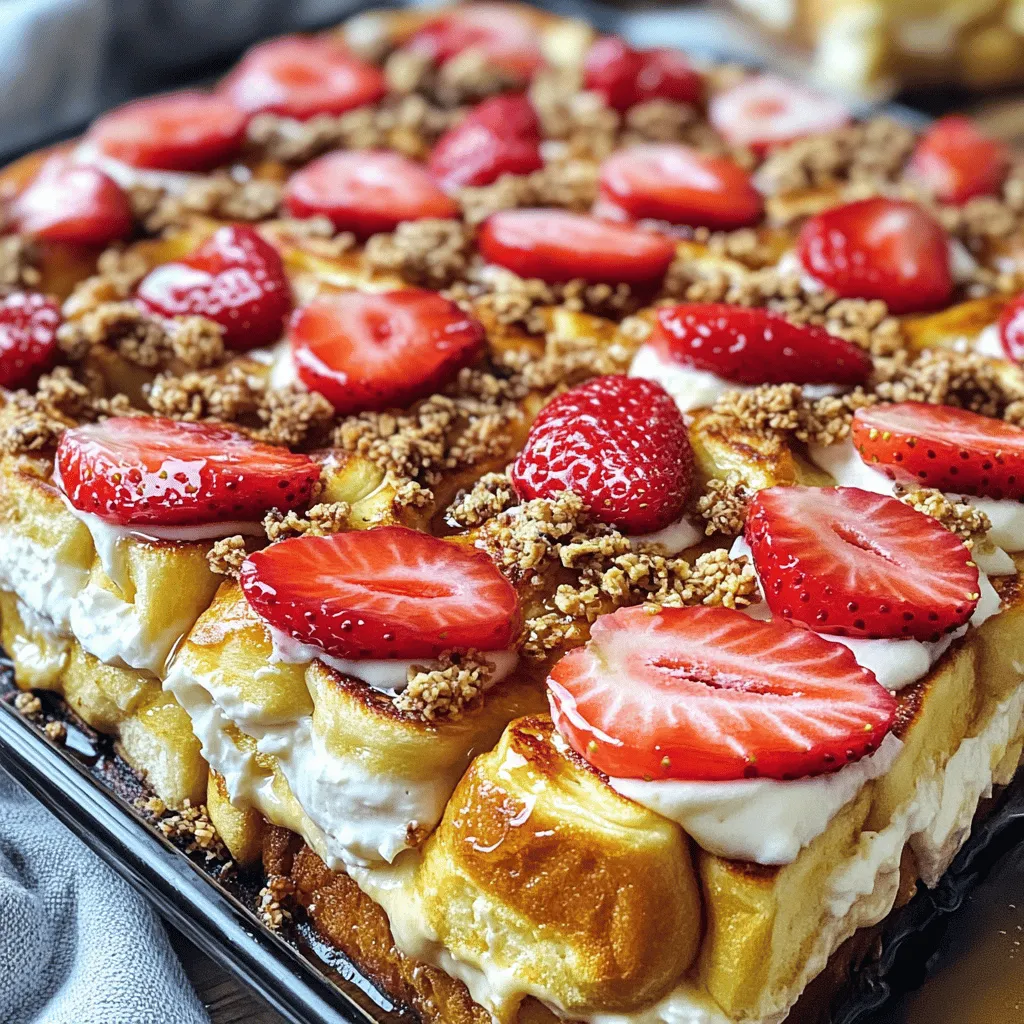
Welcome to my kitchen, where we’re whipping up a Strawberry Cheesecake French Toast Bake! This dish combines soft bread, creamy

Are you ready to impress your taste buds? This Creamy Lemon Spinach Pasta is quick and easy to make. You
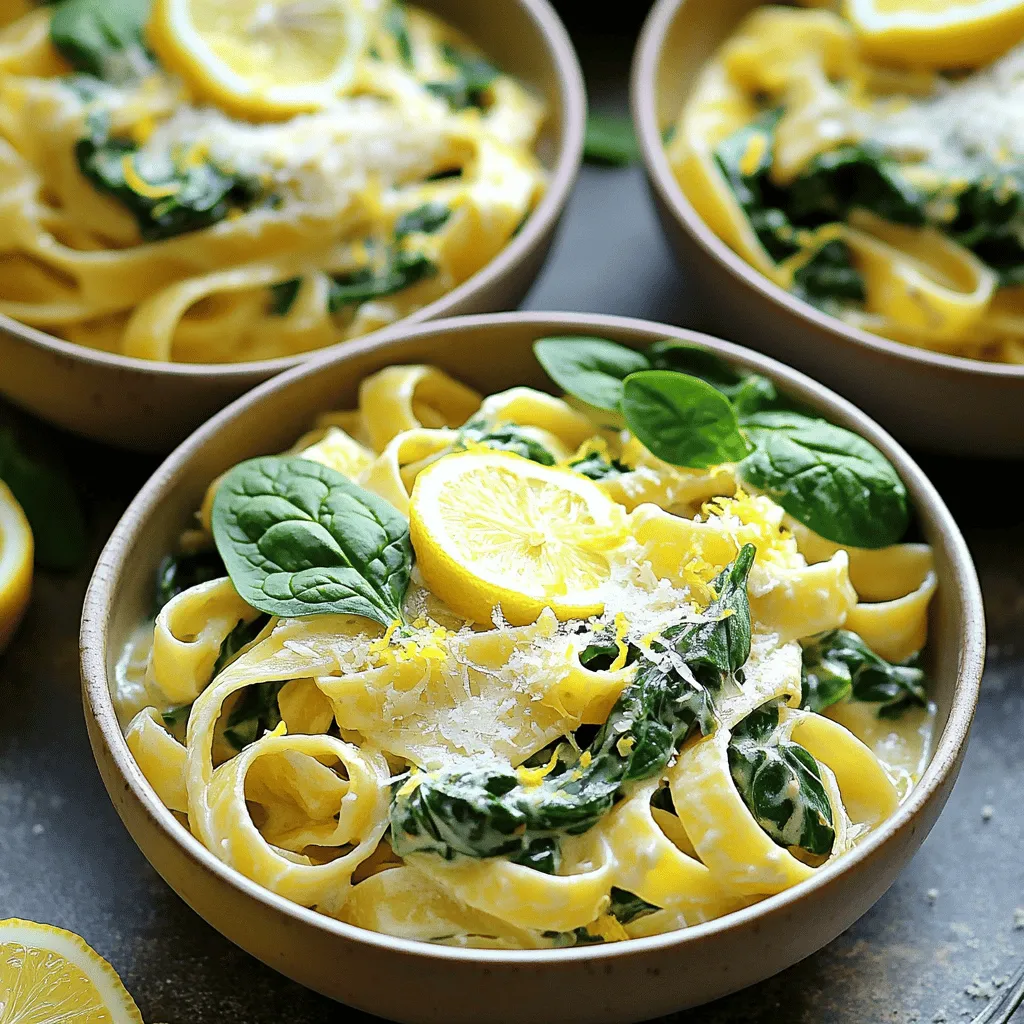
Are you ready to impress your taste buds? This Creamy Lemon Spinach Pasta is quick and easy to make. You
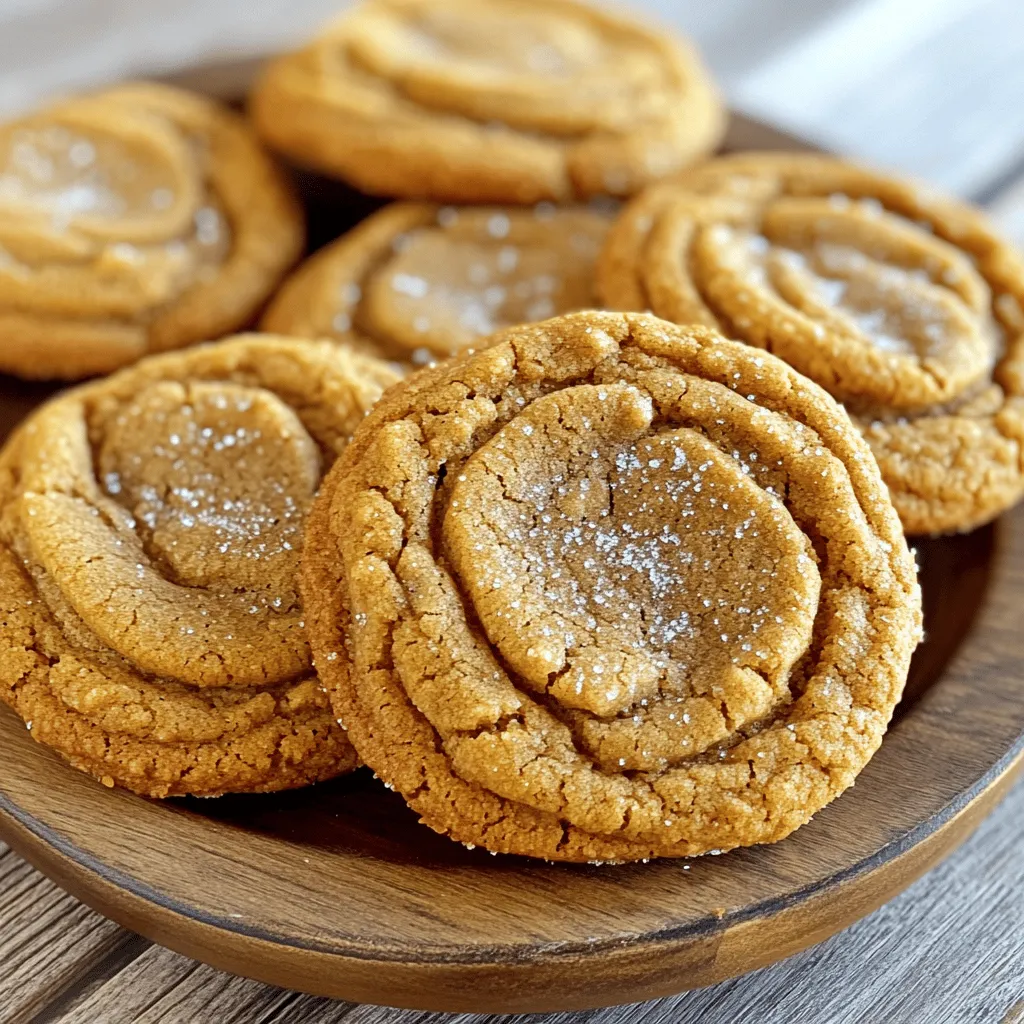
Get ready to indulge in the warm, spicy goodness of Brown Butter Ginger Molasses Cookies. These cookies are rich, soft,
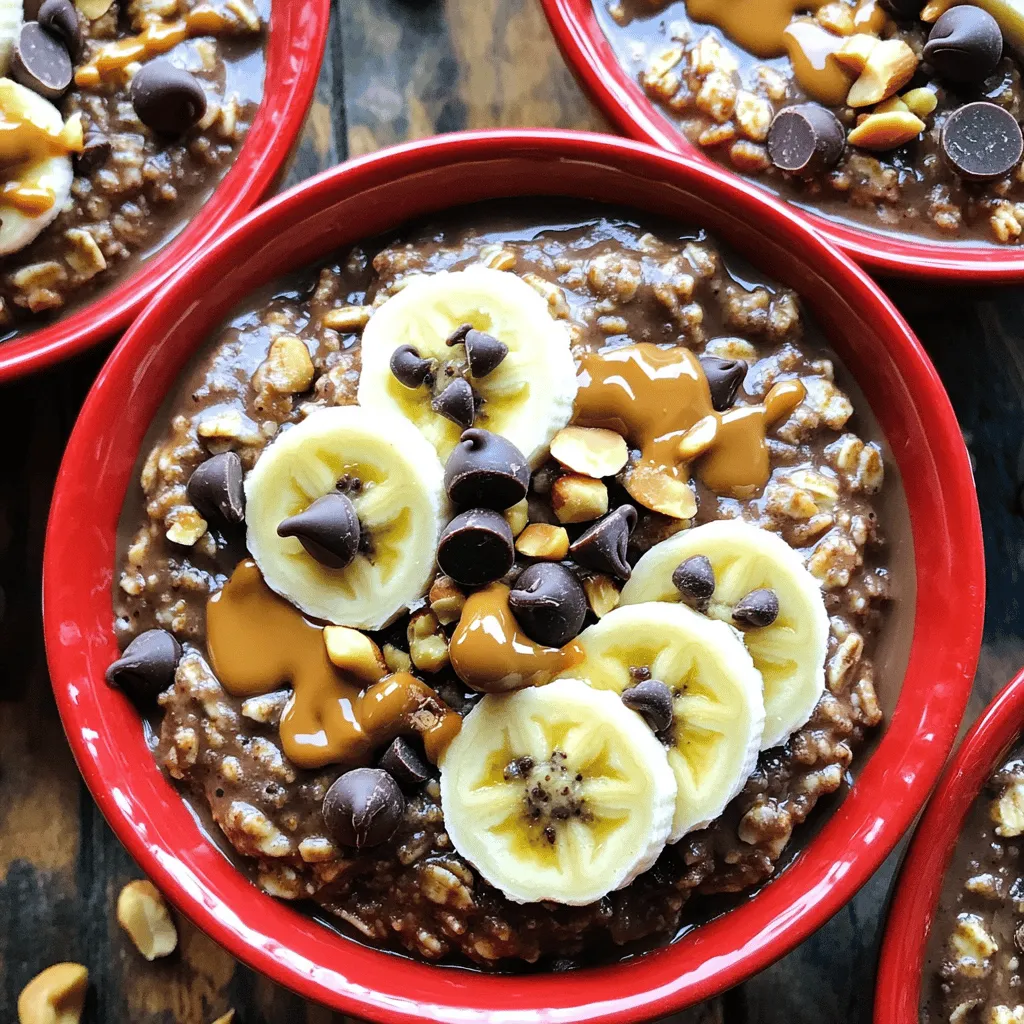
Imagine waking up to the rich aroma of chocolate and peanut butter filling your kitchen. With my Slow Cooker Chocolate
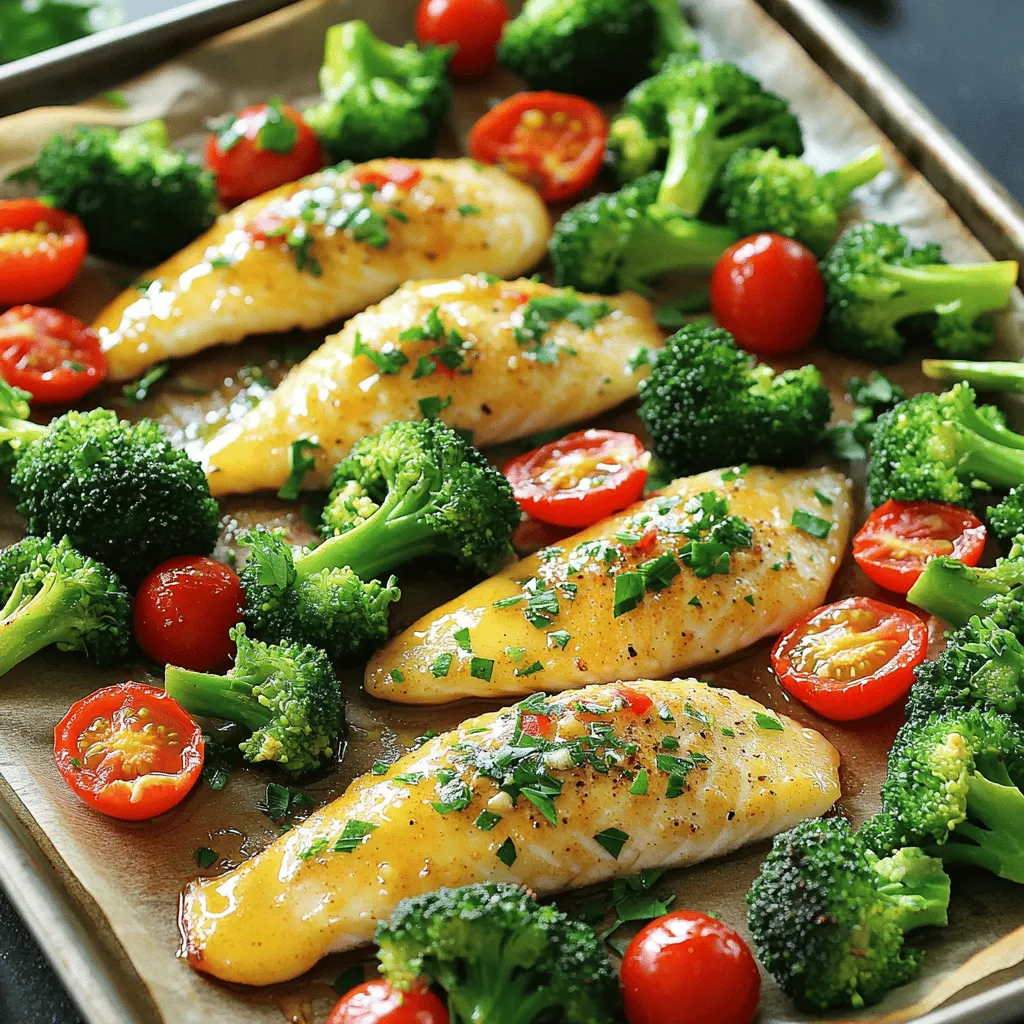
Welcome to my kitchen! Today, we’re making a dish that’s simple and delicious: Sheet Pan Garlic Butter Tilapia & Veggies
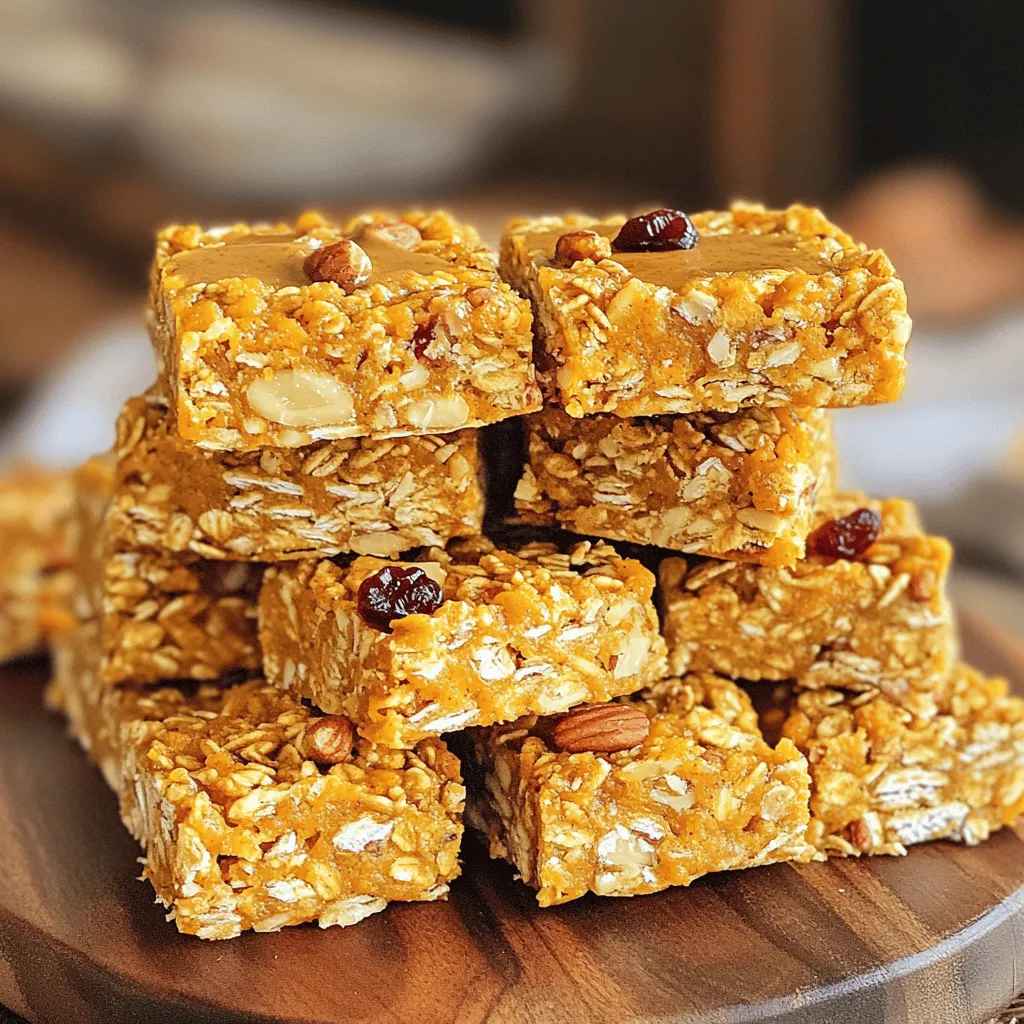
Are you craving a quick, delicious snack? Look no further! These No Bake Pumpkin Spice Granola Bars are simple to
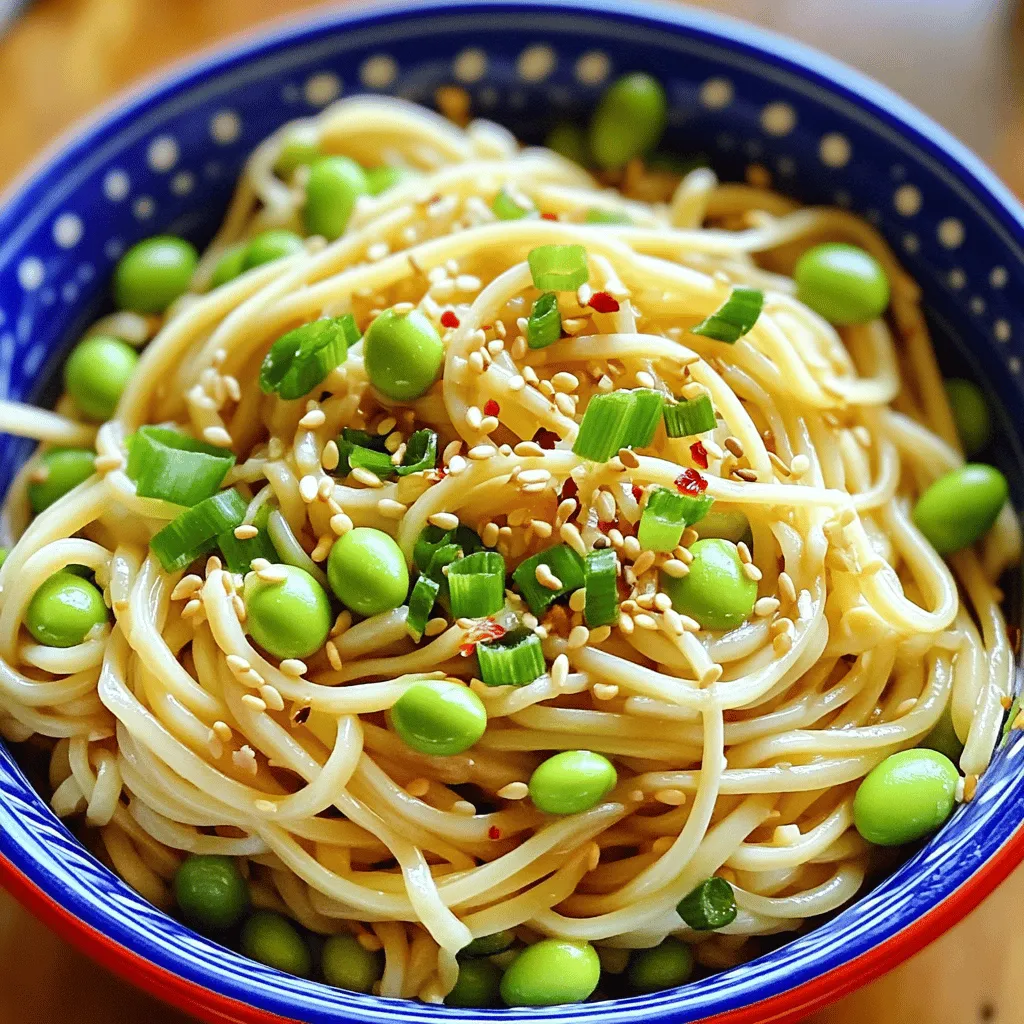
Looking for a quick, tasty meal that packs a punch? You’re in the right place! My Minute Sesame Garlic Edamame
