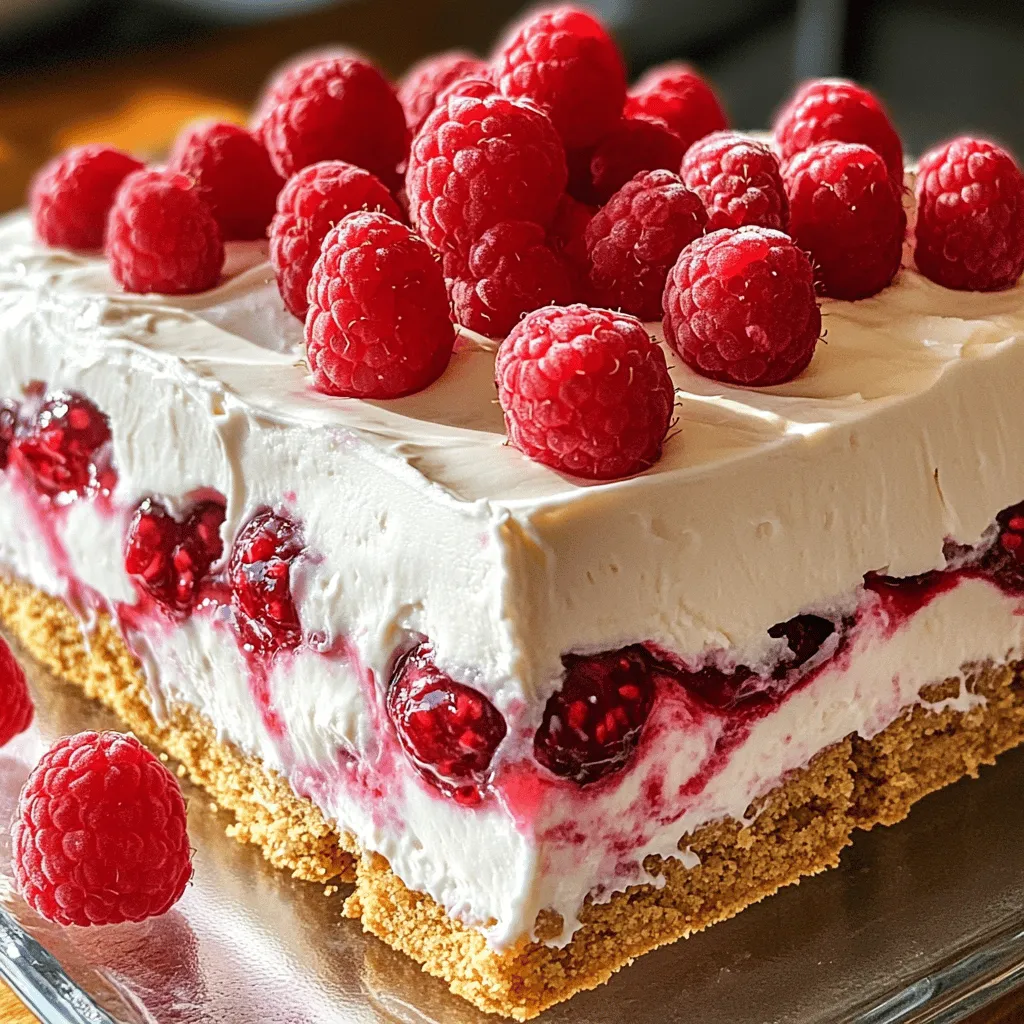
Raspberry Cheesecake Icebox Cake No Bake Delight
Get ready for a sweet treat without turning on the oven! My Raspberry Cheesecake Icebox Cake is the perfect dessert
Get ready for a sweet treat without turning on the oven! My Raspberry Cheesecake Icebox Cake is the perfect dessert
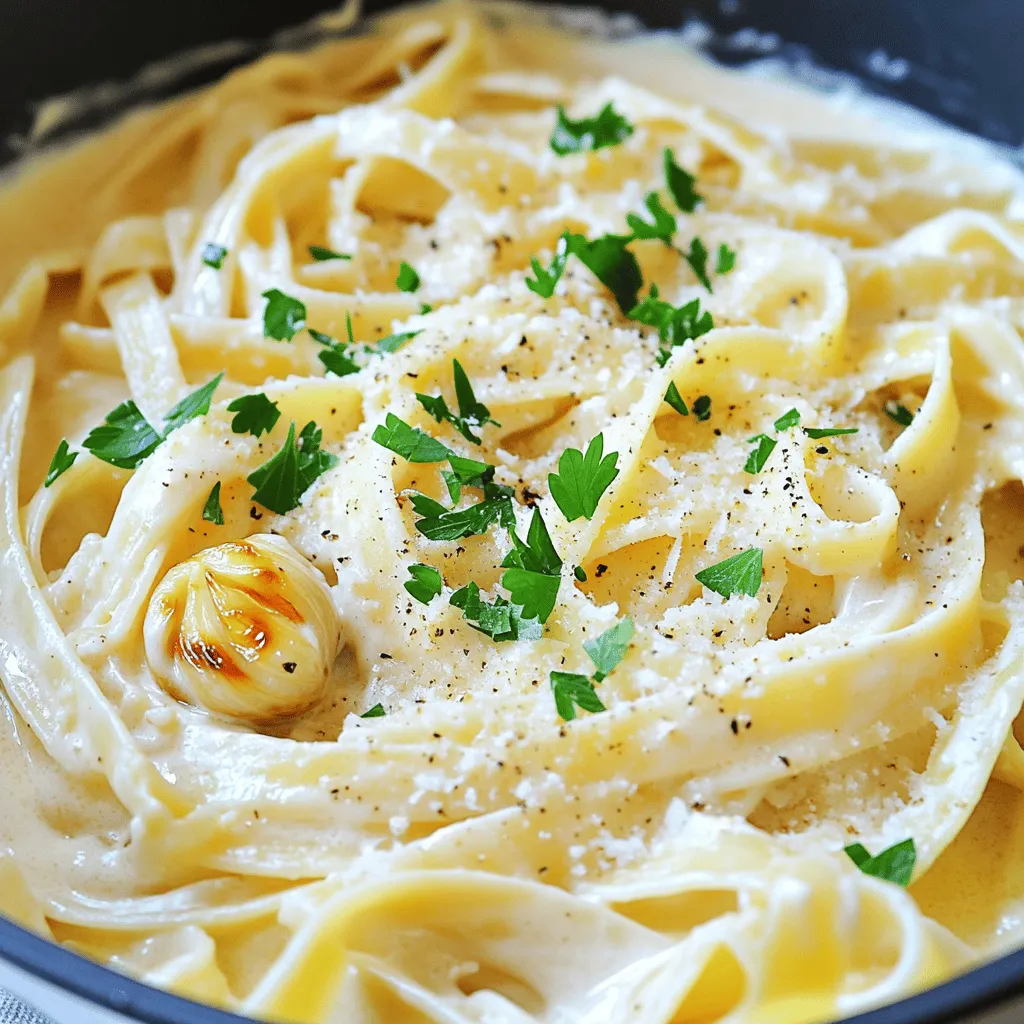
If you crave a rich and creamy meal, you’re in for a treat! This Creamy Roasted Garlic Alfredo One Pot
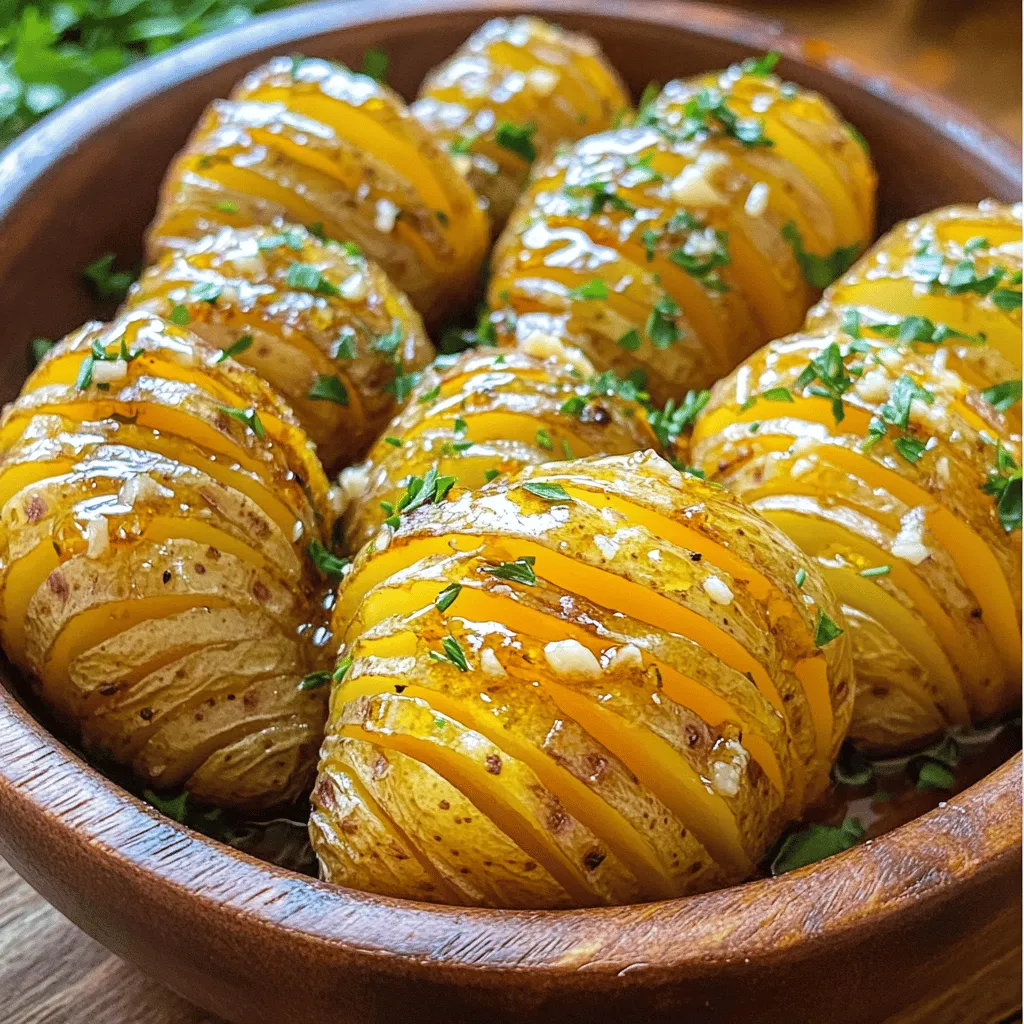
Get ready to elevate your dinner game with Honey Garlic Butter Hasselback Potatoes! Each crunchy potato slice is packed with
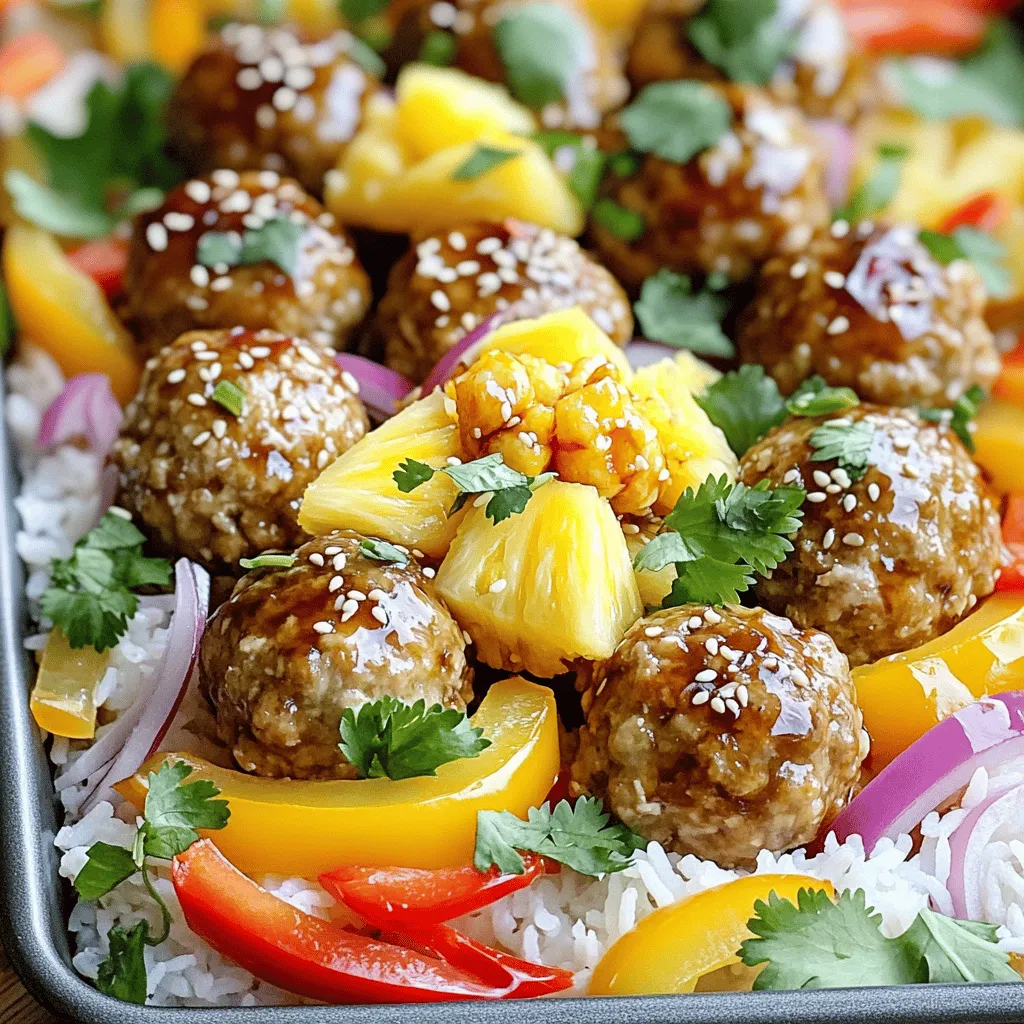
Get ready for a flavor explosion with my Sheet-Pan Pineapple Teriyaki Meatballs Delight! This dish combines juicy meatballs with sweet
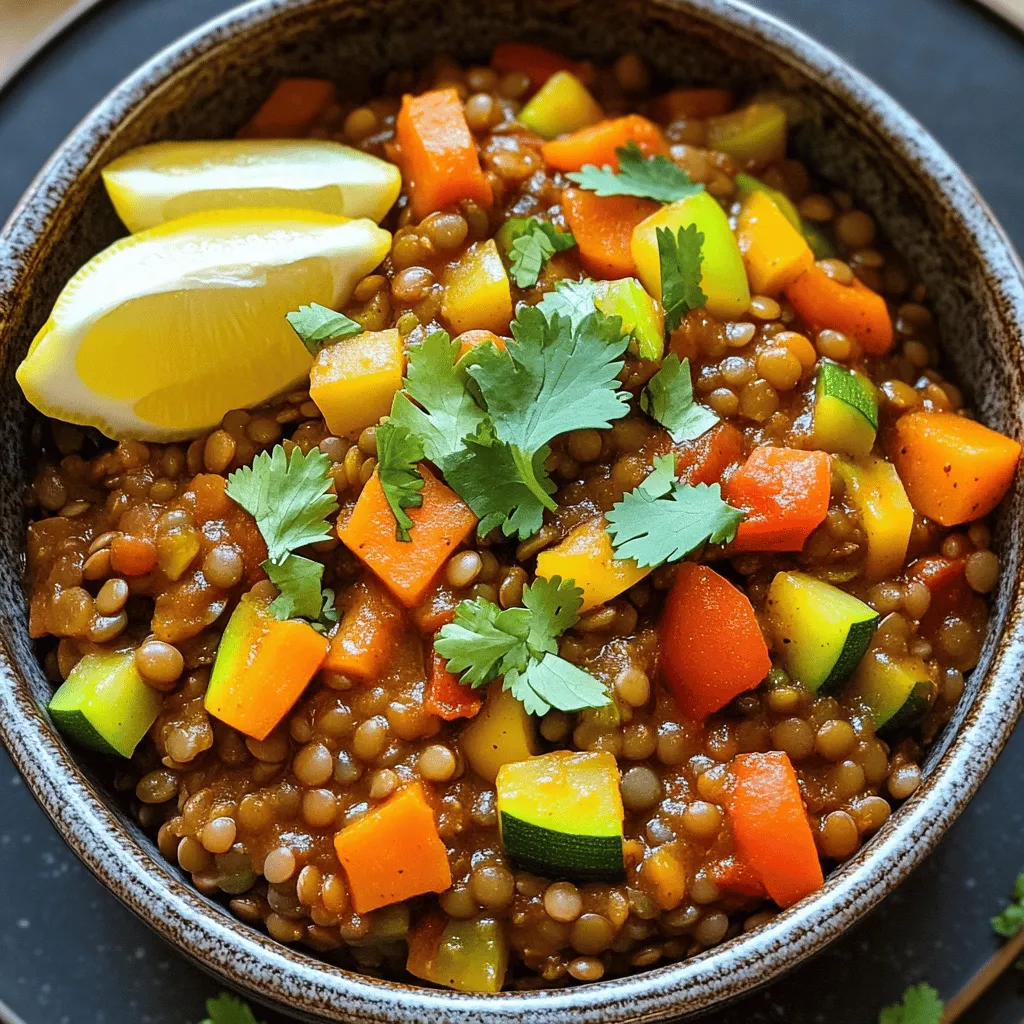
Looking for a warm, hearty meal that bursts with flavor? Try my Cozy Moroccan Lentil Stew! This dish not only

Are you ready to try Air Fryer Nashville Hot Chicken Nuggets? These nuggets pack a bold flavor punch while staying
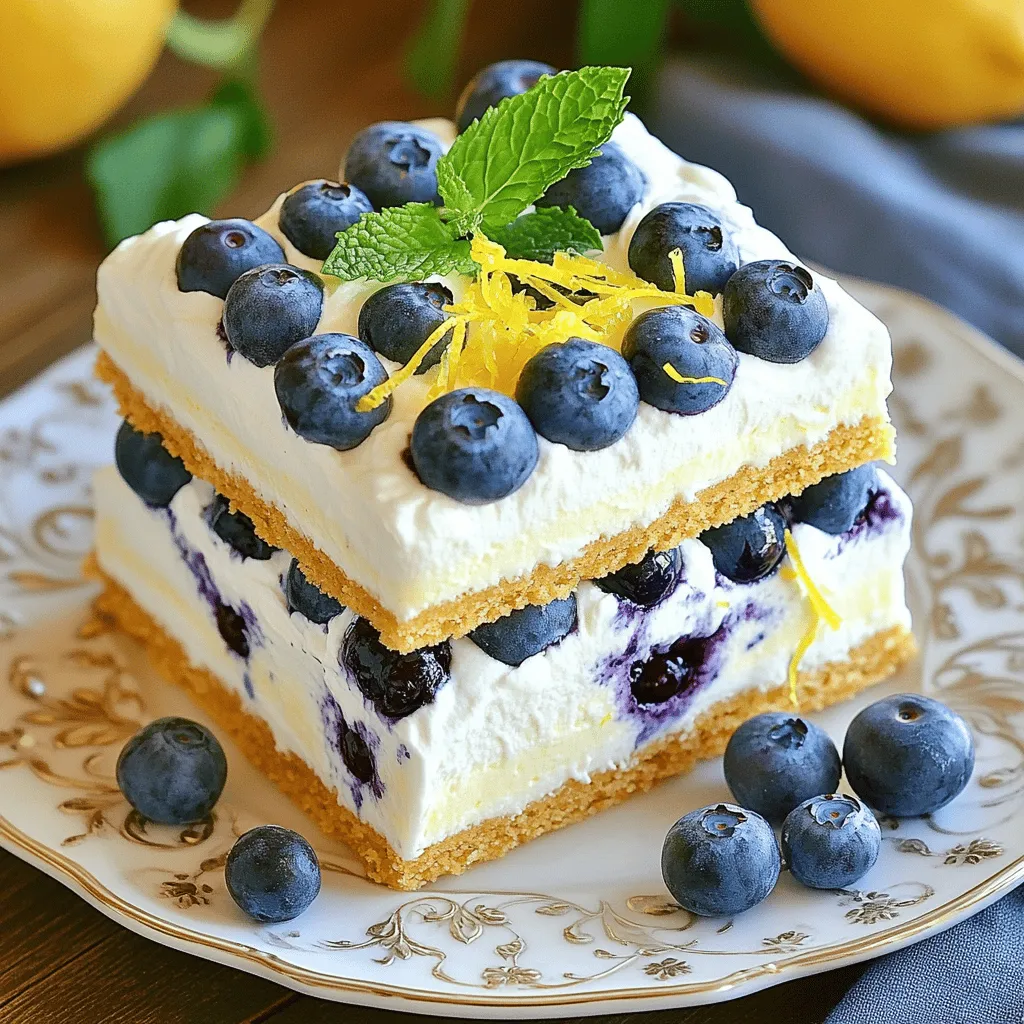
Looking for a fun, easy dessert? Try my No-Bake Lemon Blueberry Icebox Cake! This delightful treat is perfect for warm

Are you ready to elevate your weeknight dinners? In Sheet Pan Greek Lemon Potatoes & Chicken Delight, we’ll explore a
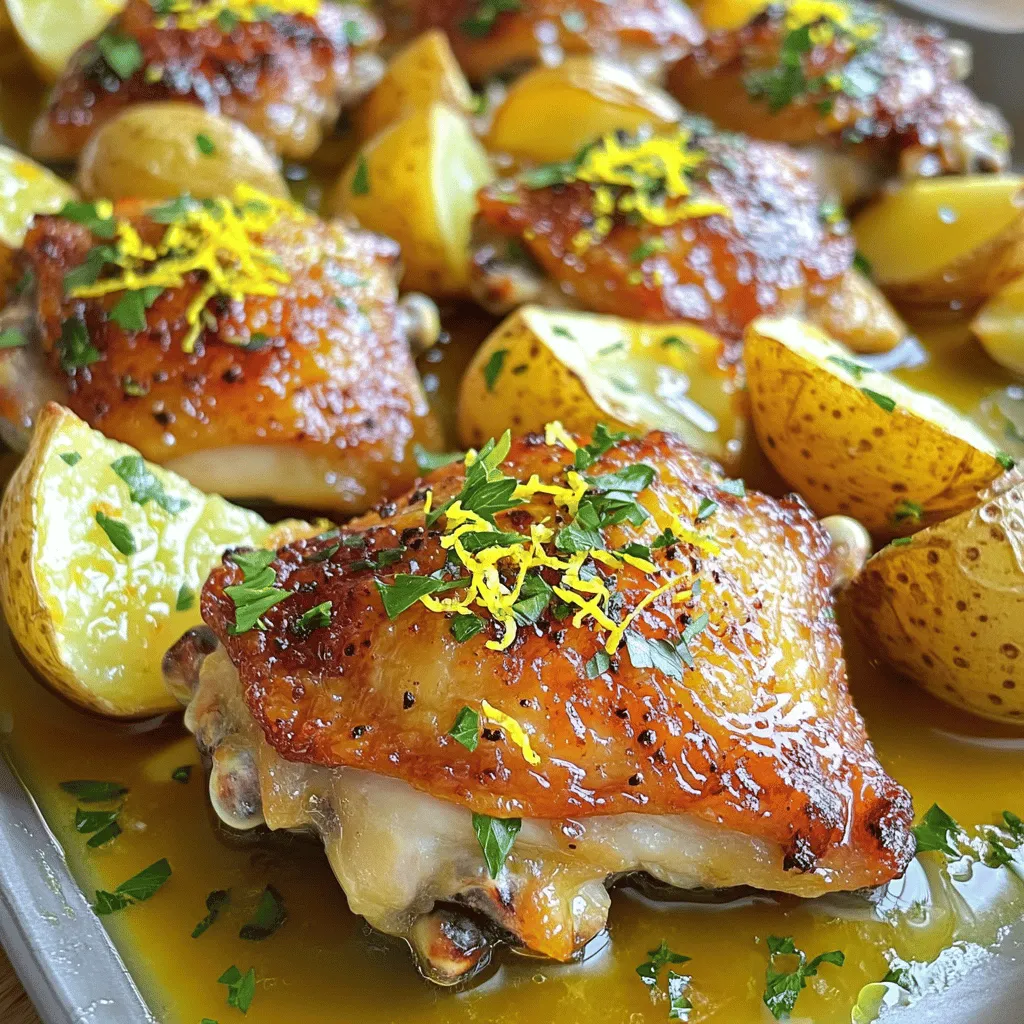
Are you ready to elevate your weeknight dinners? In Sheet Pan Greek Lemon Potatoes & Chicken Delight, we’ll explore a

Craving a warm, gooey dessert? Let’s dive into the mouthwatering world of the Air Fryer Chocolate Chip Cookie Skillet! This
