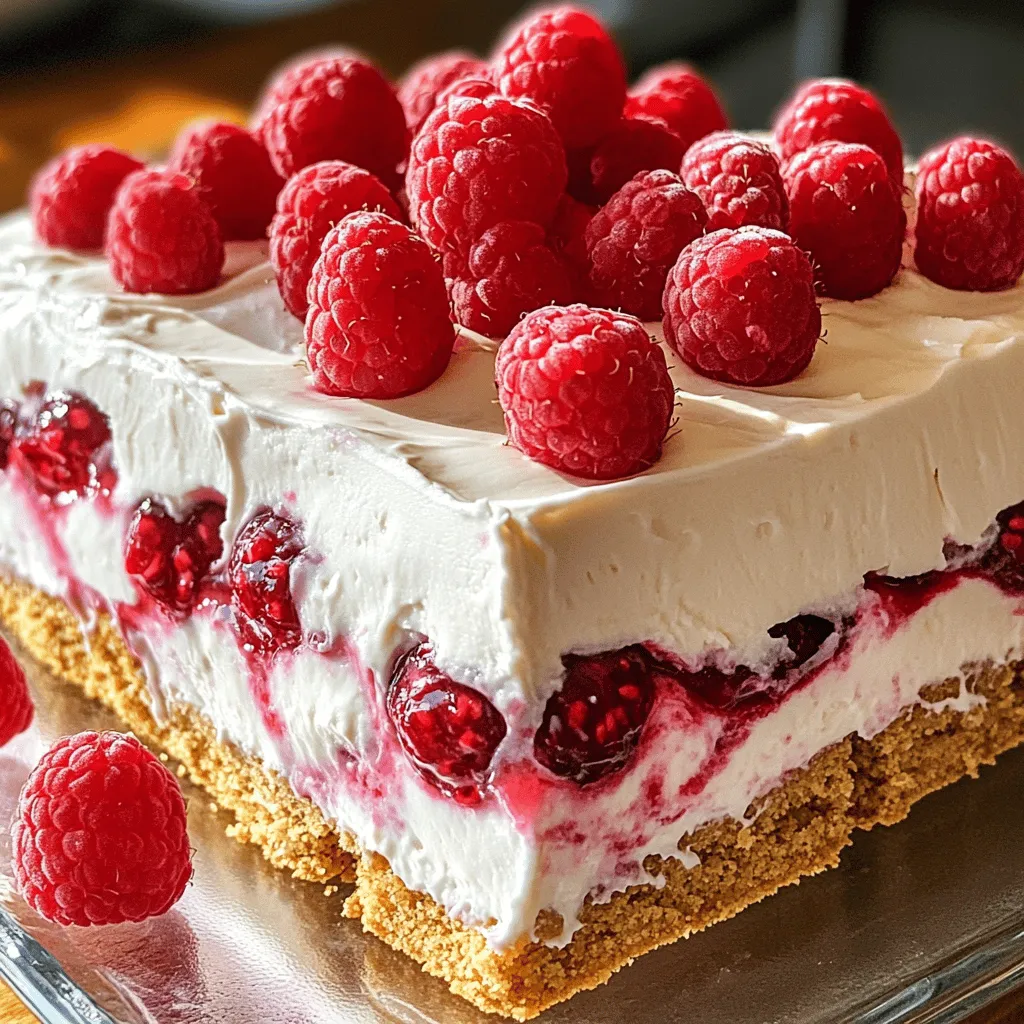
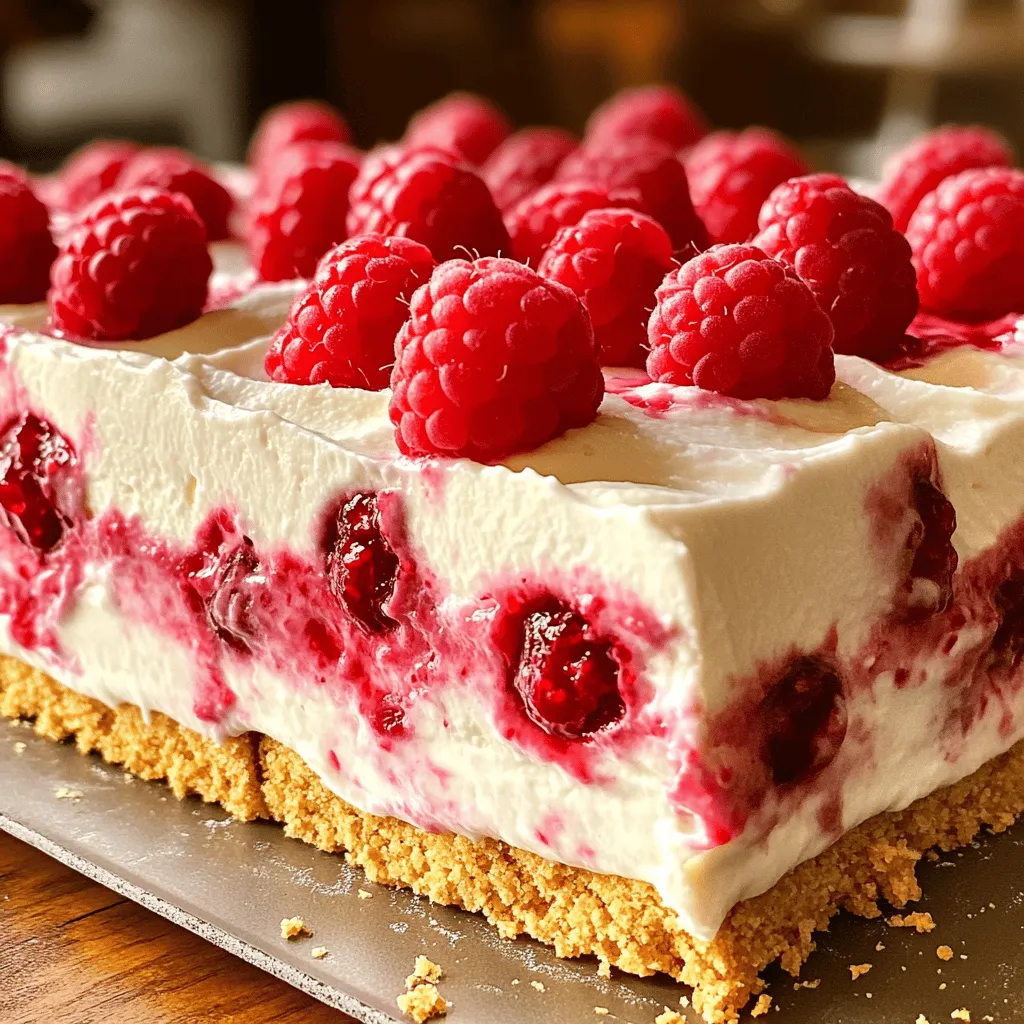
Get ready for a sweet treat without turning on the oven! My Raspberry Cheesecake Icebox Cake is the perfect dessert for any occasion. It combines smooth cream cheese and tart raspberries for a delicious flavor. Plus, it’s super easy to make! Whether you’re new to baking or a pro, this no-bake delight will impress your friends and family. Let’s dive into the world of creamy desserts and learn how to create this refreshing cake.
Ingredients
List of Ingredients
To make this delicious Raspberry Cheesecake Icebox Cake, gather these simple items:
– 2 cups fresh raspberries (plus extra for garnish)
– 1 cup cream cheese, softened
– 1 cup heavy whipping cream
– ½ cup powdered sugar
– 1 teaspoon vanilla extract
– 1 package (8 oz) graham crackers
– 2 tablespoons lemon juice
– A pinch of salt
Ingredient Substitutions
You can swap some ingredients for what you have. Use Greek yogurt instead of cream cheese for a lighter option. If you want a sweeter cake, try using granulated sugar instead of powdered sugar. You can also use almond extract instead of vanilla for a different flavor. For the graham crackers, any sweet cookie works well. Try chocolate cookies for a fun twist!
Fresh vs. Frozen Raspberries
Fresh raspberries taste great and are easy to find in summer. They add bright color and flavor to the cake. Frozen raspberries can work too. They are picked at their peak and frozen quickly. Just thaw them and drain the excess juice before using. Both options will give you a tasty cake, but fresh raspberries offer a better texture and flavor. Choose what fits your needs!
Step-by-Step Instructions
Preparation of the Cream Cheese Mixture
Start by gathering your ingredients. You need cream cheese, powdered sugar, and vanilla extract. In a mixing bowl, combine the softened cream cheese, ½ cup of powdered sugar, and 1 teaspoon of vanilla extract. Use a hand mixer to beat them together until smooth. This mixture should be creamy and lump-free. This step is key for a rich cheesecake taste.
Next, gently stir in 2 tablespoons of lemon juice and half of the raspberries. The lemon juice adds a nice zing. The raspberries bring in sweetness and a pop of color. Mix these until all is well combined.
Whipping the Cream
Grab a separate bowl and pour in 1 cup of heavy whipping cream. Use a mixer to whip the cream until soft peaks form. This means the cream should hold its shape but not be too stiff. Be careful not to over-whip. You want it fluffy, not grainy.
Once the cream is ready, fold it into the cream cheese mixture. Use a spatula for this. Start at the bottom and gently lift the mixture to the top. This keeps the whipped cream light and airy.
Assembling the Icebox Cake
Now it’s time to build your cake! Start by spreading a thin layer of the cream cheese mixture at the bottom of a 9×9 inch dish. This layer acts as a base. Next, place a layer of graham crackers on top.
Spread another layer of the cream cheese mixture over the crackers. Then, add more raspberries on top. Repeat this process: graham crackers, cream cheese mixture, and raspberries. Keep layering until you run out of ingredients. Finish with a final layer of the cream cheese mixture on top.
Once done, cover the cake with plastic wrap. Place it in the fridge for at least 4-6 hours, or overnight. This chilling time helps the cake set well. Before serving, add extra raspberries on top for a fresh touch. Enjoy your delicious dessert!
Tips & Tricks
Achieving the Perfect Texture
To get a smooth and creamy texture, use softened cream cheese. Cold cream cheese can form lumps. Blend the cream cheese, powdered sugar, and vanilla well. Next, whip the heavy cream until soft peaks form. This step adds lightness to the mix. Fold the whipped cream into the cream cheese gently. This keeps it airy. Mix in lemon juice and half the raspberries last. This will give you a balanced flavor.
Recommended Serving Suggestions
Serve the cake chilled for the best taste. Slicing it perfectly can be tricky. Use a sharp knife and dip it in hot water first. Wipe the knife dry between slices for clean cuts. Top each slice with fresh raspberries for a burst of color. You can also add a dollop of whipped cream for extra creaminess. Pair it with a glass of lemonade for a refreshing treat.
Common Mistakes to Avoid
One common mistake is overmixing the cream cheese. This can make it too thick. Also, avoid skipping the chilling time. The cake needs at least 4-6 hours to set. If you don’t let it chill, it may fall apart when served. Make sure to layer the graham crackers evenly. Overlapping them too much can lead to uneven texture. Lastly, don’t forget to save some raspberries for garnish. They make the cake look beautiful and appetizing.
Variations
Different Fruit Options
You can swap raspberries for other fruits. Strawberries, blueberries, or peaches work well. Each fruit brings its own taste. For a tropical twist, try mango or pineapple. Just remember to adjust the amount based on the fruit’s sweetness. You want the cake to stay balanced and tasty.
Gluten-Free Alternatives
Making this cake gluten-free is easy. Use gluten-free graham crackers instead of regular ones. You can find them at most stores. If you cannot find graham crackers, use crushed gluten-free cookies. They will add a nice crunch. Just check the label to ensure they are truly gluten-free.
Flavor Enhancements
Add some zest to your cheesecake! Lemon or lime zest can brighten the flavor. You can also mix in some chocolate by adding cocoa powder to the cream cheese mix. If you love mint, add a few crushed mint leaves. These little changes can make your cake unique and fun!
Storage Info
Refrigeration Guidelines
To keep your Raspberry Cheesecake Icebox Cake fresh, store it in the fridge. Cover it well with plastic wrap or a lid. It will stay good for about 3 to 5 days. The cool air helps keep the flavors bright. If you plan to enjoy it later, refrigerate it right after serving.
Freezing Instructions
You can freeze this cake, but it may change texture. To freeze, slice the cake into portions. Wrap each slice in plastic wrap and place it in a freezer bag. It can last about 2 months in the freezer. When ready to eat, thaw it in the fridge overnight. This keeps the cake moist.
How to Serve Leftovers
When serving leftovers, check if they need a little freshness. Add a few fresh raspberries on top for a pop of color and flavor. If the cake seems firm, let it sit at room temperature for 10-15 minutes. This will help soften it up. Enjoy your delightful treat!
FAQs
How long does the Raspberry Cheesecake Icebox Cake need to set?
The Raspberry Cheesecake Icebox Cake needs to set for at least 4 to 6 hours. However, I recommend letting it chill overnight. This longer time allows the flavors to blend and the cake to firm up. A well-set cake gives you a better slice.
Can I make this cake ahead of time?
Yes, you can make this cake ahead of time. It stores well in the fridge. Making it a day or two in advance is a great idea. This way, you can save time when serving. Just remember to cover it well to keep it fresh.
Is it possible to use low-fat cream cheese?
Absolutely! You can use low-fat cream cheese if you prefer. The cake will still taste delicious. Just note that the texture might be slightly different. It may not be as rich, but it will still be creamy and enjoyable.
This article covered how to make a delicious Raspberry Cheesecake Icebox Cake. We explored the ingredients needed and how to substitute them. You learned the best tips for preparation and assembly. I also shared variations to fit your taste and dietary needs.
For best results, follow the steps and avoid common mistakes. This dessert is perfect for any occasion. Enjoy making and sharing this delightful treat!