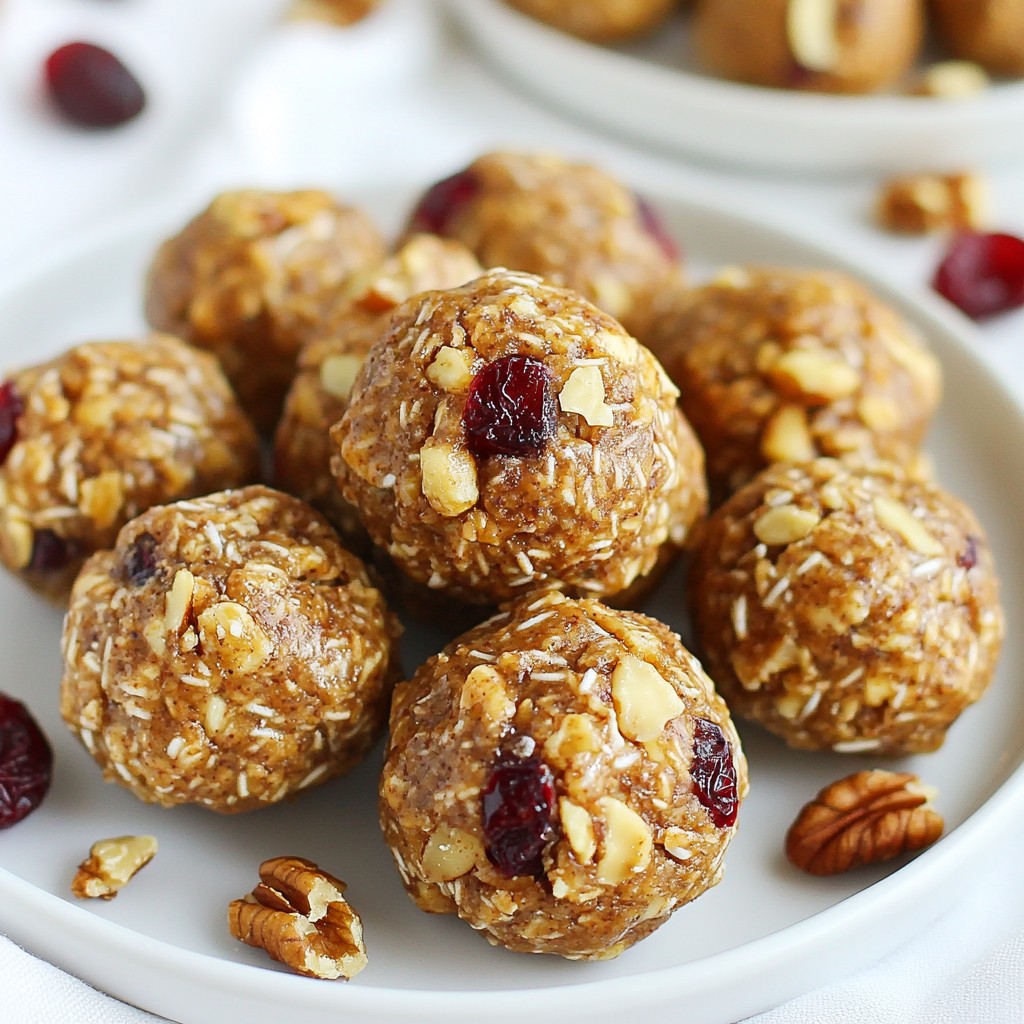
Looking for a quick and tasty snack? These Peanut Butter Cup Energy Bites are the answer! They are simple to make and packed with flavor. Perfect for busy days, you can whip them up in no time. In this post, I’ll guide you through the easy steps, share tips, and offer tasty variations. Get ready to enjoy a snack that satisfies your cravings and fits your lifestyle!
Ingredients
Essential Ingredients for Peanut Butter Cup Energy Bites
To make these tasty energy bites, gather these key ingredients:
– 1 cup rolled oats
– 1/2 cup natural peanut butter
– 1/4 cup honey or maple syrup
– 1/4 cup chocolate chips (dark or milk)
– 1/4 cup ground flaxseed
– 1/2 teaspoon vanilla extract
– Pinch of sea salt
These items work together to create a chewy, sweet snack that packs a punch. The rolled oats give a solid base. Peanut butter adds creaminess and flavor. Honey or maple syrup sweetens the mix, while chocolate chips offer a delightful treat.
Optional Ingredients for Customization
You can change things up with these optional ingredients:
– Chopped nuts (like almonds or walnuts)
– Dried fruit (like cranberries or raisins)
– Protein powder for an extra boost
– Coconut flakes for added texture
These options let you tailor the bites to your taste. Get creative! Mix and match to find your favorite combo.
Ingredient Substitutions
If you lack an ingredient, here are some smart swaps:
– Use almond butter instead of peanut butter.
– Swap honey for agave syrup if you want.
– Use quick oats if you have them on hand.
These swaps keep the recipe easy and flexible. You can still enjoy the flavor and texture you love even when you don’t have everything.
Step-by-Step Instructions
Preparation of the Mixture
Start by gathering your ingredients. You will need rolled oats, ground flaxseed, and a pinch of sea salt. In a large mixing bowl, combine these three dry ingredients. Mix them well to ensure they are evenly spread. This step is key for good flavor in each bite.
Next, take a separate bowl. Here, mix the natural peanut butter, honey or maple syrup, and vanilla extract. Stir until the mixture is smooth. You want it to blend well for even sweetness.
Once both mixtures are ready, pour the wet mixture into the dry mix. Stir it together until everything combines fully. Make sure you don’t see any dry bits left.
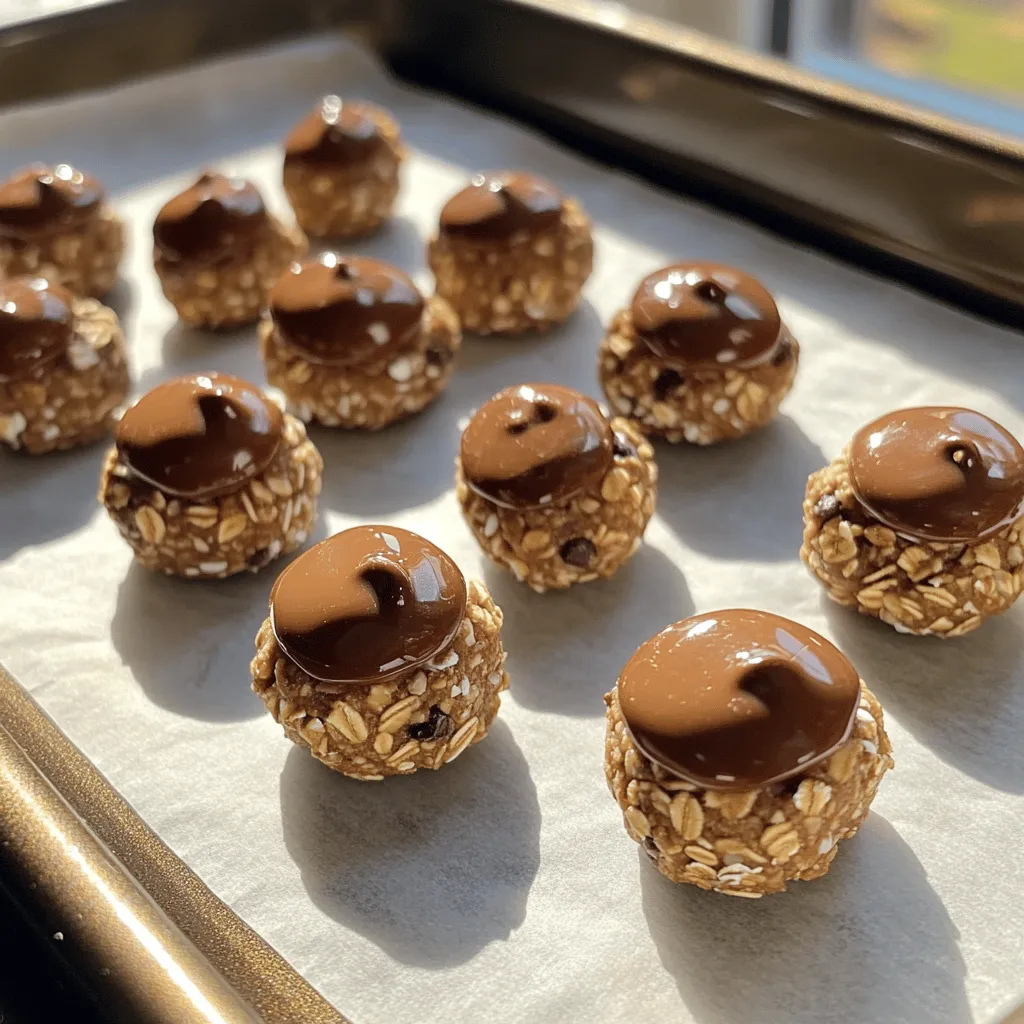
Then, gently fold in the chocolate chips. This will add a rich, sweet touch to your bites. Ensure they are spread throughout the mixture for the best taste.
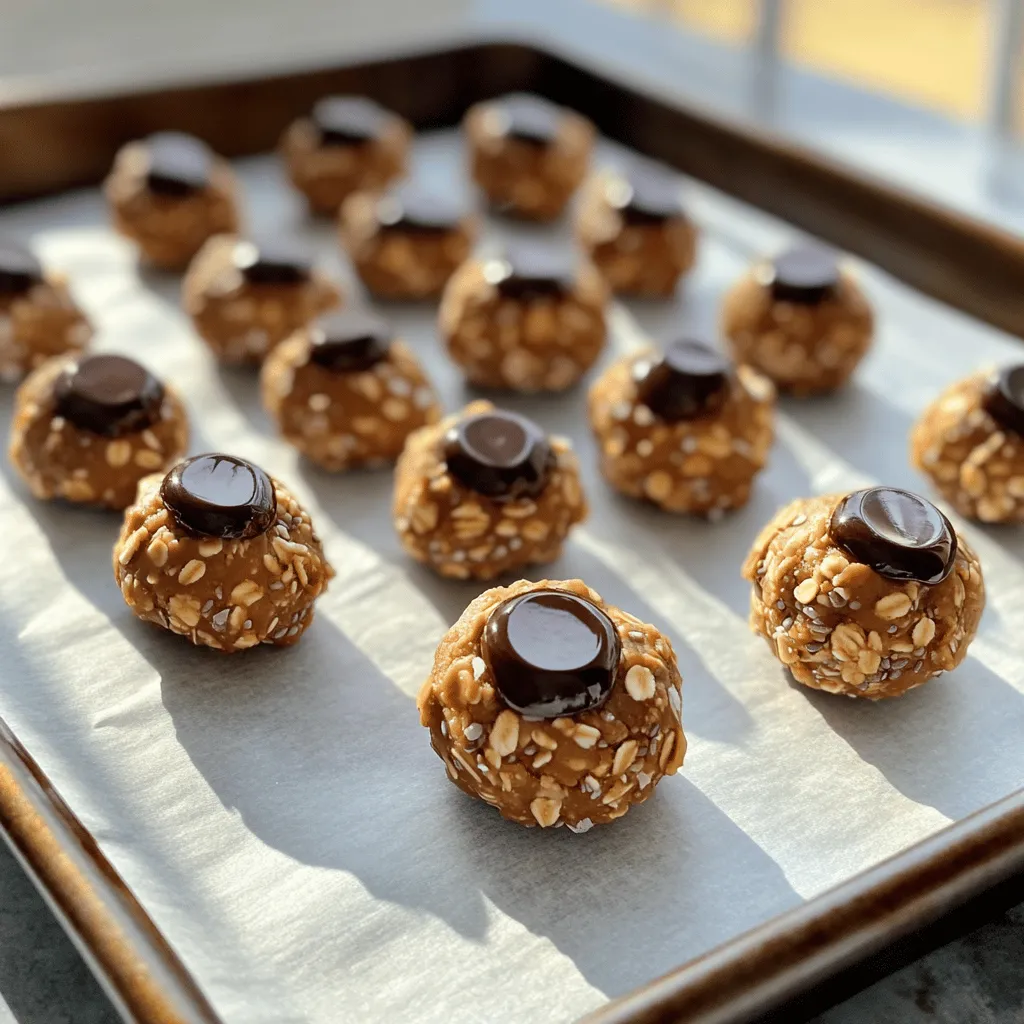
Forming the Energy Bites
Now, it’s time to shape the mixture into bites. Use your hands to grab small amounts of the mixture. Aim for about one inch in diameter for each ball. Roll them between your palms to form tight balls.
Place each ball on a parchment-lined baking sheet. This will keep them from sticking. Make sure they have some space in between.
Refrigeration and Storage
After forming all the bites, it’s time for chilling. Place the baking sheet in the refrigerator. Let the bites chill for at least 30 minutes. This helps them firm up nicely.
Once they are cold and set, store the energy bites in an airtight container. Keep them in the fridge, where they will stay fresh for up to a week. Enjoy these tasty snacks anytime you need a quick boost!
Tips & Tricks
Best Practices for Mixing Ingredients
Start by mixing the dry ingredients first. In a large bowl, combine rolled oats, ground flaxseed, and sea salt. Stir them well. This helps distribute the flavors evenly. For the wet mixture, blend natural peanut butter, honey, and vanilla in a separate bowl. Make sure it is smooth. Pour the wet mix into the dry mix. Stir until all ingredients combine. If the mix feels too dry, add a tiny bit of water.
How to Achieve the Perfect Texture
The right texture for these energy bites is crucial. You want them to hold together but not be too sticky. Use your hands to mix and form the bites. If they crumble, add a bit more peanut butter. If they are too sticky, sprinkle in some oats. After mixing, refrigerate the bites for at least 30 minutes. This helps them firm up and makes them easier to eat.
Ideas for Serving and Presentation
You can serve these bites in many fun ways. Place them on a colorful plate for a pop of color. You can also add a drizzle of melted chocolate on top for a treat. Try using cupcake liners for a cute presentation. Pair them with fresh fruit or yogurt for a tasty snack. These bites are also great for a quick breakfast on the go.
Variations
Nut-Free Versions of Energy Bites
If you want a nut-free option, try using sunflower seed butter. It gives a similar taste and texture. You can also use pumpkin seed butter. Both choices keep the bites creamy and rich. Just swap the peanut butter with these seeds. This way, kids and adults with nut allergies can enjoy them too.
Different Flavor Additions
To spice up your energy bites, add different flavors. You can mix in shredded coconut for a tropical twist. Dried fruit like cranberries or apricots adds sweetness and chewiness. You can also try adding spices like cinnamon or cocoa powder. Each flavor change gives a new taste, so feel free to experiment.
Health-Conscious Options (Low Sugar, Gluten-Free)
For a low-sugar version, reduce the honey or maple syrup. You can use ripe bananas or applesauce for natural sweetness. This change keeps the bites tasty but lowers the sugar content. If you need gluten-free bites, ensure you use certified gluten-free oats. This way, everyone can enjoy these tasty snacks without worry.
Storage Info
How to Store Leftover Energy Bites
To keep your Peanut Butter Cup Energy Bites fresh, store them in an airtight container. Place the container in the fridge. This way, they stay cool and tasty. Make sure to eat them within a week for the best flavor.
Freezing Instructions
If you want to save some bites for later, freezing is a great option. Form the bites as usual, but do not chill them first. Instead, place them on a baking sheet and freeze for about two hours. Once firm, transfer them to a freezer bag. They can last up to three months in the freezer. Just thaw them in the fridge when you’re ready to enjoy!
Shelf Life and Freshness Tips
Peanut Butter Cup Energy Bites taste best when fresh. If stored properly, they last up to a week in the fridge. To check for freshness, look for any change in color or smell. If they seem off, it’s best to toss them. Enjoy your snacks while they are still delicious!
FAQs
What can I use instead of peanut butter?
If you need a substitute for peanut butter, try almond butter or sunflower seed butter. These options keep the same creamy texture and taste great. You can also use cashew butter for a milder flavor. All these choices work well in the energy bites.
How many calories are in Peanut Butter Cup Energy Bites?
Each Peanut Butter Cup Energy Bite has about 100 calories. This number may vary based on the ingredients used. If you measure carefully, you can keep track of the calories. These bites offer a nice balance of protein and healthy fats.
Can I make these energy bites vegan?
Yes, you can easily make these energy bites vegan. Use maple syrup instead of honey. Choose dark chocolate chips that are dairy-free to keep it vegan. The rest of the ingredients are already plant-based, so you’re all set!
How long will homemade energy bites last?
Homemade energy bites can last up to one week in the fridge. Store them in an airtight container to keep them fresh. If you want to keep them longer, you can freeze them. Just remember to thaw them before you enjoy!
In this post, we explored making Peanut Butter Cup Energy Bites. You learned about key ingredients and fun ways to customize them. I shared step-by-step instructions and tips for mixing and serving. We also covered different variations and storage tips for freshness.
Now you can enjoy these tasty bites anytime. They are easy to make and great for snacks. Get creative with flavors, and have fun!