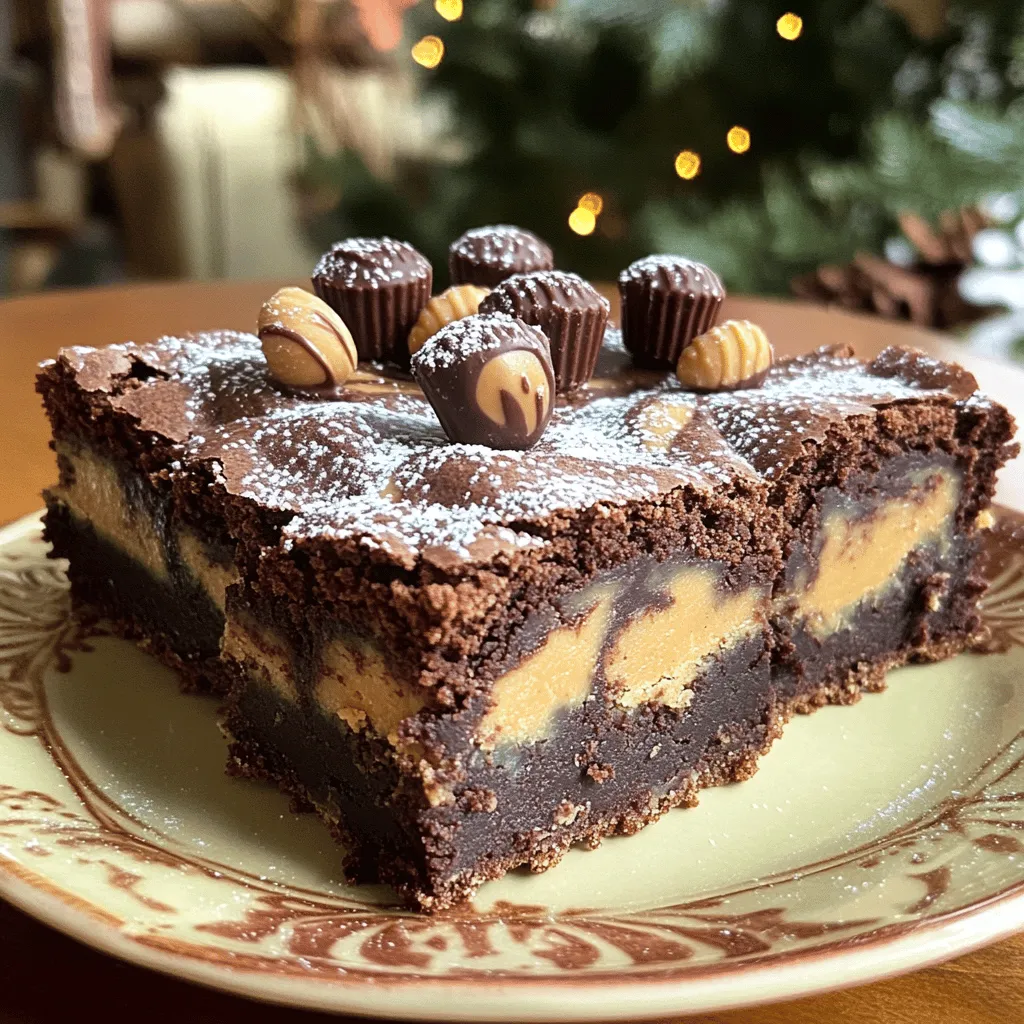
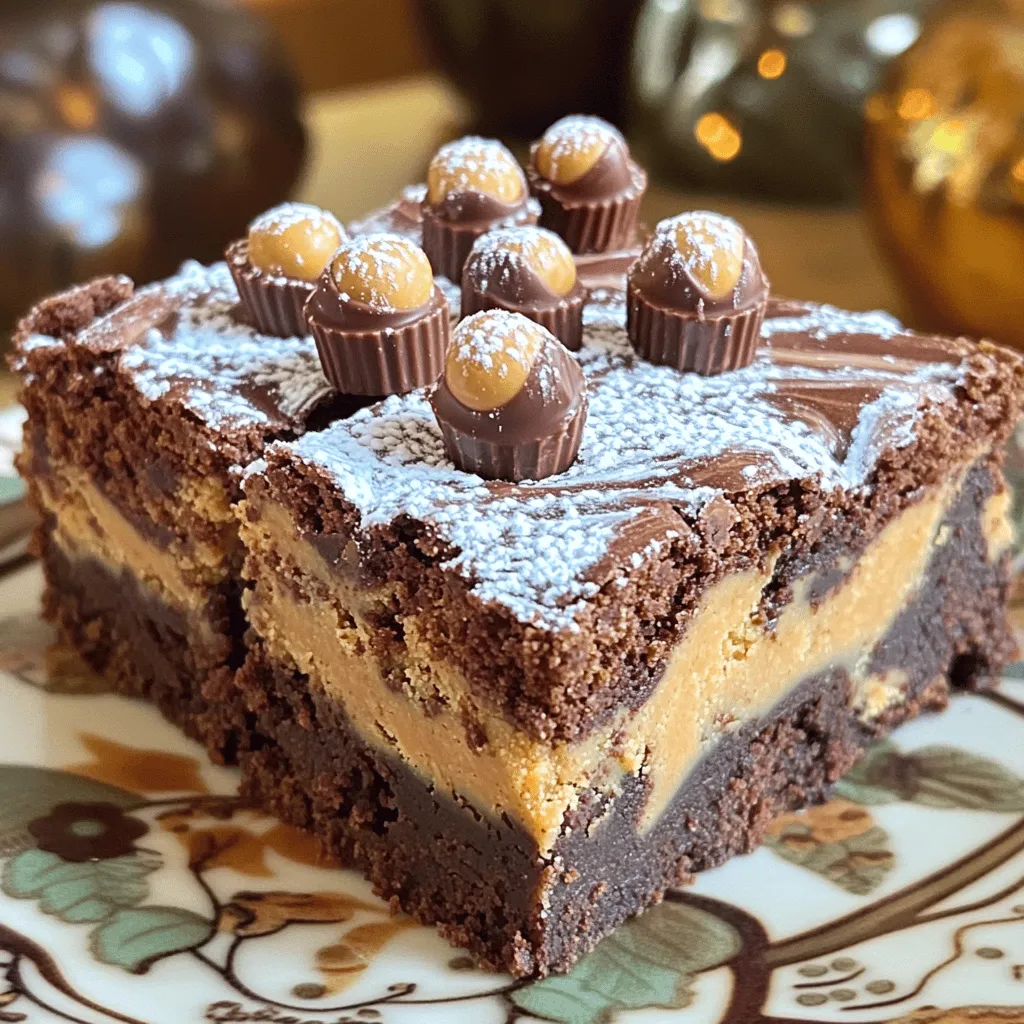
Craving a sweet treat that’s quick to make and packed with flavor? You’re in the right place! These Peanut Butter Cup Brownie Bars are not just easy to whip up but also mouthwateringly delicious. I’ll guide you through every step, from gathering your ingredients to baking the perfect batch. Get ready to impress your friends and family with this decadent dessert that’s sure to satisfy any sweet tooth!
Ingredients
List of Ingredients
– 1 cup unsalted butter, melted
– 1 cup granulated sugar
– 1/2 cup brown sugar, packed
– 4 large eggs
– 1 teaspoon vanilla extract
– 1 cup all-purpose flour
– 1/2 cup cocoa powder
– 1/2 teaspoon baking powder
– 1/4 teaspoon salt
– 1 cup creamy peanut butter
– 1/2 cup powdered sugar
– 1 cup mini peanut butter cups, chopped
– 1/2 cup chocolate chips (optional for topping)
These ingredients come together to make a rich and tasty treat. Start with unsalted butter. It gives the best flavor without extra salt. The mix of granulated and brown sugar helps create a sweet, chewy texture. The eggs add moisture and bind the brownie bars.
Vanilla extract brings a warm flavor that enhances the chocolate. Flour and cocoa powder form the base of our brownies. Baking powder adds a little lift, while salt balances the sweetness.
Don’t forget the creamy peanut butter! It creates a swirled topping that pairs perfectly with chocolate. The mini peanut butter cups add delightful pockets of flavor. If you want an extra chocolatey touch, sprinkle chocolate chips on top.
With these ingredients, you’re set for a delicious baking adventure. Each element plays a role in creating the perfect peanut butter cup brownie bars.
Step-by-Step Instructions
Preparation Steps
1. Preheating the oven
Set your oven to 350°F (175°C). This step helps the brownies bake evenly.
2. Preparing the baking pan
Grab a 9×13 inch baking pan. Line it with parchment paper. Leave some paper hanging over the edges. This makes it easy to lift the brownies out later.
Combining Ingredients
1. Mixing wet ingredients
In a big bowl, mix the melted butter, granulated sugar, and brown sugar. Whisk until smooth. Add the large eggs, one by one. Whisk well after each egg. Now, stir in the vanilla extract.
2. Incorporating dry ingredients and add-ins
In another bowl, whisk together the flour, cocoa powder, baking powder, and salt. Gradually add this dry mix to the wet mix. Stir gently until just combined. Now, fold in the chopped mini peanut butter cups. Make sure they are evenly spread through the batter.
Baking Process
1. Pouring the batter into the pan
Pour the brownie batter into the prepared pan. Spread it out evenly with a spatula.
2. Swirling peanut butter topping
In a small bowl, mix the creamy peanut butter with powdered sugar until smooth. Drop spoonfuls of this mix over the brownie batter. Use a knife to swirl it gently for a marbled look.
3. Baking and cooling instructions
Bake in the preheated oven for 25-30 minutes. Check with a toothpick in the center. If it comes out with a few moist crumbs, they are done. Let the brownies cool completely in the pan. Once cool, use the parchment paper to lift them out. Slice into squares or bars.
Tips & Tricks
Baking Success Tips
– Checking doneness: To check if your brownies are done, use a toothpick. Insert it into the center. If it comes out with a few moist crumbs, they are ready. If it comes out clean, they may be overbaked. Aim for that perfect crumb!
– Avoiding overmixing: When you mix the wet and dry ingredients, stir gently. Overmixing can make your brownies tough. Just mix until you see no dry flour. This helps keep them soft and delicious.
Serving Suggestions
– Presentation tips for serving: Slice the cooled brownie bars into squares. Serve them on a decorative plate for a pretty look. Dust with powdered sugar for a sweet touch. You can also add whole mini peanut butter cups on top to make them pop!
– Ideal pairings with beverages: These brownie bars pair well with milk, coffee, or even a scoop of vanilla ice cream. A warm drink with these treats creates a cozy experience. Try it, and you might find your new favorite combo!
Troubleshooting Common Issues
– Tips if brownies are too dry: If your brownies turn out dry, next time try baking for a shorter time. You can also add a bit more melted butter for moisture. Another trick is to cover them with foil halfway through baking to prevent too much dryness.
– Overcoming stickiness in the pan: If your brownies stick, make sure to line the pan with parchment paper. Leave some overhang to lift them out easily. If they still stick, let them cool longer before cutting. A sharp knife helps too!
Variations
Flavor Variations
You can get creative with your Peanut Butter Cup Brownie Bars. Try adding nuts or seeds for crunch. Chopped walnuts or almonds work great. You could also throw in chia seeds or sunflower seeds for a healthy twist.
Experimenting with different types of chocolate can change the taste. Use dark chocolate chips for a rich flavor. White chocolate chips add a sweet touch. Mixing chocolate types can give you a fun layered flavor.
Dietary Adjustments
If you need gluten-free options, swap all-purpose flour for almond flour. This will keep the bars tasty and moist. You can also use gluten-free flour blends that are easy to find.
For vegan options, replace the eggs with flax eggs. Mix one tablespoon of flaxseed meal with three tablespoons of water for each egg. Use a plant-based butter and dairy-free chocolate chips. Your bars will still taste great!
Fun Twists
Layering these brownie bars with other desserts can be fun. Try adding ice cream on top for a sundae twist. You can also layer them with cheesecake for a rich dessert.
For holiday-themed adaptations, add festive sprinkles or colors. You could use peppermint extract for a holiday flavor. During Halloween, add orange and black sprinkles for fun!
Storage Info
Best Storage Methods
You can store your peanut butter cup brownie bars at room temperature or in the fridge. If you choose room temperature, keep them in a cool, dry place. They will stay fresh for a few days.
For longer freshness, put them in the fridge. Make sure to place them in an airtight container. This helps keep moisture out and the brownies soft. If you don’t have one, wrap them tightly in plastic wrap.
Freezing Instructions
To freeze brownie bars, first cut them into squares. Place them in a single layer on a baking sheet. Freeze them for about an hour. After they are firm, move them to a freezer-safe bag.
When you want to eat them, take out the number you need. Let them thaw in the fridge overnight or at room temperature for a couple of hours. This way, they will taste fresh again.
Shelf Life
These delicious brownie bars can last about a week at room temperature. In the fridge, they can stay fresh for up to two weeks. If you freeze them, they can last for three months. Just remember to check for any signs of freezer burn before eating.
FAQs
Common Questions
Can I use natural peanut butter?
Yes, you can use natural peanut butter in this recipe. Natural peanut butter adds a nice flavor. Keep in mind that it may have a different texture. Stir it well before using to mix in the oil.
Can I make these in advance?
Absolutely! You can make these brownie bars a day ahead. Cool them completely and store them in an airtight container. They taste even better after a day in the fridge!
How do I know when the brownies are done?
To check if the brownies are done, use a toothpick. Insert it into the center. If it comes out with a few moist crumbs, they’re ready. If it comes out wet, bake for a few more minutes.
Can I substitute ingredients in the recipe?
Yes, you can substitute ingredients! For example, you could use dark brown sugar instead of light brown sugar. You could also swap the mini peanut butter cups for chocolate chips if you prefer. Just keep the main components the same for best results.
This recipe for peanut butter brownies covers everything you need. We explored the ingredients, step-by-step instructions, and helpful tips for baking success. You learned about fun variations and how to store your brownies for freshness.
These brownies are easy to make and delicious. With practice, you can enjoy tasty treats any time. Experiment with flavors and share with friends. Your baking journey can create sweet memories.