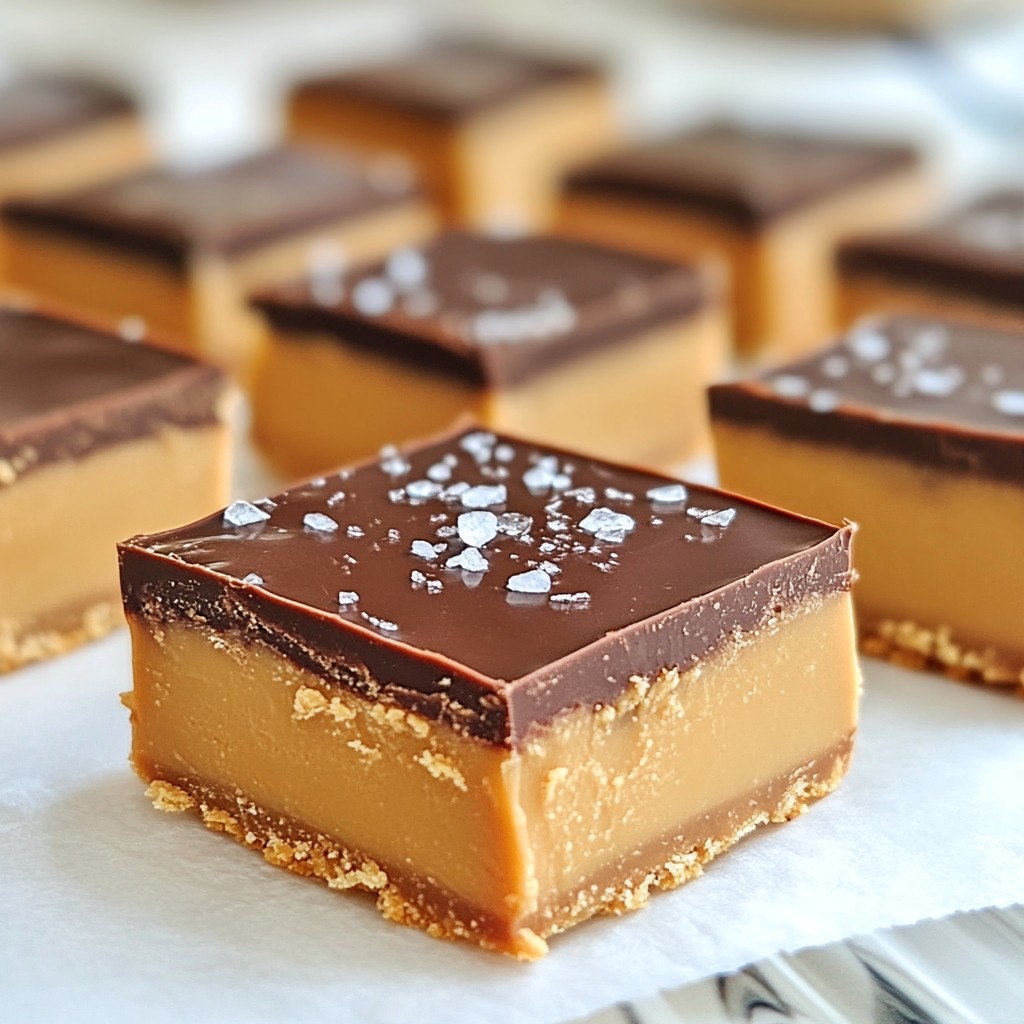
If you love sweet treats, you’re in for a real treat! This Peanut Butter Chocolate Fudge recipe combines rich chocolate with creamy peanut butter for a tasty dessert. It's easy to make, and you likely have most ingredients at home. In this post, I’ll guide you through every step, from prep to perfect fudge. Grab your supplies, and let’s make this irresistible dessert together!
Why I Love This Recipe
- Simple to Make: This recipe requires minimal ingredients and just a few easy steps, making it perfect for even novice bakers.
- Decadent Flavor: The combination of rich chocolate and creamy peanut butter creates an indulgent treat that satisfies any sweet tooth.
- Customizable: You can easily add your favorite nuts or toppings, allowing for a personal touch that caters to your taste.
- Great for Sharing: This recipe makes a generous batch, making it ideal for parties, potlucks, or simply sharing with friends and family.
Ingredients
List of Required Ingredients
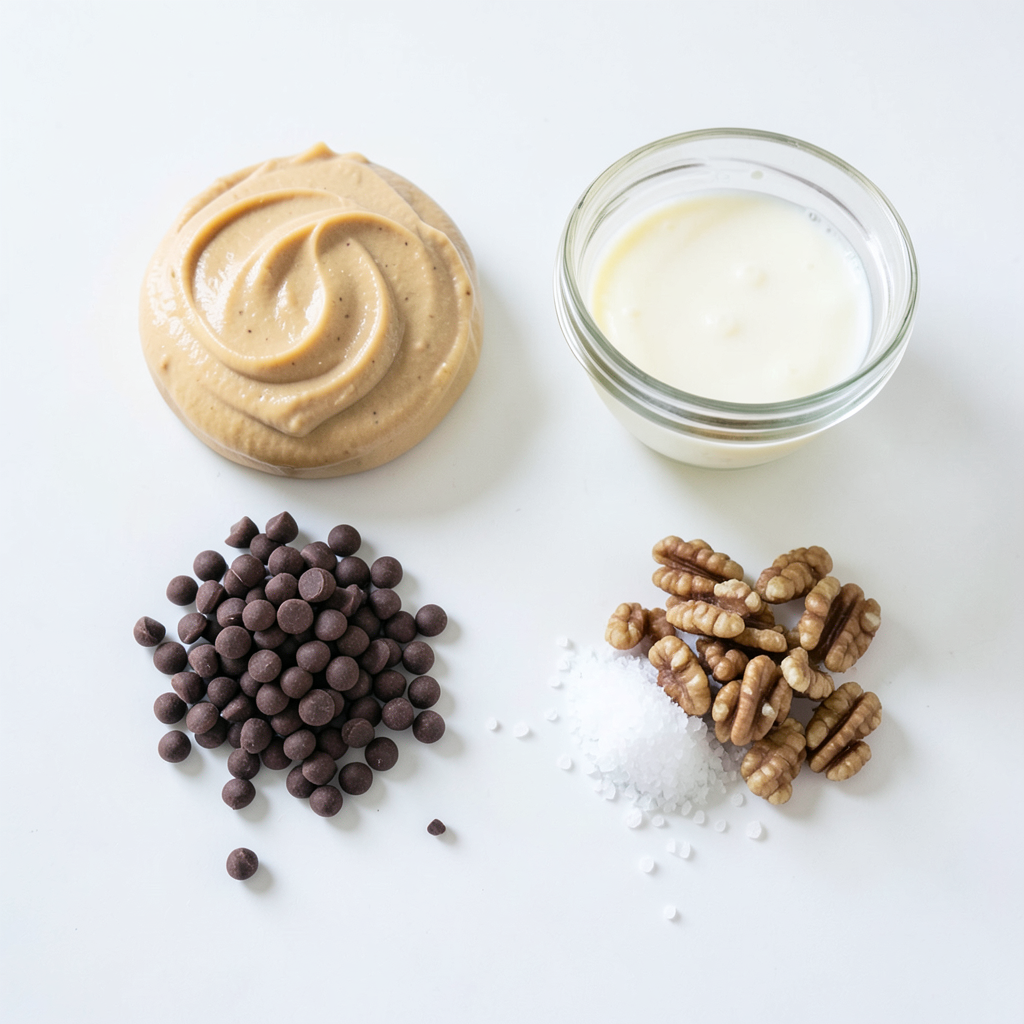
To make this tasty peanut butter chocolate fudge, you need the following:
- 1 cup creamy peanut butter
- 1 cup semi-sweet chocolate chips
- 1/2 cup sweetened condensed milk
- 1 teaspoon vanilla extract
- 1/4 teaspoon salt
These ingredients mix well to create a smooth and rich treat.
Ingredient Substitutions
If you need to swap out some items, here are my suggestions:
- Use crunchy peanut butter instead of creamy for added texture.
- Try dark chocolate chips if you prefer a richer taste.
- Use coconut milk for a dairy-free version, but it may change the texture slightly.
These swaps keep the fudge delicious while fitting your needs.
Optional Add-Ins
You can also add extra ingredients to make the fudge your own:
- 1/4 cup chopped nuts like walnuts or peanuts for crunch.
- Sea salt flakes to sprinkle on top for a salty contrast.
- Mini marshmallows for a fun and chewy twist.
These add-ins can make your fudge even more exciting and unique!
Step-by-Step Instructions
Preparation of the Baking Dish
Start by getting your 8x8-inch baking dish. Line it with parchment paper. Make sure to leave some paper hanging over the edges. This helps when you want to lift the fudge out later. Lightly grease the paper with cooking spray or a little oil. This step keeps the fudge from sticking.
Melting the Chocolate Mixture
Next, take a microwave-safe bowl. Add the semi-sweet chocolate chips and sweetened condensed milk to it. Microwave this mix in 30-second bursts. Stir it after each burst until the chocolate is smooth and melted. This will take about 1 to 2 minutes. Be careful not to overheat it.
Combining Ingredients for Fudge
Once the chocolate is melted, take it out of the microwave. Now, stir in your creamy peanut butter, vanilla extract, and salt. Mix everything until it looks silky and well combined. If you want a crunch, fold in the optional chopped nuts now. This adds a great texture to the fudge.
Chilling and Cutting the Fudge
Pour the chocolate-peanut butter mix into your prepared baking dish. Use a spatula to spread it evenly in all corners. Now, refrigerate the fudge for at least 2 hours. This helps it firm up so you can cut it easily. When it’s set, lift it out by the parchment paper. Cut it into squares or rectangles. For a fancy touch, sprinkle some sea salt flakes on top before you serve.
Tips & Tricks
Perfecting Texture
To get the best texture, use creamy peanut butter. It mixes well and keeps it smooth. Semi-sweet chocolate chips melt nicely, making the fudge rich. Stir the mixture until it is completely smooth. If you want a crunch, fold in chopped nuts like walnuts or peanuts. This gives a nice bite to the soft fudge.
Serving Suggestions
For serving, cut the fudge into small squares. This makes it easy to share. You can add sea salt flakes on top for a salty touch. It pairs well with coffee or milk. Place the fudge in a cute box to gift it. Your friends will love it!
Avoiding Common Mistakes
One common mistake is not melting the chocolate enough. Always microwave in short bursts. This helps avoid burning. Also, don’t skip chilling the fudge. It needs time to set properly. Lastly, use a sharp knife to cut. A dull knife can ruin the edges and make it messy. Following these tips will help your fudge turn out perfect every time!
Pro Tips
- Use Room Temperature Ingredients: Make sure your peanut butter is at room temperature for easier mixing and a smoother texture in your fudge.
- Quality Chocolate Matters: Choose high-quality semi-sweet chocolate chips for a richer flavor. It makes a significant difference in the final taste of the fudge.
- Cutting Tips: Use a sharp knife and wipe it clean between cuts for neat, clean squares. This helps maintain the fudge's beautiful appearance.
- Storage Advice: Store the fudge in an airtight container in the refrigerator to keep it fresh and firm for up to two weeks.
Variations
Different Nut Options
You can switch up the nuts in your fudge. Walnuts and peanuts add crunch. Almonds or pecans also work great. If you want a smoother texture, skip the nuts. You can also mix in different nuts for fun. This keeps each bite exciting and unique.
Flavor Additions
Adding flavors makes your fudge special. Try mint extract for a fresh twist. A little bit of coconut can give a tropical feel. You can also mix in a bit of coffee powder for a rich taste. Each addition changes the fudge's taste, so be creative!
Vegan or Dairy-Free Versions
You can easily make this fudge vegan. Use coconut milk instead of sweetened condensed milk. For chocolate chips, look for dairy-free options. This way, everyone can enjoy the fudge. It’s still rich and creamy without dairy, making it a great choice for all diets.
Storage Info
How to Store the Fudge
To keep your fudge fresh, store it in an airtight container. Place parchment paper between layers to prevent sticking. This keeps your fudge soft and tasty. Store it in a cool, dry place, away from heat. The pantry works well for this.
Freezing Instructions
You can freeze the fudge if you want to save some for later. First, cut the fudge into squares. Then, wrap each piece in plastic wrap. Place the wrapped fudge in a freezer bag or container. Label it with the date. It will stay fresh for up to three months in the freezer.
Shelf Life of Homemade Fudge
Homemade fudge lasts about one week at room temperature. If stored in the fridge, it can last up to two weeks. Always check for signs of spoilage, like changes in smell or texture. When in doubt, toss it out.
FAQs
Can I use natural peanut butter?
Yes, you can use natural peanut butter. It will change the texture a bit. Natural peanut butter has oil on top. Stir it well before use. The fudge may be less smooth but still tasty.
How long does it take for the fudge to set?
The fudge takes about 2 hours to set in the fridge. This time helps it firm up. For best results, let it chill undisturbed. After it sets, cut it into squares.
Is fudge gluten-free?
Yes, this fudge is gluten-free. All the ingredients are safe for gluten-free diets. Just check the labels on your items. Make sure your chocolate chips are also gluten-free.
Can I add other flavors to the fudge?
Absolutely! You can mix in flavors you love. Try adding mint extract or even coconut. Just keep the same base ingredients. This allows for fun twists on the fudge.
This post covers how to make fudge from start to finish. You learned about key ingredients, easy steps, and common mistakes to avoid. I shared tips for texture and serving ideas to make your fudge special. You can also try fun variations for taste and modify recipes for special diets.
Homemade fudge is simple and fun. With the right care, your fudge will impress everyone! Enjoy making and sharing your delicious treats.