
Latest & Greatest

Creamy Garlic Chicken and Parmesan Pasta Delight Meal
Are you ready to elevate your dinner game? This Creamy Garlic Chicken and Parmesan Pasta Delight is the perfect dish
Read more…
Satisfying Chicken Parmesan Pillows Easy Recipe Guide
If you love comfort food, you’ll adore these Chicken Parmesan Pillows! This easy recipe combines tender chicken, creamy cheese, and
Read more…
Red Velvet Cinnamon Rolls Delightfully Sweet Recipe
Get ready to treat your taste buds! This Red Velvet Cinnamon Rolls recipe is pure delight. Imagine lush, soft rolls
Read more…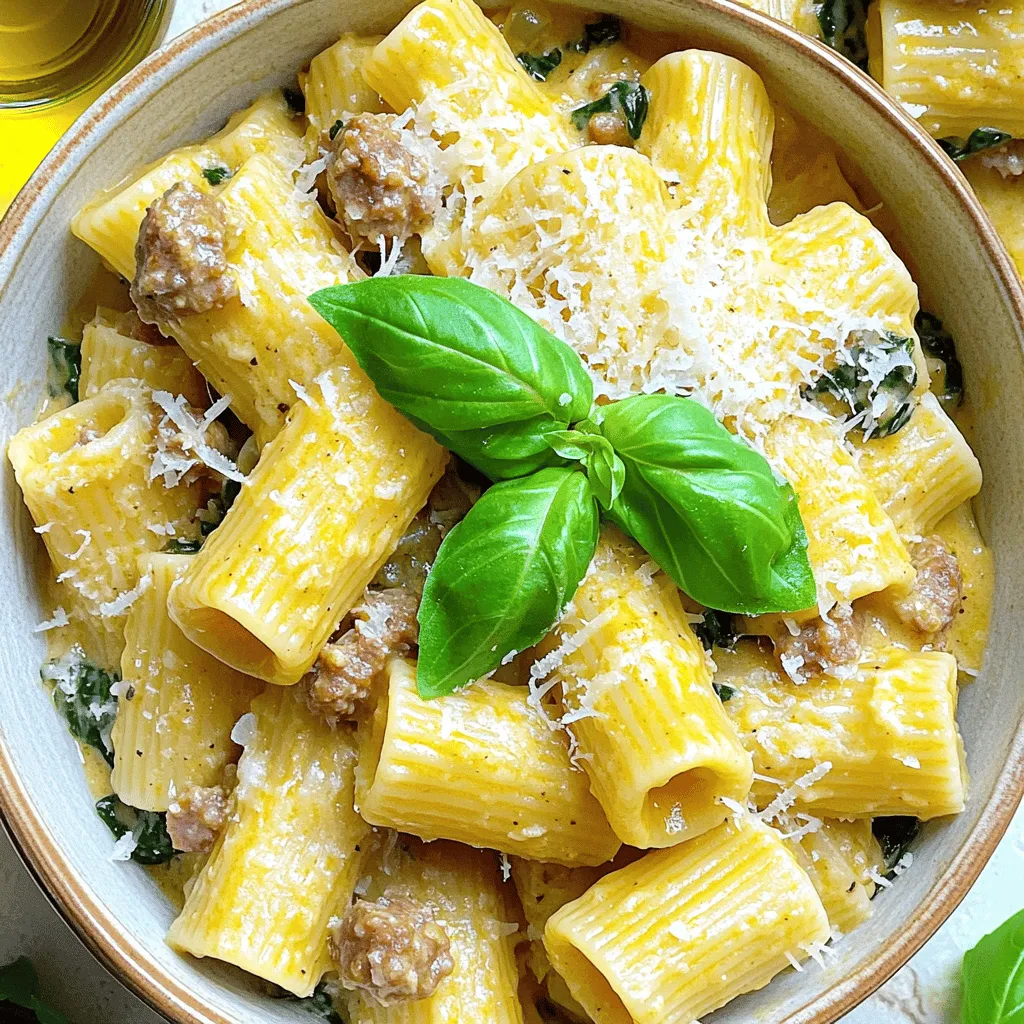
Creamy Sausage Rigatoni Flavors That Delight Every Bite
Get ready to delight your taste buds with Creamy Sausage Rigatoni! This dish combines rich flavors and hearty ingredients for
Read more…
Lemon Tea Fried Chicken Bold and Flavorful Meal
If you’re looking to spice up dinner, try my Lemon Tea Fried Chicken! This dish combines juicy chicken thighs with
Read more…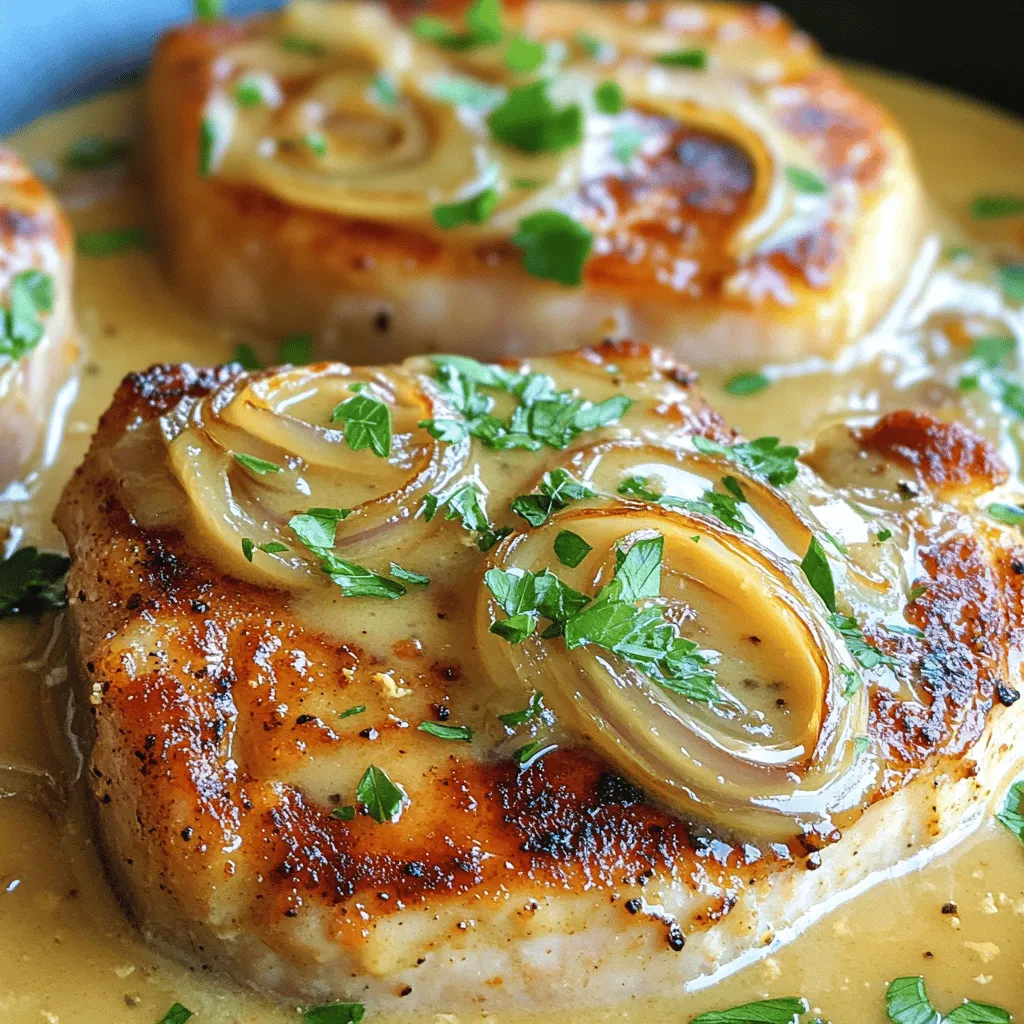
Irresistible Smothered Boneless Pork Chops Recipe
Get ready to elevate your dinner game with my Irresistible Smothered Boneless Pork Chops. This easy recipe is packed with
Read more…
Crispy Creamy Chicken Cordon Bleu Simple Delight
You deserve a meal that impresses and delights, and Crispy Creamy Chicken Cordon Bleu is just that! With juicy chicken,
Read more…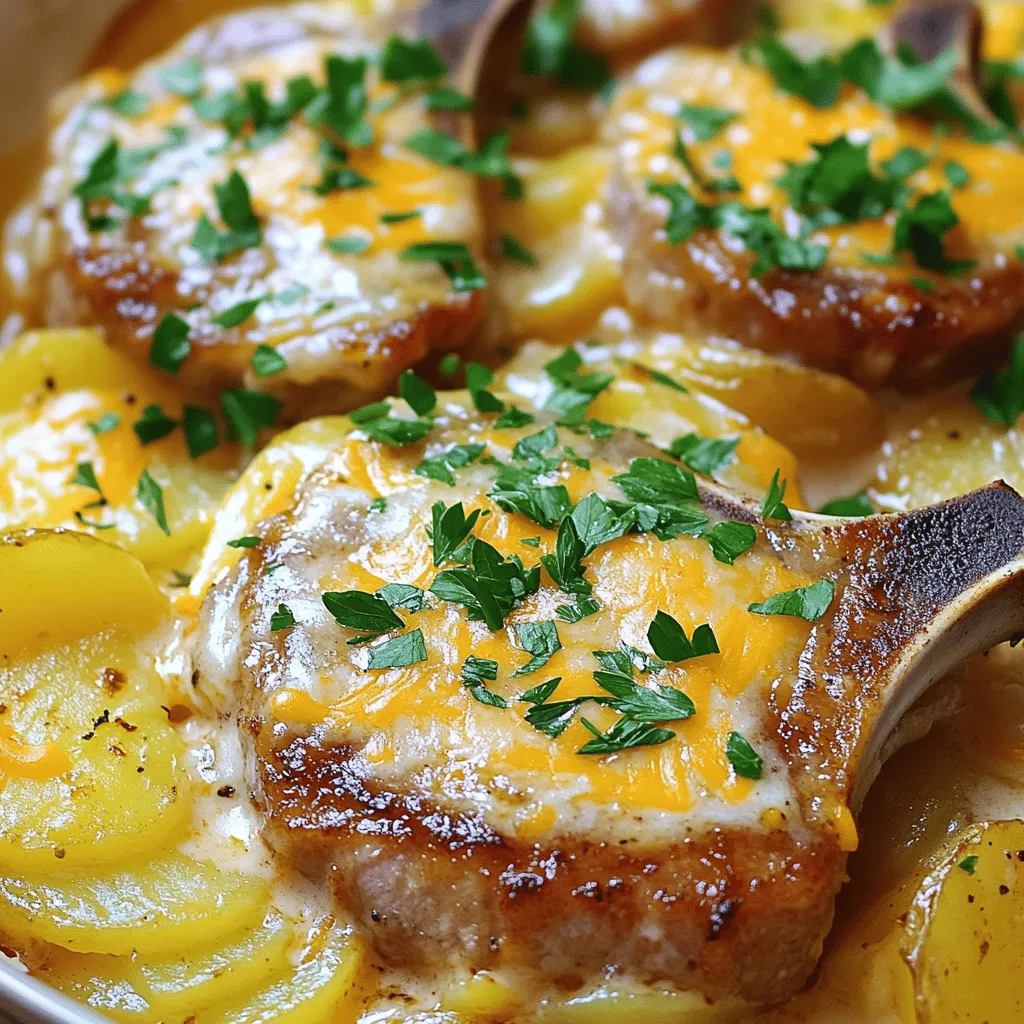
Smothered Pork Chop and Scalloped Potato Casserole Delight
Looking for a comforting meal that warms your heart and fills your belly? This Smothered Pork Chop and Scalloped Potato
Read more…browse recipes


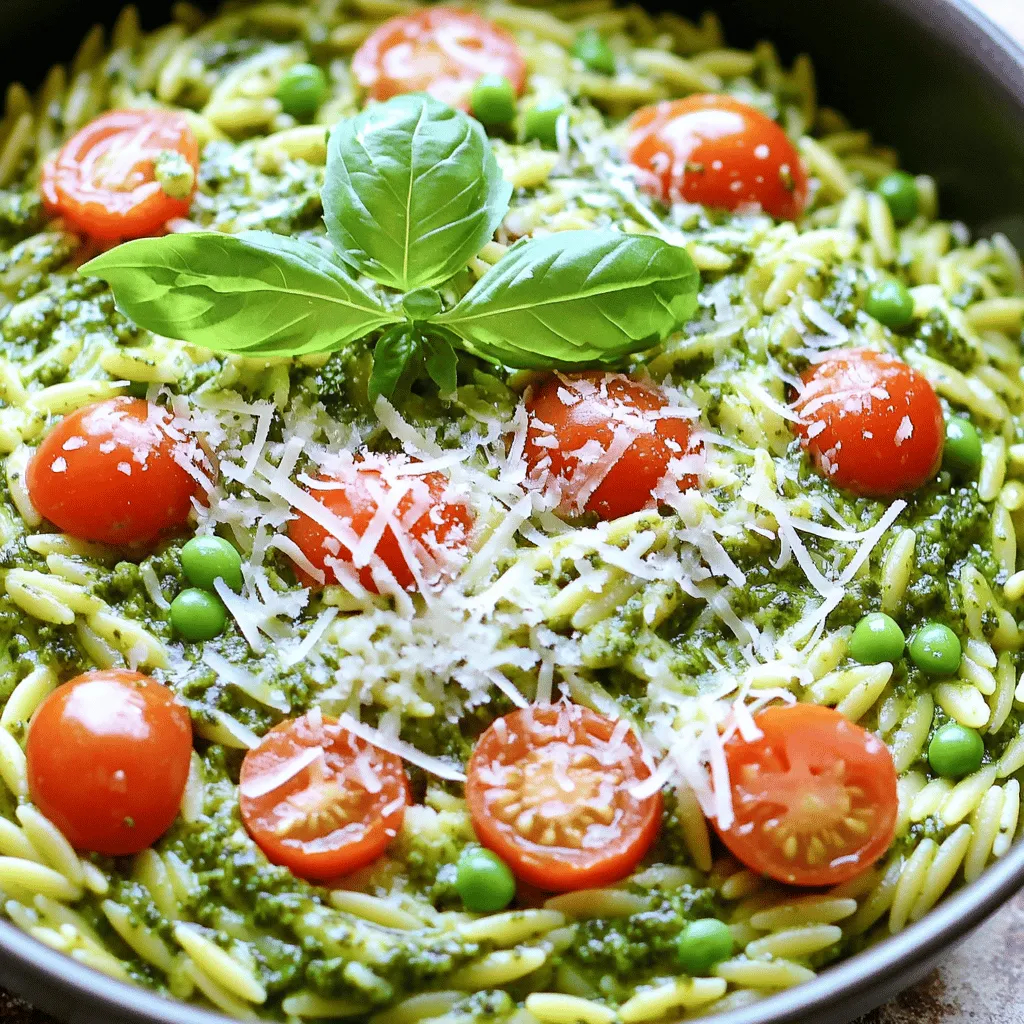
One-Pot Creamy Pesto Orzo Delightful and Simple Dish
Looking for a quick and tasty dinner? This One-Pot Creamy Pesto Orzo is your answer! In just a few simple steps, you can whip…
My Latest Desserts
My Latest Recipes

hey,
i’m !
I’m so happy you’re here!
Cooking is my love language, and I’m excited to share my best dishes with you. Hope they become your favorites too! Let’s enjoy every bite of this journey together.

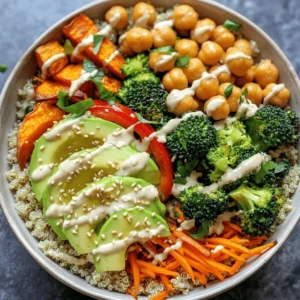
![- 2 medium sweet potatoes, peeled and diced - 1 bell pepper (red or yellow), chopped - 1 small red onion, diced - 2 cloves garlic, minced - 4 large eggs Sweet potatoes are the star here. They add a sweet and creamy taste. Eggs bring protein and richness, making this dish filling. The bell pepper adds crunch and color. Red onion gives a nice bite. Garlic adds a lovely aroma and taste. - 1 teaspoon smoked paprika - 1/2 teaspoon cumin - Salt and pepper to taste Smoked paprika gives a smoky flavor. Cumin adds warmth and depth. Salt and pepper enhance all the flavors. These spices make the dish lively and fun. - 2 tablespoons olive oil - Fresh parsley, chopped (for garnish) Olive oil helps cook the veggies perfectly. Fresh parsley adds a bright touch on top. It looks nice and tastes fresh. For the full recipe, check out the [Full Recipe]. 1. Peeling and dicing sweet potatoes: Start by peeling the sweet potatoes. Use a sharp peeler for ease. After peeling, cut them into small cubes. Aim for about half an inch in size. This helps them cook evenly. 2. Chopping vegetables: Next, chop the bell pepper and red onion. You can use any color bell pepper. Dice the onion finely. This adds more flavor to the hash. Mince the garlic cloves, too. Garlic gives a nice aroma when cooked. 1. Sautéing sweet potatoes: Heat two tablespoons of olive oil in a large skillet over medium heat. Add the diced sweet potatoes. Season them with salt, pepper, smoked paprika, and cumin. Cook for about 10-15 minutes. Stir occasionally to avoid burning. Wait until they soften and turn golden. 2. Adding vegetables: Once the sweet potatoes are ready, add the chopped bell pepper, diced onion, and minced garlic. Stir everything together. Cook for 5-7 more minutes. The vegetables should be tender and fragrant. 3. Cooking eggs in the hash: Now it’s time for the eggs! Make four small wells in the hash mixture. Crack an egg into each well. Cover the skillet with a lid. Cook for 5-8 minutes. You want the egg whites to set but keep the yolks runny. Adjust the time to your liking. - Recommended dishes to pair with: This dish goes great with a side of avocado or fresh fruit. You can also serve it with toast for a complete meal. - Presentation tips: For a beautiful finish, sprinkle fresh parsley on top. Use a colorful plate to make it pop. Serve hot for the best taste. Check out the Full Recipe for more details! To get the best sweet potatoes, start by peeling and dicing them into small cubes. This helps them cook evenly. Heat olive oil in a skillet over medium heat. Add the sweet potatoes and season them with salt, pepper, smoked paprika, and cumin. Cook for about 10 to 15 minutes. Stir often until they soften and turn golden. For eggs, create small wells in the sweet potato mix. Crack an egg into each well. Cover the skillet with a lid. Cook for 5 to 8 minutes. This lets the egg whites set while keeping the yolks runny. If you like your eggs firmer, cook them a little longer. To boost flavor, try adding a pinch of cayenne pepper or red pepper flakes for heat. You can also sprinkle some cinnamon for a hint of sweetness. Fresh herbs like thyme or cilantro can brighten the dish. Don’t hesitate to mix in a splash of hot sauce before serving for extra zing. Prep your ingredients ahead of time to make cooking easier. Peel and dice the sweet potatoes the night before. Store them in water to keep them fresh. You can also chop your bell pepper, onion, and garlic in advance. If you have leftover sweet potatoes from another meal, use them in this hash. Just cut them into cubes and add them to the skillet. This saves time and reduces waste. For the full recipe, check the earlier section. {{image_2}} You can change up your sweet potato hash easily. If you want, try other potatoes. Yukon gold or red potatoes work well too. They give a nice taste and texture. For a vegan option, you can swap eggs for tofu or chickpea flour. Silken tofu scrambles well and adds protein. Chickpea flour mixed with water creates a great egg-like texture. Making sweet potato hash ahead of time is simple. Cook the hash as per the Full Recipe. Once done, let it cool. Store it in an airtight container in the fridge for up to four days. To freeze, let the hash cool completely. Place it in a freezer-safe bag or container. It lasts about three months. When ready to enjoy, thaw in the fridge overnight. Reheat in a skillet over medium heat, stirring until warm. You can also add a splash of water to steam it a bit. If you need gluten-free options, this dish is naturally gluten-free. Just check your spices and oils to ensure they are also gluten-free. For low-carb options, you can cut down on the sweet potatoes. Use cauliflower instead. Cauliflower gives a similar texture without the carbs, making it a great swap. To store leftovers, let the sweet potato hash cool down. Then, place it in an airtight container. This keeps it fresh and tasty. The recommended shelf life is about 3 to 4 days. Make sure to label the container with the date so you know when it was made. You can freeze cooked sweet potato hash if you want to save it for later. First, let it cool completely. Then, pack it into freezer-safe bags or containers. Be sure to remove as much air as possible to avoid freezer burn. For thawing, simply move it to the fridge overnight. This helps keep the texture nice. To reheat without losing flavor, I recommend using the stovetop. Heat a skillet over low heat and add a splash of olive oil. Stir the hash gently as it warms up to keep it moist. If you prefer the microwave, use a microwave-safe dish and cover it. Heat in short bursts, stirring in between, until hot. This way, you maintain the delicious taste of your sweet potato hash. You can add jalapeños or hot sauce to your hash for a kick. Chop one or two jalapeños and mix them in with the sweet potatoes. If you prefer, drizzle hot sauce over your dish before serving. This will bring heat and flavor to your breakfast. Absolutely! You can add many vegetables to your hash. Try spinach, zucchini, or mushrooms for more texture and taste. Just chop them up and add them in when you add the bell pepper and onion. This lets them cook through while keeping their flavor. A serving of Sweet Potato Hash with Eggs offers great nutrients. It has about 250 calories, 10 grams of protein, and 8 grams of fiber. The sweet potatoes provide vitamins A and C, while the eggs add healthy fats and protein. This makes it a balanced breakfast option. To change the servings, simply adjust the number of sweet potatoes and eggs. For more servings, double the ingredients. For fewer, cut them in half. Keep the cooking times the same, but watch the eggs closely. Make sure they are cooked to your liking. This blog post covered making a tasty sweet potato hash with eggs. You learned about key ingredients like sweet potatoes, eggs, and spices. I shared easy steps for preparing and cooking the dish. You also got tips on enhancing flavors and storing leftovers. In the end, sweet potato hash is great for meals at any time. With so many ways to customize it, think of it as your blank canvas. Enjoy experimenting with flavors to make it your own!](https://recipespursuit.com/wp-content/uploads/2025/05/1b9af647-403b-4b49-9c5d-513282cc87df-300x300.webp)


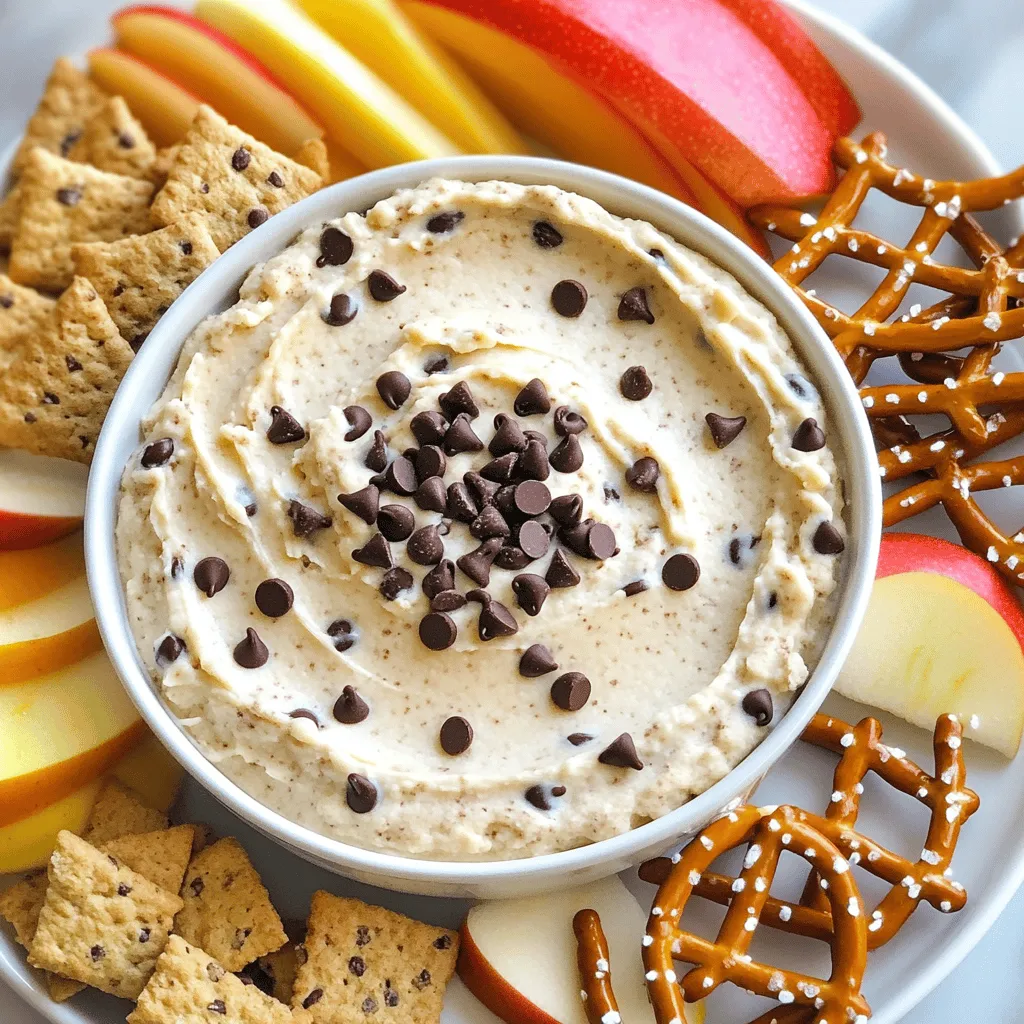
Chocolate Chip Cookie Dough Dip Tasty and Simple Treat
If you love cookie dough, you’re in for a treat! This Chocolate Chip Cookie Dough Dip is a quick and easy snack that’s perfect…