Latest & Greatest

Chickpea and Spinach Stew Hearty and Nutritious Meal
Looking for a warm, hearty meal that’s also packed with nutrients? You’ll love this Chickpea and Spinach Stew! With its
Read more…
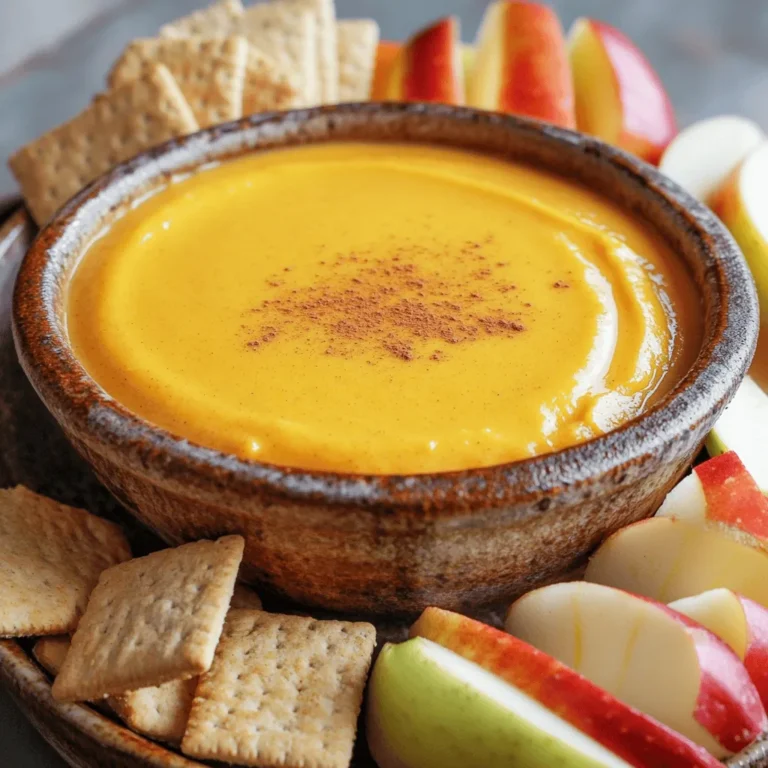
Pumpkin Spice Latte Cupcakes Delightful Fall Treat
Fall is here, and it’s time to indulge in a cozy treat: Pumpkin Spice Latte Cupcakes! Imagine the warm, spicy
Read more…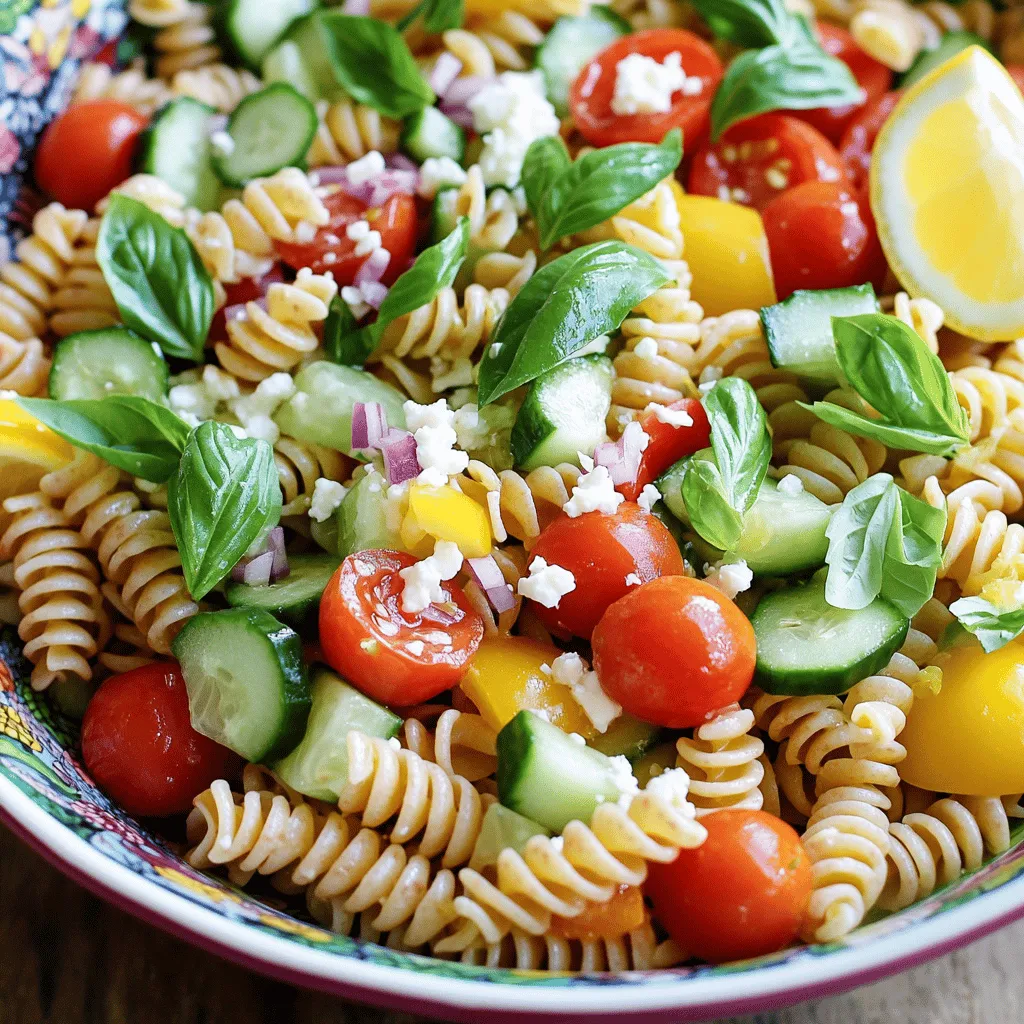
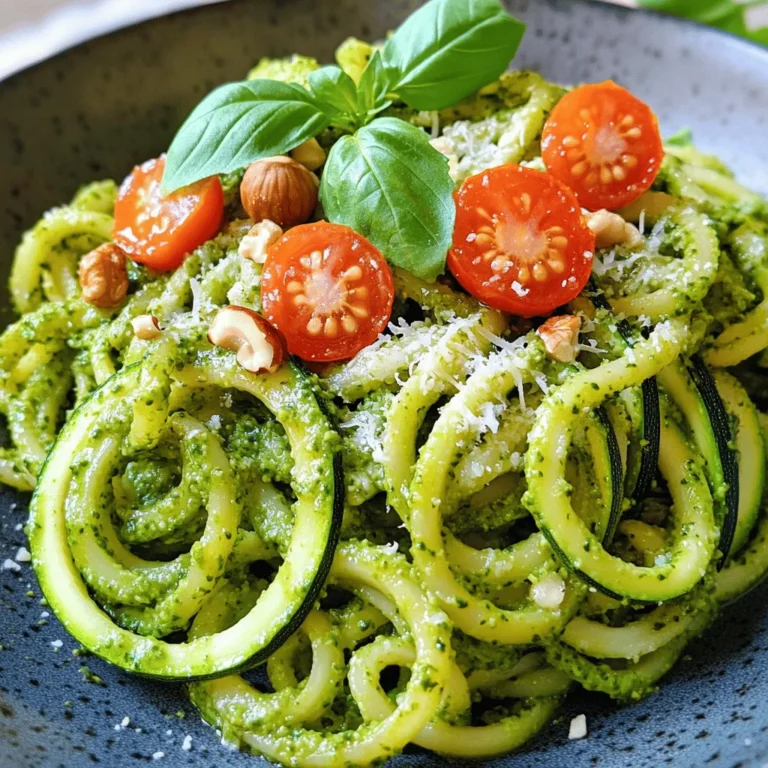
Lemon Basil Pasta Salad: Fresh and Flavorful Dish
Looking for a fresh and flavorful dish that’s easy to make? My Lemon Basil Pasta Salad hits the spot! This
Read more…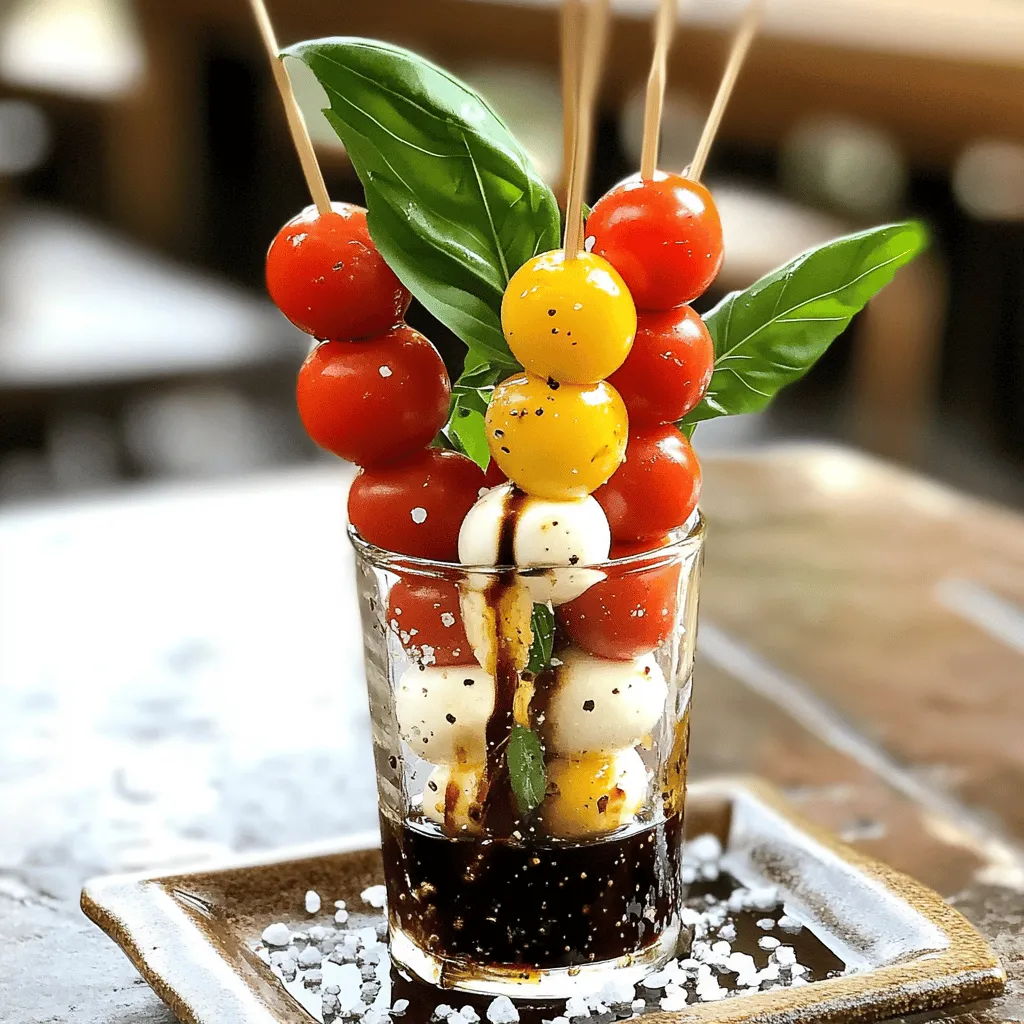
Mini Caprese Skewers: Easy Appetizer Delight
Looking for a tasty and easy appetizer to impress your guests? Mini Caprese Skewers are your answer! With just a
Read more…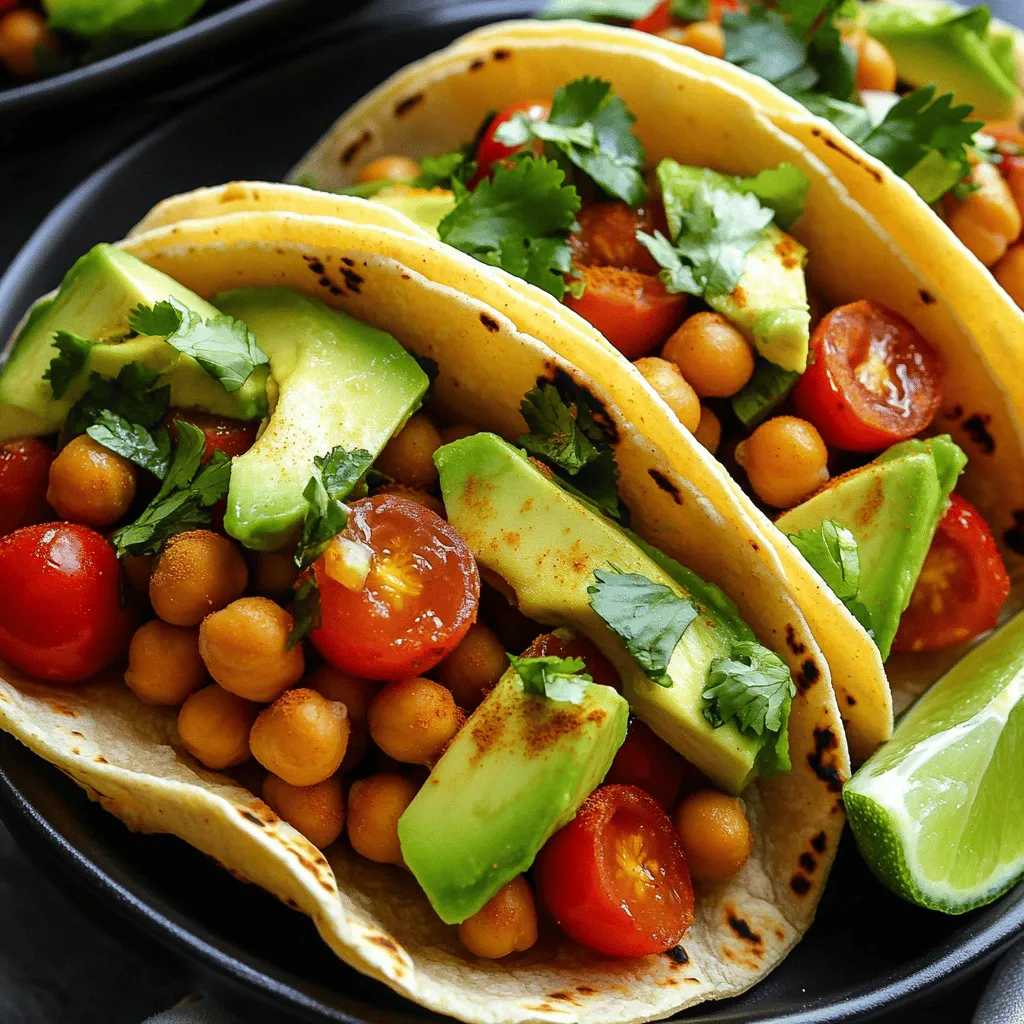
Spicy Chickpea Tacos Quick Dinner Delight
Looking for a quick and tasty dinner? Try my Spicy Chickpea Tacos! These delicious tacos are packed with flavor, easy
Read more…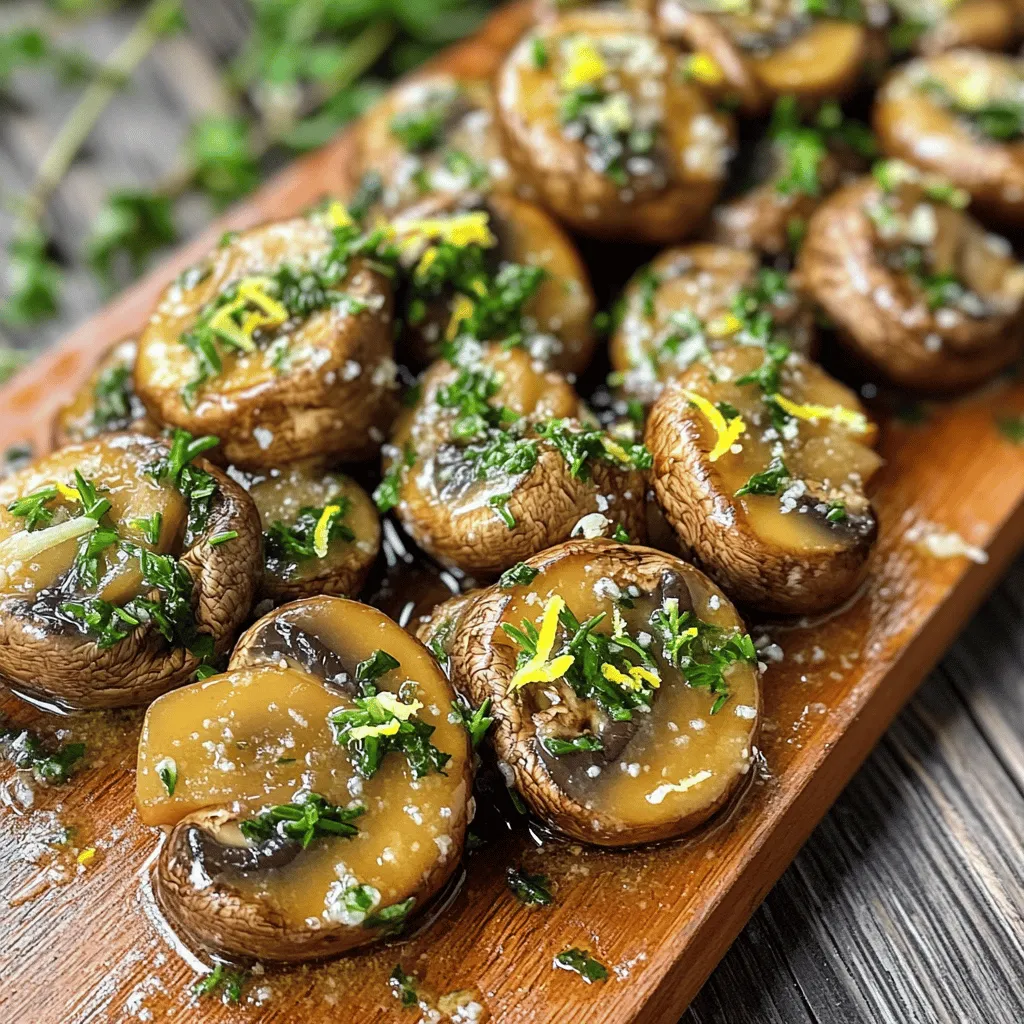
Herbed Garlic Butter Mushrooms Savory and Flavorful Dish
Are you in search of a tasty side dish that packs a punch? Look no further! Herbed garlic butter mushrooms
Read more…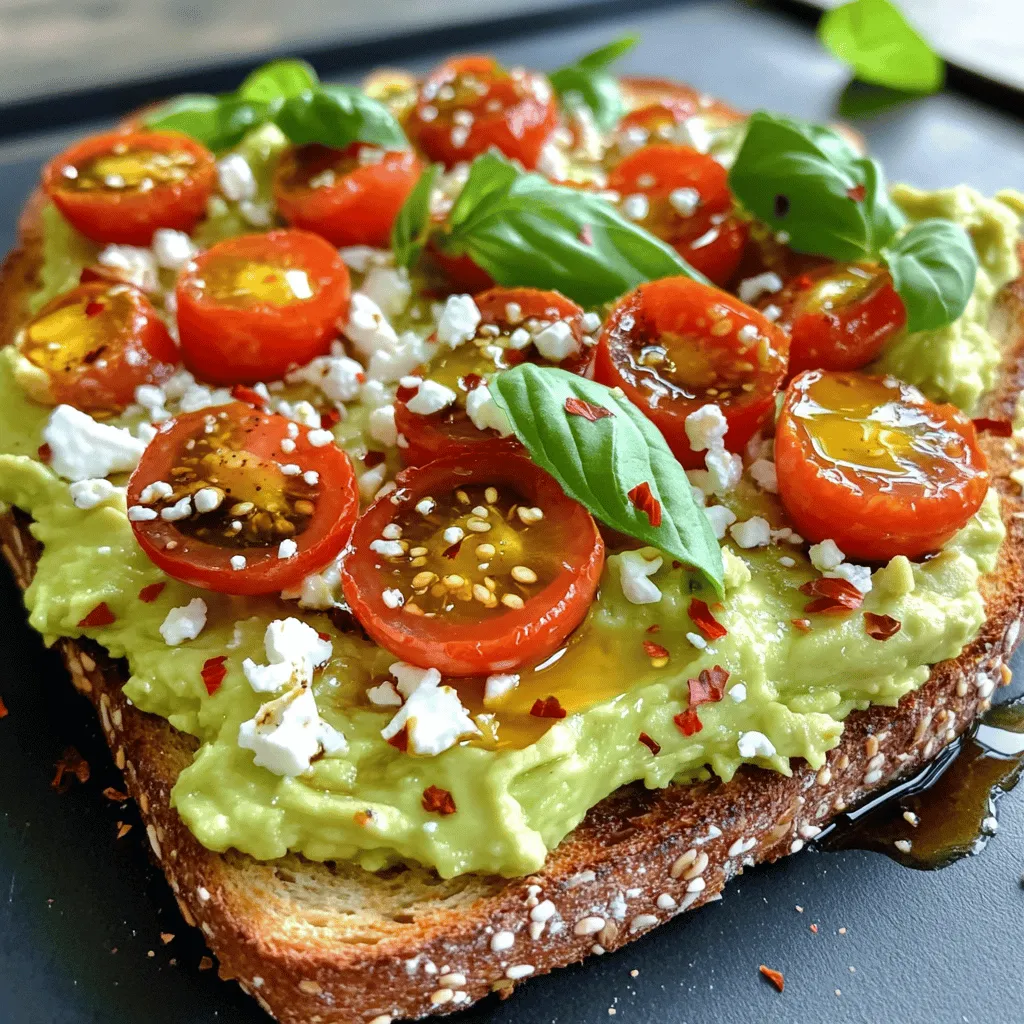
Savory Avocado Toast with Feta and Tomatoes Delight
Get ready to elevate your breakfast game with my Savory Avocado Toast with Feta and Tomatoes Delight! This tasty treat
Read more…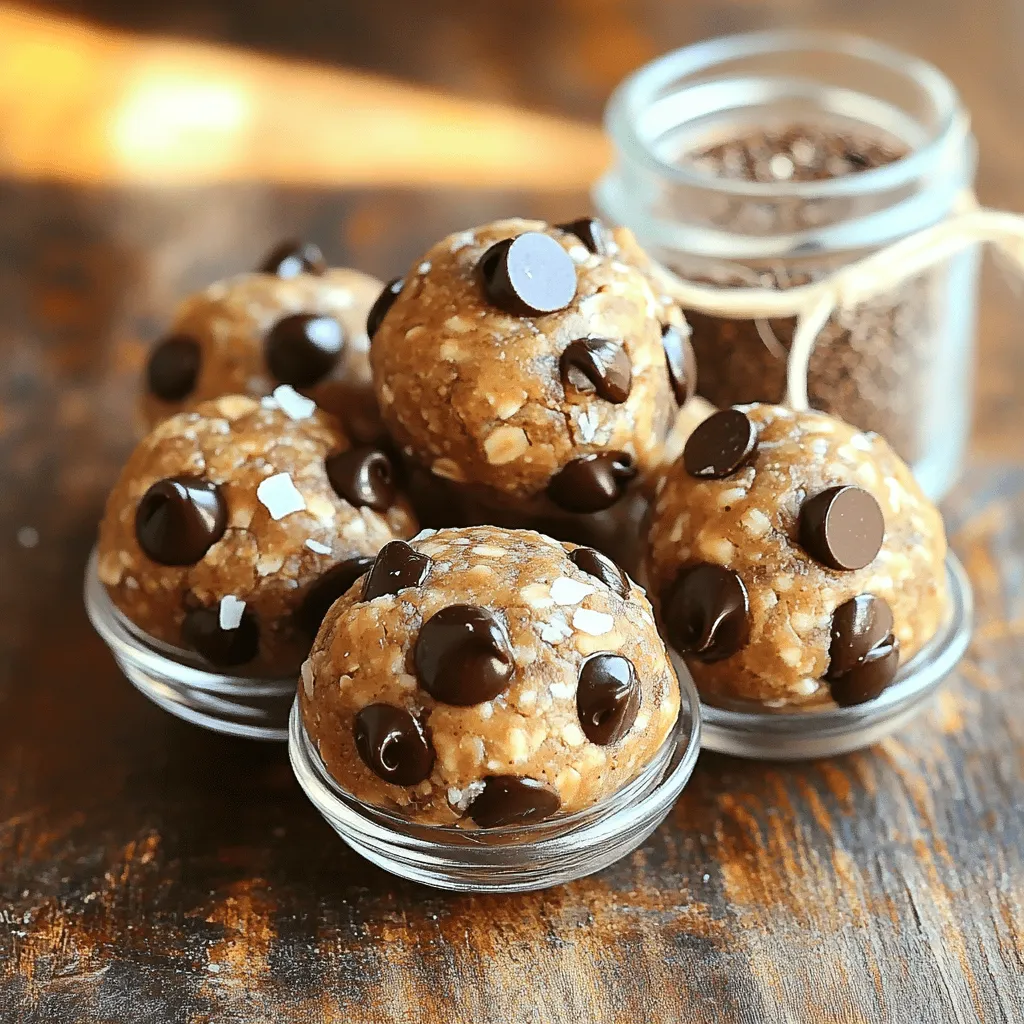
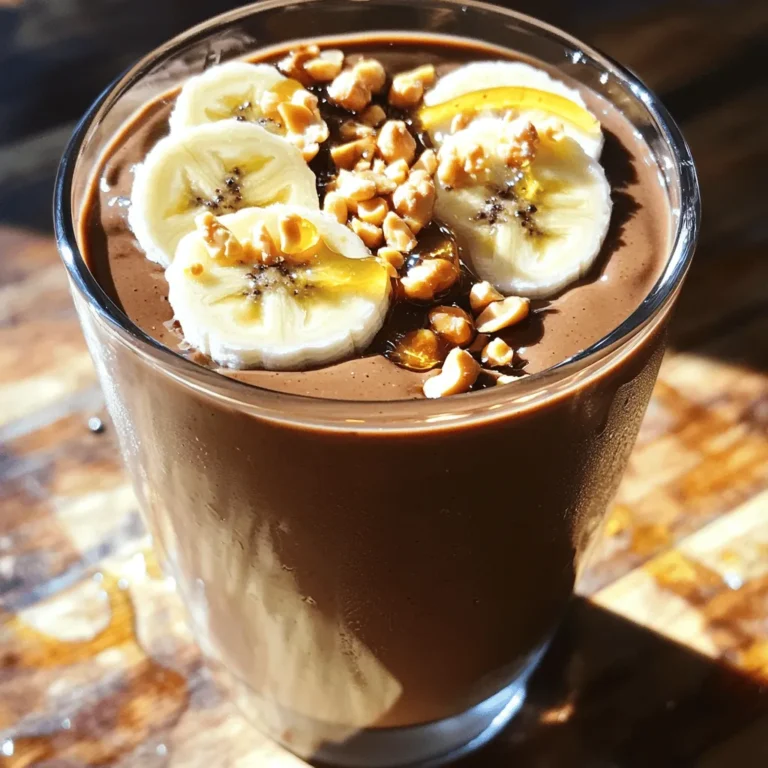
Peanut Butter Chocolate Chip Energy Bites Easy Recipe
Looking for a quick snack that’s both tasty and healthy? My Peanut Butter Chocolate Chip Energy Bites are just what
Read more…browse recipes


. - Preheat your oven to 375°F (190°C). - Cut the tops off the bell peppers and remove seeds and membranes. Place them upright in a baking dish. - Combine rinsed quinoa and vegetable broth in a saucepan. - Bring to a boil, then reduce heat and simmer until liquid is absorbed. This takes about 15 minutes. - Sauté chopped onion and minced garlic until softened, around 3-4 minutes. - Add black beans, corn, diced tomatoes, cumin, smoked paprika, chili powder, salt, and pepper to the skillet. Cook for another 5-6 minutes. - Mix the cooked quinoa with the filling ingredients. - Spoon the mixture into each pepper and top with shredded cheese. - Add a splash of water to the baking dish, cover with foil, and bake for 25-30 minutes. - Remove the foil and bake for an additional 5-7 minutes to brown the cheese. You can find the full recipe above. Enjoy the burst of flavors in each bite! To get the best quinoa, rinse it well. This step removes bitterness. After rinsing, cook it in vegetable broth for added flavor. Allow the cooked quinoa to cool a bit before mixing it with other ingredients. This keeps the filling fluffy and prevents sogginess. You can boost the taste of your stuffed peppers. Try adding spices like oregano or a pinch of cayenne pepper. These spices add warmth and depth. For a bright twist, squeeze some lime juice into the filling. This gives a fresh zest that enhances the dish. How you serve your stuffed peppers matters. I love to serve them with avocado or a crisp salad. This adds creaminess and freshness. Use colorful bell peppers for your dish. The mix of red, yellow, and green makes it eye-catching and fun. This vibrant look will impress your family and friends. {{image_2}} You can change up the protein in your stuffed peppers. One easy swap is to use brown rice or couscous instead of quinoa. Both add a hearty base. You can also add cooked ground turkey or chicken for extra protein. Lentils work well, too, if you prefer a plant-based option. Each choice brings a unique flavor and texture. If you want a vegan dish, just skip the cheese. You can also use a dairy-free cheese if you like. Adding more veggies boosts the flavor and nutrition. Try zucchini or fresh spinach for a colorful twist. These additions make the dish even more satisfying and healthy. Adjust the serving size to fit your needs. If you have a big crowd, simply scale the recipe up. You can also use mini bell peppers. These make great appetizers or snacks. They are fun to eat and perfect for parties. Each bite is packed with flavor, and they look cute on a platter. For the full recipe, check out the previous section. Store leftover stuffed peppers in an airtight container in the fridge. They can be kept for up to 3-4 days. This way, you can enjoy them again without losing flavor or texture. Just make sure the lid is on tight to keep them fresh! Freeze unbaked stuffed peppers for easy meal prep. This method makes cooking simple on busy days. You can also freeze fully cooked peppers, but they may have a softer texture when you reheat them. If you want to enjoy them later, just wrap them well before placing them in the freezer. Reheat in the oven at 350°F (175°C) until warmed through. This helps maintain the peppers' shape and flavor. For quick meals, microwave individual servings for about 1-2 minutes. Just keep an eye on them to avoid overheating. Enjoy your stuffed peppers fresh and warm! For the full recipe, check out the details above. Stuffed bell peppers typically take 25-30 minutes to cook. If you want the cheese to brown, add a few more minutes. Yes, you can prep stuffed peppers ahead of time. Just bake them right before serving for best taste. If you want a cheesy taste without dairy, use nutritional yeast. You can also skip cheese for a vegan dish. Absolutely! Stuffed bell peppers are full of protein, fiber, and nutrients. They make a great meal choice for health. Yes, feel free to swap bell peppers for poblano or jalapeño. Each type adds its own unique flavor. Stuffed bell peppers are a fun, healthy dish. We covered key ingredients, cooking steps, and tasty variations. Quinoa adds protein, while beans and veggies boost flavor. Feel free to customize with spices and protein choices that you enjoy. Don't forget to garnish for a colorful finish! With simple storage tips, these can easily become meal prep favorites. Enjoy making these tasty peppers your own!](https://recipespursuit.com/wp-content/uploads/2025/05/97a8304f-845b-4dd6-96ac-e182a1b4cbf4.webp)
Stuffed Bell Peppers with Quinoa Flavorful and Healthy
Are you looking for a tasty and healthy dish? Stuffed bell peppers with quinoa might be just what you need! This meal is colorful,…
My Latest Desserts
My Latest Recipes

hey,
i’m !
I’m so happy you’re here!
Cooking is my love language, and I’m excited to share my best dishes with you. Hope they become your favorites too! Let’s enjoy every bite of this journey together.

. For a great grilled corn salad, always pick fresh corn. Look for ears with bright green husks. The silk should be golden and slightly sticky. Press your thumb on a kernel; it should feel firm and juicy. Sweet corn is the best choice for flavor and texture. If you can, buy it the same day you plan to grill it. Fresh corn makes a big difference in taste. To boost the flavor of your salad, try roasting the peppers and onion. This adds a nice smoky taste. You can also add spices like cumin or smoked paprika for depth. A touch of honey in the dressing can balance the lime juice's tartness. Experiment with herbs like basil or parsley for a fresh twist. Each change can make your salad unique and fun. Presentation matters! Serve your salad in a big, colorful bowl. Garnish with extra cilantro and lime wedges. This adds a bright touch and invites people to dig in. You can also serve it in small cups for parties. This way, everyone gets their own serving. Adding a drizzle of olive oil on top just before serving makes it look fancy. A good presentation makes the dish more appealing. {{image_2}} You can easily add protein to your grilled corn salad. This boosts flavor and makes it heartier. Here are some tasty options: - Grilled Chicken: Dice cooked chicken breast and mix it in. - Shrimp: Grill shrimp with some spices for a seafood twist. - Tofu: Use cubed, grilled tofu for a plant-based option. - Cheese: Feta cheese crumbles or cotija add a creamy touch. Each choice pairs well with the fresh flavors in the salad. If you love heat, try making a spicy version. Adding jalapeños can bring a nice kick. Here’s how to spice it up: - Fresh Jalapeños: Dice them finely and mix them in. - Hot Sauce: Drizzle your favorite hot sauce over the salad. - Cayenne Pepper: Sprinkle a bit of cayenne into the dressing. These additions will make your salad exciting and fun to eat. You can change the veggies based on what’s fresh. This keeps your salad interesting year-round. Here are some ideas: - Zucchini: Grate it or dice it for a nice crunch. - Radishes: Add sliced radishes for a peppery bite. - Carrots: Shredded carrots bring sweetness and color. Feel free to mix and match. Experiment with what you have on hand. For the full recipe, check out the detailed instructions above. You can store leftover grilled corn salad in the fridge. Place it in an airtight container. It stays fresh for about 3 days. The flavors meld nicely, but some veggies may soften. If you want crunch, eat it sooner. Freezing this salad is not the best choice. The texture of corn and fresh veggies changes when frozen. If you have too much, consider freezing just the corn. Cooked corn can freeze well for about 6 months. To keep your salad fresh, store it properly. Use a clean container, and keep it covered. If you prepare it ahead of time, add avocado just before serving. This keeps it green and tasty. For the best flavor, enjoy the salad within a few days. For the full recipe, check out the detailed steps above. Yes, you can make grilled corn salad ahead of time. I recommend preparing it up to a day in advance. Just keep it in the fridge. The flavors will mix nicely as it sits. If you prepare it early, wait to add the avocado until just before serving. This keeps it fresh and green. If you don't have black beans, try using pinto beans or kidney beans. They both work well in this salad. You can also use corn for extra crunch. Chickpeas are another great option. They add a nice texture and flavor. Yes, you can grill corn without a grill. You can use a stovetop grill pan or even broil it in your oven. Just preheat your pan or oven. Place the corn on the heat source and watch it carefully. Turn it often for even cooking. This gives you that charred flavor, just like on a grill. In this blog post, we explored how to make a fresh and tasty grilled corn salad. We covered key ingredients like corn, veggies, and dressings, plus easy steps for preparation. I shared tips to choose the best corn and enhance flavors. You can easily swap in proteins or spices for a fun twist. Finally, I discussed storage to keep your salad fresh. Enjoy this dish, and have fun experimenting with flavors!](https://recipespursuit.com/wp-content/uploads/2025/06/ace1023f-e824-4884-9fb6-1d3f90d86d4c-300x300.webp)
. Each ingredient plays a role in creating this fresh and flavorful delight. To make Zesty Black Bean Salsa, follow these simple steps. Start by gathering your ingredients. In a large bowl, mix the black beans, corn, diced red bell pepper, chopped red onion, minced jalapeño, and halved cherry tomatoes. This mix gives the salsa great color and texture. Next, grab a small bowl. In it, whisk together the lime juice, olive oil, cumin, salt, and pepper. This dressing adds a zesty kick to the salsa. Make sure to whisk until everything blends well. Now, pour the dressing over your mixture in the large bowl. Gently toss everything together. You want every ingredient to have some dressing on it. This step makes each bite flavorful. After mixing, taste the salsa. If you want more zing, add extra lime juice or some salt and pepper. Adjusting the flavor to your liking is key for a delicious salsa. Cover the bowl with plastic wrap. Place it in the fridge for at least 30 minutes. Chilling helps the flavors mix together better. When you serve it, the salsa will taste fresh and vibrant. For the full recipe, check out the [Full Recipe]. Enjoy making your Zesty Black Bean Salsa! To make your Zesty Black Bean Salsa stand out, start with lime juice. Adding more acidity brightens the whole dish. Fresh lime juice wakes up the flavors. Try to use two limes for that perfect kick. Next, think about spices. If you want heat, add some cayenne or paprika. A little goes a long way. You can also increase the jalapeño if you like spice. Choosing the right beans is key. I recommend using high-quality black beans. They add creaminess and depth. If you prefer, try pinto beans for a different taste. When serving, the bowl matters. Choose a bright, colorful bowl to catch the eye. A vibrant bowl makes your salsa look even more inviting. Garnishing adds a nice touch. Sprinkle extra cilantro on top for freshness. You can also add lime wedges for a pop of color and flavor. Pair your salsa with crispy tortilla chips. This classic combo never fails. It makes for a fun and tasty appetizer. For a fancy twist, serve with cucumber slices instead of chips. {{image_2}} You can change the beans in this salsa. Try pinto or kidney beans for a twist. Each bean brings a unique taste and texture. You can also switch up the peppers. Use a green bell pepper for a milder flavor. A poblano pepper adds a smoky touch. For a burst of sweetness, add fruits like diced mango or pineapple. These fruits give your salsa a fresh and bright flavor. You can make this salsa mild or spicy. For a mild version, use less jalapeño. If you love heat, add more jalapeño or use a spicier pepper. You can also try hot sauce for extra kick. Just a few drops can really spice things up! Adjust the spice to your taste for the perfect balance. Feel free to explore these variations as you make your Zesty Black Bean Salsa. The full recipe will guide you through the basics. Enjoy creating your own unique version! After making Zesty Black Bean Salsa, you may have some leftovers. Store them in an airtight container. Place the container in the fridge. This salsa stays fresh for about 3-5 days. If you want to keep it longer, consider freezing it. Use a freezer-safe container or bag. The salsa can last for up to 3 months in the freezer. Just remember to leave some space in the container. This will allow for expansion as it freezes. If you freeze the salsa, thaw it in the fridge overnight. This keeps the texture nice. You can also run the bag under cool water for a quick thaw. When it’s time to serve, enjoy it cold. Zesty Black Bean Salsa tastes great right out of the fridge. If you prefer it warm, heat it gently on the stove. Stir often to avoid burning. You can also microwave it. Just heat in short intervals, stirring in between. Zesty Black Bean Salsa lasts about 3 to 5 days in the fridge. Store it in an airtight container to keep it fresh. The flavors only get better as it sits, so enjoy it within that time for the best taste. Yes, you can make this salsa ahead of time. I often prepare it a day before a gathering. The ingredients meld well, creating a rich flavor. Just remember to let it chill for at least 30 minutes before serving. You can serve Zesty Black Bean Salsa with tortilla chips for a crunchy snack. It also pairs well with grilled meats, tacos, or quesadillas. Use it as a topping for salads or bowls. It's versatile and adds a fresh kick to many dishes. Absolutely, Zesty Black Bean Salsa is vegan-friendly. It contains no animal products, making it a safe choice for plant-based diets. This recipe is not just tasty; it's also healthy and full of nutrients. Enjoy it guilt-free! For the full recipe, check out the detailed instructions provided above. You learned how to make Zesty Black Bean Salsa with simple ingredients and steps. Use black beans, corn, peppers, and spices for great flavor. Remember to chill the salsa for the best taste. Try different beans and heat levels for fun variations. Store leftovers well to enjoy later. This dish is perfect for gatherings or snacks. Make it your own with options and tips shared here. Dive in and craft a salsa that you will love!](https://recipespursuit.com/wp-content/uploads/2025/07/ae064fc9-59d0-4ed6-bef0-56825afd01d3-300x300.webp)

Simple Baked Ziti Flavorful and Comforting Recipe
Looking for a dish that’s easy to make and packed with flavor? This Simple Baked Ziti recipe is your answer! With gooey cheese, savory…
. In this post, I shared how to make a delicious baked ziti. I covered essential ingredients, cooking techniques, and common mistakes to avoid. Remember, using high-quality ingredients makes a big difference. You can customize your dish with add-ins and variations. Proper storage ensures you enjoy leftovers later. With these tips, you can create a tasty meal that your family will love. Check out the full recipe for Cheesy Comfort Baked Ziti to get started. Happy cooking!](https://recipespursuit.com/wp-content/uploads/2025/06/fb3e8b7e-ba25-42fb-a491-7c868a3e31e2.webp)
