Latest & Greatest

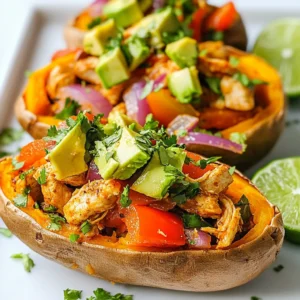
Loaded Veggie Burrito Bowls Packed with Flavor
Are you ready to dive into a bowl of pure flavor? These Loaded Veggie Burrito Bowls are not just tasty;
Read more…
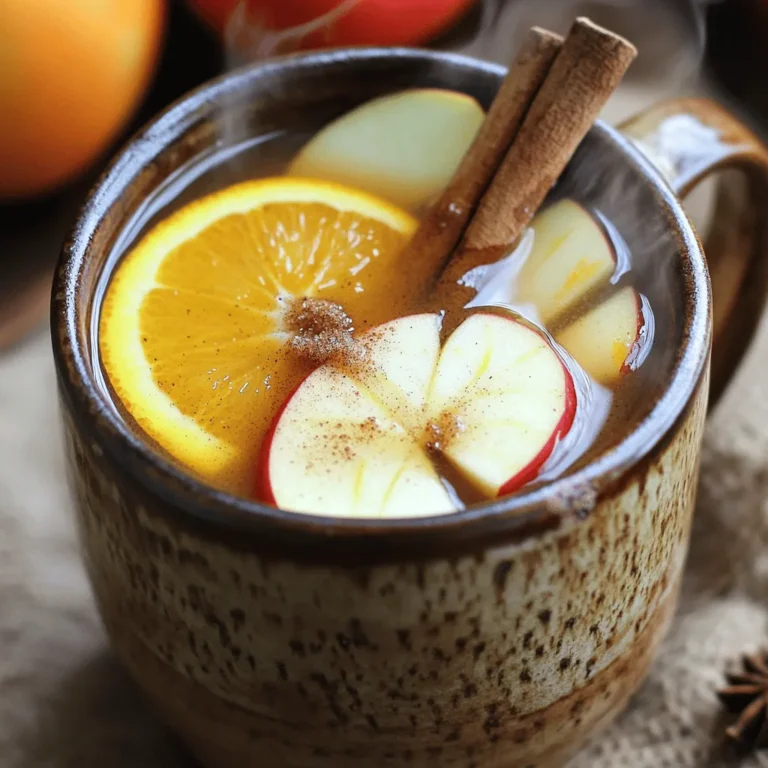
Caramel Apple French Toast Cups Delightful Brunch Idea
Looking for a delicious brunch idea that will wow your guests? Try my Caramel Apple French Toast Cups! These tasty
Read more…
Slow Cooker Salsa Verde Chicken Flavorful Family Meal
Looking for a quick, tasty meal that the whole family will love? Meet your new favorite dish: Slow Cooker Salsa
Read more…
Air Fryer Churro Donut Holes Easy and Fun Treat
Craving a sweet treat that’s easy to make and fun to eat? You’re in luck! My Air Fryer Churro Donut
Read more…
Spicy Garlic Edamame Flavorful and Easy Snack Recipe
If you’re craving a snack that’s quick, tasty, and packed with flavor, you’ll love this Spicy Garlic Edamame recipe. With
Read more…
Blueberry Lemon Cheesecake Bars Simple and Delicious
If you’re craving a dessert that’s simple yet bursting with flavor, you’re in the right place! Blueberry Lemon Cheesecake Bars
Read more…
Air Fryer Cinnamon Sugar Peach Hand Pies Delight
Are you ready to bite into something amazing? Try my Air Fryer Cinnamon Sugar Peach Hand Pies! These sweet treats
Read more…
Slow Cooker Garlic Butter Shrimp Scampi Simple Recipe
Are you craving a delicious dinner without the fuss? Let’s make Slow Cooker Garlic Butter Shrimp Scampi! This simple recipe
Read more…browse recipes

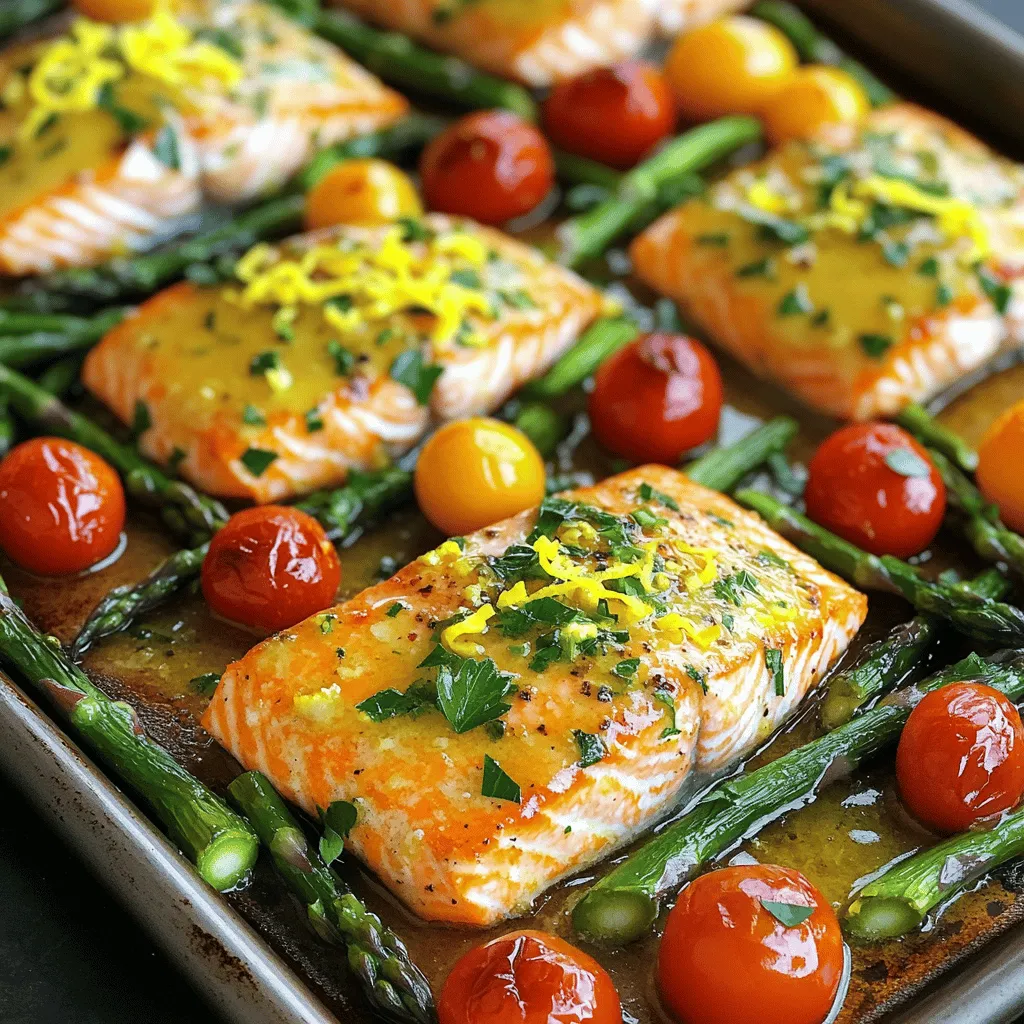
Sheet Pan Lemon Garlic Salmon Easy and Flavorful Meal
Are you looking for an easy and tasty meal? Try my Sheet Pan Lemon Garlic Salmon! This dish is quick to prepare and packs…
My Latest Desserts
My Latest Recipes

hey,
i’m !
I’m so happy you’re here!
Cooking is my love language, and I’m excited to share my best dishes with you. Hope they become your favorites too! Let’s enjoy every bite of this journey together.

![For a delicious serving of zucchini noodles with pesto, you'll need these items: - 3 medium zucchinis - 1 ripe avocado - 1 cup fresh basil leaves - 1/4 cup walnuts - 2 tablespoons lemon juice - 2 tablespoons olive oil - 1 clove garlic, minced - Salt and pepper to taste To enhance your dish, consider these toppings: - Cherry tomatoes, halved - Grated Parmesan cheese (optional) These garnishes add color and flavor that brighten up your meal. If you don't have certain items, here are some swaps: - Use pine nuts instead of walnuts for a different taste. - If you lack fresh basil, try spinach or arugula as alternatives. - For a nut-free option, use sunflower seeds in the pesto. - Instead of lemon juice, lime juice works well too. Feel free to mix and match based on what you have! The full recipe can guide you through this simple yet tasty dish. To start, grab three medium zucchinis. Using a spiralizer or a julienne peeler, turn those zucchinis into noodles. Place the noodles in a colander. Sprinkle them lightly with salt. This helps to draw out excess moisture. Let them sit for about 15 to 20 minutes. The salt will work its magic. After 20 minutes, rinse the noodles under cold water. Pat them dry with a paper towel. This step keeps your dish from being too watery. While the zucchini noodles drain, it's time to make the avocado pesto. Take one ripe avocado and scoop it into a food processor. Add one cup of fresh basil leaves, one-fourth cup of walnuts, and two tablespoons of lemon juice. Pour in two tablespoons of olive oil and add one clove of minced garlic. Blend everything until it's smooth. Taste the mixture and add salt and pepper as needed. If the pesto is too thick, add a bit more olive oil until you like the texture. This creamy pesto makes the dish sing. Once the zucchini noodles are dry, it's time to combine everything. In a large bowl, add the zucchini noodles and the avocado pesto. Toss gently until all the noodles are coated well. Now for the fun part—plating! Serve the noodles on a nice plate. Garnish with halved cherry tomatoes on top. If you like, sprinkle some grated Parmesan cheese for extra flavor. Serve immediately, and enjoy the fresh taste of this delightful dish. You can follow the [Full Recipe] for more details. To make perfect zucchini noodles, start with fresh, firm zucchinis. Use a spiralizer or julienne peeler. Spiralize the zucchinis directly into the bowl. Aim for long, thin strands. After spiralizing, place the noodles in a colander. Sprinkle them with salt to draw out the moisture. Let them sit for about 15 to 20 minutes. Rinse the noodles under cold water and pat them dry. This process helps keep your dish from becoming soggy. For the best pesto, use a food processor. Combine ripe avocado, fresh basil, walnuts, lemon juice, olive oil, and minced garlic. Blend until smooth, but don’t over-blend. You want a bit of texture in your pesto. If it’s too thick, add a little more olive oil. Taste and adjust with salt and pepper as needed. This balancing act is key to a bright, flavorful pesto that brings your dish to life. To make your zucchini noodles pop, add fresh ingredients. Halved cherry tomatoes add a nice touch. They bring sweetness and color to the dish. A sprinkle of grated Parmesan cheese can enhance the taste, too. For extra crunch, consider adding pine nuts or sunflower seeds. You could also serve the dish with a side of grilled chicken or shrimp for protein. These simple additions can elevate your meal without much effort. {{image_2}} Zucchini noodles fit well into both Paleo and Whole30 diets. These diets focus on whole foods. For a tasty twist, use nuts like pecans in your pesto. You can also swap olive oil for avocado oil for a different flavor. Make sure to skip any cheese to keep it compliant. For a vegan version, the avocado is your best friend. It adds creaminess without dairy. You can replace walnuts with sunflower seeds in the pesto. Sunflower seeds offer a nice crunch and a different taste. Consider adding nutritional yeast for a cheesy flavor without the dairy. If you want to make your dish heartier, add proteins. Grilled chicken or shrimp pairs well with this dish. You can toss cooked quinoa or chickpeas into the noodles for extra protein. For a vegetarian option, try adding tofu or tempeh. These options will keep your meal filling and satisfying. For the complete cooking experience, check the Full Recipe. To keep leftover zucchini noodles fresh, place them in an airtight container. You can store them in the fridge for up to two days. Avoid adding sauce until you're ready to eat. This keeps the noodles from getting too soggy. If you notice excess moisture, gently pat them dry with a paper towel before storing. Store your leftover pesto in a small jar or container. Make sure to cover the surface with a thin layer of olive oil. This helps prevent browning. You can keep it in the fridge for about a week. For longer storage, freeze it in ice cube trays. Once frozen, transfer the cubes to a freezer bag. This way, you can enjoy fresh pesto anytime. When reheating zucchini noodles, use a skillet over medium heat. Add a splash of olive oil to prevent sticking. Heat them for just a few minutes until warm. Avoid overcooking, as they can become mushy. For pesto, gently warm it in a small pan. Stir constantly to keep the texture smooth. Enjoy the fresh taste every time! Yes, you can use regular pasta in this dish. Zucchini noodles are a great low-carb option. They provide a fresh taste and unique texture. If you prefer pasta, choose your favorite type. Cook it according to the package instructions. Serve the pesto over the cooked pasta instead of zucchini noodles. Enjoy the same flavorful sauce with a different twist. Zucchini noodles last about 2 to 3 days in the fridge. Store them in an airtight container. Keep in mind, they may lose some crunch over time. To extend their life, avoid adding the pesto until you're ready to eat. If they get too soft, you can still use them in soups or stews. You can substitute walnuts with pine nuts or sunflower seeds. Both give a nice flavor and texture. If you want a nut-free option, try using hemp seeds. These options work well in the avocado pesto. Just blend them like you would with walnuts. This way, you keep the creamy texture and rich taste. For the full recipe, you can refer to the Zesty Zucchini Noodles with Avocado Pesto. This blog post covered everything you need for a delicious zucchini noodle dish. We explored the key ingredients, prepared the avocado pesto, and combined them to create a fresh meal. I shared tips for perfect noodles and clever serving ideas. You can even adapt the dish to fit your diet. Lastly, I explained how to store leftovers for another day. Use this knowledge to enjoy healthy eating with ease and creativity. Don’t hesitate to experiment and make this dish your own!](https://recipespursuit.com/wp-content/uploads/2025/04/d809c1f9-b3f3-42d5-acc8-9eea95e43f70-300x300.webp)
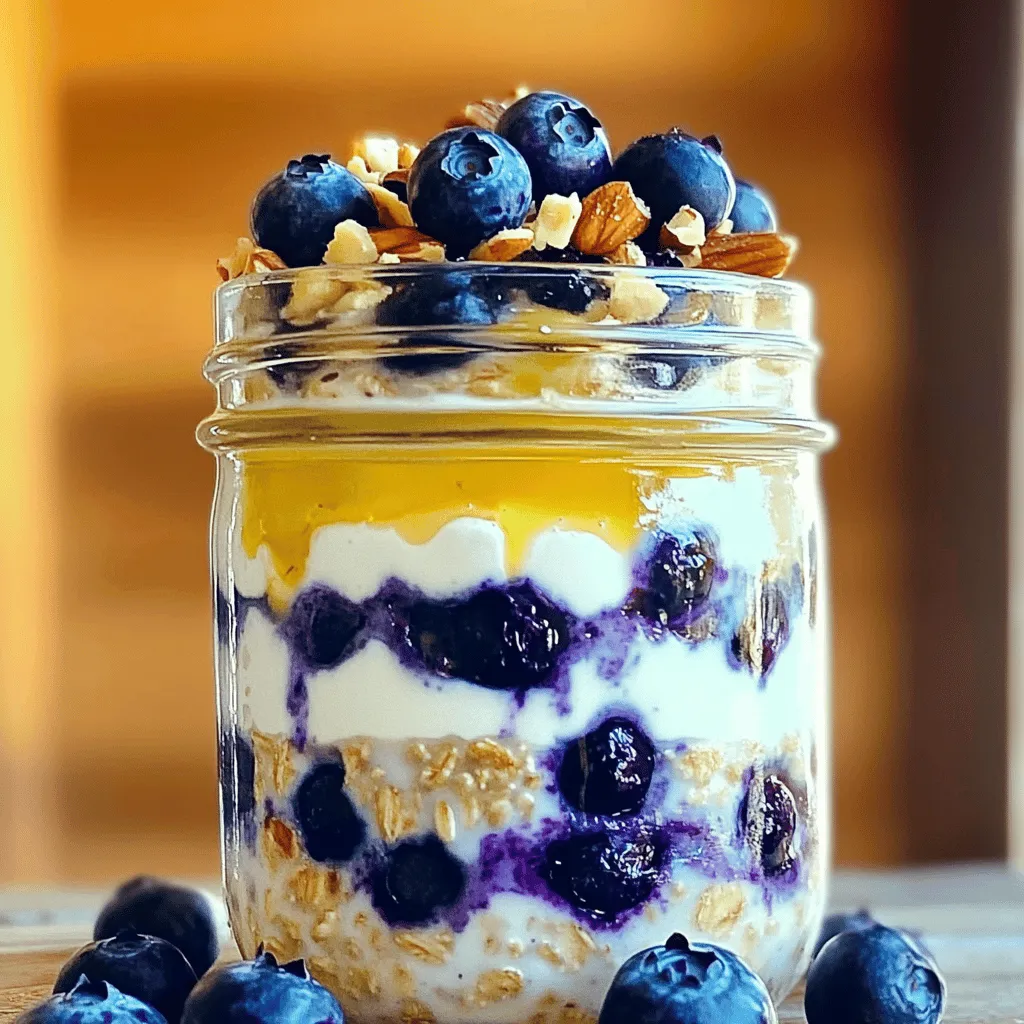
Blueberry Cheesecake Overnight Oats Delightful Recipe
Looking for a simple and delicious breakfast? You’ll love this Blueberry Cheesecake Overnight Oats recipe! It’s creamy, fruity, and packed with flavor. In just…