Latest & Greatest

browse recipes

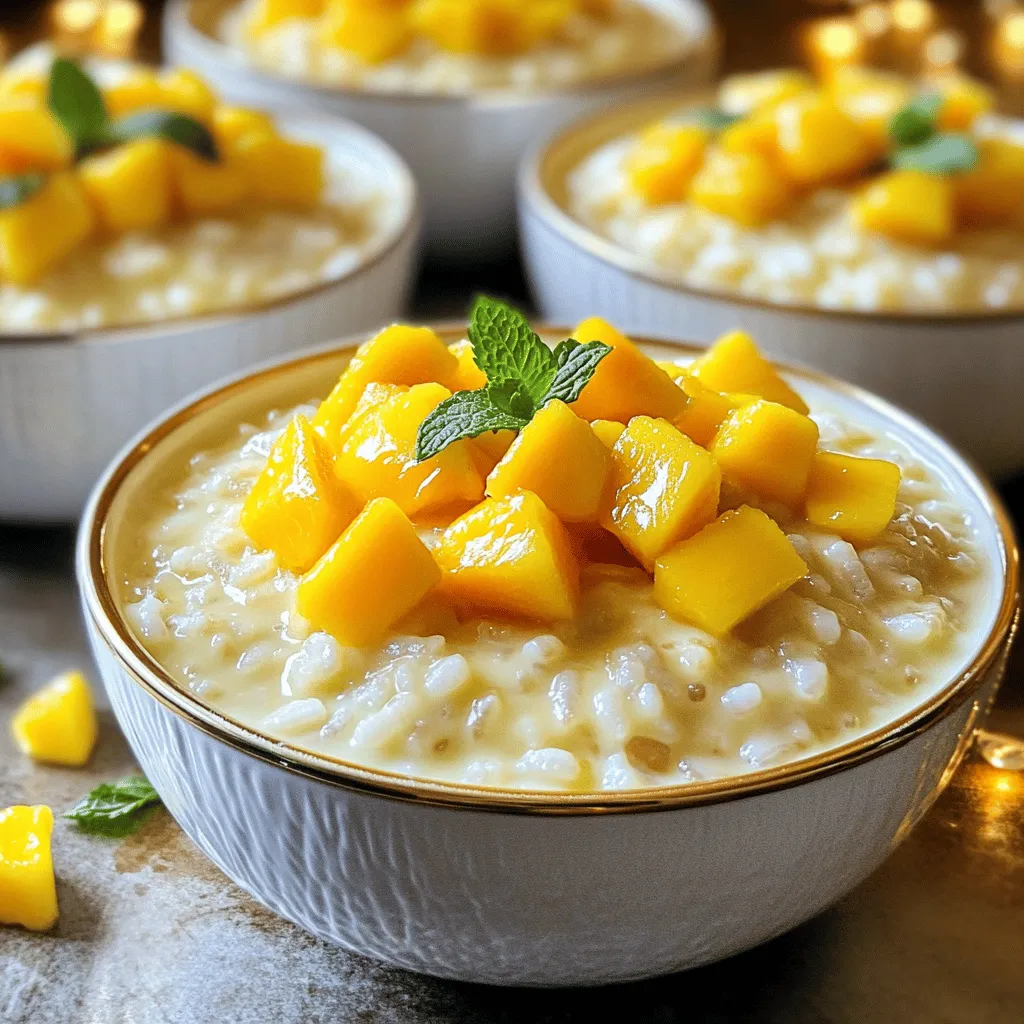
To make this creamy treat, you need these main ingredients: - 1 cup Arborio rice - 2 cups coconut milk - 1 cup almond milk (or any milk of choice) - 1/2 cup sugar (or sweetener of choice) - 1 ripe mango, diced - 1 teaspoon vanilla extract - 1/4 teaspoon salt - 1/2 teaspoon ground cinnamon These ingredients work together to create a rich and delightful flavor. The Arborio rice gives it a nice creamy texture. The coconut milk adds a tropical twist that pairs perfectly with mango. You can add these optional ingredients to change up the dish: - Fresh mint leaves for garnish - Lime zest for a citrus kick - Cardamom for a warm spice flavor These choices let you personalize your pudding. For example, adding lime zest gives a bright flavor that complements the mango. This pudding is not just tasty; it offers good nutrition too. Here’s a quick breakdown: - Calories: About 300 per serving - Protein: 4 grams - Carbohydrates: 50 grams - Sugars: 20 grams - Fats: 12 grams The coconut milk gives healthy fats. The mango adds vitamins and fiber. Enjoy this dessert knowing it can be part of a balanced meal! Start by gathering all your ingredients. Here’s what you need: - 1 cup Arborio rice - 2 cups coconut milk - 1 cup almond milk (or any milk of choice) - 1/2 cup sugar (or sweetener of choice) - 1 ripe mango, diced - 1 teaspoon vanilla extract - 1/4 teaspoon salt - 1/2 teaspoon ground cinnamon - Fresh mint leaves for garnish (optional) Make sure your mango is ripe and sweet. Dice it into small pieces. Measure out the rice and liquids. This will help you stay organized. In a medium-sized saucepan, combine the Arborio rice, coconut milk, almond milk, sugar, vanilla extract, salt, and cinnamon. Stir all the ingredients together. Next, bring the mixture to a gentle boil over medium heat. Stir occasionally to stop the rice from sticking to the bottom. Once it boils, lower the heat to let it simmer. Let it cook uncovered for about 25-30 minutes. Stir often until the rice is creamy and tender. The pudding should be thick but not dry. Once your pudding reaches the right texture, take it off the heat. Allow it to cool slightly. Then, gently fold in the diced mango. Save a few pieces for later as a garnish. Spoon the rice pudding into serving bowls. Chill them in the fridge for at least one hour. This helps it set. Before serving, add the reserved mango on top. You can also add fresh mint leaves for a pop of color and flavor. Enjoy your delightful and creamy treat! To get the creamiest mango coconut rice pudding, use Arborio rice. This rice has more starch, which makes the pudding rich and smooth. When cooking, stir often to help release the starch. Start with medium heat to bring your mixture to a boil. Then lower the heat and let it simmer. Keep stirring every few minutes until the rice is soft and creamy. Let it cook for about 25-30 minutes. If you want it creamier, add a bit more coconut milk while cooking. One mistake is not stirring enough. If you don’t stir, the rice may stick to the pan and burn. Another mistake is cooking at too high a heat. This can make the rice tough instead of soft. Make sure to simmer it gently. Also, don’t skip the cooling step. Letting the pudding cool helps it set well. Finally, avoid overcooking the rice. If the rice gets mushy, it won't have a nice texture. If you have leftovers, store them in an airtight container. Place the pudding in the fridge, where it can stay fresh for about 3 days. When you want to eat it again, give it a stir. If it seems too thick, add a splash of coconut milk or almond milk. This will help bring back its creamy texture. You can also freeze it for up to a month, but be aware it might change the texture. For best taste, enjoy it fresh! {{image_2}} You can easily make this pudding vegan. Just stick to coconut milk and almond milk. Both options are plant-based. They keep the pudding creamy and rich. You can swap sugar for maple syrup or agave nectar. These sweeteners add a nice touch. You can enjoy a delightful vegan treat! This recipe is gluten-free. Arborio rice is naturally gluten-free. You can use any type of milk. Just ensure it’s gluten-free if you choose a different milk. Avoid additives in your milk. Most coconut and nut milks work well. You can enjoy this dessert without any worries about gluten! Want to spice up your pudding? You can add lime zest for a bright kick. Just a pinch will do. Cardamom adds a warm, sweet flavor. Try adding half a teaspoon during cooking. You can also mix in shredded coconut for extra texture. Feel free to get creative with your flavors! Mango Coconut Rice Pudding pairs well with a variety of flavors. You can serve it with crunchy cookies, like shortbread or biscotti. A dollop of whipped cream adds a nice touch of sweetness. You might also try it alongside fresh tropical fruits, like pineapple or kiwi. This dessert complements a light meal, such as grilled chicken or fish. The bright flavors balance rich dishes perfectly. Garnishing makes your pudding look even more inviting. Fresh mint leaves add a pop of green and a hint of freshness. You can sprinkle some toasted coconut flakes on top for extra crunch. A dash of ground cinnamon or a drizzle of honey adds color and flavor too. Use the reserved mango pieces to create a beautiful, colorful topping. This way, each bowl looks like a work of art. Presentation matters when serving dessert. Consider using clear cups or jars to show off the layers. This creates a lovely visual effect with the creamy pudding and bright mango. You can serve individual portions or a large bowl for sharing. For a fun twist, try layering the pudding with yogurt or fruit. This adds texture and taste while making it even more appealing. Having a beautiful presentation makes the dessert feel special. You can store your Mango Coconut Rice Pudding in the fridge for up to four days. Make sure to keep it in an airtight container. This helps maintain the creamy texture and fresh taste. Before serving, give it a good stir. If it seems thick, add a splash of milk to loosen it up. Yes! You can swap mango for many other fruits. Try using diced pineapple, berries, or bananas. Each fruit adds a unique flavor. Just remember to adjust the sweetness if your fruit is very sweet. This keeps the pudding balanced and delicious. Absolutely! You can make this pudding dairy-free by using almond milk or coconut milk alone. These milks give great flavor and creaminess. Just check your sugar and vanilla for any dairy ingredients. This way, you can enjoy a tasty treat without dairy. Mango coconut rice pudding is a delightful treat, rich in flavor and nutrition. We explored key ingredients, cooking steps, and variations you can try. I shared tips for a creamy texture and mistakes to avoid. This dessert is versatile—you can make it vegan or gluten-free. With the right garnishes and serving ideas, you can impress anyone. Enjoy this sweet dish, and don’t hesitate to experiment with flavors! Each bite is a chance to savor something special.

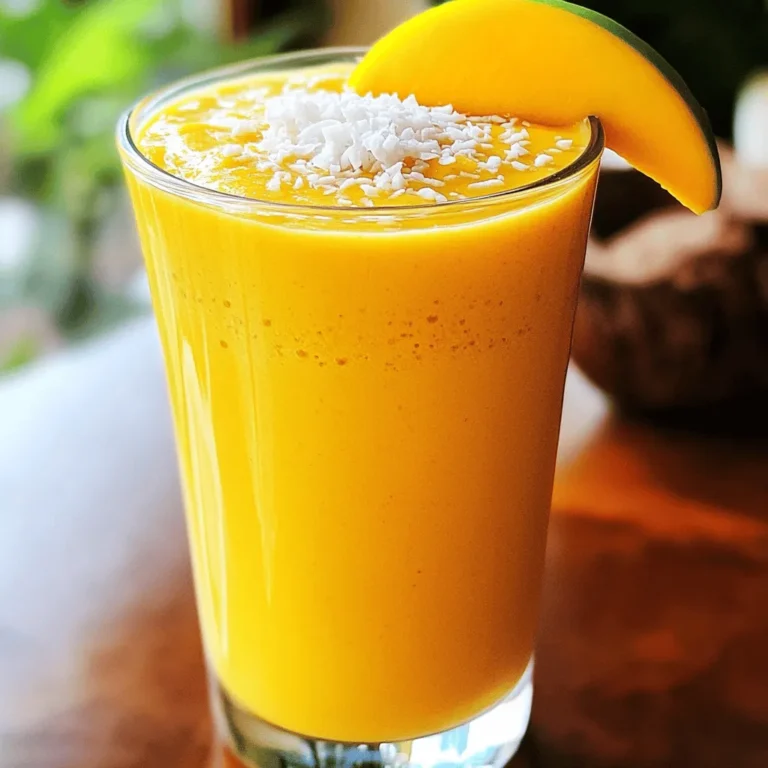
Mango Coconut Rice Pudding Delightful and Creamy Treat

Are you ready to treat yourself to a tropical delight? Mango Coconut Rice Pudding is a creamy dessert that brings sunshine to your plate.…

My Latest Desserts

My Latest Recipes

hey,

i’m !

I’m so happy you’re here!

Cooking is my love language, and I’m excited to share my best dishes with you. Hope they become your favorites too! Let’s enjoy every bite of this journey together.

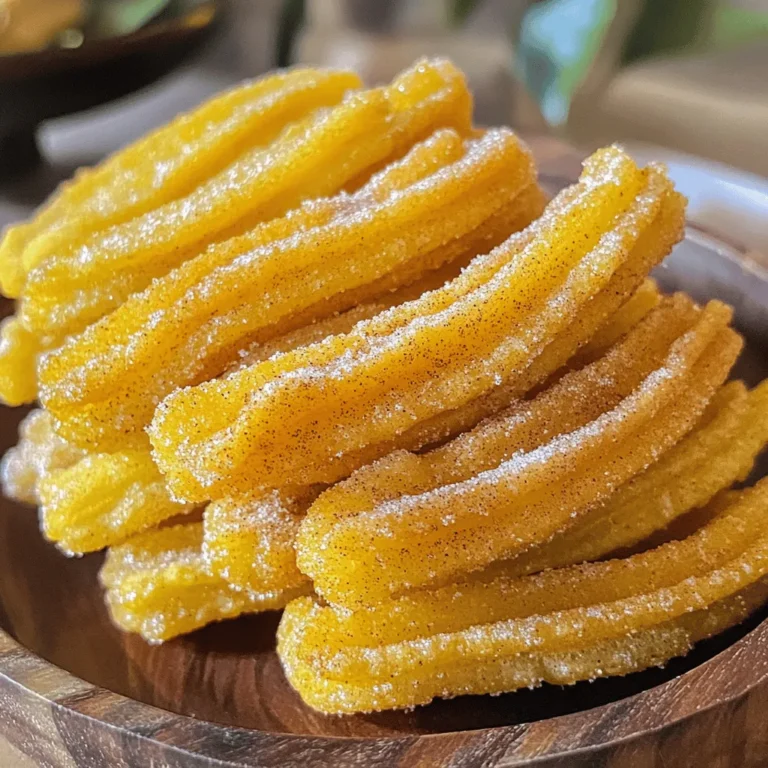
Churro Cheesecake Bars Delightful and Easy Recipe

If you love desserts that merge flavors, you’ll want to try my Churro Cheesecake Bars. This easy recipe combines the creamy richness of cheesecake…
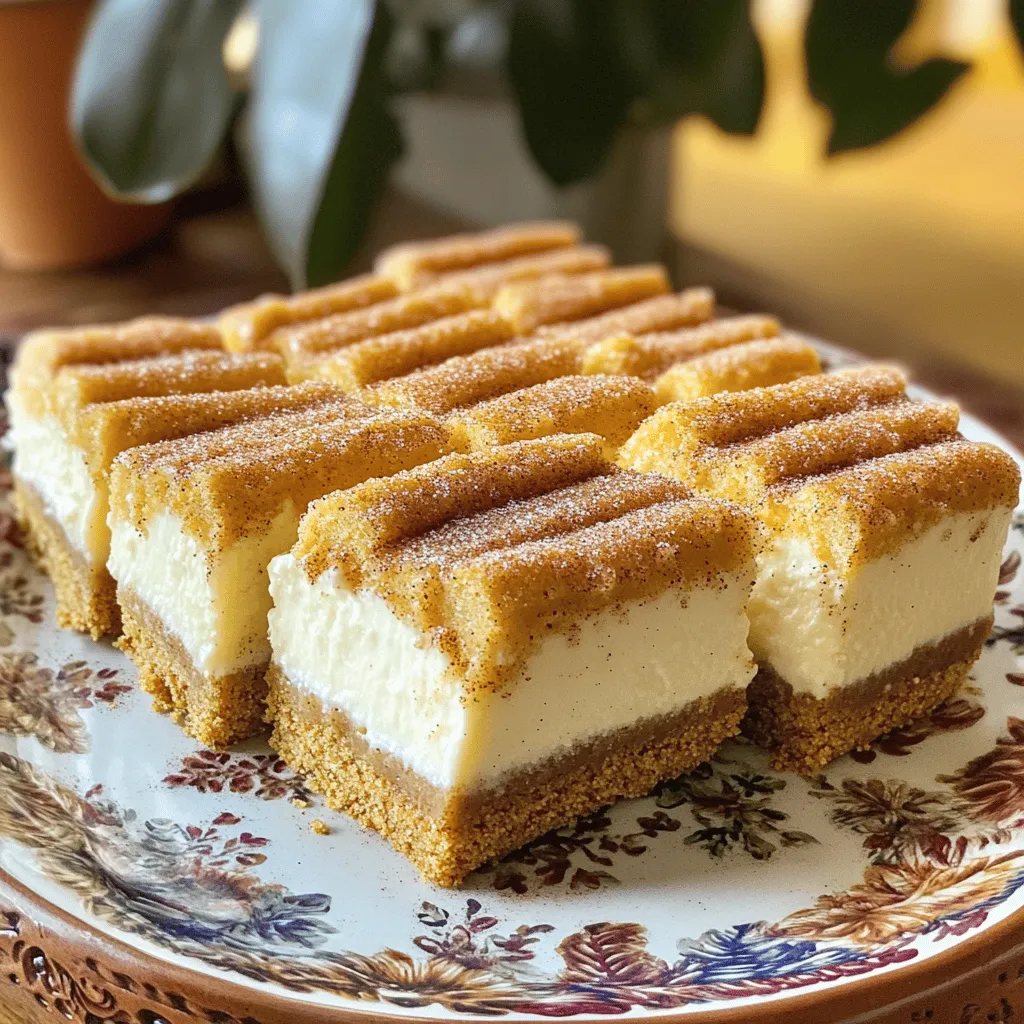
- 1 ½ cups graham cracker crumbs - ½ cup unsalted butter, melted - ¼ cup granulated sugar - 16 oz cream cheese, softened - ½ cup granulated sugar - 1 teaspoon vanilla extract - 2 large eggs - 1 teaspoon cinnamon - ¼ cup unsalted butter, melted - ½ cup granulated sugar - 1 teaspoon cinnamon When making churro cheesecake bars, you need specific ingredients. The crust is the base, and it gives flavor. For the crust, use graham cracker crumbs. Combine these with melted butter and sugar. This mix will form a nice, firm base. Next, we prepare the cheesecake layer. Softened cream cheese is key for a smooth texture. Add granulated sugar, vanilla extract, eggs, and cinnamon. Each element adds flavor and creaminess. Mix them well to ensure everything blends. Lastly, the churro topping adds a sweet crunch. Melted butter, sugar, and cinnamon create this delight. It will sit on top, adding a tasty finish. With these ingredients, you can create a sweet treat that everyone will enjoy! - Preheat Oven: 325°F (160°C) - Prepare the Baking Pan: Line an 8x8 inch pan with parchment paper. This helps with easy removal later. - Combine ingredients: In a mixing bowl, mix 1 ½ cups of graham cracker crumbs, ½ cup of melted butter, and ¼ cup of sugar. - Press into the pan: Firmly press this mixture into the bottom of the lined pan. This will form a solid base for your cheesecake. - Mix cream cheese, sugar, and eggs: In a large bowl, beat 16 oz of softened cream cheese with ½ cup of sugar until smooth. - Add vanilla extract and cinnamon: Mix in 1 teaspoon of vanilla extract, 2 large eggs, and 1 teaspoon of cinnamon. Ensure everything is well blended. - Pour cheesecake mixture over crust: Spread the cheesecake layer evenly over the crust in the pan. - Bake for 30-35 minutes: Place in the preheated oven. Bake until the center is set but still slightly jiggly. - Combine churro topping ingredients: In a small bowl, mix ¼ cup melted butter, ½ cup sugar, and 1 teaspoon cinnamon. - Drizzle over the baked cheesecake: Once baked, pour this mixture over the top of the cheesecake. Spread it evenly. - Allow to cool to room temperature: Let the cheesecake bars sit out until they reach room temp. - Refrigerate for at least 2 hours: Chill in the fridge until fully set. - Cut into squares and serve: Use the parchment paper to lift the cheesecake out. Cut into squares and enjoy! To make the best churro cheesecake bars, first ensure your ingredients are at room temperature. This helps them blend smoothly. Next, don’t overmix after adding the eggs. Mix just enough to combine. Overmixing can lead to cracks. Presentation matters! Serve your bars on a decorative plate. You can add toppings like whipped cream or chocolate sauce. Dust the top with cinnamon and sugar before serving. This makes them look even more tempting. If you see cracks in your cheesecake, don’t worry. You can fix them by covering the cracks with topping. For the perfect texture, bake until the center is set but still a bit jiggly. This helps keep your bars creamy and delicious. {{image_2}} You can change the flavors in churro cheesecake bars. Try adding chocolate or caramel layers for a rich twist. This gives each bite a sweet surprise. You can also mix in fruit like berries or bananas for a fresh taste. This makes the cheesecake lighter and adds color. Toppings can change the whole feel of your bars. Use whipped cream on top for a creamy addition. Chopped nuts add a nice crunch that contrasts with the smooth cheesecake. You can also sprinkle chocolate chips for a sweet touch. For more flavor, experiment with spices like nutmeg or ginger. They can add warmth to your treat. How you serve these bars can make them even more fun. Cut them into small mini bars for easy eating at parties. This also makes it easy for guests to grab and enjoy. You can decorate with sauces or drizzles. A chocolate or caramel drizzle can make each bar look fancy and taste even better. Store leftover churro cheesecake bars in an airtight container. This keeps them fresh and delicious. They last about 4 to 5 days in the fridge. If you want to enjoy them later, refrigeration is key. To freeze, wrap each bar tightly in plastic wrap. Place them in a freezer-safe bag or container. You can freeze churro cheesecake bars for up to three months. When you're ready to eat them, let them thaw in the fridge overnight for the best taste. Reheat leftover bars in the oven for about 5 to 10 minutes at 350°F (175°C). This helps keep the texture and flavor just right. You can also use a microwave for 30 seconds. Just be careful not to overheat them, as they can get too soft. Enjoy your delightful treat! Yes, you can change the crust! Here are some tasty options: - Oreo Crust: Use crushed Oreo cookies instead of graham crackers. - Almond Flour Crust: Mix almond flour with butter and a bit of sugar for a nutty flavor. - Gingersnap Crust: Crushed gingersnap cookies add a spicy twist to your bars. Each crust gives a unique taste and texture to the churro cheesecake bars. Chill the cheesecake for at least 2 hours. This helps it set properly. If you want it extra firm, leave it in the fridge longer. The longer it chills, the better the flavors meld together. Yes, you can try other cheeses! Here are some ideas: - Ricotta: This cheese makes a lighter texture. - Mascarpone: Adds a rich and creamy flavor. - Greek Yogurt: Use it for a tangy twist, but expect a different texture. Each option changes the taste and creaminess of your cheesecake bars. Yes, you can make gluten-free churro cheesecake bars! Here are some tips: - Gluten-Free Graham Crackers: Use these instead of regular ones for the crust. - Almond Flour Crust: A great gluten-free option that is easy to make. - Check Labels: Always read labels on your ingredients to ensure they are gluten-free. These steps let everyone enjoy your churro cheesecake bars! This blog post covered how to make delicious churro cheesecake bars. We explored the simple ingredients for the crust, cheesecake filling, and churro topping. You learned step-by-step instructions and helpful tips for perfecting your recipe. Remember, you can mix up flavors and toppings to suit your taste. Now, you’re ready to try this treat. Enjoy making these bars for friends and family. Happy baking!