Latest & Greatest
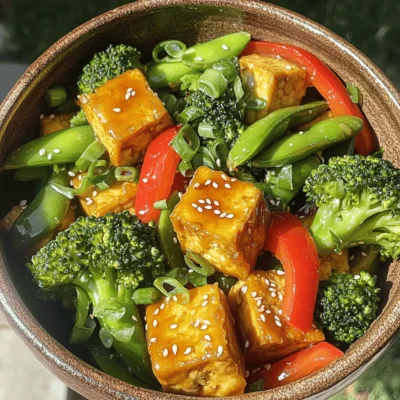
Vegetable Stir-Fry with Tofu Flavorful and Simple Recipe
Looking for a quick and tasty meal? This Vegetable Stir-Fry with Tofu is just what you need! Packed with fresh
Read more…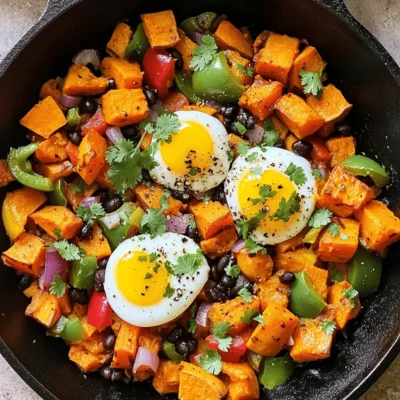
Savory Sweet Potato Hash Flavorful Breakfast Delight
Start your day on a delicious note with my Savory Sweet Potato Hash! This flavorful breakfast delight is packed with
Read more…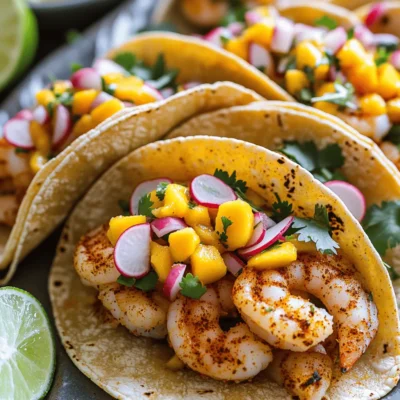
Spicy Shrimp Tacos with Mango Salsa Delight
Get ready to spice up your dinner with my Spicy Shrimp Tacos with Mango Salsa! These tacos are bold, bright,
Read more…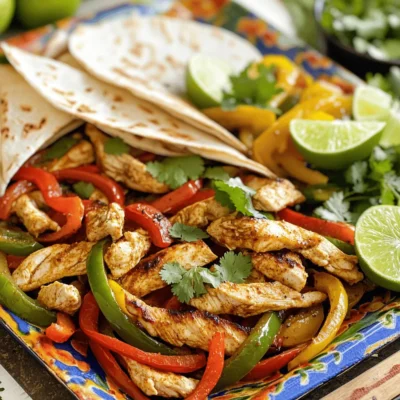
Sheet Pan Chicken Fajitas Flavorful Easy Dinner Recipe
Are you ready for a quick and tasty dinner? My Sheet Pan Chicken Fajitas are your answer! This easy recipe
Read more…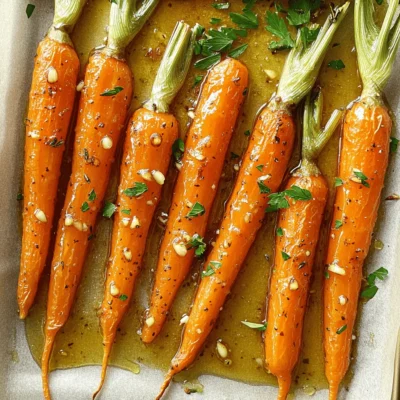
Honey Garlic Roasted Carrots Easy Flavorful Side Dish
Looking for a simple yet delicious side dish? Honey Garlic Roasted Carrots are the perfect choice! They combine sweet honey
Read more…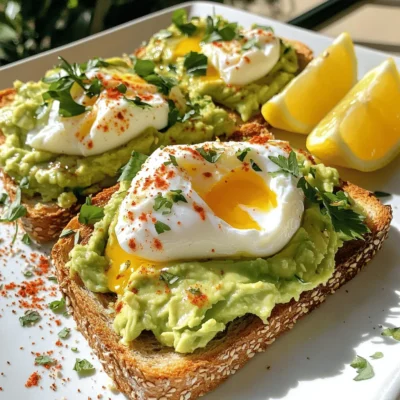
Savory Avocado Toast with Poached Egg Delight
Welcome to my kitchen! Today, I’m excited to share a delightful recipe for savory avocado toast with a perfectly poached
Read more…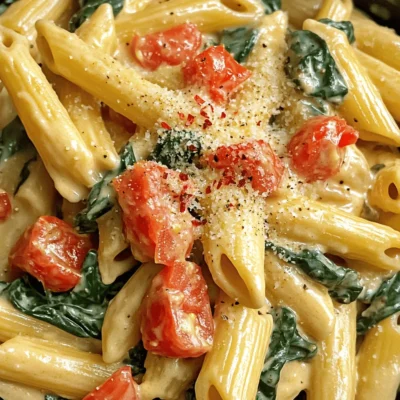
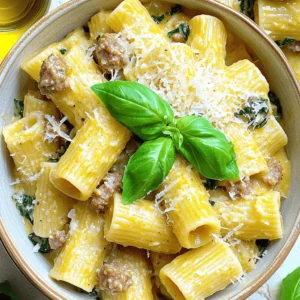
Creamy Tomato Spinach Pasta Flavorful Weeknight Meal
Are you looking for a simple yet delicious weeknight meal? Let me introduce you to my Creamy Tomato Spinach Pasta!
Read more…
Chocolate Avocado Mousse Rich and Creamy Delight
Get ready to indulge in a rich and creamy dessert that’s good for you! Chocolate Avocado Mousse is not just
Read more…browse recipes

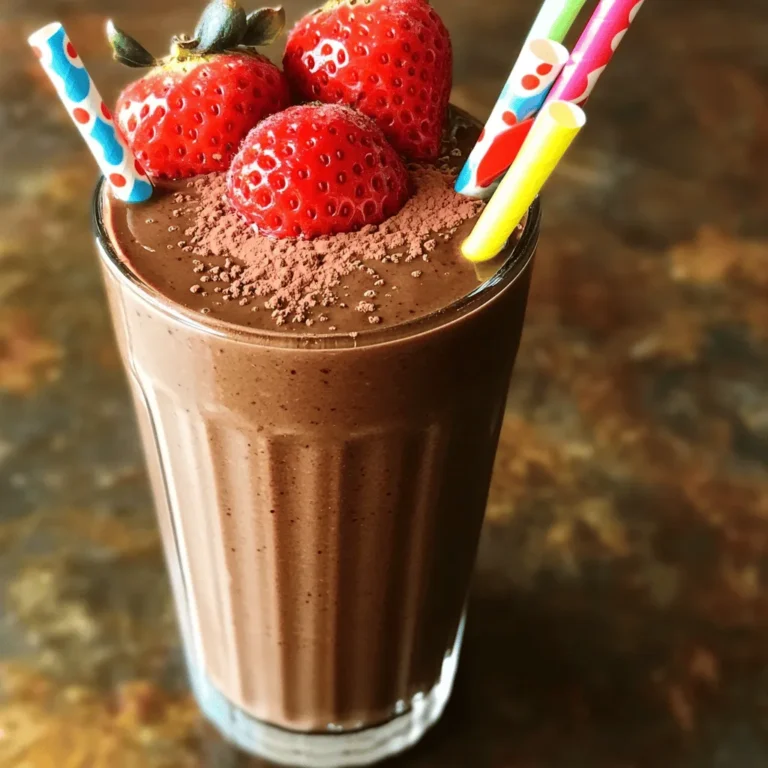
Strawberry Cheesecake Smoothie Creamy and Refreshing Treat
Craving a delightful treat that’s both creamy and refreshing? Look no further! This Strawberry Cheesecake Smoothie combines fresh strawberries, rich cream cheese, and tangy…
My Latest Desserts
My Latest Recipes
hey,
i’m !
I’m so happy you’re here!
Cooking is my love language, and I’m excited to share my best dishes with you. Hope they become your favorites too! Let’s enjoy every bite of this journey together.
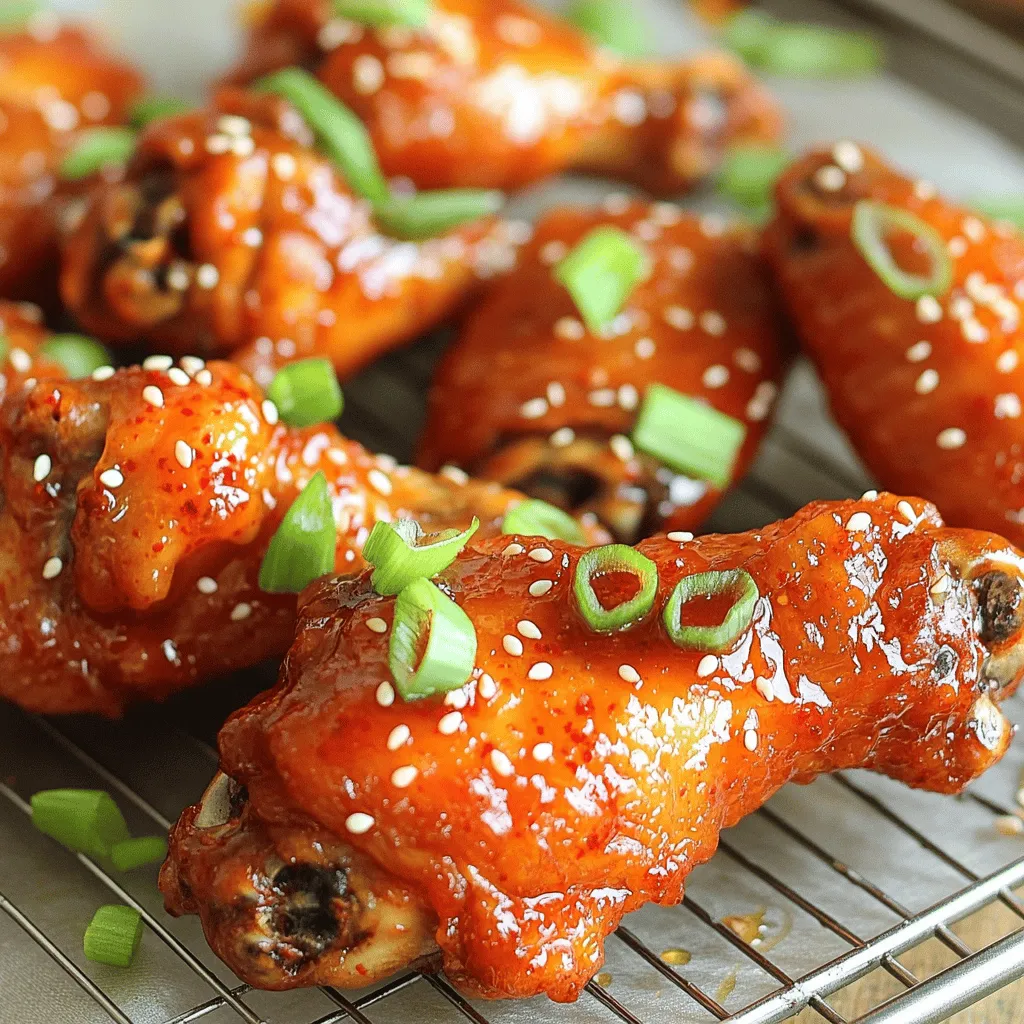
Spicy Korean Chicken Wings Bold and Flavorful Recipe
Get ready to spice up your next meal with my bold and flavorful recipe for Spicy Korean Chicken Wings. You’ll love the rich taste…





![- 2 cups basmati rice, rinsed - 4 chicken thighs, bone-in and skin-on - 1 cup chicken broth - 1/2 cup honey - 1/4 cup BBQ sauce - 1 tablespoon soy sauce - 1 teaspoon smoked paprika - 1 teaspoon garlic powder - 1 teaspoon onion powder - Salt and pepper to taste - 1 cup corn (fresh, frozen, or canned) - 1 red bell pepper, diced - 1/2 cup green onions, sliced (for garnish) Gathering the right ingredients is key to making One-Pan Honey BBQ Chicken Rice. I love using basmati rice because it cooks fluffy and absorbs flavors well. The chicken thighs are juicy and tender, especially when cooked with the skin on. You’ll need honey for sweetness and BBQ sauce for that rich, smoky taste. Chicken broth adds depth. The spices like smoked paprika, garlic powder, and onion powder bring out the best in the dish. Don't forget salt and pepper to enhance all these flavors! Lastly, colorful veggies like corn and red bell pepper not only taste great but also make the dish look beautiful. Sliced green onions on top add a fresh touch. This blend of ingredients makes each bite a delight. For the full recipe and more details, check out the [Full Recipe]. Start by seasoning the chicken thighs. Use salt, pepper, smoked paprika, garlic powder, and onion powder. Rub these spices on both sides. This step adds great flavor. Next, heat a drizzle of olive oil in your skillet over medium-high heat. Place the chicken thighs skin-side down in the hot pan. Sear them for about 5-7 minutes. This makes the skin golden and crispy. Flip the chicken and sear the other side for another 5 minutes. Remove the chicken from the pan and set it aside. Now, it's time to cook the rice and sauce. In the same pan, add 2 cups of rinsed basmati rice. Pour in 1 cup of chicken broth, 1/2 cup of honey, 1/4 cup of BBQ sauce, and 1 tablespoon of soy sauce. Stir well to mix all the ingredients together. This step creates a rich flavor base. Return the chicken to the pan, placing it on top of the rice mixture. Add 1 cup of corn and 1 diced red bell pepper around the chicken. Bring this mixture to a gentle boil. Next, reduce the heat to low. Cover the pan with a lid, and let it cook for about 25-30 minutes. Check the rice to see if it's tender and has absorbed all the liquid. Once cooked, remove the pan from heat and let it sit for another 5 minutes. Fluff the rice with a fork and check that the chicken is cooked through. The internal temperature should reach 165°F (75°C). For an extra touch, garnish with sliced green onions before serving. For the full recipe, check the section above. To get a great sear, always place the chicken skin-side down. This helps to crisp the skin, making it tasty and golden. Use medium-high heat for the best results. This heat level helps the chicken cook without burning. You can add more spices for extra flavor. Try cayenne for heat or thyme for a fresh taste. If you want to change the BBQ sauce, mix in some mustard or hot sauce. This will give it a unique twist that matches your taste. Serving directly from the pan gives a rustic feel. It’s easy and fun for guests. For a pop of color, drizzle extra BBQ sauce on top. Adding sliced green onions not only looks good but adds a fresh bite. Enjoy your meal with beautiful and tasty flair! {{image_2}} You can change the chicken cuts for this dish. Chicken breasts work well. They cook faster and stay juicy. You can also use chicken tenders if you prefer smaller pieces. If you want to try other meats, pork chops are great. They give a rich flavor. You can also use boneless turkey thighs. These options keep the meal tasty and fun. Adding different veggies can change the dish. You can use broccoli, zucchini, or peas. These veggies add color and nutrients. For seasonal freshness, try asparagus in spring. In summer, use cherry tomatoes for a sweet burst. In fall, butternut squash adds a warm flavor. Each choice makes your meal unique. If you want to make your sauce, mix ketchup, brown sugar, and vinegar. This homemade sauce can fit your taste. You can even add hot sauce for a kick. For healthier choices, look for low-sugar BBQ sauces. They keep the flavor but cut down on sugar. You can also use sauce made from fruit, like peach or apple. This adds a sweet twist to your chicken. For the full recipe, check the main article. To keep your One-Pan Honey BBQ Chicken Rice fresh, store it in airtight containers. Let it cool to room temperature first. Then, place it in the fridge. This way, it stays good for up to four days. If you want to freeze it, pack it in freezer-safe bags. Be sure to remove as much air as possible. This helps prevent freezer burn. You can freeze it for up to three months. When it's time to enjoy leftovers, you can reheat them safely. The best methods are the microwave or stovetop. For the microwave, place the rice and chicken in a bowl. Add a splash of water to keep it moist. Cover it with a lid or microwave-safe wrap. Heat in short bursts until hot, stirring often. If you're using the stovetop, heat it in a skillet over low heat. Stir gently to keep it from sticking. To maintain texture and flavor, avoid overheating. Check that the chicken reaches 165°F (75°C) again. This keeps it safe to eat and tasty! The total cook time is about 1 hour. Here’s the breakdown: - Prep time: 10 minutes - Cooking time: 30 minutes - Resting time: 5 minutes This timing makes it easy to plan your meal. You can spend the prep time gathering your ingredients and seasoning the chicken. Once the chicken is cooked, the rice takes about 25 to 30 minutes to become tender. Yes, you can make this dish ahead of time. To prepare in advance, cook the dish as usual. Once it cools, store it in an airtight container. Keep it in the fridge for up to three days. You can also freeze it for up to two months. Just thaw it overnight in the fridge when ready to eat. I recommend using basmati rice for this dish. Basmati has a nice texture and flavor. It cooks well and absorbs the honey BBQ sauce perfectly. You can also use jasmine rice as an alternative. Both types of rice complement the chicken nicely, giving you a tasty meal. Other rice types may not give the same results in texture or taste. In this blog post, we explored making One-Pan Honey BBQ Chicken Rice. We detailed the key ingredients, from rice and chicken thighs to flavorful sauces. The step-by-step instructions guided you through prepping, cooking, and final touches. I shared tips for searing chicken, enhancing flavors, and presenting the dish beautifully. With variations and storage ideas, you can customize and enjoy each meal. Remember, cooking should be fun and creative. Try this recipe and make it your own to impress friends and family. Enjoy your cooking journey!](https://recipespursuit.com/wp-content/uploads/2025/05/a9b1ea1f-9d04-4d9f-9128-7c3b701154ec-300x300.webp)
