Latest & Greatest

Cinnamon Roll Casserole Tasty Morning Delight
Start your day with a warm, sweet hug in the form of Cinnamon Roll Casserole! This delightful dish marries fluffy
Read more…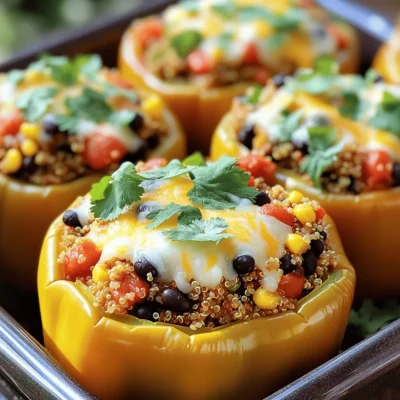
Stuffed Bell Peppers with Quinoa Flavorful and Healthy
Are you looking for a tasty and healthy dish? Stuffed bell peppers with quinoa might be just what you need!
Read more…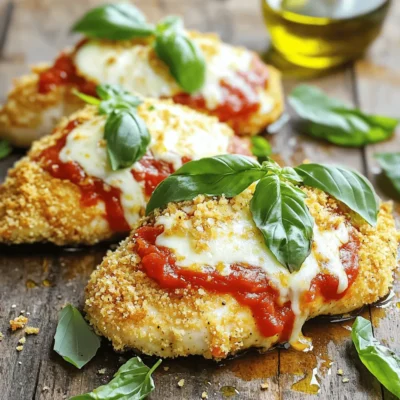
Oven-Baked Chicken Parmesan Crunchy and Tasty Dish
Are you ready to elevate your meal game? Oven-Baked Chicken Parmesan is a crowd-pleaser that combines crispy chicken, cheesy goodness,
Read more…
Peanut Butter Chocolate Chip Energy Balls Power Boost
Looking for a quick snack that packs a punch? Peanut Butter Chocolate Chip Energy Balls are your solution! These tasty
Read more…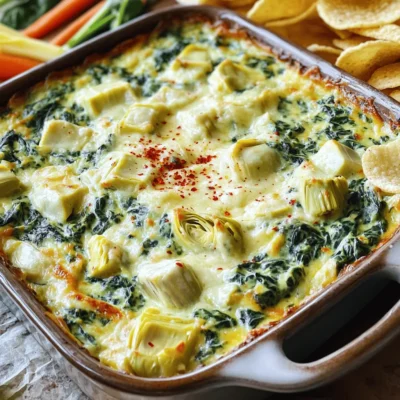
Creamy Spinach and Artichoke Dip Flavorful Delight
Are you ready to indulge in a dip that’s creamy, rich, and oh-so-delicious? My Creamy Spinach and Artichoke Dip will
Read more…
Crispy Garlic Parmesan Brussels Sprouts Perfectly Roasted
Are you ready to transform your Brussels sprouts into a crispy, cheesy delight? In this recipe for Crispy Garlic Parmesan
Read more…
Honey Mustard Chicken Thighs Flavorful Family Dinner
Looking for a family dinner that impresses without all the fuss? Honey Mustard Chicken Thighs are your answer! With just
Read more…
Savory Oatmeal with Spinach and Eggs Quick Recipe
Looking for a quick breakfast that packs a punch? Savory oatmeal with spinach and eggs is your perfect solution! This
Read more…browse recipes

Potstickers 5 Ways for Flavorful Homemade Meals
Want to spice up your weeknight dinners? Potstickers are the perfect answer. In this post, I’ll share five tasty ways to make homemade potstickers,…
My Latest Desserts
My Latest Recipes
hey,
i’m !
I’m so happy you’re here!
Cooking is my love language, and I’m excited to share my best dishes with you. Hope they become your favorites too! Let’s enjoy every bite of this journey together.
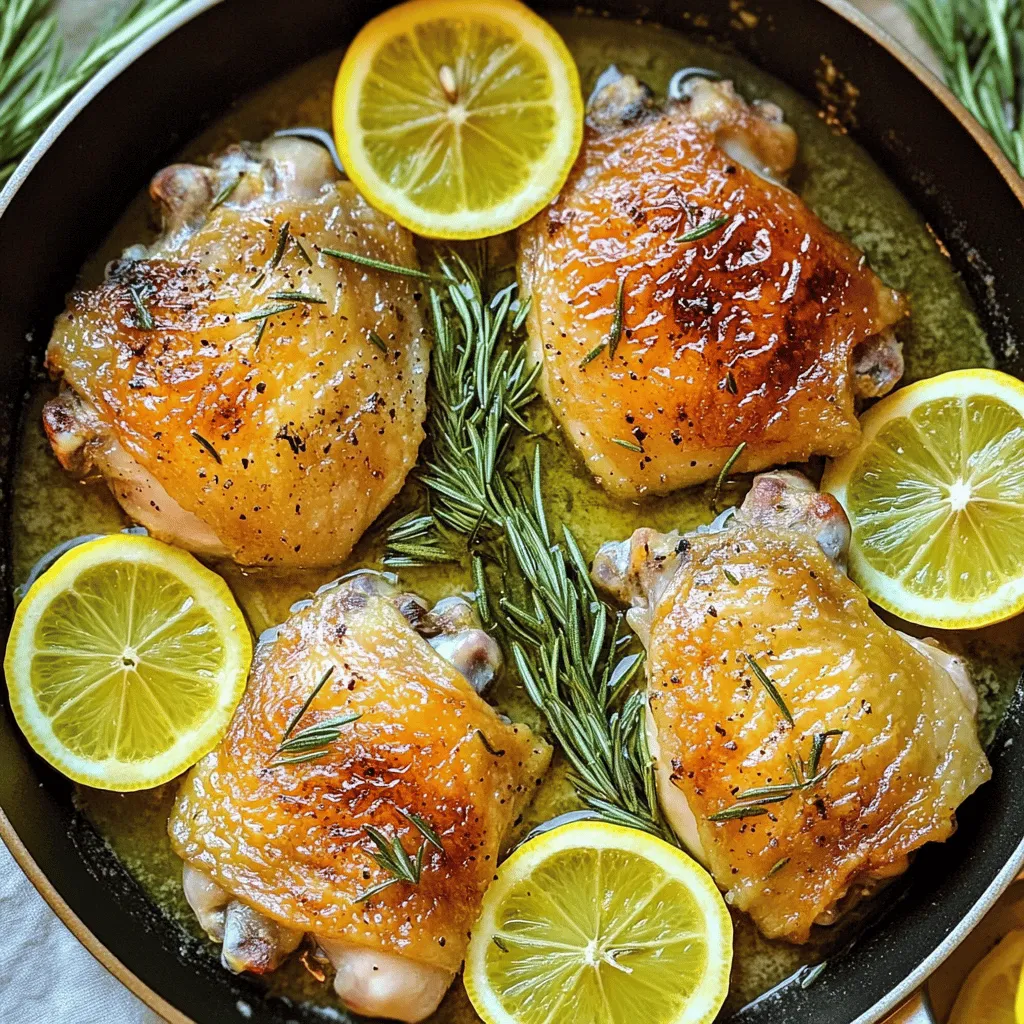
Lemon Rosemary Chicken Thighs Tangy and Juicy Recipe
Craving a dish that bursts with flavor? You’ll love my Lemon Rosemary Chicken Thighs! This recipe delivers juicy, tangy chicken that’s perfect for any…




![To make this dish, you need fresh and simple ingredients. Here’s what you will use: - 2 cups fresh basil leaves - 1/4 cup walnuts (or pine nuts) - 1/4 cup grated Parmesan cheese - 2 cloves garlic, minced - 1/2 cup extra virgin olive oil - Zest and juice of 1 lemon - Salt and pepper to taste - 12 oz pasta of your choice (spaghetti or fettuccine works well) Each ingredient plays a role in creating bright and bold flavors. The fresh basil brings a nice herbal taste. The walnuts add a lovely crunch and nuttiness. The lemon gives a bright zing that makes the dish pop. You can add some extra touches to make your dish even better. Consider these options: - Cherry tomatoes, halved (for garnish) - Additional Parmesan cheese (for serving) - A sprinkle of fresh basil for color These garnishes not only look pretty but also enhance the flavor. Cherry tomatoes add sweetness and freshness, while extra cheese brings creaminess to each bite. If you or someone else has allergies or preferences, you can easily swap some ingredients. Here are a few ideas: - Use sunflower seeds instead of walnuts or pine nuts for a nut-free option. - Replace Parmesan cheese with nutritional yeast for a vegan choice. - Swap olive oil with avocado oil if you prefer a different taste. These substitutions keep the spirit of the dish while making it safe and enjoyable for everyone. Adjust the recipe to fit your needs and taste! For the complete recipe, check out the Full Recipe section. First, bring a large pot of water to a boil. Add a generous amount of salt. This helps flavor the pasta. Once the water is boiling, add 12 ounces of your favorite pasta. Spaghetti and fettuccine are both great choices. Cook the pasta according to the package directions until it is al dente. This usually takes about 8 to 10 minutes. After cooking, reserve 1/2 cup of the pasta water. This water has starch that helps bind the sauce. Then, drain the pasta in a colander. Set it aside while you make the pesto. Next, grab your food processor. Add 2 cups of fresh basil leaves, 1/4 cup of walnuts or pine nuts, and 1/4 cup of grated Parmesan cheese. Toss in 2 cloves of minced garlic, the zest, and juice of one lemon. Pulse these ingredients until they are coarsely chopped. Now, slowly drizzle in 1/2 cup of extra virgin olive oil while the processor runs. This will make the pesto smooth and creamy. If it feels too thick, add a little reserved pasta water until you reach the right consistency. Taste it and add salt and pepper as needed. In a large bowl, combine the drained pasta with the lemon basil pesto. Use tongs to toss them together until the pasta is well-coated. This is where the magic happens! The pasta absorbs the fresh flavors of the pesto. Once mixed, transfer the pasta to serving plates. Add halved cherry tomatoes for a pop of color and extra flavor. You can sprinkle more Parmesan cheese on top for a cheesy finish. Enjoy your quick and flavorful Lemon Basil Pesto Pasta! For the complete recipe, check the Full Recipe section. To get the best pesto, start with fresh basil. This makes a big difference. When blending your ingredients, add olive oil slowly. This helps the pesto blend smoothly. If your pesto feels thick, add a bit of reserved pasta water. This water has starch and helps thin it out. You want a creamy texture, not too runny. You can boost the flavor of your pesto in many ways. Try adding a handful of spinach for extra nutrition. If you like heat, toss in some red pepper flakes. For a nutty twist, use roasted nuts instead of raw. A squeeze of lemon juice can brighten the taste. If you want a cheesy kick, add more Parmesan cheese. These simple tweaks can really elevate your dish. Presentation matters! Serve your Lemon Basil Pesto Pasta in a large bowl for sharing. This feels warm and inviting. For individual servings, use white plates to make colors pop. Top each plate with halved cherry tomatoes. They add a splash of color and freshness. Finish with a sprinkle of fresh basil and extra Parmesan. A drizzle of olive oil gives a nice sheen. This makes your dish look as good as it tastes! For the complete recipe, check the [Full Recipe] section. {{image_2}} You can use many types of pasta with lemon basil pesto. Spaghetti is a classic choice. Fettuccine makes a nice, flat base for the sauce. You can also try penne for a fun twist. If you want a lighter dish, use zucchini noodles or whole wheat pasta. These options add different textures and flavors to your meal. For a vegan version, skip the Parmesan cheese. You can use nutritional yeast instead. It gives a cheesy flavor without dairy. Also, replace the walnuts with sunflower seeds for a nut-free option. This keeps the pesto rich and creamy while being plant-based. You won't miss the cheese at all! If you want to make your pasta more filling, add protein. Grilled chicken or shrimp pairs well with the lemon basil pesto. Tofu is a great choice for a vegan meal. Simply cube and sauté it until golden. Beans or lentils can also boost the protein content and add fiber. These additions create a complete meal that satisfies your hunger. For the full recipe, check out the detailed steps above! Store leftover pesto and pasta in airtight containers. This keeps them fresh. If you made a lot of pesto, you can also store it in smaller jars. Make sure to seal them well to avoid air. Place the pasta in the fridge for up to three days. Pesto can last about a week if stored correctly. Always label your containers with dates. This helps you keep track of freshness. To reheat pasta, place it in a pot. Add a splash of water or olive oil. Heat on low until warm. Stir gently to avoid breaking the pasta. For pesto, you can warm it in a small pan. Use low heat and stir often. This helps keep the flavor bright. Avoid overheating to keep the taste fresh. You can freeze both pesto and cooked pasta. For pesto, place it in ice cube trays. Once frozen, transfer the cubes to a freezer bag. This makes it easy to use just what you need. Cooked pasta can also be frozen. Place it in a container with a little olive oil to prevent sticking. Freeze for up to three months. When ready to use, thaw it in the fridge overnight before reheating. For a full recipe of Lemon Basil Pesto Pasta, check this out! The best pasta for lemon basil pesto is spaghetti or fettuccine. These shapes hold the sauce well. You can also use penne or fusilli. Both options bring a nice texture. The key is to choose a pasta that can catch the pesto. Yes, you can make lemon basil pesto ahead of time. Store it in an airtight container in the fridge. It stays fresh for about a week. To prevent browning, drizzle a thin layer of olive oil on top. You can also freeze it. Just place it in ice cube trays. This way, you have single servings ready to go. Leftover pesto is great in many dishes. You can mix it into scrambled eggs for breakfast. It works well as a sandwich spread. Try using it on pizza instead of sauce. You can also toss it with roasted veggies for a tasty side. The options are endless! In this article, we explored how to create delicious Lemon Basil Pesto Pasta. We covered key ingredients, cooking steps, and tips to make your dish shine. You learned about variations and storage to keep leftovers fresh. This dish is simple and fun to make. Experiment with ingredients and enjoy your meal. Trust your taste, and don't hesitate to try new things. Enjoy every bite and impress your friends with your cooking skills!](https://recipespursuit.com/wp-content/uploads/2025/05/a7344841-83b3-49c1-947f-7329b573e16a-300x300.webp)


