

Latest & Greatest
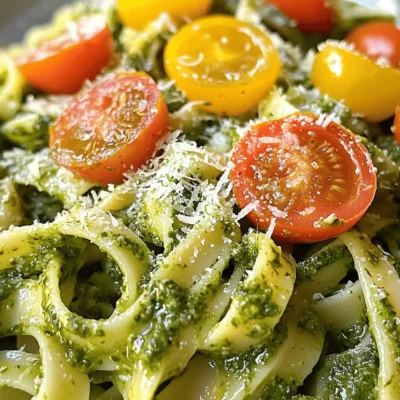
Lemon Basil Pesto Pasta Quick and Flavorful Recipe
Ready to elevate your pasta game? My Lemon Basil Pesto Pasta recipe is quick, easy, and packed with vibrant flavors.
Read more…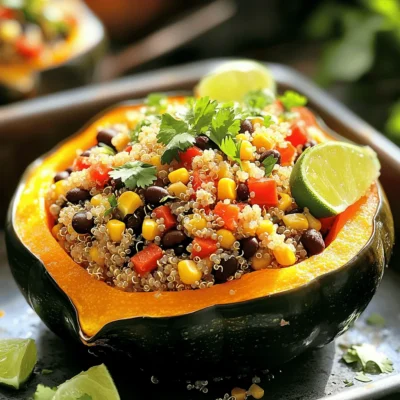
Vegetarian Stuffed Acorn Squash Simple and Tasty Meal
If you’re looking for a simple and tasty meal, try my vegetarian stuffed acorn squash! This dish is not just
Read more…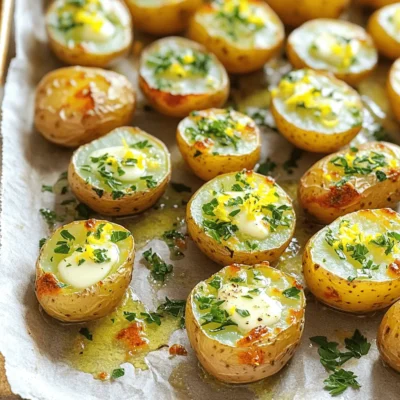
Garlic Butter Herb Potatoes Crispy and Flavorful Delight
Are you ready to elevate your potato game? These Garlic Butter Herb Potatoes are golden, crispy, and packed with flavor.
Read more…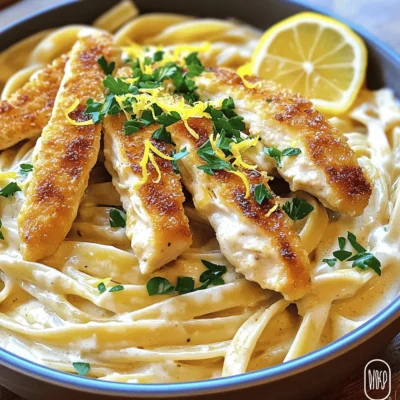
Classic Chicken Alfredo Creamy and Simple Recipe
Are you craving a rich, creamy dish that’s easy to make? Look no further! In this Classic Chicken Alfredo recipe,
Read more…
Crispy Parmesan Chicken Tenders Tasty and Simple Meal
Ready to elevate your weeknight dinners? I’ll show you how to make Crispy Parmesan Chicken Tenders that are both tasty
Read more…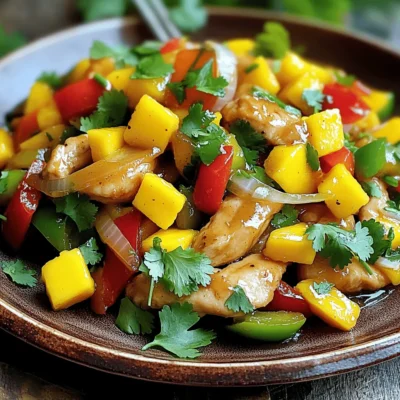
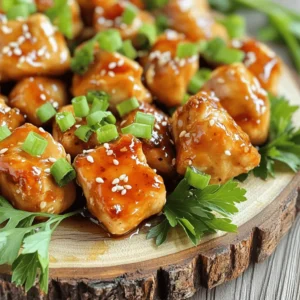
Mango Chicken Stir Fry Tasty and Quick Recipe Guide
Looking for a fast, delicious meal? My Mango Chicken Stir Fry is the answer! This dish combines tender chicken, fresh
Read more…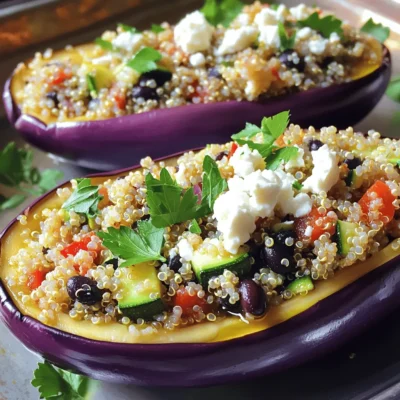
Stuffed Eggplant with Quinoa Flavorful and Hearty Dish
Are you ready for a dish that’s both hearty and flavorful? Stuffed eggplant with quinoa is here to impress! This
Read more…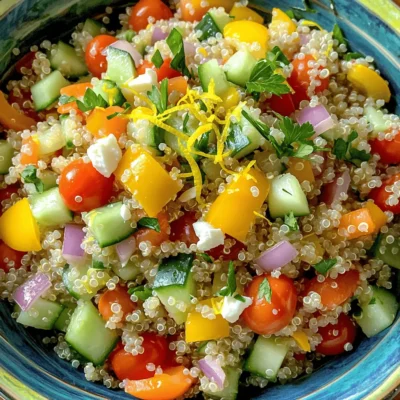
Zesty Lemon Herb Quinoa Flavorful and Healthy Dish
Looking for a healthy, tasty meal that’s easy to make? Zesty Lemon Herb Quinoa is the perfect dish! Packed with
Read more…browse recipes


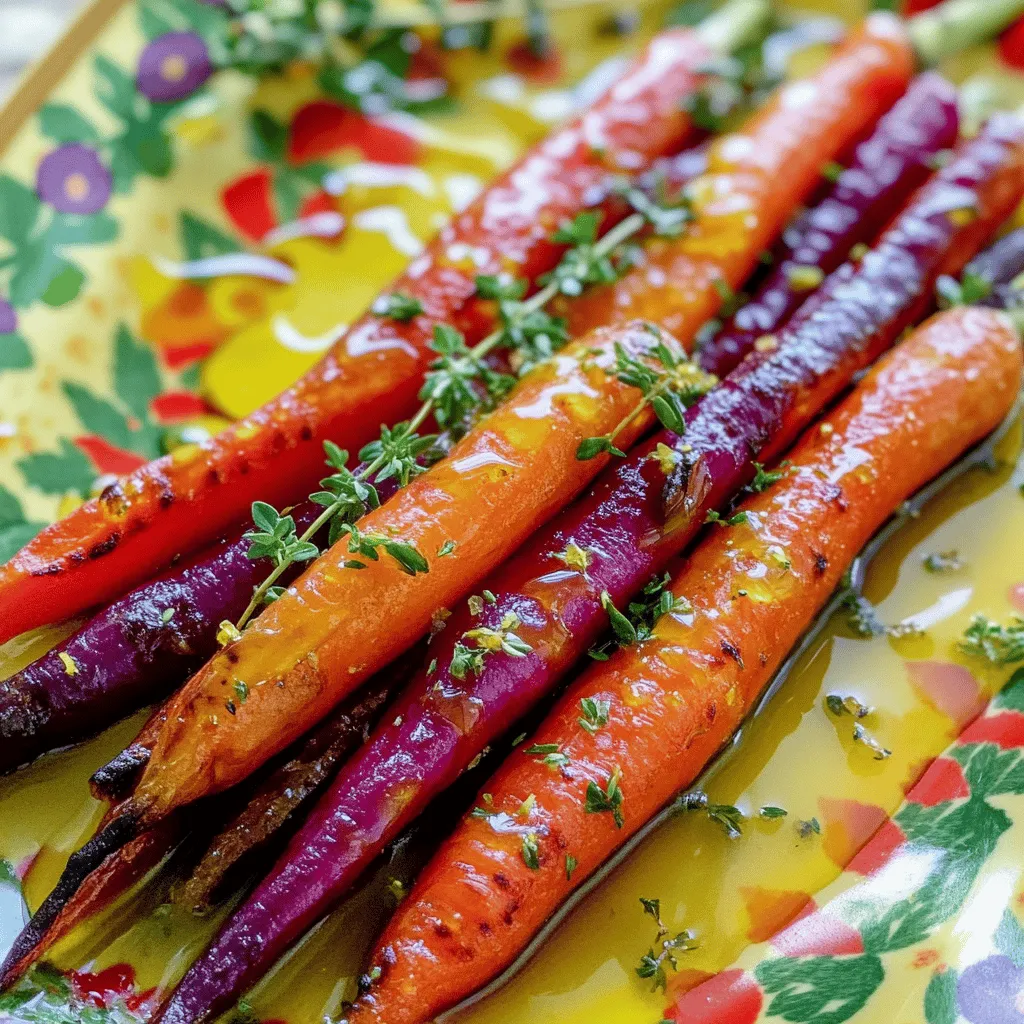
Roasted Rainbow Carrots Vibrant and Flavorful Dish
Looking to add a splash of color and flavor to your meals? Roasted Rainbow Carrots are the perfect dish! These vibrant veggies are not…
My Latest Desserts
My Latest Recipes

hey,
i’m !
I’m so happy you’re here!
Cooking is my love language, and I’m excited to share my best dishes with you. Hope they become your favorites too! Let’s enjoy every bite of this journey together.


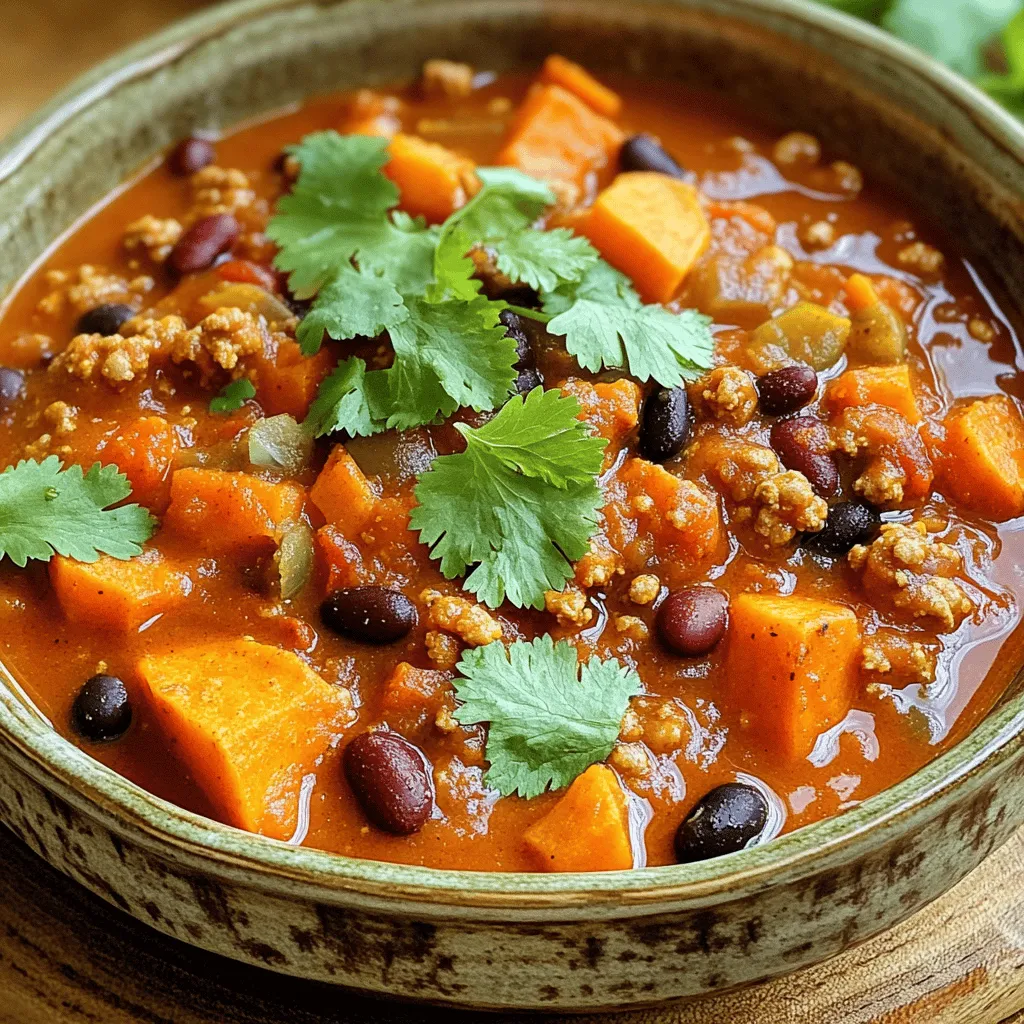
Savory Sweet Potato Turkey Chili Easy Weeknight Meal
Looking for a quick, hearty meal that warms the soul? I’ve got just the thing: Savory Sweet Potato Turkey Chili. This dish is not…