Latest & Greatest

76. Caramelized Onion and Goat Cheese Tart Delight
Welcome to my kitchen! Today, we’re making a savory Caramelized Onion and Goat Cheese Tart that’s sure to impress. With
Read more…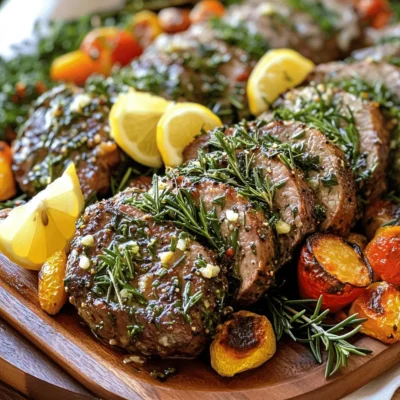
75. Herb-Crusted Pork Tenderloin Flavorful Dinner Recipe
Ready to impress at your next dinner? This Herb-Crusted Pork Tenderloin recipe packs a burst of flavor that everyone will
Read more…
74. Spicy Tuna Poke Bowl Flavorful and Fresh Delight
If you love fresh, tasty meals, you’ll adore my Spicy Tuna Poke Bowl! This dish combines sushi-grade tuna, perfect rice,
Read more…
Creamy Tomato and Spinach Pasta Flavorful Delight
Craving a quick but tasty meal? You’ve come to the right place! My Creamy Tomato and Spinach Pasta is bursting
Read more…
71. Chicken Fajita Quesadillas Flavorful and Easy Meal
Are you ready to elevate your weeknight dinners? Chicken Fajita Quesadillas are a fun and easy meal that packs a
Read more…
70. Lemon Dill Salmon Flavorful and Simple Recipe
Are you ready to make a dish that’s both tasty and simple? This Lemon Dill Salmon recipe brings bright flavors
Read more…
Delicious 69. Chocolate Avocado Mousse Easy Dessert
Are you ready for a dessert that’s delicious and healthy? This Chocolate Avocado Mousse is your answer! With just a
Read more…
Savory Chicken and Rice Bake Flavorful Family Meal
Looking for a cozy meal that pleases the whole family? My Savory Chicken and Rice Bake hits the mark! This
Read more…browse recipes

Banana Chocolate Chip Pancakes Easy and Tasty Recipe
Are you ready to elevate your breakfast game? Banana chocolate chip pancakes are easy, fun, and delicious! This simple recipe combines sweet bananas and…
My Latest Desserts
My Latest Recipes
hey,
i’m !
I’m so happy you’re here!
Cooking is my love language, and I’m excited to share my best dishes with you. Hope they become your favorites too! Let’s enjoy every bite of this journey together.
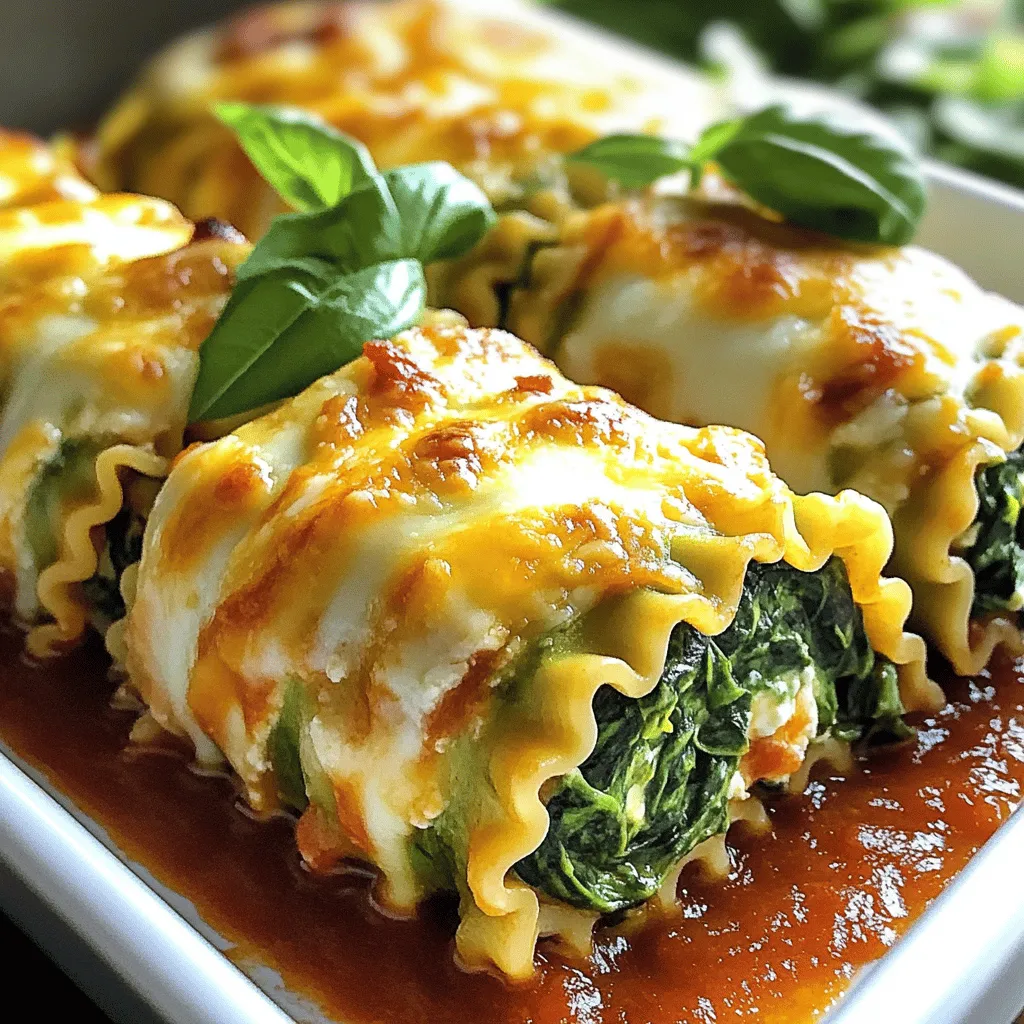
Cheesy Spinach Lasagna Rolls Savory and Satisfying Dish
Are you craving a hearty dish that’s both rich and flavorful? Look no further! These Cheesy Spinach Lasagna Rolls pack a delicious punch, making…









![- 2 cans (15 oz each) chickpeas, drained and rinsed - 1 can (14 oz) coconut milk - 1 medium onion, finely chopped - 3 cloves garlic, minced - 1 inch ginger, grated - 1 red bell pepper, diced - 1 cup spinach (fresh or frozen) - 2 tablespoons olive oil - Salt and pepper to taste Chickpeas form the base of this dish. They add protein and fiber. I use two cans for a hearty texture. Coconut milk brings creaminess and a hint of sweetness. It balances all the spices well. Aromatics like onion, garlic, and ginger add depth. They create a strong flavor foundation. - 2 tablespoons curry powder - 1 teaspoon ground cumin - 1 teaspoon turmeric Spices turn this dish into a flavor bomb. Curry powder gives warmth and a rich taste. Ground cumin adds earthiness. Turmeric brings a vibrant color and has health benefits. Combining these spices makes every bite exciting. - Fresh cilantro - Lime wedges Garnishes elevate your dish. Fresh cilantro adds brightness and a pop of color. Lime wedges bring acidity, balancing the creaminess. These finishes make your meal look and taste gourmet. For a full experience, I suggest trying the Full Recipe. First, gather all your ingredients. This makes cooking easy. Chop the onion, garlic, and ginger into small pieces. Rinse the chickpeas in a strainer. Drain them well. Wash your spinach if it's fresh. If you use frozen spinach, no need to wash. Next, clean your cooking space. Make sure your skillet and utensils are ready. Having everything in place helps you cook smoothly. Heat two tablespoons of olive oil in a large skillet over medium heat. Add the chopped onion. Sauté it until golden and soft. This should take about five minutes. Now, stir in the minced garlic and grated ginger. Cook for one to two minutes. This makes your kitchen smell great! Add two tablespoons of curry powder, one teaspoon of ground cumin, and one teaspoon of turmeric. Stir well to coat the onions. Let the spices cook for about one minute. Next, toss in the diced red bell pepper. Sauté it for another two minutes. The pepper adds color and sweetness. Pour in one can of coconut milk and add the drained chickpeas. Stir until well mixed. Bring the mixture to a gentle simmer. Let it cook for around ten to fifteen minutes. Stir occasionally to avoid sticking. Now it's time to add the greens. Stir in one cup of spinach. If you use fresh spinach, cook until it wilts. If you use frozen, heat it through for two to three minutes. Season with salt and pepper to taste. Adjust the seasoning as needed. You can now serve this dish hot. Garnish with fresh cilantro and lime wedges for a burst of flavor. For the full recipe, feel free to explore the detailed steps! To make your chickpea curry shine, focus on spice levels. Add more curry powder if you like heat. A pinch of red pepper flakes adds a nice kick too. Balancing acidity and creaminess is key. Use fresh lime juice to brighten the dish. This lifts the rich coconut milk and makes each bite pop. For simmering, use a heavy skillet or Dutch oven. These help distribute heat evenly. Stir regularly to avoid sticking and burning. If the curry thickens too fast, add a splash of water. This keeps the texture just right. Plating matters! Use a wide bowl to show off the vibrant colors. Top with fresh cilantro for a pop of green. Lime wedges add a fresh touch. Serve with fluffy rice or warm naan on the side. This makes your meal feel complete and inviting. {{image_2}} To make this chickpea curry even more exciting, try adding tofu or tempeh. Both are great sources of protein and soak up flavors well. Just cube the tofu or tempeh and sauté them in olive oil before adding them to the curry. This gives a nice texture and a boost in protein. You can also use lentils instead of chickpeas. Lentils cook faster and are just as healthy. They add a different taste and texture. Use about 1 cup of cooked lentils for each can of chickpeas. This swap keeps the dish hearty and satisfying. Incorporating seasonal vegetables can brighten up your curry. Think about adding zucchini, carrots, or bell peppers. These veggies add color and nutrients. Just chop them into small pieces and add them with the chickpeas. Using sweet potatoes or pumpkin is another great option. They add natural sweetness and make the curry creamy. Peel and cube the sweet potatoes or pumpkin, then cook them until soft before mixing them in. To explore different flavors, try adding regional spices. For example, garam masala can give your curry a warm, aromatic touch. You can also add a pinch of cinnamon or star anise for depth. If you like heat, create a spicy version by adding chili powder or diced jalapeños. Start with a small amount, then taste and adjust as needed. This adds excitement and makes the dish even more memorable. For the full recipe, refer to the Chickpea Curry in Coconut Milk section above. To keep your chickpea curry fresh, use an airtight container. Glass containers work best, but plastic ones are fine too. Make sure to cool the dish before sealing. It can last in the fridge for up to five days. To reheat chickpea curry, use a pot on the stove or a microwave. If you use the stove, heat it on low, stirring often. In the microwave, use short bursts of heat and stir in between. This will help avoid mushiness and keep the texture nice. Yes, you can freeze chickpea curry. Pour it into a freezer-safe container, leaving some space at the top for expansion. It can last for three months in the freezer. When ready to eat, defrost it overnight in the fridge. To warm it up, use the stove or microwave, just like before. Yes, you can make this chickpea curry ahead of time. Preparing meals in advance saves time on busy days. It also allows the flavors to mix and deepen. Store the curry in an airtight container in the fridge. It stays fresh for up to three days. When you are ready to eat, just reheat it on the stove. Absolutely! Chickpea curry is vegan-friendly. It uses plant-based ingredients like chickpeas and coconut milk. This dish is perfect for anyone who follows a vegan diet. It is also great for those who want a healthy meal. You can enjoy this curry without worrying about animal products. You can serve a variety of dishes with chickpea curry. Here are some great options: - Rice: Steamed basmati or jasmine rice works well. - Naan: Warm naan bread is perfect for scooping up curry. - Quinoa: This nutty grain adds a healthy twist. - Salad: A fresh cucumber or tomato salad adds crunch. - Yogurt: A dollop of yogurt can cool the spice. For the complete recipe, check out the [Full Recipe]. In this post, we explored the key ingredients for a delicious chickpea curry, from main elements to spices and garnishes. The step-by-step instructions guide you through preparation, cooking, and final touches. I shared tips for perfect flavor and cooking techniques to help you shine in the kitchen. You can also experiment with variations and know how to store leftovers. Chickpea curry is tasty, healthy, and easy to make. Enjoy your cooking journey and make it your own!](https://recipespursuit.com/wp-content/uploads/2025/05/11681a0a-1e4f-4b43-a396-77c1ab699cf3-300x300.webp)

