Latest & Greatest
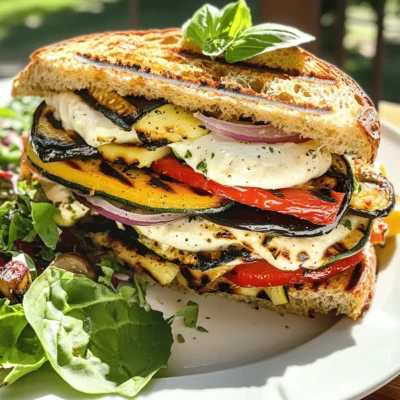
76. Grilled Vegetable Panini Flavorful and Easy Recipe
Are you ready to enjoy a delicious, grilled vegetable panini? This simple recipe bursts with flavor and colors. Perfect for
Read more…
75. Cauliflower Fried Rice Flavorful and Quick Meal
Looking for a quick and tasty meal? You’ve come to the right place! This cauliflower fried rice recipe is healthy,
Read more…
74. Garlic Honey Roasted Chicken Tasty Dinner Idea
Looking for a flavorful and easy dinner idea? Look no further than Garlic Honey Roasted Chicken. This dish combines sweet
Read more…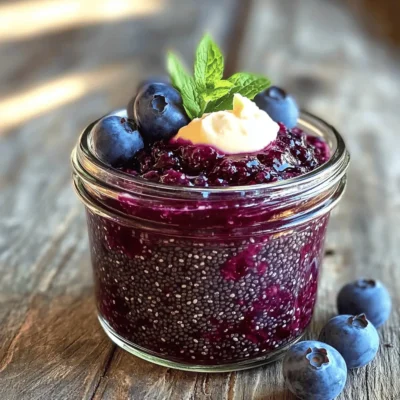
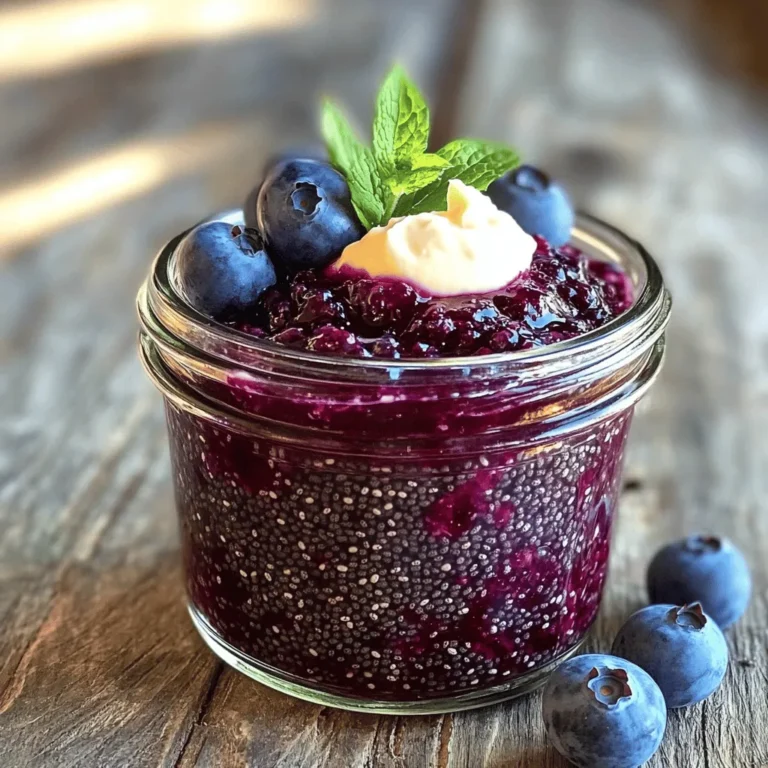
73. Blueberry Chia Seed Jam Simple and Delicious Recipe
If you’re craving a tasty and healthy spread, you’ve come to the right place! Making Blueberry Chia Seed Jam is
Read more…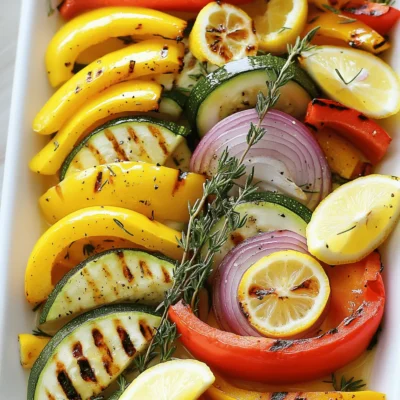
72. Lemon Thyme Grilled Vegetables Flavorful and Simple
Are you ready to take your grilling game to the next level? My Lemon Thyme Grilled Vegetables are not only
Read more…
115. Spicy Cilantro Lime Shrimp Flavorful and Simple Dish
Are you ready to tantalize your taste buds? In this post, I’ll show you how to make Spicy Cilantro Lime
Read more…
Lemon Thyme Roasted Chicken Delicious and Simple Dish
Are you looking for a dish that’s both easy and tasty? Lemon Thyme Roasted Chicken is the answer! This simple
Read more…
Creamy Mushroom Soup Rich and Flavorful Recipe
Get ready to fall in love with creamy mushroom soup! This rich and flavorful recipe is all about making a
Read more…browse recipes
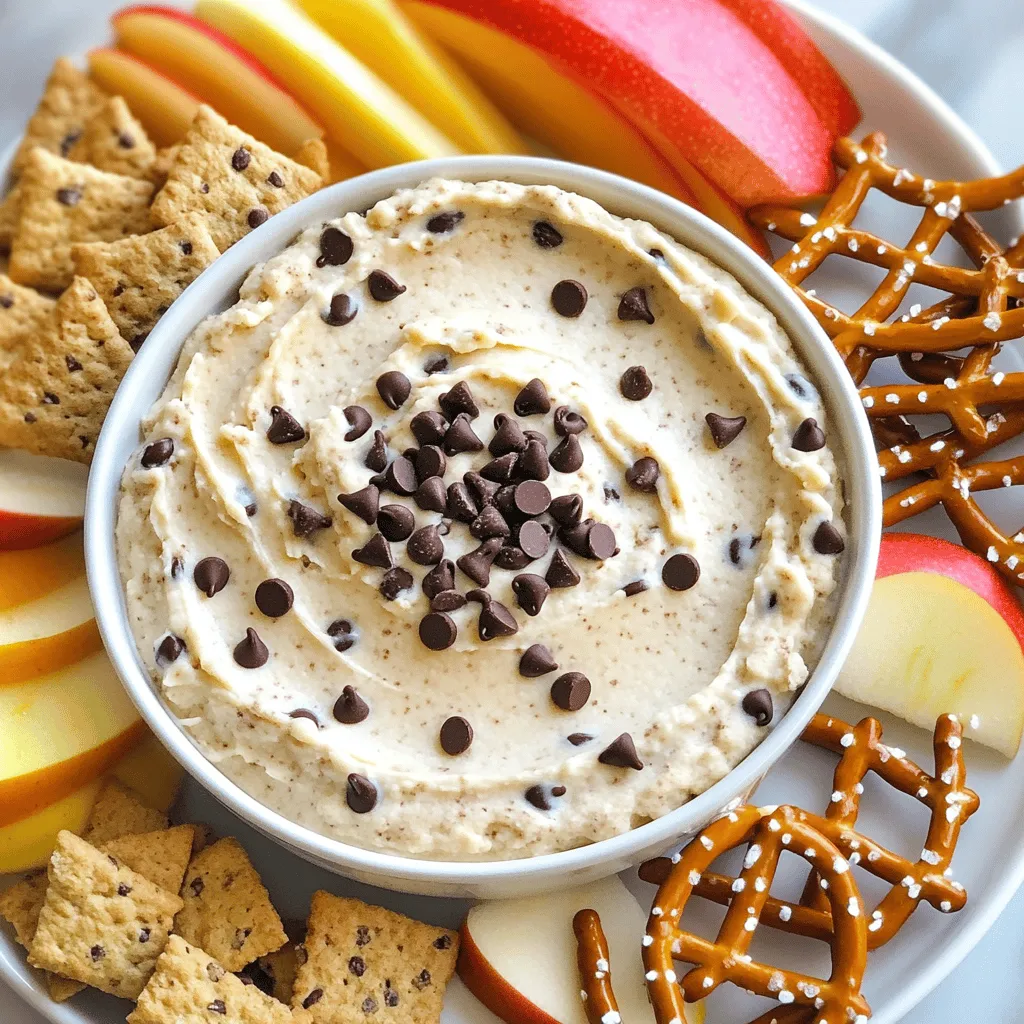
Chocolate Chip Cookie Dough Dip Tasty and Simple Treat
If you love cookie dough, you’re in for a treat! This Chocolate Chip Cookie Dough Dip is a quick and easy snack that’s perfect…
My Latest Desserts
My Latest Recipes
hey,
i’m !
I’m so happy you’re here!
Cooking is my love language, and I’m excited to share my best dishes with you. Hope they become your favorites too! Let’s enjoy every bite of this journey together.
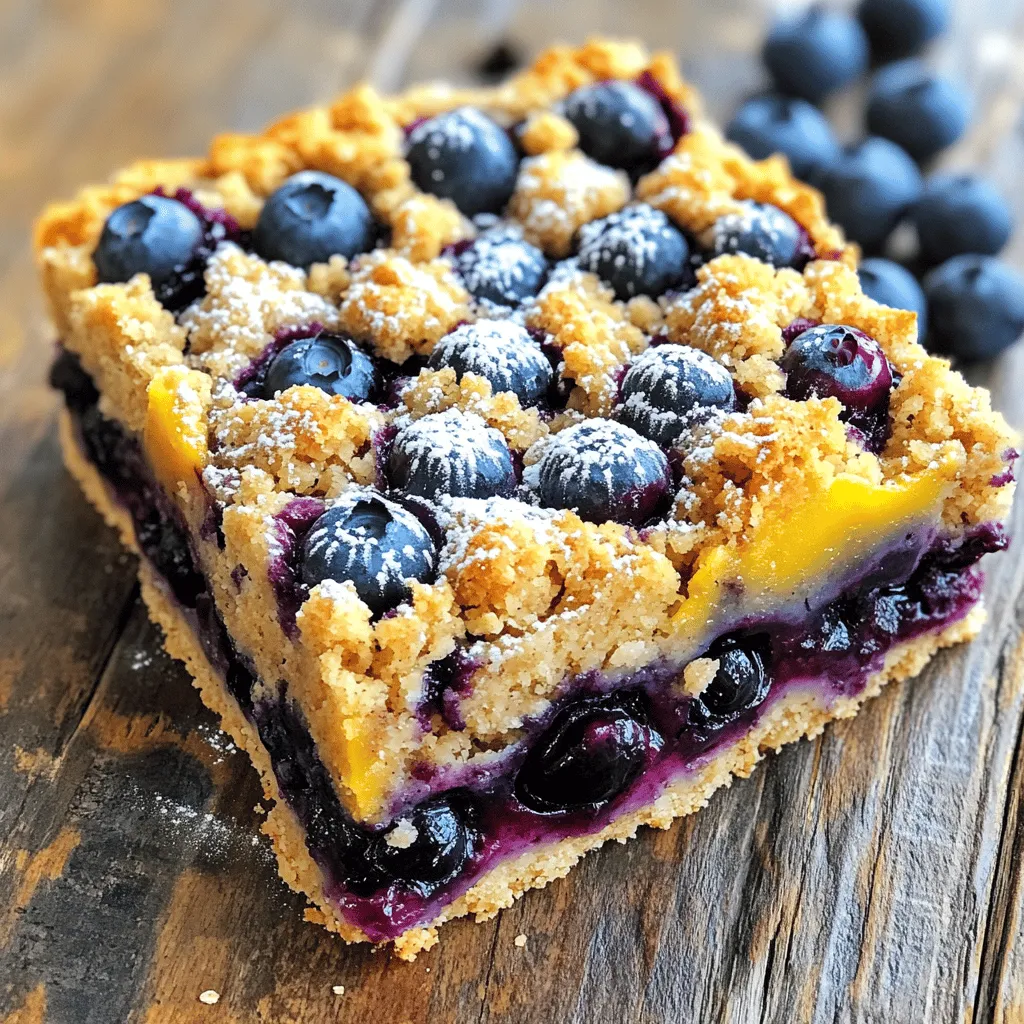
Blueberry Oatmeal Crumb Bars Tasty and Simple Recipe
Do you crave a sweet treat that’s easy to make? Look no further! My Blueberry Oatmeal Crumb Bars are a perfect mix of tasty…



![- Thick Bread Options: Use brioche or challah for the best taste and texture. These breads soak up the egg mixture well and create a soft inside with a crisp outside. - Eggs and Dairy: You need two large eggs for richness. For milk, whole milk works best, but almond milk adds a nice twist if you prefer a dairy-free option. - Flavoring Agents: Add one teaspoon of vanilla extract for sweetness and one teaspoon of ground cinnamon for warmth. These flavors turn simple toast into a delightful treat. - Optional Add-ins: You can add one tablespoon of sugar for extra sweetness. A pinch of salt helps balance the flavors. - Cooking Essentials: Use butter for cooking. It gives your French toast a golden crust. Maple syrup is a must for serving. Pour it on generously for that classic sweetness. With these ingredients, you will make a dish that is both comforting and delicious. For the full recipe, check out the details above! To make the best French toast, start with the egg mixture. Whisk together: - 2 large eggs - 1 cup milk - 1 teaspoon vanilla extract - 1 teaspoon ground cinnamon - 1 tablespoon sugar (optional) - A pinch of salt Whisk until smooth. This helps blend the flavors. You want a light, fluffy batter. Mix the eggs and milk well. If you want extra fluff, beat the eggs a bit more. Preheating your skillet is very important. This ensures even cooking and helps achieve that golden-brown color. Now, let’s cook the French toast. Dip each bread slice into the egg mixture. Make sure to coat each side but don’t soak it. Tap off any extra batter. Heat your skillet over medium heat. Add a pat of butter. Let it melt completely. Place the coated bread on the hot skillet. Cook for about 3-4 minutes on each side. Look for that nice golden color. You might need to cook in batches. Once cooked, transfer the French toast to a warm plate. Keep it warm in the oven while you cook the rest. Now, it’s time to serve your French toast. Keep it warm on a low oven setting. Top each slice with maple syrup. Fresh berries add a nice touch, too. A light dusting of powdered sugar makes it look fancy. To plate, stack two or three slices. Add berries on the side for color. This makes your dish pop and taste even better. For the full recipe, check out the detailed instructions. Enjoy your delightful meal! - Choosing the Right Bread for Best Results The bread you pick makes a big difference. I love using thick brioche or challah. These breads soak up the egg mixture well. They also give a nice, fluffy texture when cooked. - Adjusting Sweetness with Sugar Options You can add sugar for sweetness. I suggest starting with one tablespoon. You can also use honey or agave syrup for a different flavor. - Infusing Flavors: Additional Spice Suggestions Want to change it up? Add a pinch of nutmeg or cardamom. These spices add warmth and depth to the dish. - Skillet vs. Griddle: Which is Better? I prefer a non-stick skillet for French toast. It heats evenly and gives a nice crust. A griddle works too, especially for larger batches. - Avoiding Soggy Bread: Key Techniques Avoid soaking the bread too long. Dip each slice quickly in the egg mix. Tap off any extra liquid before cooking. This helps keep the bread from getting soggy. - Batch Cooking for Larger Groups If you're cooking for many, keep cooked slices warm in the oven. Set it to low heat (around 200°F). This way, everyone enjoys warm French toast together. For the complete recipe, check out the [Full Recipe]. {{image_2}} To make classic French toast even better, you can add fun flavors. Here are some ideas: - Adding Nutmeg or Other Spices: A sprinkle of nutmeg gives a warm flavor. You can also try cardamom or ginger for a unique twist. - Stuffed French Toast Options: Stuff your bread with cream cheese, jam, or fruit. This adds a tasty surprise in every bite. - Savory Versions: Cheese and Veggies: For a savory twist, add cheese and veggies. Use sharp cheddar or spinach for a delicious change. You can serve French toast in many fun ways. Here are a few you might like: - Tropical French Toast with Pineapple: Top your toast with grilled pineapple and coconut. It gives a bright, sunny taste. - Chocolate Chip or Berry French Toast: Add chocolate chips or fresh berries to the batter. This makes a sweet treat everyone will love. - Vegan Alternatives for Egg and Dairy: Use almond milk and a banana instead of eggs. This keeps the taste but makes it vegan-friendly. For the full recipe, check out the Deliciously Classic French Toast section. To keep your French toast fresh, refrigerate it. Place the slices in an airtight container. This helps prevent them from drying out. Use parchment paper between layers to avoid sticking. For longer storage, you can freeze French toast. Wrap each slice in plastic wrap. Then, place them in a freezer bag. This keeps them tasty for up to three months. When it's time to eat, reheating is simple. Use a toaster oven or conventional oven. Heat at 350°F for about 10 minutes. You can also microwave it for quick reheating. Just cover it with a damp paper towel to keep it moist. How long does French toast last in the fridge? It stays fresh for about three to four days. Always check for signs of spoilage. Look for a few key signs. If the toast has an off smell, it may be bad. Any visible mold means you should throw it out. If it feels slimy, it's also time to toss it. Always trust your senses when it comes to food safety. Can I Use Egg Substitutes for a Vegan Version? Yes, you can use egg substitutes like flaxseed meal or silken tofu. Mix one tablespoon of flaxseed meal with three tablespoons of water for each egg. Let it sit until it thickens. This mix binds well and gives a nice texture. What is the Best Bread for French Toast? Thick bread is ideal. Brioche or challah works best. They soak up the egg mixture and become soft inside while crisp outside. You can also use sourdough or Texas toast for a different flavor. How can I make French Toast gluten-free? Use gluten-free bread. Many options are available now. Look for brands that have a good texture. You can follow the same steps as regular French toast for great results. Can I prepare the mixture in advance? Yes, you can mix the egg and milk a few hours ahead. Keep it covered in the fridge. This saves time on busy mornings and allows flavors to blend. How to prevent French toast from getting soggy? Avoid soaking the bread too long. A quick dip works best. Tap off excess mixture before cooking. Ensure your skillet is hot enough to create a nice crust. What's the nutritional value of classic French toast? A serving has about 300 calories, depending on the bread and toppings. It includes protein from eggs and calcium from milk. Add fresh fruit for more vitamins and fiber. For the complete recipe, check the Full Recipe section. In this post, I shared how to make classic French toast. We covered essential ingredients like thick bread, eggs, and flavorings. I provided step-by-step instructions for the perfect egg mixture and cooking methods. You also learned about tasty variations and storage tips. With these easy tips, you can create delicious French toast any time. Enjoy experimenting with flavors and serving styles!](https://recipespursuit.com/wp-content/uploads/2025/05/60c6460b-889f-4bf2-bd35-0e82d69c3fac-300x300.webp)

