Latest & Greatest

Crispy Coconut Chicken Tenders Perfect for Dinner
If you’re searching for a dinner recipe that’s both easy and delicious, look no further! Crispy Coconut Chicken Tenders are
Read more…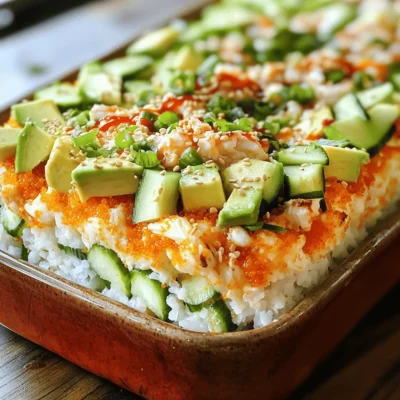
Viral TikTok Sushi Bake Simple and Tasty Recipe
Have you heard about the viral TikTok Sushi Bake? It’s a delicious dish that blends sushi flavors in a fun,
Read more…
Easy Chicken Tikka Masala Simple and Flavorful Dish
Craving a warm and flavorful dish that’s quick to make? You’re in the right place! This Easy Chicken Tikka Masala
Read more…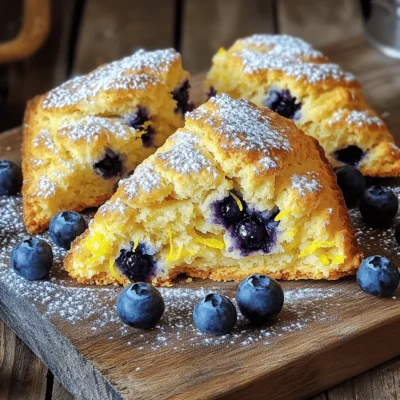
Lemon Blueberry Scones Tasty and Simple Recipe
Looking for a bright and tasty treat? My Lemon Blueberry Scones are simple to make and packed with flavor. In
Read more…
Vegan Mac and Cheese Comforting and Creamy Dish
Are you craving a dish that’s both comforting and creamy? My Vegan Mac and Cheese will satisfy your taste buds
Read more…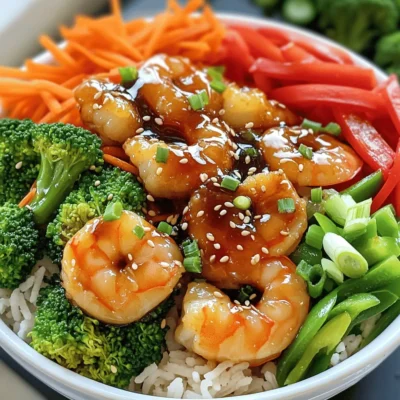
Teriyaki Shrimp Bowls Simple and Flavorful Meal
Looking for a meal that’s both simple and bursting with flavor? You’ve come to the right place! Teriyaki shrimp bowls
Read more…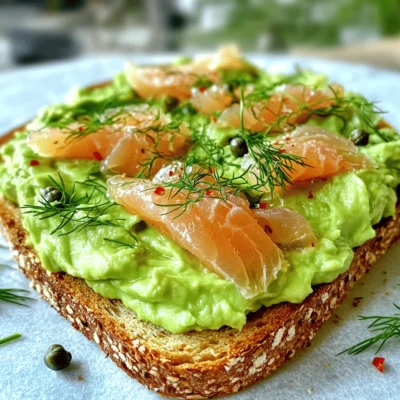
Smoked Salmon Avocado Toast Healthy Breakfast Recipe
Looking for a healthy breakfast that packs a punch? Smoked salmon avocado toast is your answer! This colorful dish combines
Read more…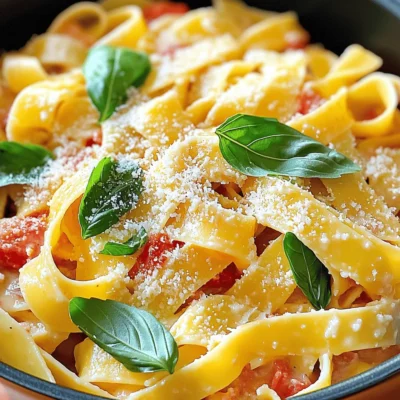
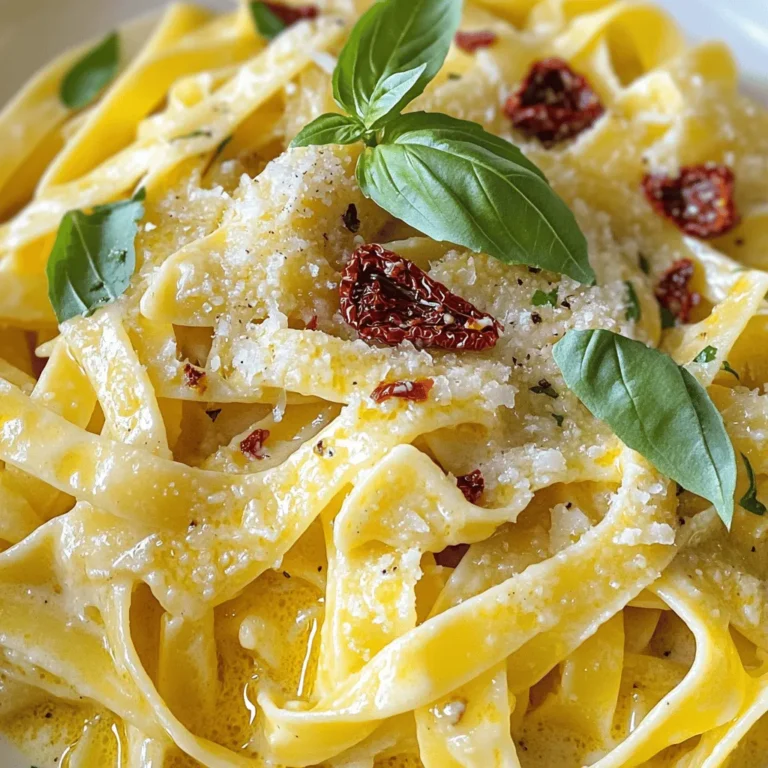
Creamy Tomato Basil Pasta Flavorful and Simple Meal
Looking for a meal that’s both tasty and easy to make? Let me show you how to create creamy tomato
Read more…browse recipes


. In this post, I shared how to make a delicious baked ziti. I covered essential ingredients, cooking techniques, and common mistakes to avoid. Remember, using high-quality ingredients makes a big difference. You can customize your dish with add-ins and variations. Proper storage ensures you enjoy leftovers later. With these tips, you can create a tasty meal that your family will love. Check out the full recipe for Cheesy Comfort Baked Ziti to get started. Happy cooking!](https://recipespursuit.com/wp-content/uploads/2025/06/fb3e8b7e-ba25-42fb-a491-7c868a3e31e2.webp)
Simple Baked Ziti Flavorful and Comforting Recipe
Looking for a dish that’s easy to make and packed with flavor? This Simple Baked Ziti recipe is your answer! With gooey cheese, savory…
My Latest Desserts
My Latest Recipes

hey,
i’m !
I’m so happy you’re here!
Cooking is my love language, and I’m excited to share my best dishes with you. Hope they become your favorites too! Let’s enjoy every bite of this journey together.


![- 2 cups heavy cream - 1 cup whole milk - 1/2 cup granulated sugar The base of panna cotta is creamy and rich. Heavy cream gives it that smooth mouthfeel. Whole milk adds balance. Granulated sugar sweetens without being overpowering. - 1 tablespoon vanilla bean paste - Pinch of salt Vanilla bean paste is key here. It brings out a deep, rich flavor. A pinch of salt enhances all these tastes. Together, they create a delightful experience. - 2 1/4 teaspoons powdered gelatin - 3 tablespoons cold water Gelatin is essential for setting the panna cotta. It helps the dessert hold its shape. Blooming the gelatin in cold water is important. It ensures even mixing and a smooth texture. For the full recipe, check out Classic Vanilla Bean Panna Cotta. To start, you need to gather your main ingredients. In a medium saucepan, combine: - 2 cups heavy cream - 1 cup whole milk - 1/2 cup granulated sugar - 1 tablespoon vanilla bean paste - A pinch of salt Place the saucepan over medium heat. Stir gently until the sugar dissolves. You want the mixture to steam but not boil. Once the sugar has dissolved, remove the pan from the heat. The sweet, creamy mixture is the base of your panna cotta. Next, you will bloom the gelatin. In a small bowl, sprinkle 2 1/4 teaspoons of powdered gelatin over 3 tablespoons of cold water. Let it sit for about 5-10 minutes. This step allows the gelatin to absorb the water and swell. This is a key step for a smooth panna cotta. Now, it’s time to combine everything. Once the gelatin has bloomed, add it to the warm cream mixture. Stir continuously until the gelatin fully dissolves. Make sure there are no lumps. Let the mixture cool for about 10 minutes. Then, pour the panna cotta mixture evenly into dessert cups or molds. Cover them with plastic wrap and refrigerate for at least 4 hours or until set. For the full recipe, you can refer to the instructions I provided earlier. Enjoy your creamy and delicious panna cotta! To get the best panna cotta, cooling the mixture is key. After heating, let it sit for about 10 minutes. This helps the panna cotta set properly. If it’s too hot, the gelatin may not work well. Always make sure the gelatin is fully dissolved. If it’s lumpy, your dessert may not turn out smooth. When serving, think about garnishes! Fresh berries add color and flavor. A drizzle of honey gives a nice touch. Crushed nuts, like pistachios, can add a fun crunch. For a beautiful dessert, use clear cups. This lets the creamy layer shine through. You can even layer fruit puree for a pop of color. One big mistake is not measuring ingredients accurately. This can change the texture and taste. Use a scale or measuring cups for precision. Another mistake is skipping the cooling process. If you pour the mixture into cups too soon, it may not set correctly. Always cool the mixture first for the best results. {{image_2}} You can change up the classic vanilla bean panna cotta in fun ways. - Chocolate Panna Cotta: Add melted dark chocolate to the cream mixture. This will give you a rich, creamy taste. Use about 4 ounces of chocolate for a nice balance. Stir it in after dissolving the sugar. - Coffee-infused Panna Cotta: For a coffee twist, add espresso or strong coffee to the cream mix. About 1/2 cup of brewed coffee works well. It adds a bold flavor and a lovely aroma. If you want a dairy-free panna cotta, you have choices. - Using coconut milk: Replace heavy cream and milk with full-fat coconut milk. This makes a creamy, tropical dessert. The coconut flavor pairs well with vanilla. - Alternative sweeteners: Try using maple syrup or agave instead of sugar. This adds a unique taste and can suit different diets. Just adjust the amount based on sweetness. Seasonal flavors can add a special touch. - Berry-flavored Panna Cotta for summer: Blend fresh berries into the cream mixture. Strawberries, raspberries, or blueberries work great. This gives a refreshing taste and a pop of color. - Pumpkin Panna Cotta for fall: Mix in pumpkin puree and spices like cinnamon and nutmeg. This makes a cozy dessert perfect for autumn. Add about 1/2 cup of puree for the right flavor. For the full recipe, check out the Classic Vanilla Bean Panna Cotta. To keep your panna cotta fresh, always store it in the fridge. Place it in airtight containers or cover the cups tightly with plastic wrap. This helps prevent odors from other foods from seeping in. You can keep panna cotta in the fridge for up to four days. After that, the texture and flavor may start to change. While panna cotta is best fresh, you can freeze it. Just make sure to wrap it well in plastic wrap or place it in a freezer-safe container. This keeps the air out and prevents freezer burn. When you are ready to enjoy it again, take it out of the freezer and let it thaw in the fridge, not at room temperature. This helps maintain its silky texture. If you have leftover panna cotta, don’t let it go to waste! You can blend it into smoothies for a creamy treat or use it as a layer in parfaits. It also works well in trifles or as a topping for cakes. Get creative and mix it into other desserts for added flavor and texture. Panna Cotta is an Italian dessert that means "cooked cream." It has a smooth, creamy texture. This treat comes from the northern region of Italy. It is often flavored with vanilla, but you can use other flavors too. The beauty of panna cotta lies in its simplicity. With just a few ingredients, you create magic! Panna Cotta can last up to five days in the fridge. To keep it fresh, store it in an airtight container. Make sure you do not cover it too tightly, as it can trap moisture. If you see any changes in texture or smell, it's best to toss it. Yes, you can make panna cotta a day or two ahead of time. This dessert is perfect for parties or special occasions. Just allow it to chill in the fridge for at least four hours after making it. This gives it time to set properly. A perfectly set panna cotta will be firm but still slightly jiggle when you touch it. The top should look smooth and glossy. You can also test it by gently shaking the dish. If it holds its shape, you’re good to go! Yes, you can use agar-agar as a vegan option. Agar-agar sets more firmly than gelatin. You will need to adjust the amount. Use about half the amount of agar-agar compared to gelatin. It’s best to dissolve agar-agar in boiling water first. This ensures it mixes well with the cream. For this recipe, stick to the original for best results. Check the [Full Recipe] for more details. Classic vanilla bean panna cotta is simple to make with a few key ingredients. Heavy cream, whole milk, and sugar form the base, while vanilla bean paste adds rich flavor. Gelatin stabilizes the dessert, giving it the right texture. Follow the steps carefully, and avoid common mistakes for success. Feel free to try variations, or store and reuse leftovers creatively. Ultimately, panna cotta is a versatile dessert that impresses. With the right tips, you can master it and share your delicious results. Enjoy making it your own!](https://recipespursuit.com/wp-content/uploads/2025/07/bd4dc388-9ea4-47fd-b55e-639e8038d59b-300x300.webp)
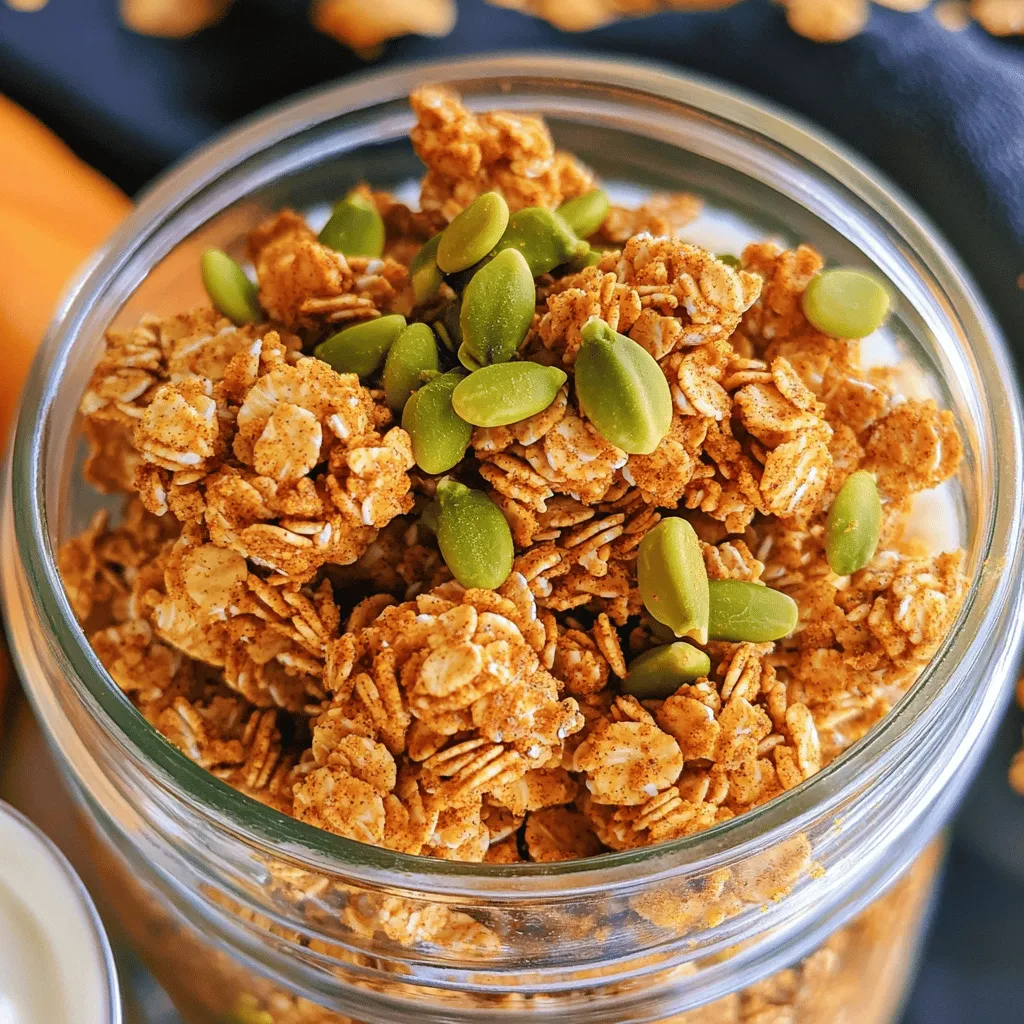
Pumpkin Spice Granola Clusters Crunchy and Flavorful Snack
Are you ready to dive into fall flavors with a tasty twist? My Pumpkin Spice Granola Clusters are the perfect crunchy and flavorful snack…