Latest & Greatest
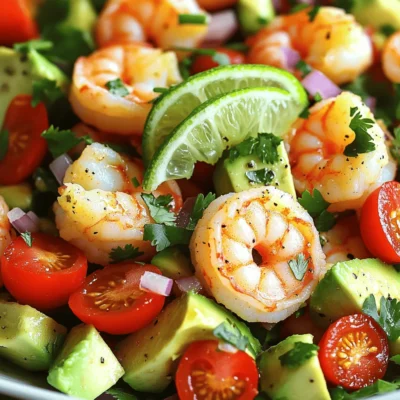
Spicy Shrimp Avocado Salad Fresh and Flavorful Dish
If you crave a lively dish that’s both fresh and packed with flavor, you’re in for a treat! My Spicy
Read more…
Vegan Chocolate Covered Strawberries Delightfully Easy
Are you ready to treat yourself to a delicious, guilt-free dessert? Vegan chocolate-covered strawberries are a quick and easy way
Read more…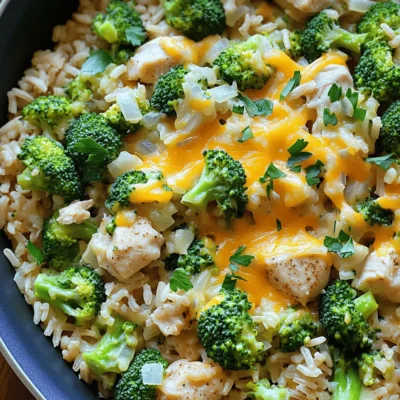
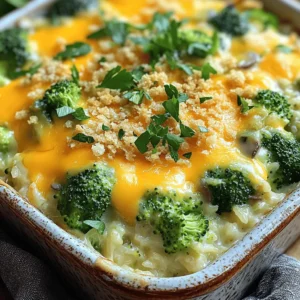
Cheesy Chicken Broccoli Rice Skillet Delightful Meal
Looking for a quick and tasty dinner? This Cheesy Chicken Broccoli Rice Skillet is your answer! With juicy chicken, vibrant
Read more…
Double Chocolate Zucchini Muffins Rich and Decadent Treat
Looking for a sweet treat with a sneaky veggie twist? These Double Chocolate Zucchini Muffins are rich, moist, and full
Read more…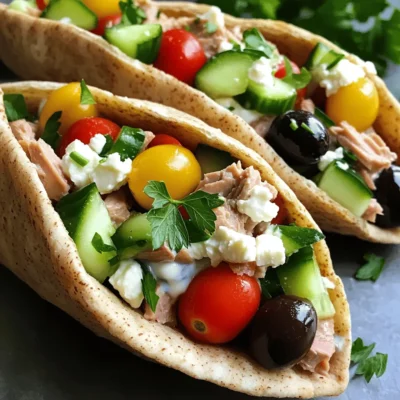
Mediterranean Tuna Pita Pockets Fresh and Flavorful Meal
Looking for a quick, healthy meal? Mediterranean Tuna Pita Pockets are fresh, flavorful, and packed with good ingredients. With just
Read more…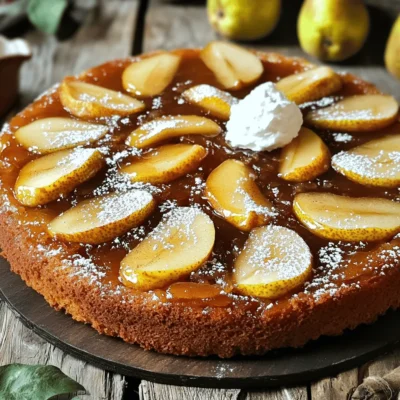
Spiced Pear Upside-Down Cake Tempting Dessert Recipe
Dive into the world of flavor with my Spiced Pear Upside-Down Cake! This dessert brings you sweet, ripe pears and
Read more…
Sweet Potato and Black Bean Enchiladas Flavorful Dish
If you’re looking for a tasty, healthy dish, you’ve hit the jackpot! Sweet potato and black bean enchiladas are packed
Read more…
Garlic Butter Mushroom Risotto Creamy and Flavorful Dish
Are you ready to dive into a creamy, flavorful dish that brings comfort to any meal? Garlic Butter Mushroom Risotto
Read more…browse recipes


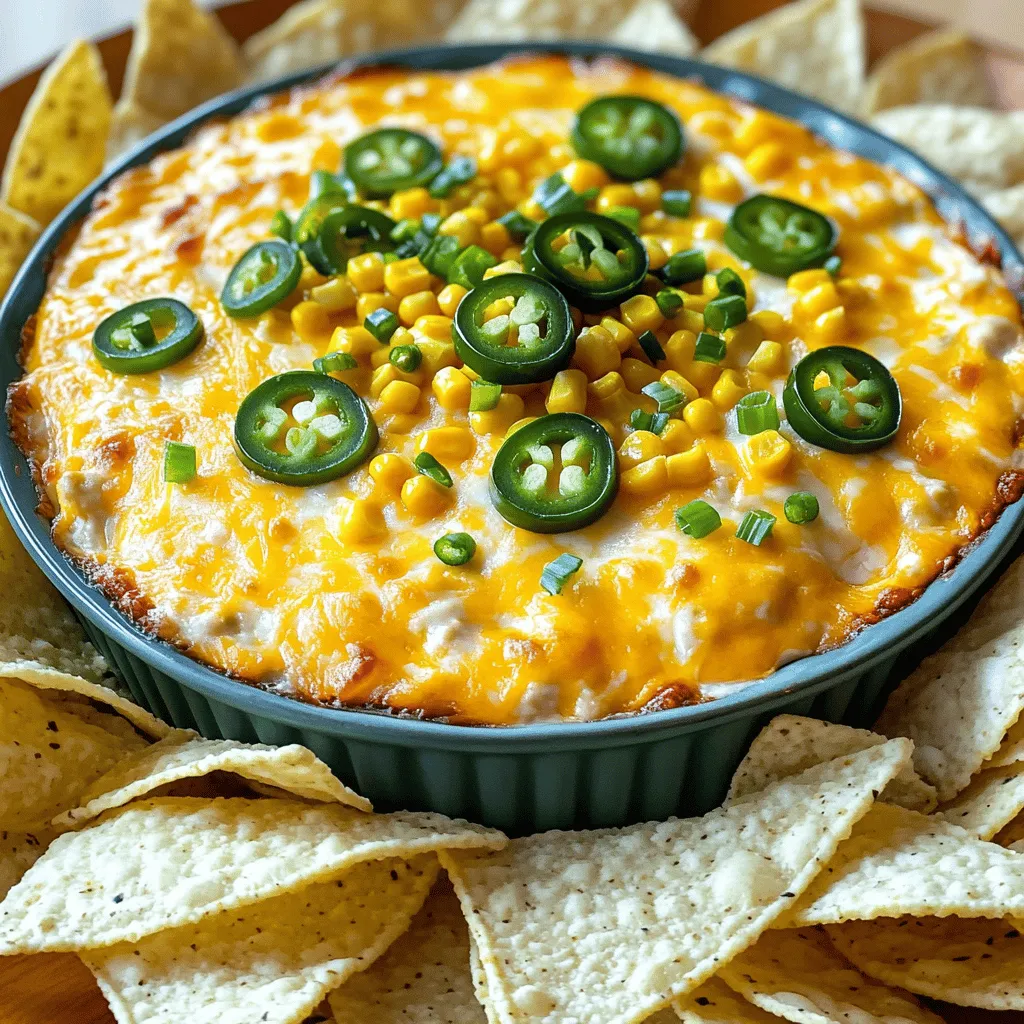
Cheesy Jalapeno Corn Dip Irresistible Party Treat
If you want to impress your guests, you need this Cheesy Jalapeno Corn Dip! It’s the perfect blend of creamy, cheesy goodness with just…
My Latest Desserts
My Latest Recipes

hey,
i’m !
I’m so happy you’re here!
Cooking is my love language, and I’m excited to share my best dishes with you. Hope they become your favorites too! Let’s enjoy every bite of this journey together.


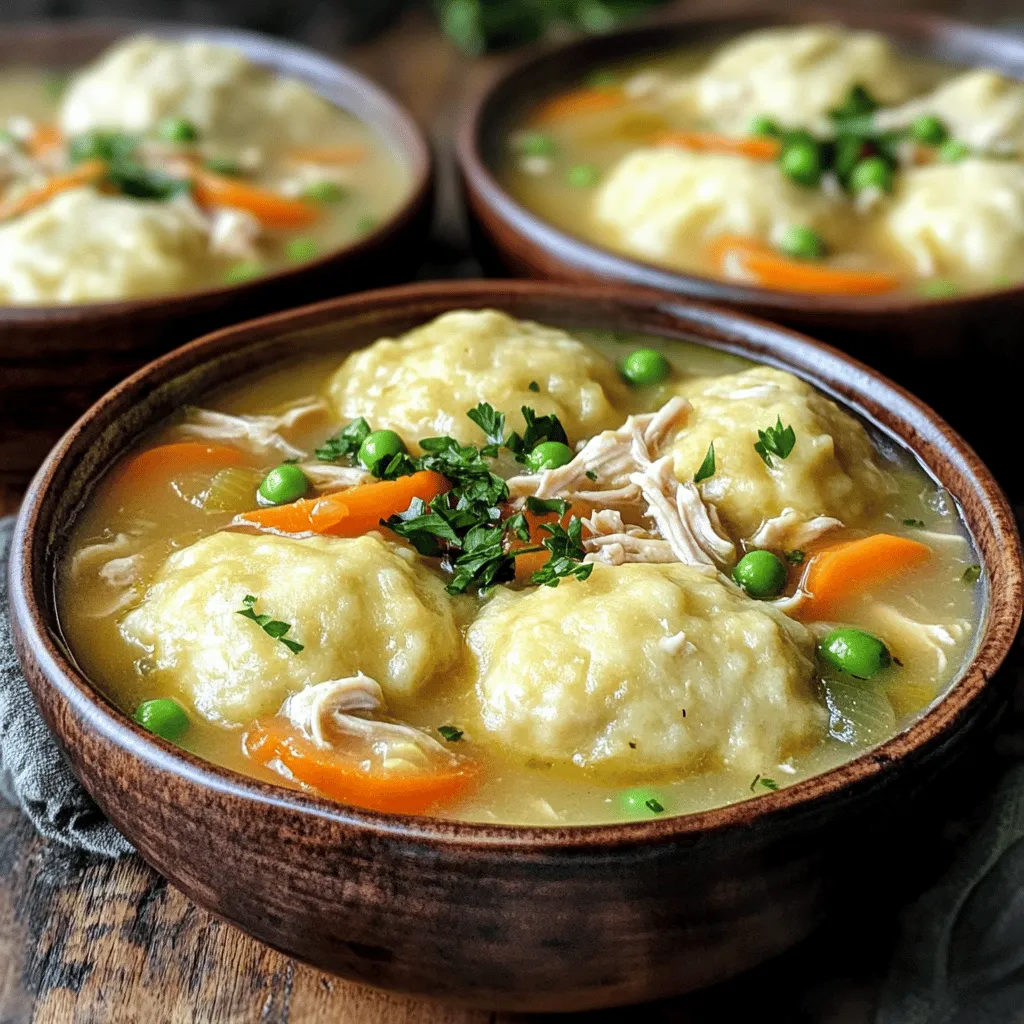
Classic Chicken and Dumplings Hearty Comfort Meal
Who doesn’t love a warm bowl of Classic Chicken and Dumplings? This hearty dish brings comfort and joy, especially on chilly days. With tender…