Latest & Greatest
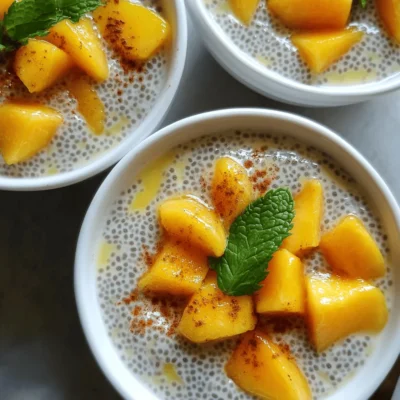
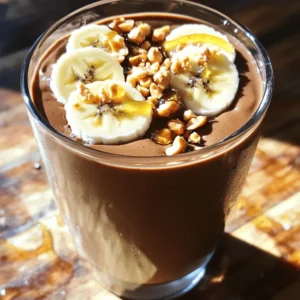
Peach Chia Pudding Simple and Healthy Delight
Looking for a simple and healthy treat to brighten your day? Peach Chia Pudding is the perfect solution! Packed with
Read more…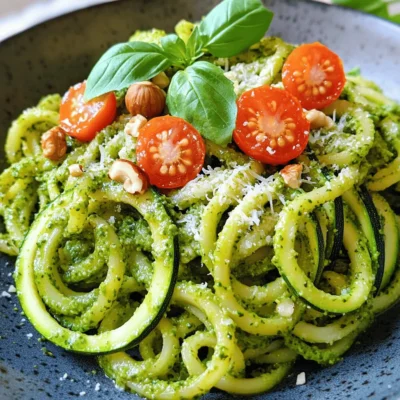
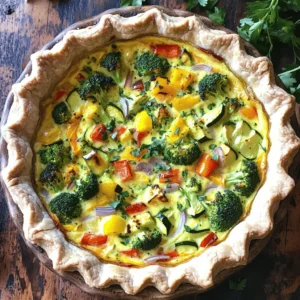
Zucchini Pesto Pasta Fresh and Flavorful Delight
Are you ready to elevate your pasta game? Zucchini Pesto Pasta is a fresh and flavorful delight that’s easy to
Read more…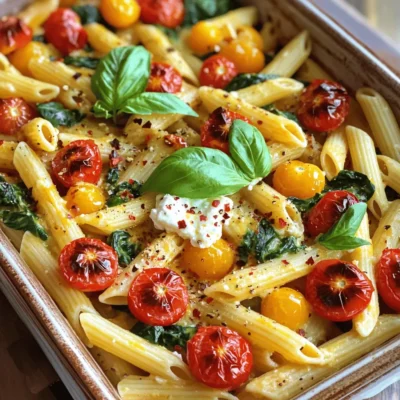
Baked Feta Pasta Simple and Flavorful Recipe Guide
Are you ready to elevate your pasta game? Baked Feta Pasta is simple and bursting with flavor! This recipe is
Read more…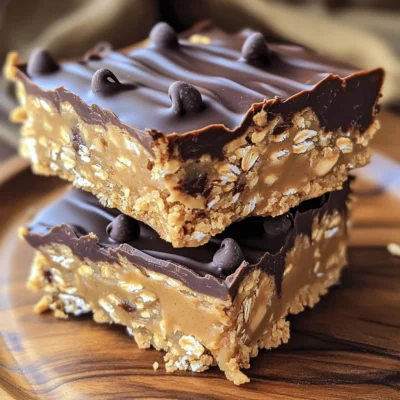
No Bake Peanut Butter Oat Bars Quick and Simple Recipe
Are you craving a sweet, no-bake treat that’s easy to make? Look no further! My No Bake Peanut Butter Oat
Read more…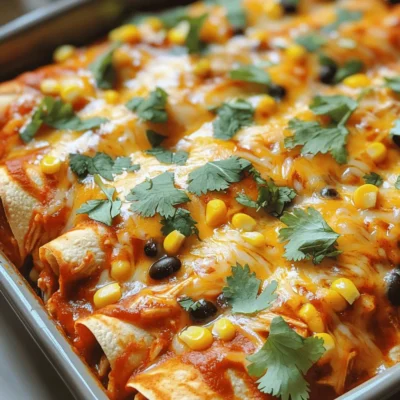
Classic Chicken Enchiladas Easy and Flavorful Dish
Are you ready to master the art of Classic Chicken Enchiladas? This easy and flavorful dish brings Mexican comfort food
Read more…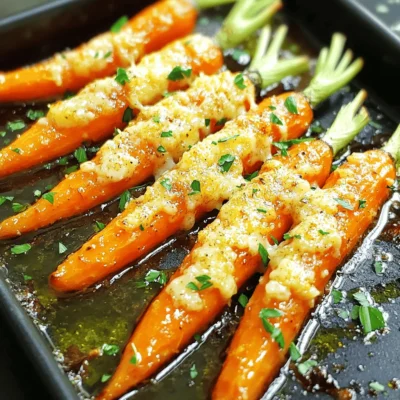
Roasted Garlic Parmesan Carrots Savory and Simple Side
Craving a simple yet flavorful side dish? You’re in for a treat! Roasted Garlic Parmesan Carrots are easy to make
Read more…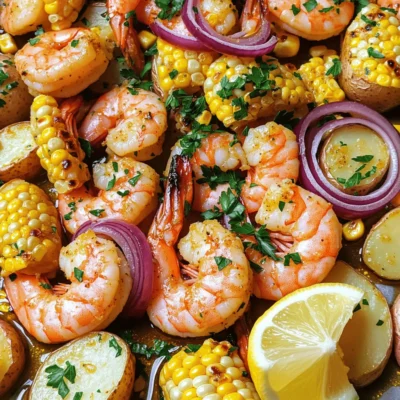
Easy Sheet Pan Shrimp Boil Quick and Flavorful Meal
If you’re craving a quick and flavorful meal, an Easy Sheet Pan Shrimp Boil is perfect! It’s simple, tasty, and
Read more…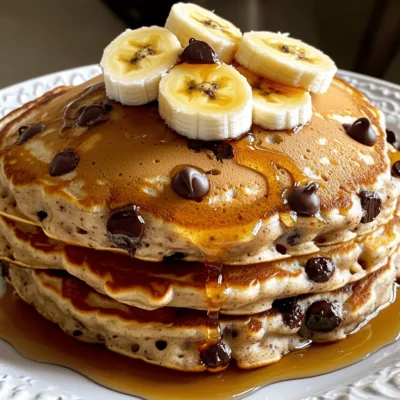
Banana Chocolate Chip Pancakes Easy and Tasty Recipe
Are you ready to elevate your breakfast game? Banana chocolate chip pancakes are easy, fun, and delicious! This simple recipe
Read more…browse recipes


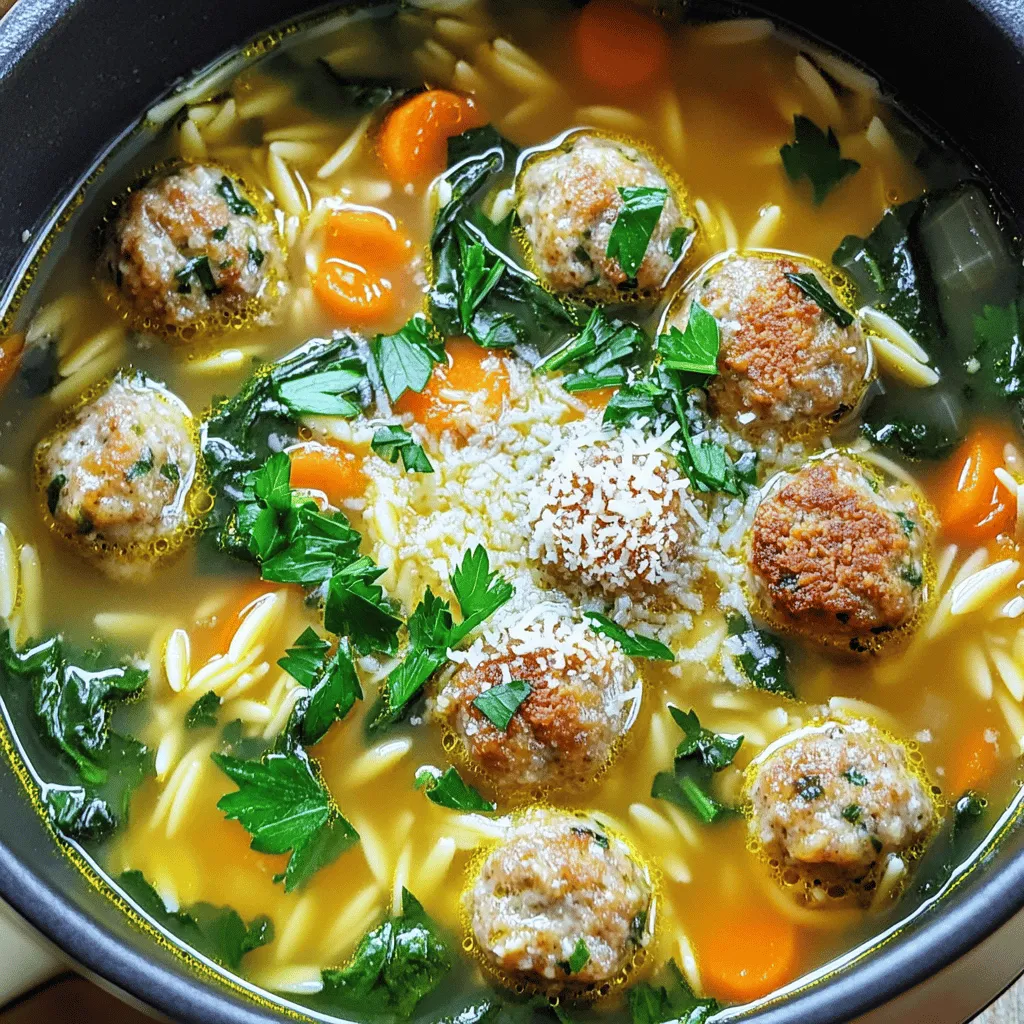
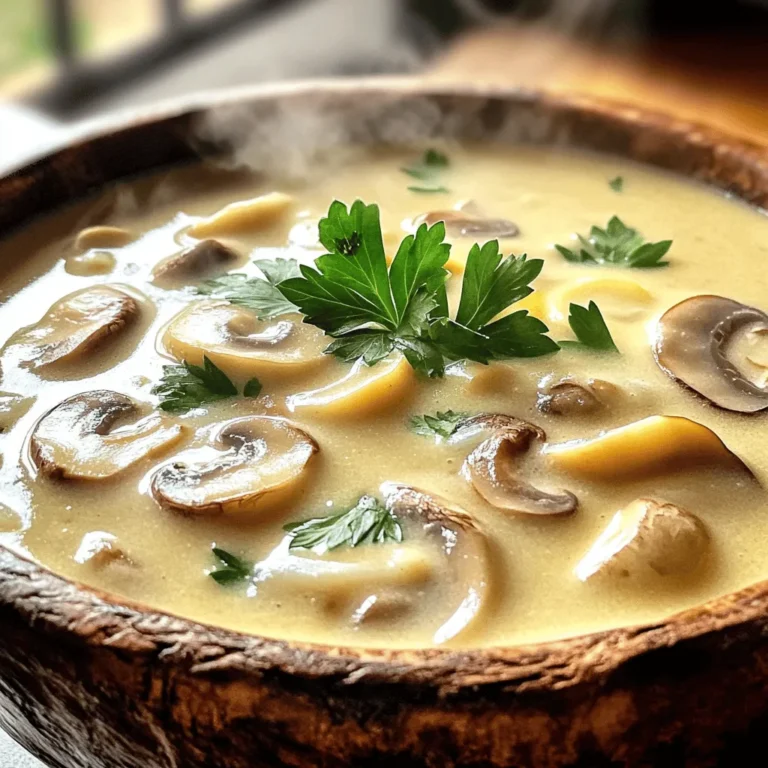
Italian Wedding Soup Flavorful and Hearty Recipe
If you’re ready to warm your heart and soul with a cozy dish, Italian Wedding Soup fits the bill. This flavorful and hearty recipe…
My Latest Desserts
My Latest Recipes

hey,
i’m !
I’m so happy you’re here!
Cooking is my love language, and I’m excited to share my best dishes with you. Hope they become your favorites too! Let’s enjoy every bite of this journey together.


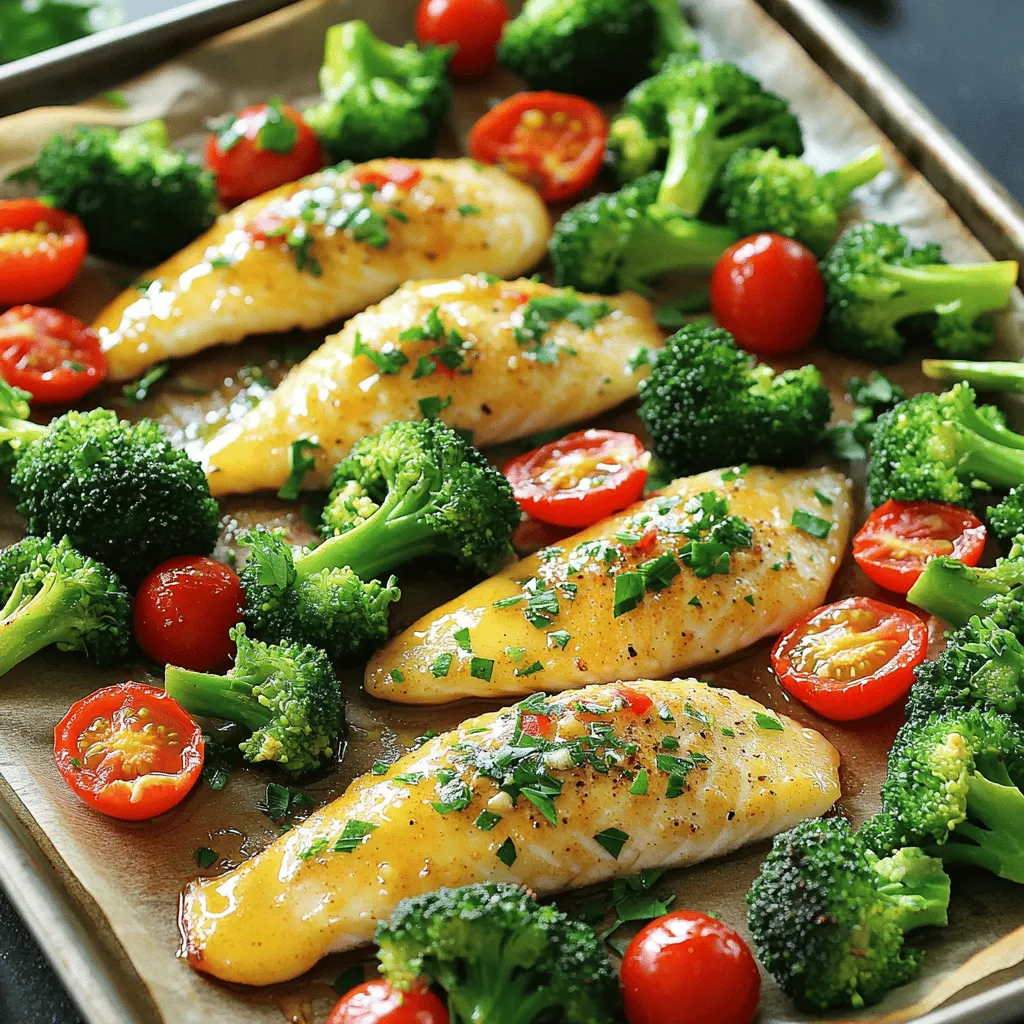
Sheet Pan Garlic Butter Tilapia & Veggies Delight
Welcome to my kitchen! Today, we’re making a dish that’s simple and delicious: Sheet Pan Garlic Butter Tilapia & Veggies Delight. This meal is…