Latest & Greatest
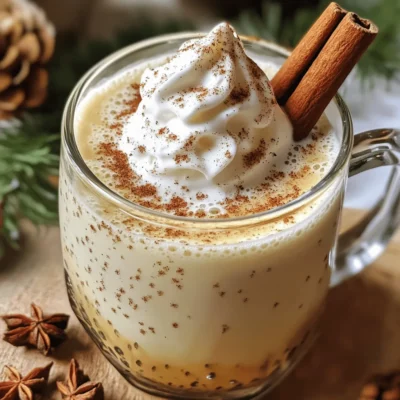
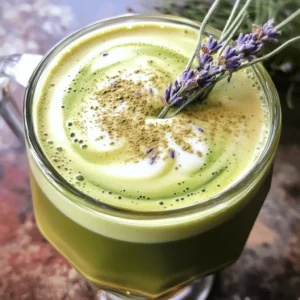
Spiced Vanilla Bean Latte For a Warm Indulgence
Warm your soul this season with a Spiced Vanilla Bean Latte! This cozy drink blends rich flavors to create the
Read more…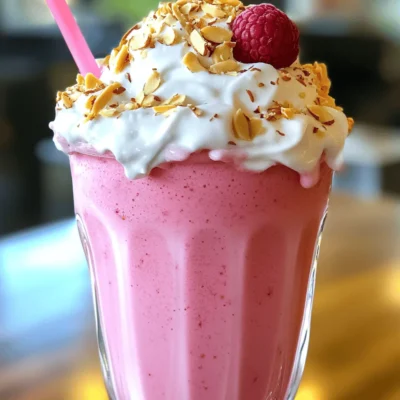
Raspberry Almond Milkshake Refreshing and Smooth Treat
Craving a cool treat that bursts with flavor? Look no further! In this blog post, I’ll guide you through making
Read more…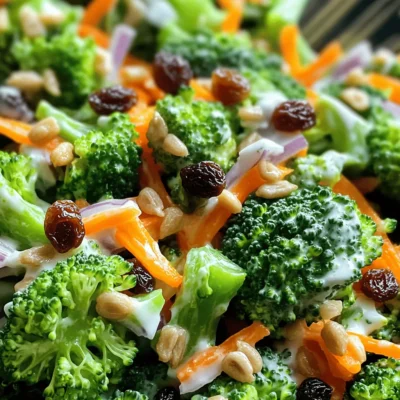
Classic Broccoli Salad Refreshing and Flavorful Delight
Are you ready to brighten your next meal? My Classic Broccoli Salad is a refreshing and flavorful delight that will
Read more…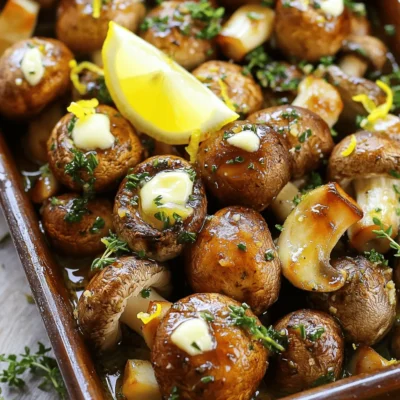
Garlic Butter Roasted Mushrooms Savory and Simple Dish
Are you ready to elevate your dinner with a dish that’s both simple and delightful? Garlic Butter Roasted Mushrooms are
Read more…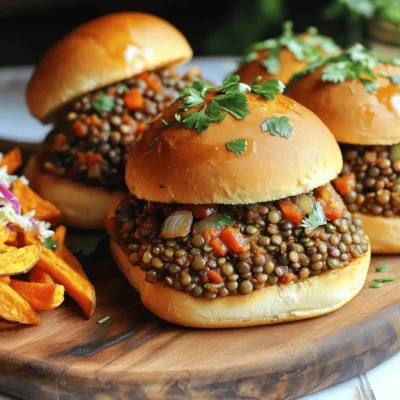
Vegan Lentil Sloppy Joes Tasty and Simple Recipe
Looking for a hearty meal that’s both tasty and simple? You’ve come to the right place! Vegan Lentil Sloppy Joes
Read more…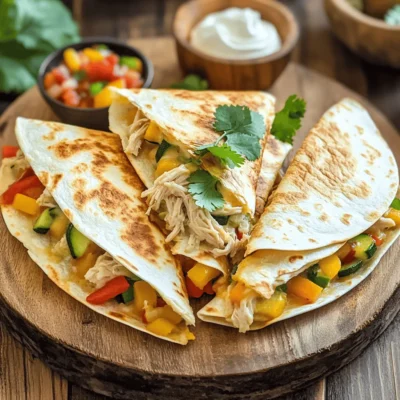
Savory Chicken and Veggie Quesadillas Easy Recipe
Looking for a quick and tasty meal? You can whip up savory chicken and veggie quesadillas in no time! This
Read more…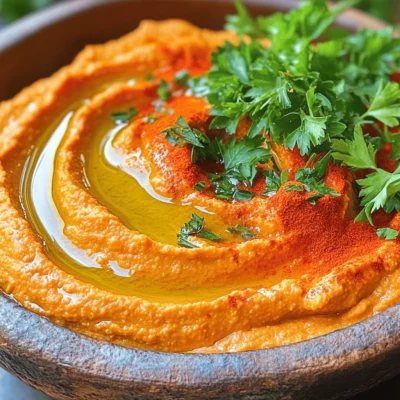
Roasted Red Pepper Hummus Simple and Tasty Delight
Are you ready to elevate your snack game? Roasted Red Pepper Hummus is a simple and tasty delight that packs
Read more…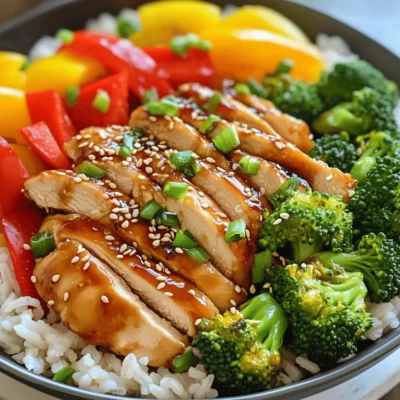
Easy Teriyaki Chicken Bowls Flavorful Weeknight Meal
Looking for a quick dinner that’s packed with flavor? You’re in the right place! My Easy Teriyaki Chicken Bowls are
Read more…browse recipes


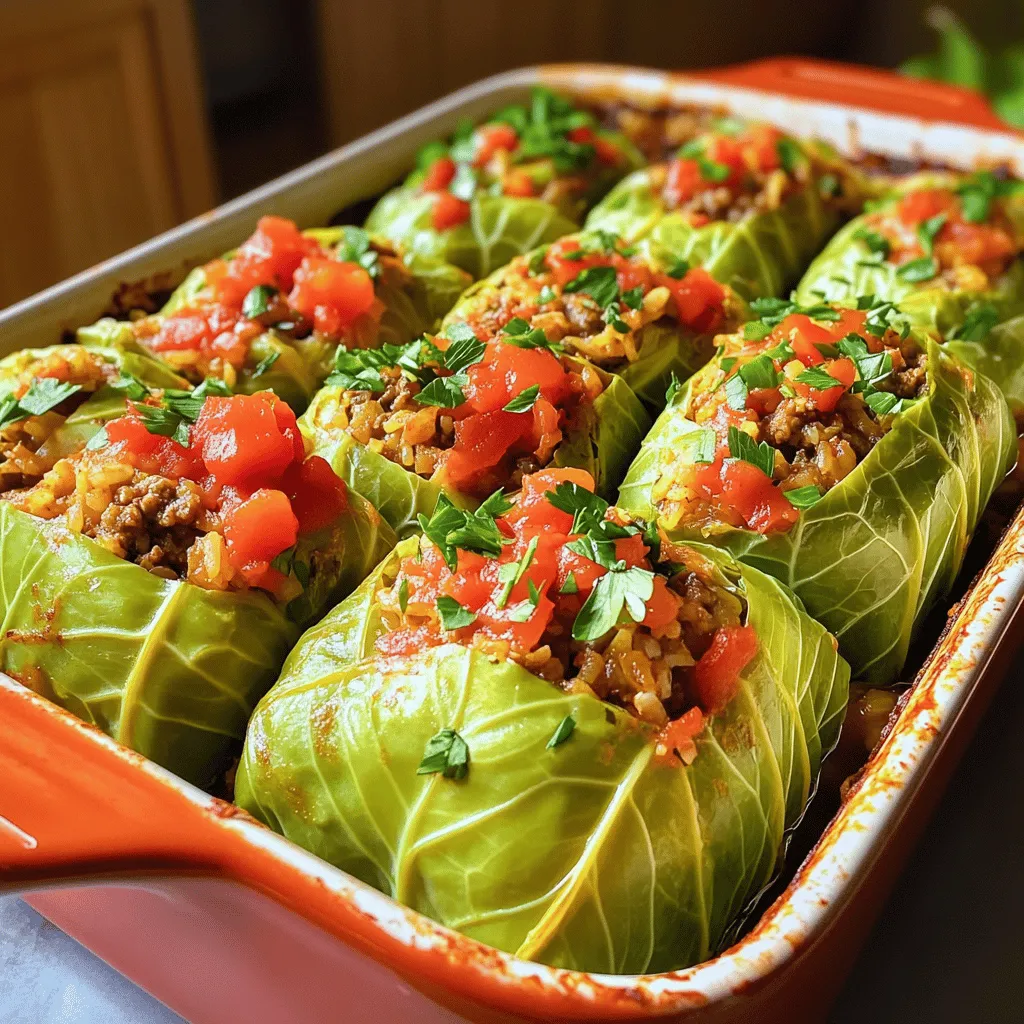
Classic Stuffed Cabbage Rolls Flavorful Family Meal
Are you ready to create a meal that warms hearts and brings families together? Classic stuffed cabbage rolls are a delightful dish that offers…
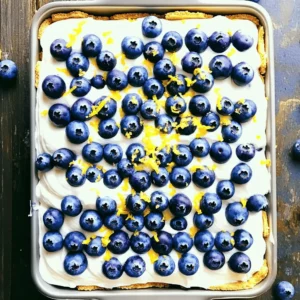
My Latest Desserts
My Latest Recipes

hey,
i’m !
I’m so happy you’re here!
Cooking is my love language, and I’m excited to share my best dishes with you. Hope they become your favorites too! Let’s enjoy every bite of this journey together.

![- 1 lb large shrimp, peeled and deveined - 2 ears of corn, cut into thirds - 1 lb baby potatoes, halved - 1 red onion, sliced - 3 cloves garlic, minced - 4 tablespoons olive oil - 1 tablespoon Old Bay seasoning - 1 teaspoon smoked paprika - Salt and pepper to taste - 2 tablespoons fresh parsley, chopped (for garnish) - Lemon wedges (for serving) Let’s break down what makes this dish so great. The shrimp is the star. I love using large shrimp because they cook fast and stay juicy. The corn adds sweetness and crunch. You can use fresh or frozen, but fresh is best. The baby potatoes are hearty and soak up all the flavors. I cut them in half to ensure they cook evenly. The red onion gives a nice sharp taste. Garlic adds a wonderful aroma. Olive oil helps everything cook and adds richness. Old Bay seasoning is a classic choice; it brings a blend of spices that pairs perfectly with seafood. Smoked paprika adds a hint of smokiness, which is just delicious. Lastly, fresh parsley brightens up the dish, and lemon wedges give a zesty kick. You will need a large bowl for mixing. A sheet pan is key for even cooking. Parchment paper can help with cleanup. A sharp knife will make cutting the veggies easier. Finally, use measuring spoons for accurate seasoning. Following these tips will lead to a yummy meal. For the full recipe, check out [Full Recipe]. Start by gathering all your ingredients. You need fresh shrimp, corn, potatoes, onion, and garlic. Wash your veggies well. Cut the corn into thirds and halve the baby potatoes. Slice the onion thinly. Mince the garlic to bring out its strong flavor. In a large bowl, mix the potatoes, corn, onion, and garlic. Add two tablespoons of olive oil. Season with salt, pepper, Old Bay seasoning, and smoked paprika. Toss everything until well coated. Next, spread your veggie mix in a single layer on a large sheet pan. This helps them cook evenly. Preheat your oven to 400°F (200°C) and bake the vegetables for 20 minutes. While they bake, prepare the shrimp. In the same bowl, toss the shrimp with the remaining olive oil. Season them with salt, pepper, and more Old Bay if you like. After 20 minutes, take the pan out and add the shrimp. Make sure they are evenly placed among the veggies. Bake again for 8-10 minutes, until the shrimp turn pink and are cooked through. To check if the shrimp are done, look for a bright pink color. They should also curl into a nice "C" shape. Another way is to cut one shrimp open. It should be opaque and firm inside. If they look clear or gray, they need more time. Always watch closely during the last few minutes of baking. Remove the pan from the oven, garnish with fresh parsley, and serve with lemon wedges for a bright touch. Enjoy your Easy Sheet Pan Shrimp Boil! For the full recipe, check out the earlier section. Seasoning makes your dish shine. Use Old Bay seasoning for that classic flavor. This blend gives a nice kick and goes well with shrimp. Don’t be shy with salt and pepper. They bring out all the great tastes. For fresh flavor, add chopped parsley right before serving. To get juicy shrimp, don’t overcook them. Cook shrimp until they turn pink and opaque. This takes about 8 to 10 minutes in the oven. If you overcook them, they become rubbery. To avoid this, watch the time closely. A large sheet pan is key for even cooking. Use one with a rim to catch juices. Parchment paper can help with cleanup and prevent sticking. A good sharp knife makes chopping easy. Finally, use mixing bowls to combine your ingredients well. For the full recipe, check out the Easy Sheet Pan Shrimp Boil. {{image_2}} You can mix up your Easy Sheet Pan Shrimp Boil by adding different seafood. Try using scallops for a sweet twist. Clams and mussels also work well, adding a briny flavor. If you want a meatier option, include chunks of crab or lobster. These changes keep the dish fresh and exciting. Feel free to swap out veggies to suit your taste or what you have on hand. Zucchini and bell peppers add color and crunch. You can use asparagus or green beans for a different texture. Sweet potatoes can replace baby potatoes for a hint of sweetness. Each vegetable brings its own flavor profile to the dish. For those who love heat, add some spice to your shrimp boil. Toss in sliced jalapeños or red pepper flakes before baking. You can also use spicy sausage to amp up the flavor. If you want a smoky kick, try adding chipotle powder. These spicy options create a bold and exciting dish that will warm your soul. For full details on making this dish, check out the [Full Recipe]. To keep your Easy Sheet Pan Shrimp Boil fresh, store it in an airtight container. Let it cool to room temperature before closing the lid. This step prevents moisture buildup, which can make the shrimp soggy. You can keep the leftovers in the fridge for up to three days. If you want to enjoy it later, consider freezing it. When reheating, use the oven or a skillet for the best results. Avoid the microwave, as it can overcook the shrimp. Preheat your oven to 350°F (175°C) and place the leftovers in an oven-safe dish. Cover it with foil to keep moisture in. Heat for about 10-15 minutes until warm. If using a skillet, add a bit of olive oil and heat over medium heat, stirring gently. For meal prep, freeze the shrimp boil right after it cools. Use a freezer bag or airtight container. Squeeze out as much air as possible to prevent freezer burn. It can last for up to three months in the freezer. When ready to eat, thaw it overnight in the fridge. Reheat it using the tips above to keep the flavors intact. Enjoy your tasty shrimp boil at your convenience! Yes, you can use frozen shrimp. Just make sure to thaw them first. Place the frozen shrimp in a bowl of cold water for about 15-20 minutes. This quick thawing method works great. After thawing, peel and devein if needed. Then, follow the recipe as usual. Shrimp cook fast, so watch them closely. They turn pink and curl up when done. The flesh should be opaque. A good tip is to cut one in half. If it’s white, it’s ready. Be careful not to overcook, as shrimp can become tough if left too long. Shrimp boil goes well with many sides. Here are some great options: - Garlic bread for a crunchy bite - Coleslaw for a cool crunch - A fresh green salad for balance - Cornbread for a sweet touch These sides complement the shrimp boil's flavors and add variety to your meal. For the full recipe, check out the Easy Sheet Pan Shrimp Boil section above. This shrimp boil guide covered all you need. We discussed key ingredients, easy steps, and tips for success. You can explore variations to suit your taste. Proper storage and reheating methods keep your meal fresh. Now, you are ready to make a great shrimp boil. Enjoy cooking and sharing this dish with others!](https://recipespursuit.com/wp-content/uploads/2025/06/86ac41ea-6362-48b7-b68b-5dee81c15f22-300x300.webp)


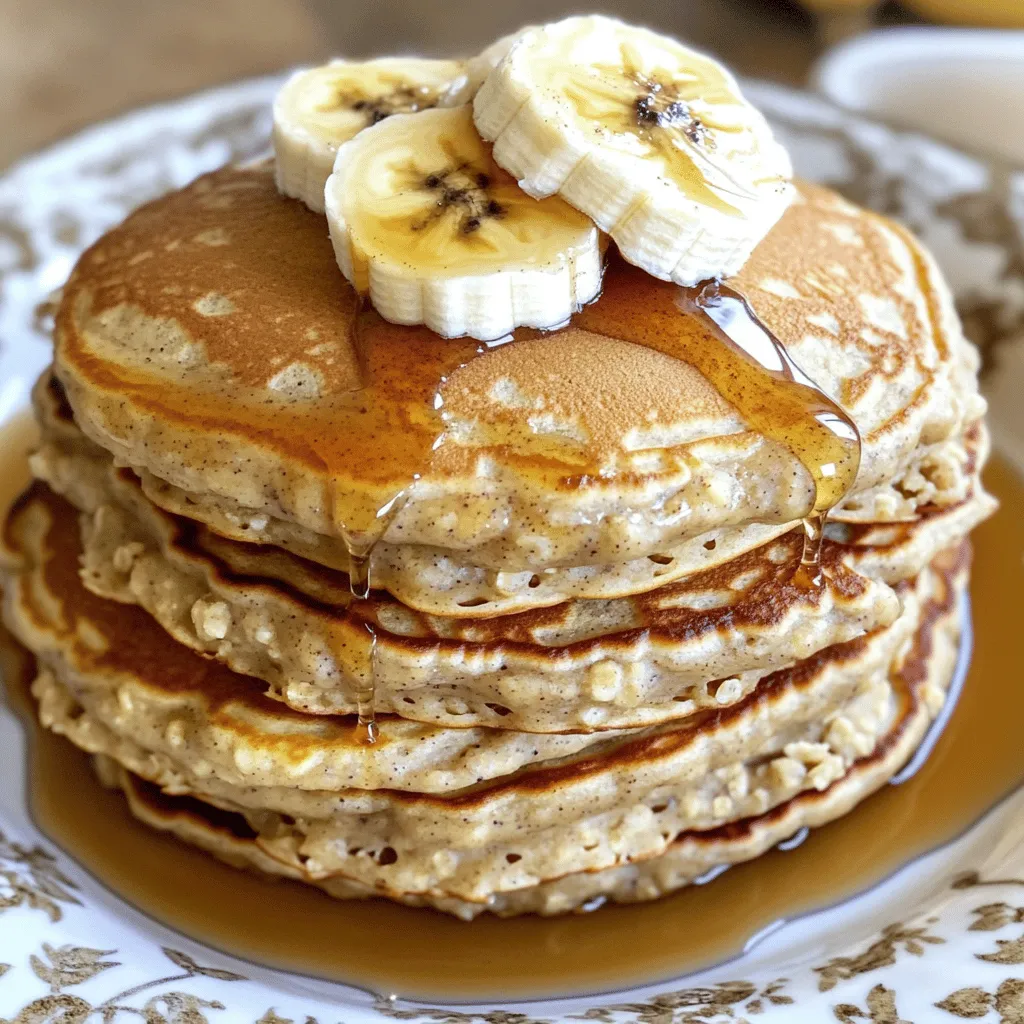
Banana Oatmeal Pancakes Healthy and Fluffy Recipe
Are you ready to whip up a breakfast that’s both healthy and delicious? Meet my Banana Oatmeal Pancakes! They’re easy to make, bursting with…