Latest & Greatest
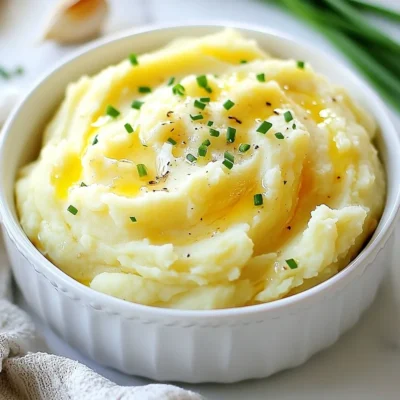
Creamy Roasted Garlic Mashed Potatoes Delightful Recipe
Get ready to elevate your comfort food game with my creamy roasted garlic mashed potatoes! This delightful recipe transforms simple
Read more…
Honey Lime Chicken Skewers Tasty Grilled Delight
If you’re hungry for a delicious meal that’s easy to make, I have just the recipe for you! Honey Lime
Read more…
Tuscan White Bean Chicken Skillet Tasty and Simple Dish
Looking for a quick yet satisfying meal? My Tuscan White Bean Chicken Skillet is just what you need! This dish
Read more…
Spicy Buffalo Tofu Wraps Bursting with Flavor
Are you ready to spice up your dinner routine? These Spicy Buffalo Tofu Wraps are packed with flavor and joy!
Read more…
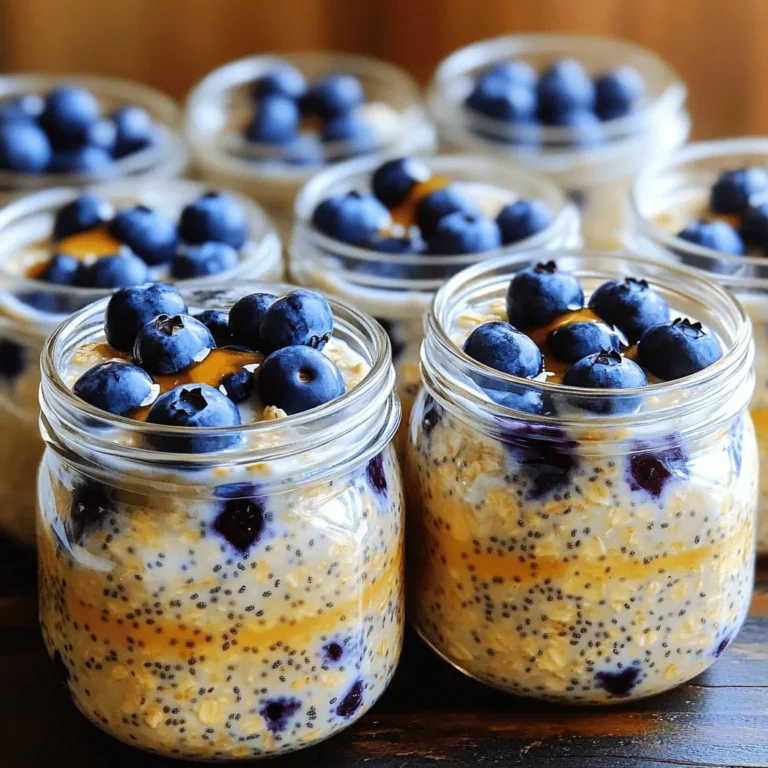
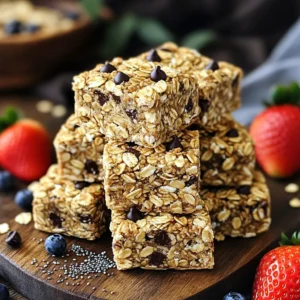
Blueberry Almond Energy Muffins Healthy Snack Option
Looking for a snack that’s both tasty and healthy? You’re in the right place! These Blueberry Almond Energy Muffins pack
Read more…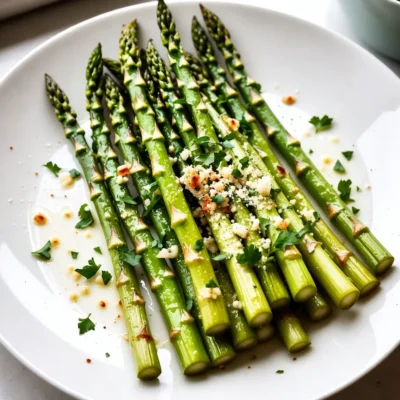
Garlic Parmesan Roasted Asparagus Flavorful Side Dish
Looking for a simple yet tasty side dish? I’ve got you covered with Garlic Parmesan Roasted Asparagus! This dish combines
Read more…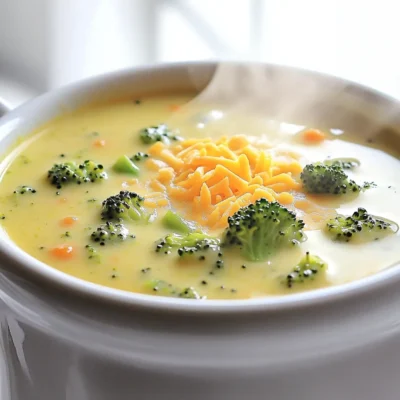
Creamy Broccoli Cheddar Soup Simple and Tasty Recipe
Warm your senses with my Creamy Broccoli Cheddar Soup! This simple recipe makes a delicious meal perfect for any night.
Read more…
Coconut Pineapple Popsicles Refreshing Summer Treat
Looking for a cool treat to beat the summer heat? You’ve come to the right place! Coconut Pineapple Popsicles are
Read more…browse recipes


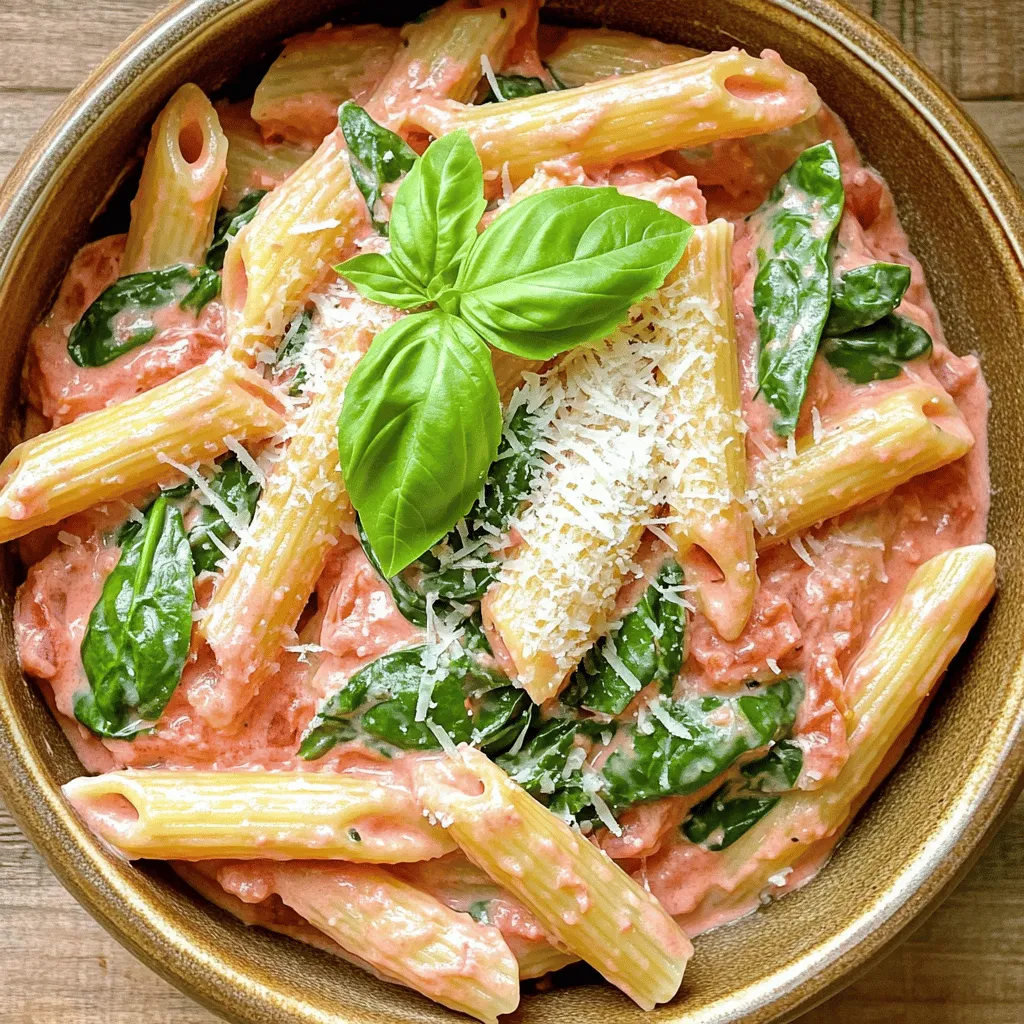
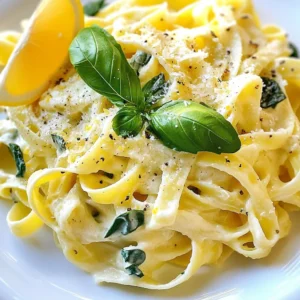
Creamy Tomato and Spinach Pasta Flavorful Delight
Craving a quick but tasty meal? You’ve come to the right place! My Creamy Tomato and Spinach Pasta is bursting with flavor and takes…
My Latest Desserts
My Latest Recipes

hey,
i’m !
I’m so happy you’re here!
Cooking is my love language, and I’m excited to share my best dishes with you. Hope they become your favorites too! Let’s enjoy every bite of this journey together.


Instant Pot Taco Stuffed Peppers Delightful Recipe
Get ready to spice up your dinner with my Instant Pot Taco Stuffed Peppers! This easy recipe combines ground turkey or beef with your…