
Latest & Greatest
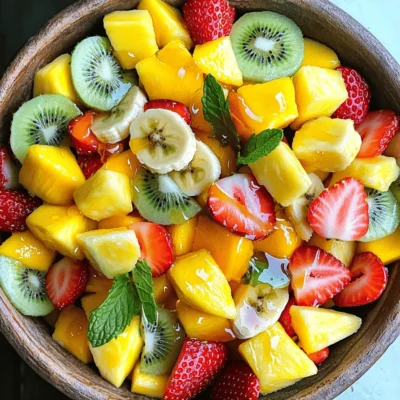
Tropical Fruit Salad with Lime Refreshing Delight
Are you ready to brighten your day with a Tropical Fruit Salad with Lime? This vibrant dish bursts with fresh
Read more…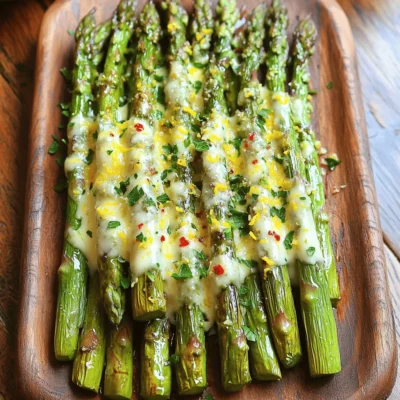
Garlic Parmesan Roasted Asparagus Easy Side Dish
Looking for a simple side dish that dazzles? Garlic Parmesan Roasted Asparagus is my go-to! With fresh asparagus, rich garlic,
Read more…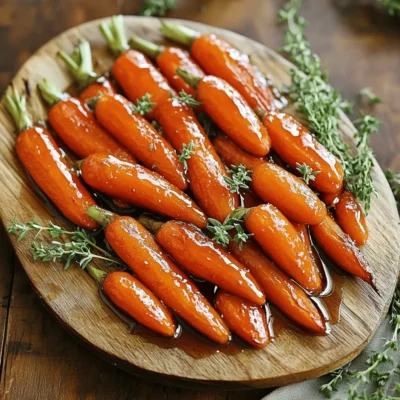
Maple Glazed Roasted Carrots Delicious Simple Side
Looking for a tasty side that’s quick and easy? These Maple Glazed Roasted Carrots are not only simple but also
Read more…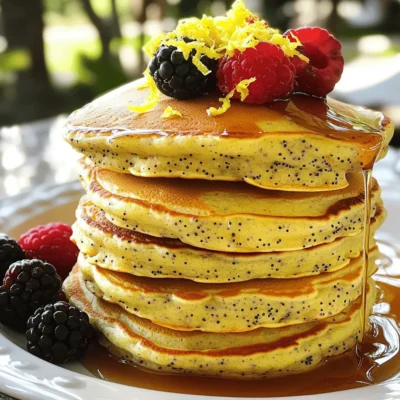
Lemon Poppyseed Protein Pancakes Healthy Breakfast Fix
Are you looking for a healthy breakfast that’s both tasty and filling? Try my Lemon Poppyseed Protein Pancakes! These fluffy
Read more…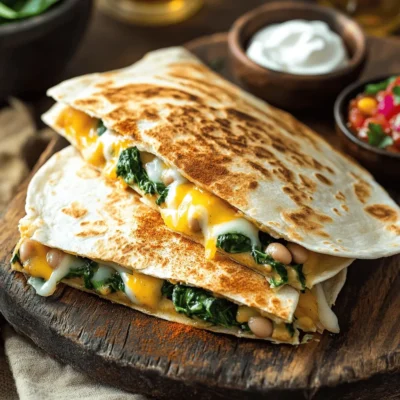
White Bean Spinach Quesadillas Flavorful and Healthy Meal
Looking for a tasty meal that’s both fun to make and good for you? These White Bean Spinach Quesadillas pack
Read more…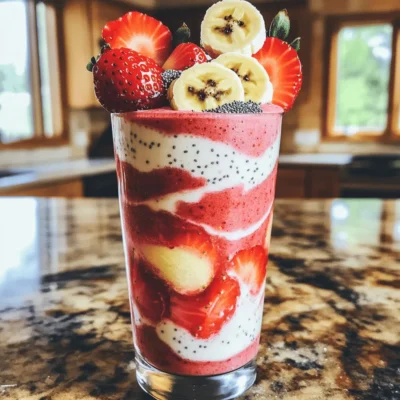
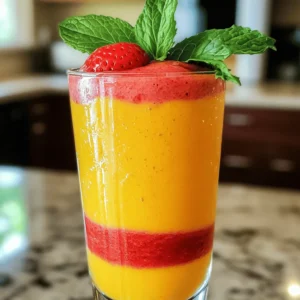
Strawberry Banana Protein Smoothie Tasty and Nutritious
Looking for a quick and tasty way to boost your nutrition? The Strawberry Banana Protein Smoothie is your perfect match!
Read more…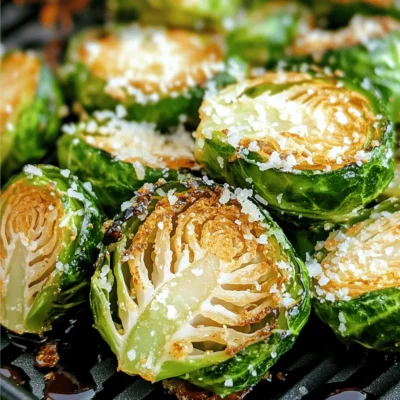
Crispy Air Fryer Brussels Sprouts Easy and Delicious Dish
If you’re looking for a tasty and healthy side dish, try these crispy air fryer Brussels sprouts! They’re easy to
Read more…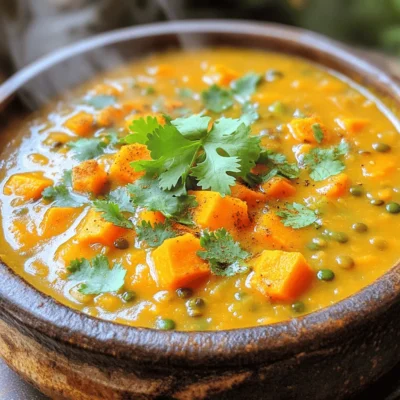
Sweet Potato Lentil Soup Cozy and Nourishing Bowl
Warm, cozy, and packed with nutrients, Sweet Potato Lentil Soup is your perfect bowl of comfort. This simple, tasty dish
Read more…browse recipes


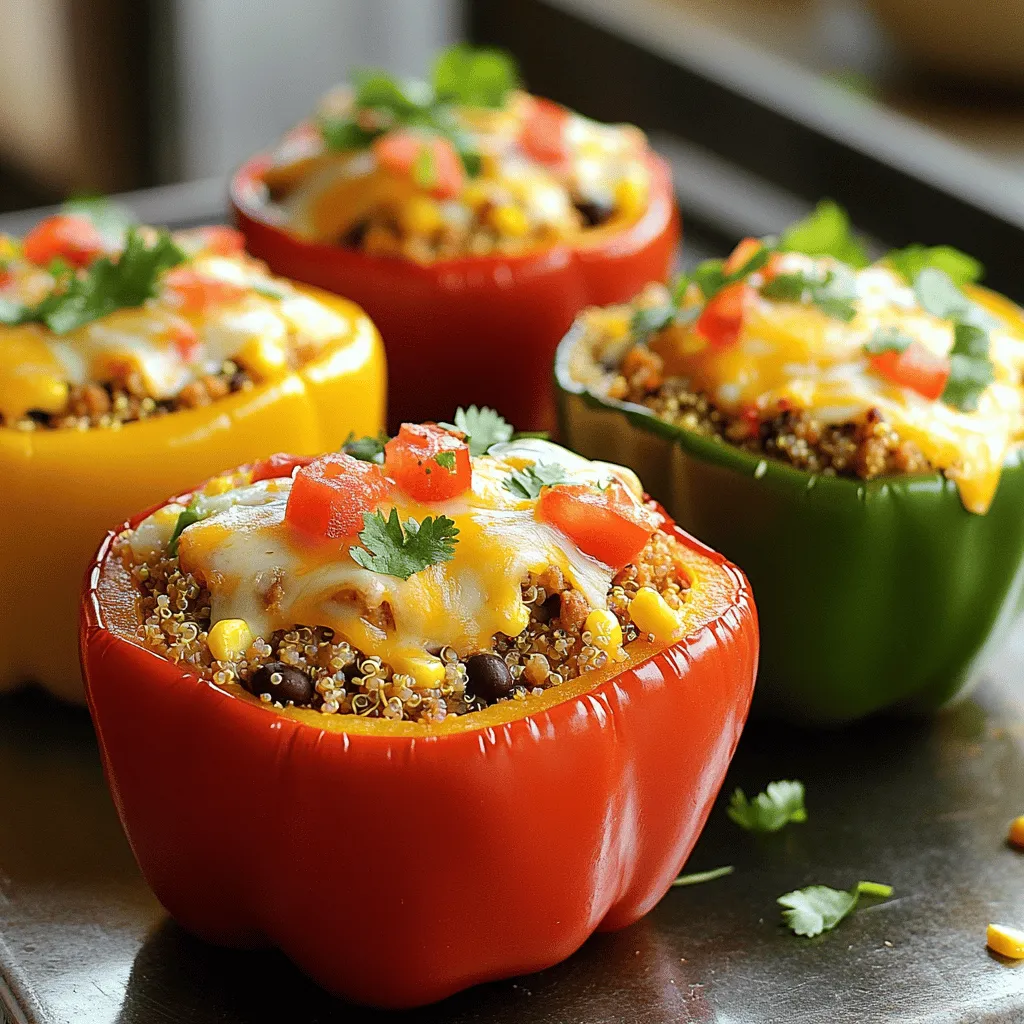
Chicken Stuffed Bell Peppers Flavorful Easy Recipe
Craving a hearty and satisfying dish? Look no further than these Chicken Stuffed Bell Peppers! This flavorful recipe combines ground chicken, fresh veggies, and…
My Latest Desserts
My Latest Recipes

hey,
i’m !
I’m so happy you’re here!
Cooking is my love language, and I’m excited to share my best dishes with you. Hope they become your favorites too! Let’s enjoy every bite of this journey together.


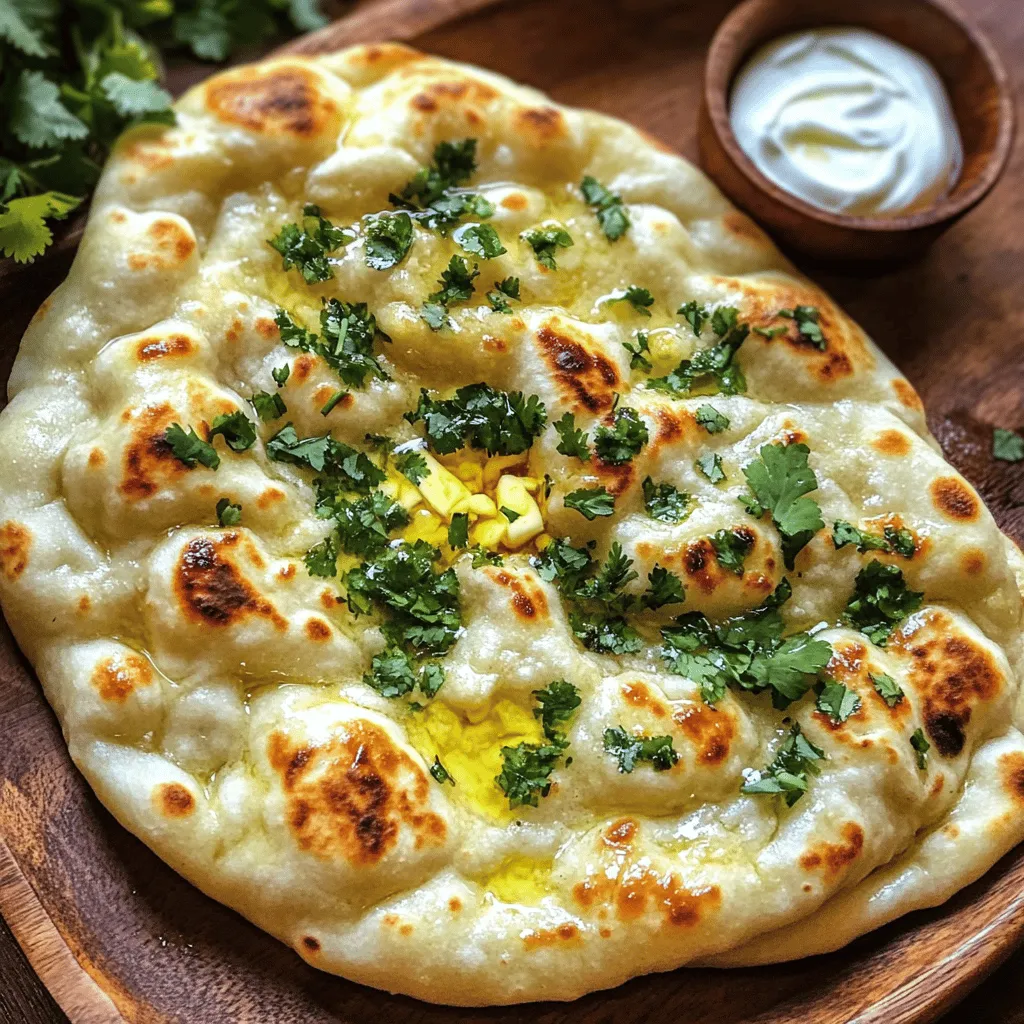
Easy Garlic Naan Soft and Flavorful Dinner Choice
Are you ready to elevate your dinner experience with an easy recipe? This Easy Garlic Naan is soft, flavorful, and perfect for any meal.…