


Latest & Greatest
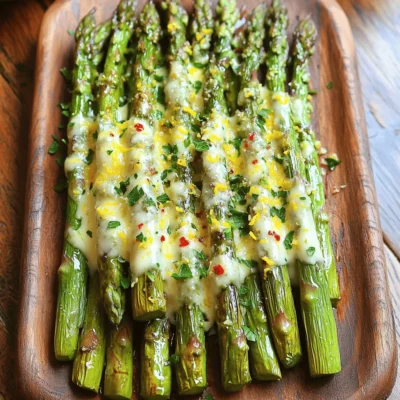
Garlic Parmesan Roasted Asparagus Easy Side Dish
Looking for a simple side dish that dazzles? Garlic Parmesan Roasted Asparagus is my go-to! With fresh asparagus, rich garlic,
Read more…
Maple Glazed Roasted Carrots Delicious Simple Side
Looking for a tasty side that’s quick and easy? These Maple Glazed Roasted Carrots are not only simple but also
Read more…
Lemon Poppyseed Protein Pancakes Healthy Breakfast Fix
Are you looking for a healthy breakfast that’s both tasty and filling? Try my Lemon Poppyseed Protein Pancakes! These fluffy
Read more…
White Bean Spinach Quesadillas Flavorful and Healthy Meal
Looking for a tasty meal that’s both fun to make and good for you? These White Bean Spinach Quesadillas pack
Read more…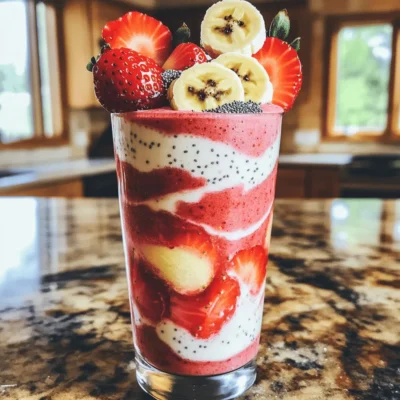
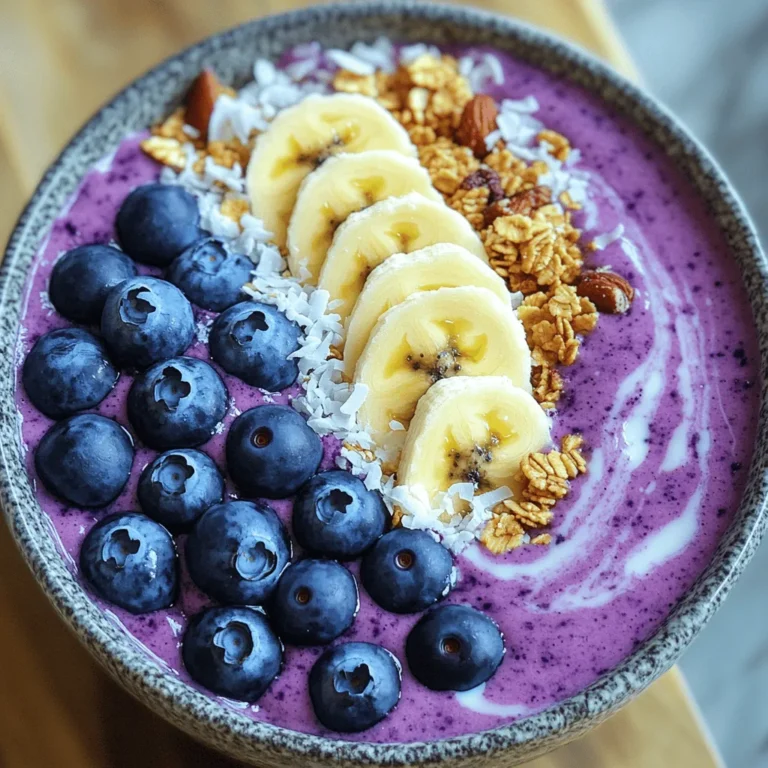
Strawberry Banana Protein Smoothie Tasty and Nutritious
Looking for a quick and tasty way to boost your nutrition? The Strawberry Banana Protein Smoothie is your perfect match!
Read more…
Crispy Air Fryer Brussels Sprouts Easy and Delicious Dish
If you’re looking for a tasty and healthy side dish, try these crispy air fryer Brussels sprouts! They’re easy to
Read more…
Sweet Potato Lentil Soup Cozy and Nourishing Bowl
Warm, cozy, and packed with nutrients, Sweet Potato Lentil Soup is your perfect bowl of comfort. This simple, tasty dish
Read more…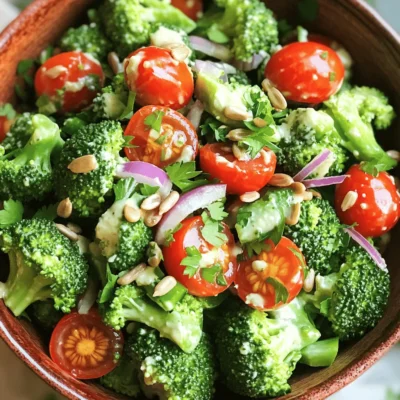
Lemon Tahini Broccoli Salad Fresh and Healthy Delight
Brighten your day with my Lemon Tahini Broccoli Salad, a fresh and healthy delight. This vibrant dish features crunchy broccoli,
Read more…browse recipes


Spicy Roasted Chickpeas Crispy and Flavorful Snack
Get ready to spice up your snack game with these crispy roasted chickpeas! This recipe turns simple ingredients into a tasty treat that’s perfect…
My Latest Desserts
My Latest Recipes

hey,
i’m !
I’m so happy you’re here!
Cooking is my love language, and I’m excited to share my best dishes with you. Hope they become your favorites too! Let’s enjoy every bite of this journey together.
![When making creamy spinach and mushroom risotto, you need a few key ingredients. Each one helps create the rich, savory flavor we love. Here’s what you will need: - Arborio rice - Vegetable broth - Fresh spinach - Mushrooms - Onion and garlic - Parmesan cheese and cream - Olive oil, salt, and pepper - Fresh parsley for garnish Arborio rice is the star here. It has a high starch content, giving the risotto its creamy texture. I recommend using vegetable broth to keep the dish light and vegetarian-friendly. Fresh spinach adds color and nutrition, while mushrooms bring an earthy taste. For the base flavor, onion and garlic are a must. They sauté beautifully and give depth. Parmesan cheese and cream make the risotto rich and smooth. Olive oil helps everything cook well, and salt and pepper add necessary seasoning. Finally, fresh parsley gives a pop of color and freshness. It’s the finishing touch that makes your risotto look appealing. By using these ingredients, you create a dish that’s not only delicious but also visually stunning. For the full recipe, check out the [Full Recipe]. 1. Heating the vegetable broth Start by placing four cups of vegetable broth in a saucepan. Heat it over low heat. Keeping it warm helps the rice cook evenly. 2. Sautéing onion and garlic In a large skillet, pour in two tablespoons of olive oil. Heat it on medium. Add one finely chopped onion. Stir and cook until it looks translucent, about three to four minutes. Next, add three minced garlic cloves. Cook for one to two minutes until it smells great. 3. Cooking mushrooms Now, add one cup of sliced mushrooms. You can pick any type you like. Season with one teaspoon of salt and half a teaspoon of black pepper. Cook for five to six minutes, stirring often, until they turn golden and release their moisture. 1. Toasting the Arborio rice Stir in one cup of Arborio rice next. Toast it for one to two minutes. You want the grains to look slightly translucent. 2. Adding broth gradually Begin to add the warm vegetable broth. Use one ladle at a time. Stir often and let the rice absorb most of the liquid before adding more. Repeat this for about 18 to 20 minutes. The rice should be creamy and slightly chewy. 3. Incorporating spinach, cheese, and cream When the rice is cooked, stir in one cup of chopped fresh spinach. Let it wilt. Then, take the skillet off heat. Fold in half a cup of grated parmesan cheese and a quarter cup of cream. Mix until everything is creamy and well combined. Don’t forget to taste and adjust the seasoning if you need to. For the complete instructions, check the [Full Recipe]. To make the best risotto, you need to stir often. This movement helps release the starch from the rice. The starch is what makes your risotto creamy. Use a wooden spoon for stirring. It gives you control and helps avoid sticking. If the risotto gets too thick, add a splash of broth. This will help bring it back to a creamy state. For added flavor, consider a splash of white wine. It truly enhances the taste of the dish. If you want to switch things up, try using different grains. Quinoa or farro can work well in this dish. For those avoiding dairy, use coconut cream instead of regular cream. Nutritional yeast can replace parmesan cheese for a cheesy flavor without dairy. If you want to add protein, consider cooked chicken or shrimp. You can also toss in some beans for a vegetarian protein boost. These substitutions keep the dish exciting and suited to your preferences. For the complete recipe, refer to the Full Recipe section. {{image_2}} You can make your creamy spinach and mushroom risotto special by adding seasonal vegetables. For spring, try peas or asparagus. In summer, fresh zucchini and corn add sweetness. Fall brings delicious squash, while winter can feature root vegetables like carrots or turnips. Each season offers a new flavor twist. Different types of mushrooms can change the taste, too. Common button mushrooms work well, but you can also use shiitake, cremini, or portobello. Each type brings its unique flavor and texture. Mixing a few types can add depth to your dish. Flavoring with herbs and spices can elevate your risotto. Fresh herbs like basil or thyme add brightness. A hint of nutmeg or red pepper flakes can bring warmth and spice. Experiment with what you have on hand to keep it exciting. Pair your risotto with proteins to make a complete meal. Grilled chicken, shrimp, or salmon are great options. They complement the creamy flavors of the risotto perfectly. For a vegetarian choice, add roasted chickpeas for protein and crunch. Accompaniments like a fresh salad or crusty bread work well. A bright green salad adds a refreshing crunch. Bread can soak up the creamy sauce, making each bite satisfying. For presentation ideas, serve the risotto warm in bowls. Garnish with fresh parsley and a sprinkle of parmesan on top for a visual pop. This simple touch makes your dish look gourmet and inviting. Check out the Full Recipe for detailed steps to craft this delightful dish. To store risotto leftovers, cool it to room temperature first. Then, place it in an airtight container. It will stay fresh for about three days in the fridge. When reheating, add a splash of broth or cream. This helps bring back its creamy texture. Heat it gently on the stove or in the microwave. Stir often for even warming. You can freeze risotto, but it may change texture. To freeze, let the risotto cool completely. Then, spoon it into freezer bags or containers. Remove as much air as possible before sealing. It can last up to three months in the freezer. When you’re ready to eat, thaw it overnight in the fridge. Reheat on low heat, adding broth or cream to restore creaminess. Enjoy your creamy spinach and mushroom risotto again! For the full recipe, check the section above. How to best reheat risotto? To reheat risotto, add a little broth or water. Heat it gently on low. Stir often until warm. This keeps it creamy. Can I make risotto ahead of time? Yes, you can make risotto ahead. Cook it until just al dente. Let it cool, then store in the fridge. Reheat later with broth. What can I do if my risotto is too thick? If your risotto is too thick, add warm broth. Stir it in slowly until you reach the right creaminess. Is risotto gluten-free? Yes, risotto is gluten-free. Just use Arborio rice, which is naturally gluten-free. Can I use different types of rice? You can use other short-grain rice. Arborio is best for creamy texture, but Carnaroli or Vialone Nano work too. What are the nutritional values for this risotto? This risotto has good carbs from rice, healthy fats from olive oil, and protein from cheese. Each serving has about 300 calories. For full nutritional values, refer to the Full Recipe. This blog post covered how to make delicious risotto with simple steps. We looked at key ingredients, preparation, cooking tips, variations, and storage info. Remember to stir well and adjust the texture as needed. You can also get creative with ingredients to fit your taste. Whether you're a beginner or a pro, risotto is a dish you can master. Enjoy making it your own and share it with others!](https://recipespursuit.com/wp-content/uploads/2025/06/235cc191-b649-4281-94b8-6cd818871459-300x300.webp)


Chocolate Chip S’mores Bars Irresistible Dessert Treat
Do you have a sweet tooth? If you love gooey s’mores and rich chocolate, you’ll adore my Chocolate Chip S’mores Bars! This easy recipe…