Latest & Greatest
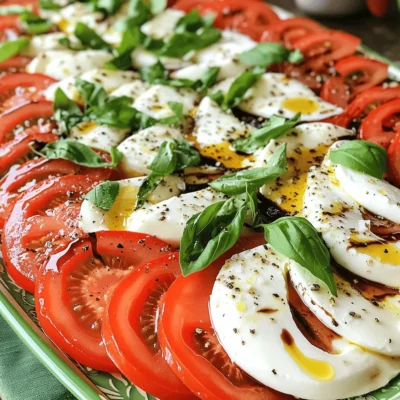
Classic Caprese Salad Flavorful Summer Delight
If you love fresh flavors and simple dishes, you’ll adore the Classic Caprese Salad. This dish celebrates summer with juicy
Read more…
Crispy Zucchini Chips Delicious and Easy Snack Recipe
Craving a crunchy snack that’s both tasty and healthy? You’ve come to the right place! Learn how to make crispy
Read more…
Avocado Egg Breakfast Burrito Simple and Tasty Meal
Are you ready to elevate your breakfast game? The Avocado Egg Breakfast Burrito is a simple, tasty meal that packs
Read more…
Lemon Herb Grilled Shrimp Fresh and Flavorful Delight
Ready to impress your guests with a dish that’s fresh, easy, and bursting with flavor? My Lemon Herb Grilled Shrimp
Read more…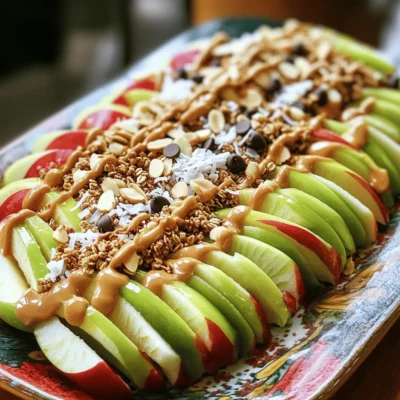
Peanut Butter Apple Nachos Easy and Fun Recipe
If you’re looking for a quick, tasty snack that’s fun to make, I’ve got just the thing! Peanut Butter Apple
Read more…
Strawberry Lemonade Popsicles Refreshing Summer Treat
Summer is here, and there’s no better way to cool off than with refreshing Strawberry Lemonade Popsicles. These tasty treats
Read more…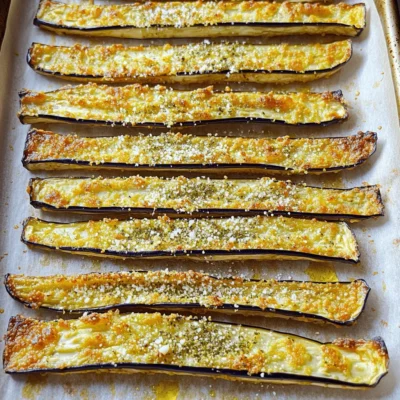
Crispy Baked Eggplant Fries for a Tasty Snack
Are you ready for a delicious snack that’s both crispy and healthy? Crispy baked eggplant fries are your new best
Read more…
Easy Chicken Fried Rice Tasty Weeknight Recipe
Looking for a quick and tasty dinner? This Easy Chicken Fried Rice recipe is here to save your busy evenings!
Read more…browse recipes
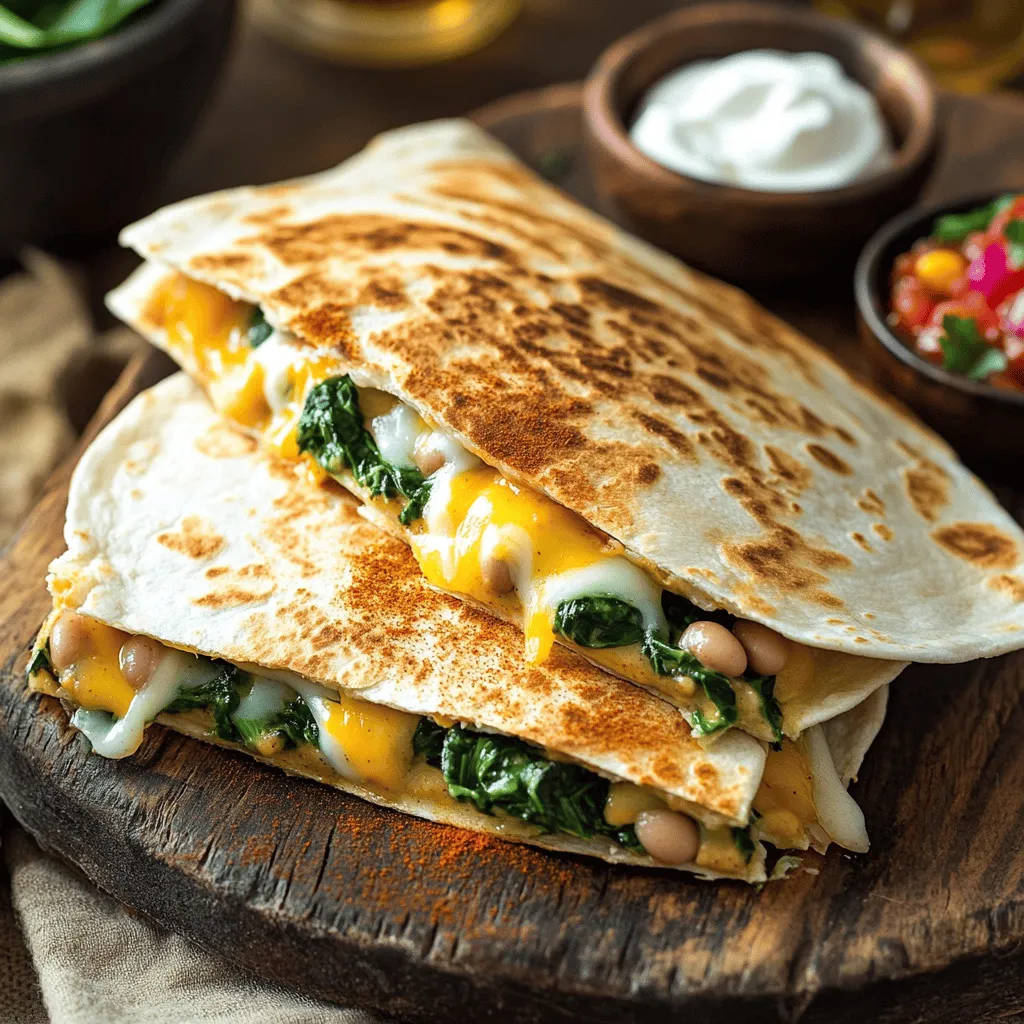
White Bean Spinach Quesadillas Flavorful and Healthy Meal
Looking for a tasty meal that’s both fun to make and good for you? These White Bean Spinach Quesadillas pack a punch of flavor…
My Latest Desserts
My Latest Recipes
hey,
i’m !
I’m so happy you’re here!
Cooking is my love language, and I’m excited to share my best dishes with you. Hope they become your favorites too! Let’s enjoy every bite of this journey together.
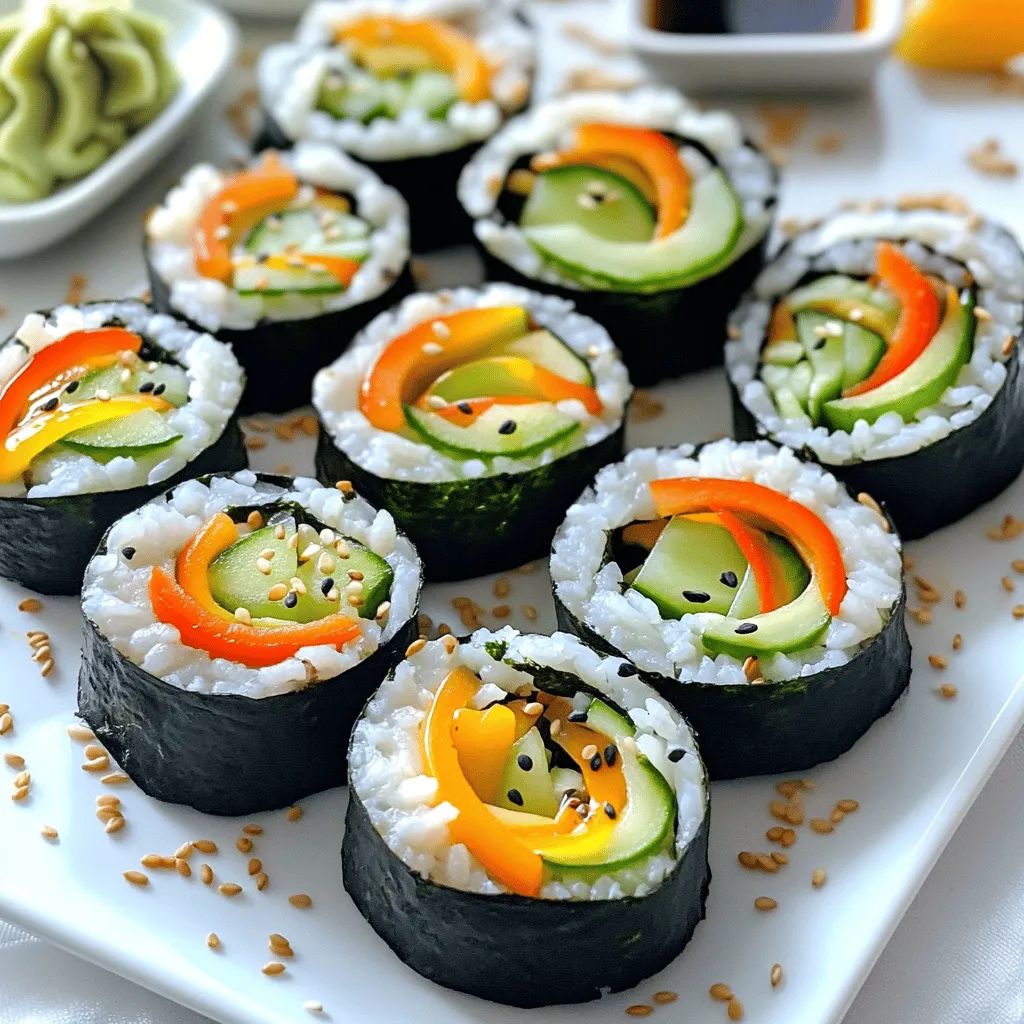
Simple Veggie Sushi Rolls Fresh and Tasty Treat
Looking to make a delicious, fresh treat at home? Simple veggie sushi rolls are your answer! With just a few easy steps, you can…




![To make tasty savory breakfast burritos, gather these key items: - 4 large flour tortillas - 6 large eggs - 1 cup bell peppers (red and green), diced - 1 cup cooked breakfast sausage, crumbled (or use veggie sausage for a vegetarian option) - 1 cup shredded cheese (cheddar or pepper jack) - 1 avocado, sliced - ¼ cup fresh cilantro, chopped - 1 tablespoon olive oil - 1 teaspoon garlic powder - 1 teaspoon onion powder - Salt and pepper to taste - Salsa, for serving These ingredients create a flavorful mix that makes each bite delightful. You can enhance your burrito’s flavor with fresh, seasonal items. Consider adding: - Spinach or kale for a green boost - Zucchini or mushrooms for extra texture - Fresh tomatoes for a juicy burst - Chopped green onions for a mild onion flavor Using fresh ingredients not only tastes great, but it also adds nutrition to your meal. You can easily adapt this recipe to meet different dietary needs: - For a vegetarian option, swap sausage for black beans or lentils. - Use gluten-free tortillas if you need to avoid gluten. - For a lower-fat option, replace regular cheese with a lighter cheese or omit it entirely. - If you prefer a dairy-free burrito, use plant-based cheese or skip it altogether. These substitutions allow everyone to enjoy a delicious breakfast burrito. Want the full recipe? Check out the [Full Recipe]. Start by heating the olive oil in a skillet over medium heat. Add the diced bell peppers and cook them for 3-4 minutes. You want them soft, not mushy. While they cook, grab a bowl. Whisk together the eggs, garlic powder, onion powder, salt, and pepper. Mix until everything is well combined. Pour this mixture into the skillet with the peppers. Add the crumbled sausage now. Stir gently until the eggs are set. This usually takes about 5 minutes. Remove the skillet from heat. Your filling is ready! Lay a tortilla flat on a clean surface. Sprinkle a good layer of cheese in the center. Next, spoon some of that tasty egg and sausage mixture on top. Add a few slices of avocado and some fresh cilantro for extra flavor. Now, fold the sides of the tortilla inwards. Start rolling the tortilla from the bottom. Keep it tight but not too tight. Repeat this step for the other tortillas. You've just made your burritos! For an extra crispy burrito, return the assembled burritos to the skillet. Toast them for 2-3 minutes on each side. Keep an eye on them; you want them golden brown, not burnt. This will give you that perfect crunch. Once done, serve your burritos right away. Enjoy them with some salsa on the side for dipping! For the full recipe, check the details above. To get creamy scrambled eggs, start with fresh eggs. Crack them into a bowl and whisk well. I suggest adding a splash of milk or cream for extra creaminess. This also helps the eggs cook evenly. Heat your skillet on medium-low. Low heat cooks the eggs gently. Stir them slowly and keep the eggs moving. Remove them from heat just before they are fully set. The residual heat will finish cooking them. To make your burrito pop with flavor, use fresh herbs and spices. Fresh cilantro and a dash of lime juice add brightness. Garlic and onion powders give depth. You can also season your eggs with salt and pepper. For a kick, consider adding hot sauce or diced jalapeños. Mixing flavors like smoked paprika or cumin can create a unique twist. Don’t be afraid to experiment with your favorite ingredients. If you have leftover burritos, store them in an airtight container. Place parchment paper between each burrito to keep them from sticking. They can last in the fridge for up to three days. To reheat, wrap the burrito in a damp paper towel and microwave for one to two minutes. For a crispier texture, use a skillet. Heat each side for about three minutes until warm and crispy. {{image_2}} You can easily make breakfast burritos without meat. Use scrambled tofu instead of eggs. It’s a great alternative and packed with protein. Add spices like turmeric and nutritional yeast for flavor. You can also use black beans or lentils for a hearty filling. These options are not only tasty but also healthy. Feel free to get creative with your fillings. Swap out bell peppers for spinach or kale. You can add mushrooms for an earthy taste. Try different cheeses like feta or mozzarella for a unique twist. If you want a fresh flavor, add tomatoes or corn. The key is to mix and match your favorite ingredients. If you love heat, add jalapeños or hot sauce to your burritos. Pickled jalapeños can give a nice tang. You can also sprinkle in some cayenne pepper or chili flakes when cooking the eggs. For a smoky flavor, try adding chipotle peppers in adobo sauce. These spicy options will surely wake up your taste buds! For a full recipe to get started, check out the Savory Breakfast Burritos section above. To keep your savory breakfast burritos fresh, store them in the fridge. Wrap each burrito in plastic wrap or foil. Place them in an airtight container. They last for about 3 to 4 days this way. Always let them cool before wrapping to avoid sogginess. Keeping them sealed helps maintain their flavors. You can freeze your burritos for longer storage. After wrapping them tightly in plastic wrap, place them in a freezer-safe bag. Make sure to remove as much air as possible. They can last up to 3 months in the freezer. When ready to eat, thaw them in the fridge overnight before reheating. Reheating is crucial for the best taste. You can use a few methods here. The microwave is quick but may make the burrito a bit soggy. For a crispy texture, use a skillet. Heat on medium heat for 3-4 minutes per side. You can also use an oven, preheated to 350°F (175°C). Wrap the burrito in foil and heat for about 15-20 minutes. Choose the method that fits your time and texture needs! You can change your breakfast burrito in many ways. Start with the base ingredients. You can swap flour tortillas for corn ones if you want a gluten-free option. Next, change the filling. Try black beans, spinach, or mushrooms for variety. For meat lovers, you can use bacon or chorizo. If you prefer a vegetarian option, add extra veggies or tofu. You can also mix in different cheeses, like feta or mozzarella. Finally, don’t forget the toppings! Salsa, sour cream, or hot sauce can add a burst of flavor. Experiment until you find your perfect combination. Yes, you can make savory breakfast burritos ahead of time! Prepare the filling the night before. Store it in the fridge in an airtight container. This makes your morning easier. When you are ready to eat, warm the filling in a skillet or microwave. Then, assemble your burritos using fresh tortillas. If you want, you can freeze the assembled burritos. Just wrap them tightly in foil or plastic wrap. When you want to eat them, heat them in the oven or microwave. Breakfast burritos pair well with many side dishes. Here are some tasty options: - Fresh fruit salad - Hash browns or home fries - Yogurt with honey and granola - A simple green salad - Sliced tomatoes or cucumbers These sides add balance to your meal. They also provide extra flavor and texture. You can mix and match based on your mood and the season. Explore and enjoy your savory breakfast burrito experience! Savory breakfast burritos are easy to make and fun to customize. We explored essential ingredients, fresh options, and substitutions for your diet. I shared step-by-step instructions, tips for perfect eggs, and ways to keep leftovers tasty. You can try different flavors, including vegetarian and spicy options. Don’t forget about storing them right for later. Enjoy creating your own burrito masterpiece!](https://recipespursuit.com/wp-content/uploads/2025/05/cdbc7eaa-f287-40e5-8bbd-af5146fffb60-300x300.webp)
. Here’s a quick look at what you need: - 1 ripe banana, frozen - 2 tablespoons natural peanut butter - 1 cup almond milk (or milk of choice) - 1 tablespoon honey or maple syrup (optional) - 1 tablespoon chia seeds - 1/2 teaspoon vanilla extract - A pinch of cinnamon (for garnish) This simple mix brings joy in every sip. Try it today! In this blog post, we explored a delicious peanut butter banana smoothie. We covered the simple ingredients and easy steps for making it. Tips for the perfect consistency and tasty variations made this even better. Storing your smoothie correctly keeps it fresh, and we answered common questions to help you. This smoothie is healthy and customizable for your taste. Try it today for a quick, nutritious snack!](https://recipespursuit.com/wp-content/uploads/2025/05/a097c2c6-3221-4de3-b85e-e079fd526fbe-300x300.webp)


