Latest & Greatest
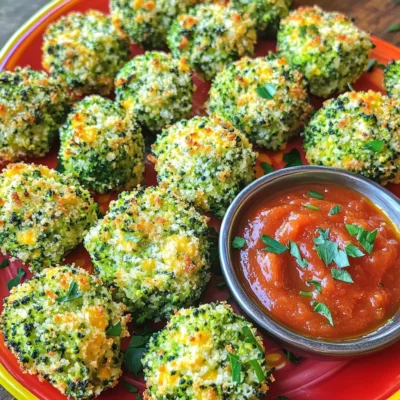
Cheesy Broccoli Bites Tasty Snack for Everyone
Looking for a healthy snack that everyone will love? Try my Cheesy Broccoli Bites! These tasty little snacks are packed
Read more…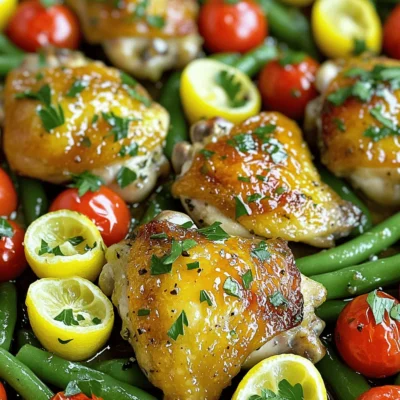
One Pan Lemon Herb Chicken Flavorful and Easy Meal
Ready for a delicious meal that’s easy to whip up? My One Pan Lemon Herb Chicken is packed with flavor
Read more…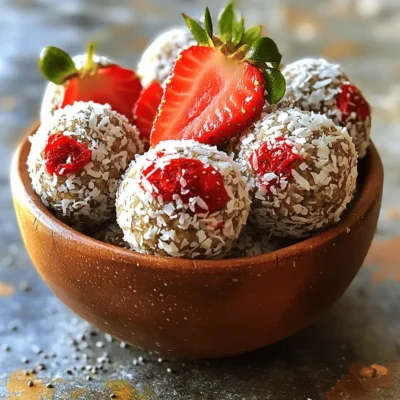
Strawberry Coconut Energy Balls Quick and Tasty Snack
Looking for a quick and tasty snack that packs a nutrition punch? Strawberry Coconut Energy Balls are your answer! With
Read more…
Lemon Blueberry Muffins Tasty and Easy Recipe
Looking for a delicious treat that’s easy to make? You’ve come to the right place! My Lemon Blueberry Muffins are
Read more…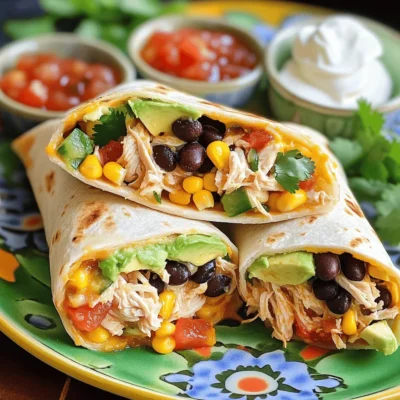
Easy Chicken Burritos Quick and Tasty Meal Idea
Looking for a quick meal that tastes great? You’re in the right place! Easy chicken burritos are simple to make
Read more…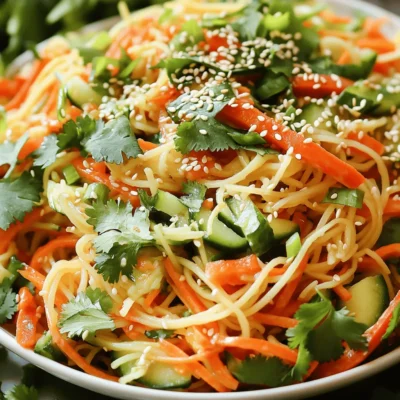
Savory Sesame Ginger Noodle Salad Quick and Easy Meal
Looking for a quick and tasty meal? This Savory Sesame Ginger Noodle Salad is the answer! You can mix fresh
Read more…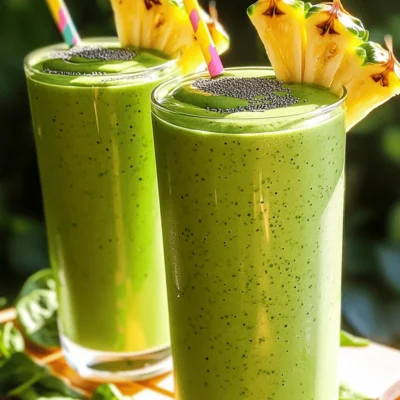
Tropical Green Smoothie Refreshing and Nutritious Drink
Looking for a tasty way to boost your health? My Tropical Green Smoothie is both refreshing and nutritious! Packed with
Read more…
Baked Chicken Parmesan Bites Flavorful and Easy Snack
Looking for a tasty snack that’s easy to make? You’re in the right spot! I’ll show you how to whip
Read more…browse recipes
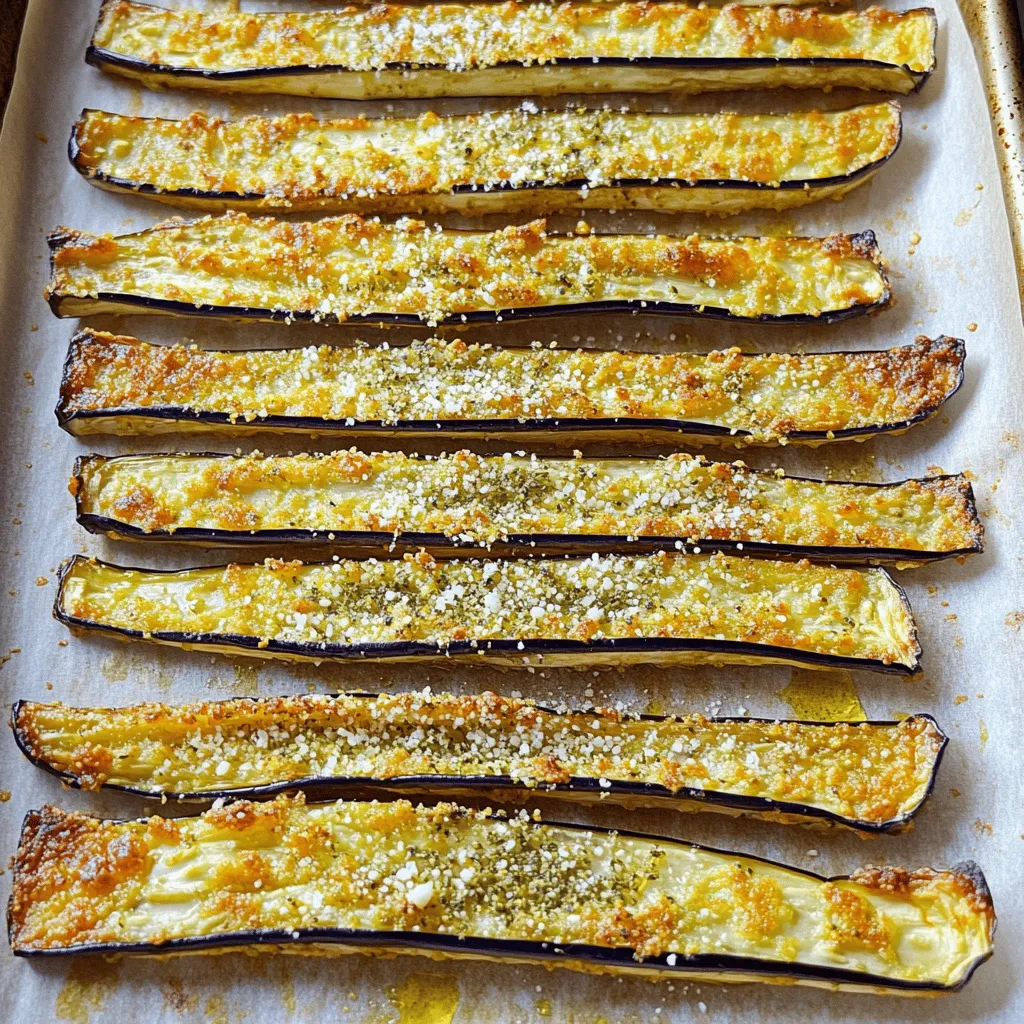
Crispy Baked Eggplant Fries for a Tasty Snack
Are you ready for a delicious snack that’s both crispy and healthy? Crispy baked eggplant fries are your new best friend! They’re easy to…
My Latest Desserts
My Latest Recipes
hey,
i’m !
I’m so happy you’re here!
Cooking is my love language, and I’m excited to share my best dishes with you. Hope they become your favorites too! Let’s enjoy every bite of this journey together.
Vegan Burrito Bowls Flavorful and Nutritious Meal
Are you ready to explore a meal that’s both flavorful and good for you? Vegan burrito bowls are not just delicious; they are packed…
![To make a great vegan burrito bowl, you need a few key ingredients. Here’s what you'll use: - 1 cup quinoa, rinsed - 2 cups vegetable broth - 1 can (15 oz) black beans, drained and rinsed - 1 cup corn (fresh or frozen) - 1 bell pepper, diced (any color) - 1 avocado, diced - 1 cup cherry tomatoes, halved - 1 small red onion, finely chopped - 1 teaspoon ground cumin - 1 teaspoon chili powder - 1 tablespoon olive oil - Juice of 1 lime - Salt and pepper to taste - Fresh cilantro, chopped (for garnish) - Sliced jalapeños (optional for spice) These ingredients create a colorful and tasty meal. Quinoa serves as a healthy base. The black beans add protein, while the veggies provide crunch and flavor. Adding garnishes can elevate your bowl. Here are some ideas: - Fresh cilantro for a burst of flavor - Sliced jalapeños for heat - Lime wedges for extra zest - Avocado slices for creaminess - Vegan sour cream for richness These garnishes not only look nice but also enhance the taste. Experiment with different toppings to find what you love most. Vegan burrito bowls pack a nutritional punch. Here are some benefits: - Quinoa: A complete protein, high in fiber - Black beans: Rich in protein and iron - Avocado: Full of healthy fats - Vegetables: Provide vitamins and minerals This meal is balanced and filling. It offers a great mix of protein, fiber, and healthy fats. Plus, it’s vegan and packed with nutrients. Enjoy the flavors while nourishing your body! For the full recipe, check the section above. To start your vegan burrito bowls, rinse 1 cup of quinoa under cold water. This step removes any bitterness. In a medium saucepan, bring 2 cups of vegetable broth to a boil. Once it boils, add the rinsed quinoa. Lower the heat, cover, and let it simmer for about 15 minutes. When the quinoa is fluffy, remove it from the heat. Let it sit for 5 minutes, then fluff it with a fork. This creates a light and airy base for your bowl. While the quinoa cooks, heat 1 tablespoon of olive oil in a large skillet over medium heat. Add 1 small chopped red onion and sauté for about 3-4 minutes. You want the onion to soften and become fragrant. Next, toss in 1 diced bell pepper and 1 cup of corn. Sprinkle 1 teaspoon of ground cumin and 1 teaspoon of chili powder over the mixture. Season with salt and pepper to taste. Sauté for another 5-7 minutes. Stir often until the bell peppers are tender and vibrant. In a large bowl, combine the cooked quinoa, 1 can of black beans (drained and rinsed), and the sautéed vegetable mix. Gently fold in 1 diced avocado and 1 cup of halved cherry tomatoes. This not only adds flavor but also color to your dish. Drizzle the juice of 1 lime over the mixture and toss it gently. Taste your creation and adjust the seasoning if you need to. Serve in bowls and garnish with fresh cilantro. For those who love spice, add sliced jalapeños on top. Enjoy your flavorful and nutritious meal! For the complete recipe, check the Full Recipe section. To get great texture, cook the quinoa well. Rinse it first to remove the bitter coating. Use vegetable broth for added flavor. Simmer it on low heat until fluffy. Let it sit for five minutes after cooking. Fluff it gently with a fork. This ensures each grain stands out. Use spices like cumin and chili powder to boost flavor. Sauté your veggies in olive oil. This brings out their natural sweetness. Add lime juice just before serving for brightness. Taste your dish as you go. Adjust salt and pepper to your liking. Fresh cilantro adds a burst of freshness. Don’t skip rinsing the quinoa. It makes a big difference in taste. Avoid overcooking the vegetables; they should be tender yet crisp. If you add too much salt, it can overpower your dish. Lastly, don’t forget the garnishes! They make your bowl look and taste amazing. Check the [Full Recipe] for more details on how to create these vibrant bowls! {{image_2}} You can boost your vegan burrito bowls with protein. Tofu is a great choice. It soaks up flavors well. Just cube it, season it, and sauté it until golden. Tempeh is another tasty option. It has a nutty flavor and adds texture. Crumble it or slice it, then sauté with spices for a hearty kick. Spices can take your burrito bowl to the next level. Try adding smoked paprika for a rich taste. A pinch of cayenne can add heat. You can also mix in fresh herbs like cilantro or parsley. For dressings, a simple lime vinaigrette works well. Just mix lime juice, olive oil, and a touch of salt. You can also blend avocado with lime for a creamy dressing. While quinoa is a fantastic base, you have other options. Brown rice offers a chewy texture and nutty taste. Cauliflower rice is low in carbs and adds a light feel. Just pulse cauliflower florets in a food processor and sauté. Both choices work great with the same toppings from the full recipe. Exploring these variations keeps your meals exciting and nutritious! Store your vegan burrito bowls in airtight containers. This keeps them fresh. Let the bowls cool before sealing. If you add avocado, it may brown. To prevent this, store avocado separately. You can keep the bowls in the fridge for up to three days. When you want to eat leftovers, reheat in the microwave. Use a microwave-safe bowl and cover it. Heat in short bursts, about 30 seconds each. Stir between heating until warm. You can also heat on the stove. Just add a splash of water and stir until hot. Freezing is a great way to save time. Divide the burrito bowls into portions. Use freezer-safe containers or bags. They can last for up to three months in the freezer. To eat, thaw in the fridge overnight. Reheat as mentioned before. This keeps your meal tasty and ready to enjoy! For the full recipe, check the Vibrant Vegan Burrito Bowls. Serve Vegan Burrito Bowls in deep bowls. Place a scoop of quinoa at the bottom. Then, layer on the black beans and sautéed veggies. Add diced avocado and halved cherry tomatoes on top. Finish with a sprinkle of fresh cilantro. A slice of lime on the side adds a fresh kick. You can also serve your bowls with tortilla chips for crunch. This mix of flavors looks great and tastes amazing! Yes, you can make these burrito bowls gluten-free. The main ingredients are naturally gluten-free. Use quinoa, black beans, and fresh veggies. Just ensure that the vegetable broth is gluten-free, as some brands may contain gluten. Most canned beans and corn are also gluten-free. Always check labels to be sure. This way, everyone can enjoy a tasty meal without worry. To customize for picky eaters, keep it simple. Start with the quinoa base and offer toppings on the side. Let them choose what they want. Some may prefer just beans and avocado. Others might like extra veggies or no spice. You can add a creamy dressing for those who want more flavor. This way, each person can build their perfect bowl. Enjoy experimenting with flavors to find what works best! For a complete guide, check out the Full Recipe. To wrap it up, we explored all the key parts of making vegan burrito bowls. We looked at the essential ingredients, cooking steps, and helpful tips. We also talked about tasty variations and how to store your bowls well. Remember, you can mix things up to fit your taste. Keep it fun and don’t be afraid to experiment. With these simple steps, you can create a healthy and delicious meal anytime!](https://recipespursuit.com/wp-content/uploads/2025/06/933dea4b-35ad-40bf-99a8-b9730cacaca0.webp)
