Latest & Greatest

Lemon Blueberry Muffins Tasty and Easy Recipe
Looking for a delicious treat that’s easy to make? You’ve come to the right place! My Lemon Blueberry Muffins are
Read more…
Easy Chicken Burritos Quick and Tasty Meal Idea
Looking for a quick meal that tastes great? You’re in the right place! Easy chicken burritos are simple to make
Read more…
Savory Sesame Ginger Noodle Salad Quick and Easy Meal
Looking for a quick and tasty meal? This Savory Sesame Ginger Noodle Salad is the answer! You can mix fresh
Read more…
Tropical Green Smoothie Refreshing and Nutritious Drink
Looking for a tasty way to boost your health? My Tropical Green Smoothie is both refreshing and nutritious! Packed with
Read more…
Baked Chicken Parmesan Bites Flavorful and Easy Snack
Looking for a tasty snack that’s easy to make? You’re in the right spot! I’ll show you how to whip
Read more…
Chocolate Strawberry Smoothie Delightfully Simple Recipe
Craving a sweet treat that’s also good for you? Look no further! This Chocolate Strawberry Smoothie is simple to make
Read more…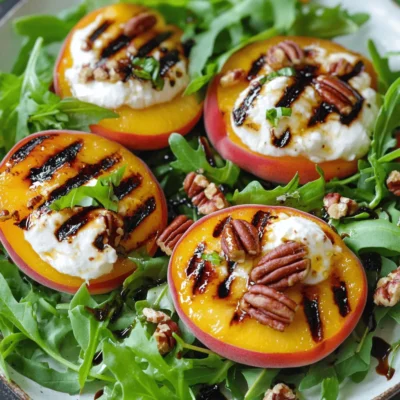
Grilled Peach Burrata Salad Fresh and Flavorful Dish
Looking for a fresh and vibrant dish that’s perfect for any season? My Grilled Peach Burrata Salad combines sweet, juicy
Read more…
Easy Veggie Egg Rolls Quick and Flavorful Snack
Looking for a quick and tasty snack? These Easy Veggie Egg Rolls are just what you need! Packed with colorful
Read more…browse recipes
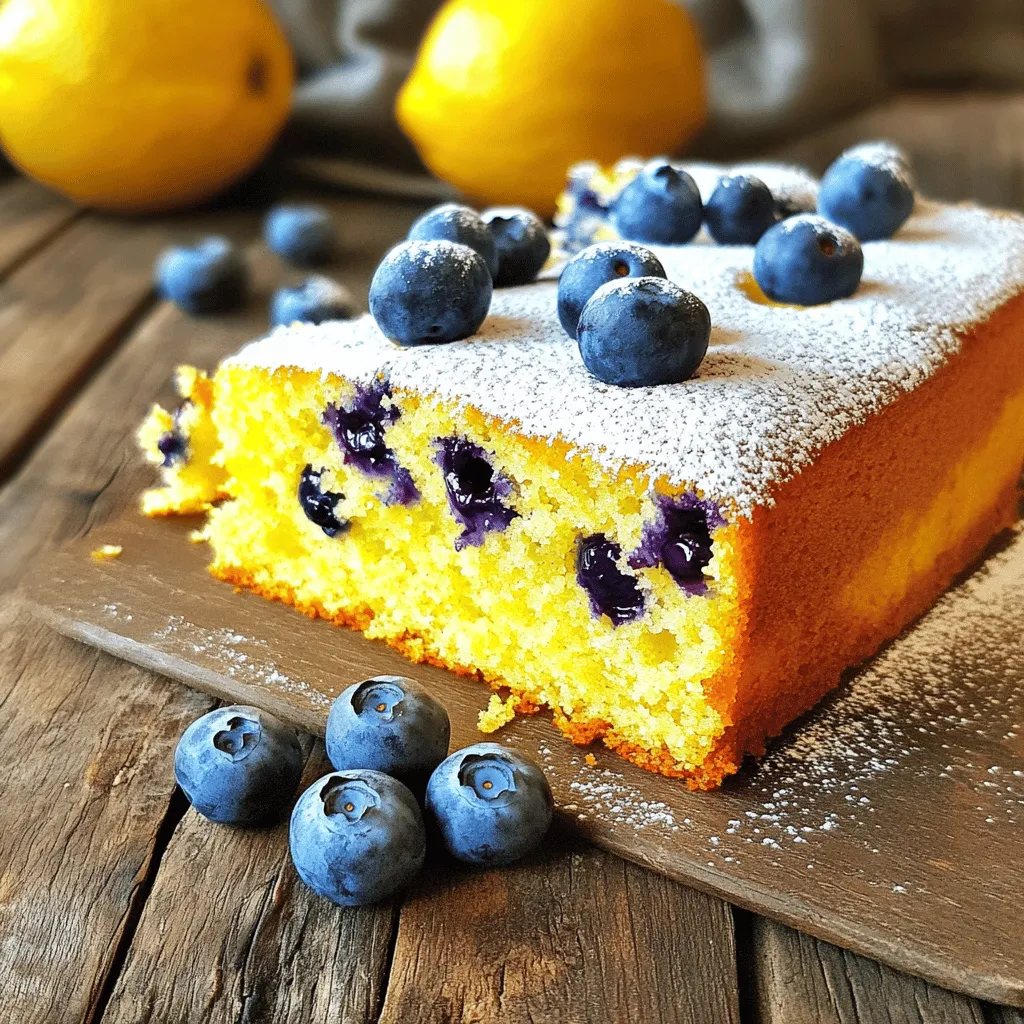
Lemon Blueberry Yogurt Cake Delightful and Simple Treat
If you love desserts that are both tasty and easy to make, you’ll enjoy this Lemon Blueberry Yogurt Cake. This delightful treat combines zesty…
My Latest Desserts
My Latest Recipes
hey,
i’m !
I’m so happy you’re here!
Cooking is my love language, and I’m excited to share my best dishes with you. Hope they become your favorites too! Let’s enjoy every bite of this journey together.
Roasted Garlic Parmesan Carrots Savory and Simple Side
Craving a simple yet flavorful side dish? You’re in for a treat! Roasted Garlic Parmesan Carrots are easy to make and packed with taste.…
![- Baby carrots (or regular carrots) - Garlic - Olive oil - Grated Parmesan cheese - Dried thyme - Salt and black pepper - Fresh parsley (for garnish) To make sure your Roasted Garlic Parmesan Carrots turn out great, measure your ingredients carefully. Use a kitchen scale for weight, if possible. For volume, use measuring cups and spoons. If you have dietary needs, you can swap some ingredients: - Use low-fat cheese instead of Parmesan for fewer calories. - Replace olive oil with a spray oil to cut down on fat. - If you need a vegan option, try nutritional yeast instead of cheese. These swaps can help you enjoy this dish while meeting your needs. Don't forget to check the [Full Recipe] for detailed cooking steps. 1. Preheating the oven: Start by preheating your oven to 425°F (220°C). This helps the carrots roast quickly and evenly. 2. Tossing ingredients in the mixing bowl: In a large mixing bowl, add 1 pound of baby carrots. Then, add 4 minced garlic cloves, 2 tablespoons of olive oil, 1 teaspoon of dried thyme, 1 teaspoon of salt, and 1/2 teaspoon of black pepper. Toss everything until the carrots are coated well. This step is crucial for flavor. 3. Arranging the carrots on the baking sheet: Line a baking sheet with parchment paper. Spread the carrots out evenly. Make sure they are not overcrowded. This helps them roast nicely without steaming. 1. Roasting time and technique: Place the baking sheet in the preheated oven. Roast the carrots for 20 minutes. Be sure to stir them halfway through. This ensures they cook evenly. 2. Adding Parmesan and final roasting: After 20 minutes, take out the baking sheet. Sprinkle 1/2 cup of grated Parmesan cheese over the carrots. Return them to the oven and roast for an additional 5-7 minutes. You want the cheese to melt and turn slightly golden. - Ensuring even roasting: Stir the carrots during roasting. This helps them brown on all sides and enhances the flavor. - Checking for doneness: The carrots should be tender when pierced with a fork. If they are soft but not mushy, they are done. You want a nice balance between tenderness and texture. Following these steps will give you Roasted Garlic Parmesan Carrots full of flavor and easy to make. For the full recipe, refer to the earlier section. To enhance the flavor of roasted garlic parmesan carrots, use fresh herbs. Fresh thyme adds a nice touch. You can also try rosemary or oregano for a different taste. A squeeze of lemon juice after roasting brightens the dish. For crispiness, the key is space. Spread the carrots out on the baking sheet. This helps them roast evenly and stay crunchy. Stir them halfway through cooking. This ensures every side gets that nice golden color. One common mistake is overcrowding the baking sheet. If you pile on too many carrots, they will steam instead of roast. Aim for a single layer for the best texture. Another issue is under-seasoning. Carrots need salt and pepper to bring out their natural sweetness. Don’t skip the seasoning or the garlic. Each adds depth and flavor. For a richer taste, consider adding a bit more parmesan cheese. This will create a wonderful crust. For the full recipe, check out the details above. {{image_2}} You can play with flavors to make this dish unique. For instance, fresh herbs can change the taste. Try adding rosemary or oregano for a fresh twist. Both herbs bring a nice earthiness that pairs well with garlic. You might also swap the cheese. Feta cheese adds a tangy kick. Cheddar cheese brings a sharpness that is delightful. Experiment with these options to find your favorite flavor. If you're short on time, the air fryer is a great choice. It cooks the carrots quickly while keeping them crisp. Set the air fryer to 400°F and cook for about 15 minutes. Shake the basket halfway through for even cooking. Grilling is another fun method. It adds a nice char and smoky flavor. Toss the carrots with oil and spices, then place them on a hot grill. Cook for about 10-12 minutes, turning often. This method gives a unique taste that’s perfect for summer meals. For the full recipe, check out the earlier section. To keep your roasted garlic Parmesan carrots fresh, store them in the fridge. Place the leftovers in an airtight container. This helps stop moisture and keeps them tasty. They will stay good for up to four days. If you want to save them for longer, you can freeze the carrots. First, let them cool completely. Then, place them in a freezer-safe bag or container. Make sure to press out any air. Frozen carrots can last up to three months. When you're ready to eat, just thaw them in the fridge overnight. You can reheat your carrots in the microwave or the oven. The microwave is fast, but it may make them a bit soggy. To reheat, place them in a bowl and cover it with a damp paper towel. Heat in 30-second bursts until warm. For a better texture, use the oven. Preheat it to 350°F (175°C). Spread the carrots on a baking sheet and heat for about 10-15 minutes. This keeps them crispy and full of flavor. You want to bring back that nice roasted taste. How long do Roasted Garlic Parmesan Carrots last in the fridge? Roasted Garlic Parmesan Carrots can last for about 3 to 5 days in the fridge. Store them in an airtight container to keep them fresh. Can I use regular carrots instead of baby carrots? Yes, you can use regular carrots. Just cut them into sticks that are similar in size to baby carrots. This helps them cook evenly. What can I serve with Roasted Garlic Parmesan Carrots? These carrots pair well with grilled chicken, steak, or fish. They also complement pasta dishes and salads, adding a nice touch of flavor. Is this recipe suitable for meal prep? Absolutely! Roasted Garlic Parmesan Carrots are great for meal prep. Make a big batch and enjoy them throughout the week. How do I know when the carrots are done roasting? The carrots are done when they are tender and slightly caramelized. You can test them by poking a fork in one. If it slides in easily, they are ready. Can I make this recipe vegan? Yes, you can make it vegan by omitting the Parmesan cheese. You can also use nutritional yeast for a cheesy flavor without dairy. What is the best type of Parmesan to use? Freshly grated Parmesan cheese works best. It melts nicely and has a rich flavor. Avoid pre-grated cheese, as it may not melt as well. For the full recipe, check out the detailed instructions above! In this post, we explored how to make tasty roasted garlic Parmesan carrots. We covered essential ingredients and accurate measurements, plus step-by-step preparation and cooking instructions. Expert tips helped avoid common mistakes. Variations let you get creative, swapping herbs or cooking methods. In the end, these carrots are easy to prepare and perfect as a side dish. With a few careful steps, you’ll impress everyone at your table. Enjoy this delicious dish anytime!](https://recipespursuit.com/wp-content/uploads/2025/06/c6c33b24-b539-489d-97df-92a2b4c61db0.webp)
