Latest & Greatest

Healthy Carrot Cake Muffins Nutritious and Tasty Treat
Looking for a guilt-free treat that satisfies your sweet tooth? Try my Healthy Carrot Cake Muffins! Packed with whole ingredients
Read more…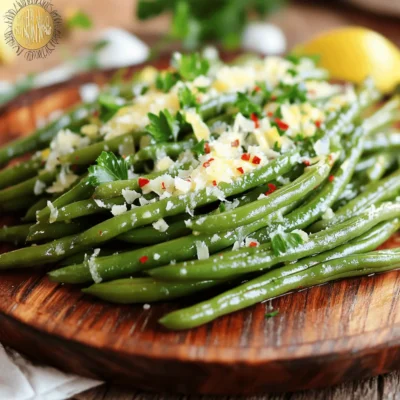
Garlic Parmesan Green Beans Flavorful and Easy Recipe
Are you ready to elevate your veggie game? In this Garlic Parmesan Green Beans recipe, you’ll discover how simple it
Read more…
Strawberry Shortcake Trifle Delightful and Creamy Treat
Are you ready to treat yourself? My Strawberry Shortcake Trifle is the perfect way to enjoy a sweet and creamy
Read more…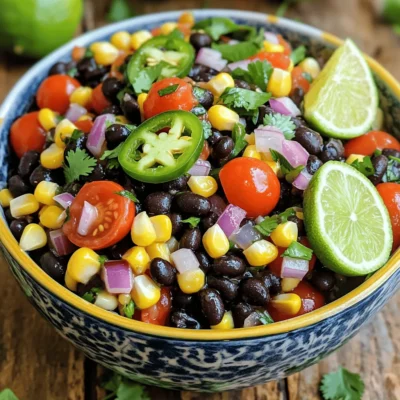
Zesty Black Bean Salsa Fresh and Flavorful Delight
Are you ready to spice up your snacking routine? This Zesty Black Bean Salsa packs a flavorful punch that’s fresh
Read more…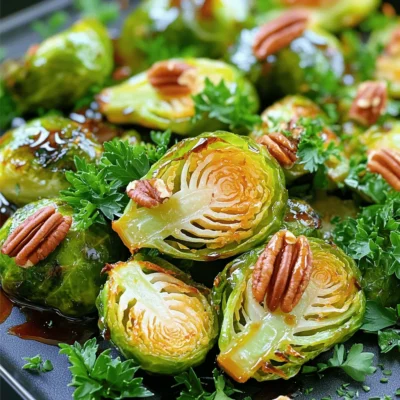
Balsamic Glazed Brussels Sprouts Tasty Side Dish Recipe
Looking for a quick and tasty side dish? Balsamic Glazed Brussels Sprouts are the answer! This easy recipe packs a
Read more…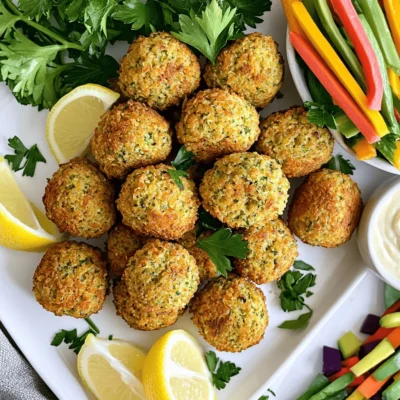
Easy Air Fryer Falafel Simple and Flavorful Recipe
Looking for a quick and tasty way to enjoy falafel? This Easy Air Fryer Falafel recipe is simple and packed
Read more…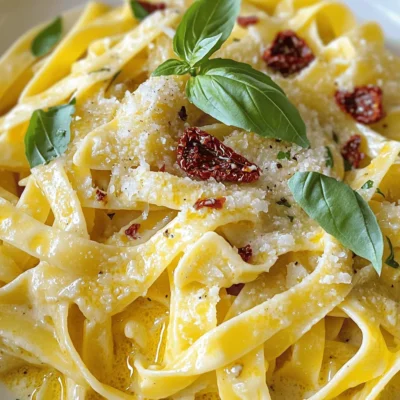
Creamy Sun-Dried Tomato Pasta Simple and Speedy Meal
Are you ready for a delicious meal that takes hardly any time to prepare? My Creamy Sun-Dried Tomato Pasta is
Read more…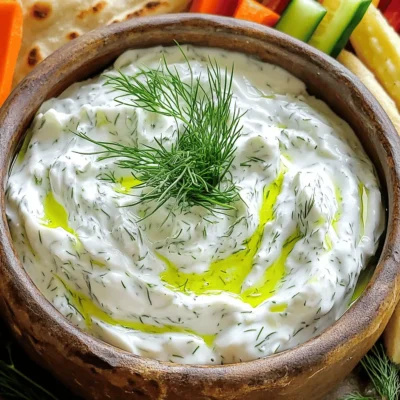
Classic Tzatziki Sauce Fresh and Flavorful Recipe
If you’re craving a fresh and flavorful dip, look no further than classic tzatziki sauce. This simple recipe combines creamy
Read more…browse recipes
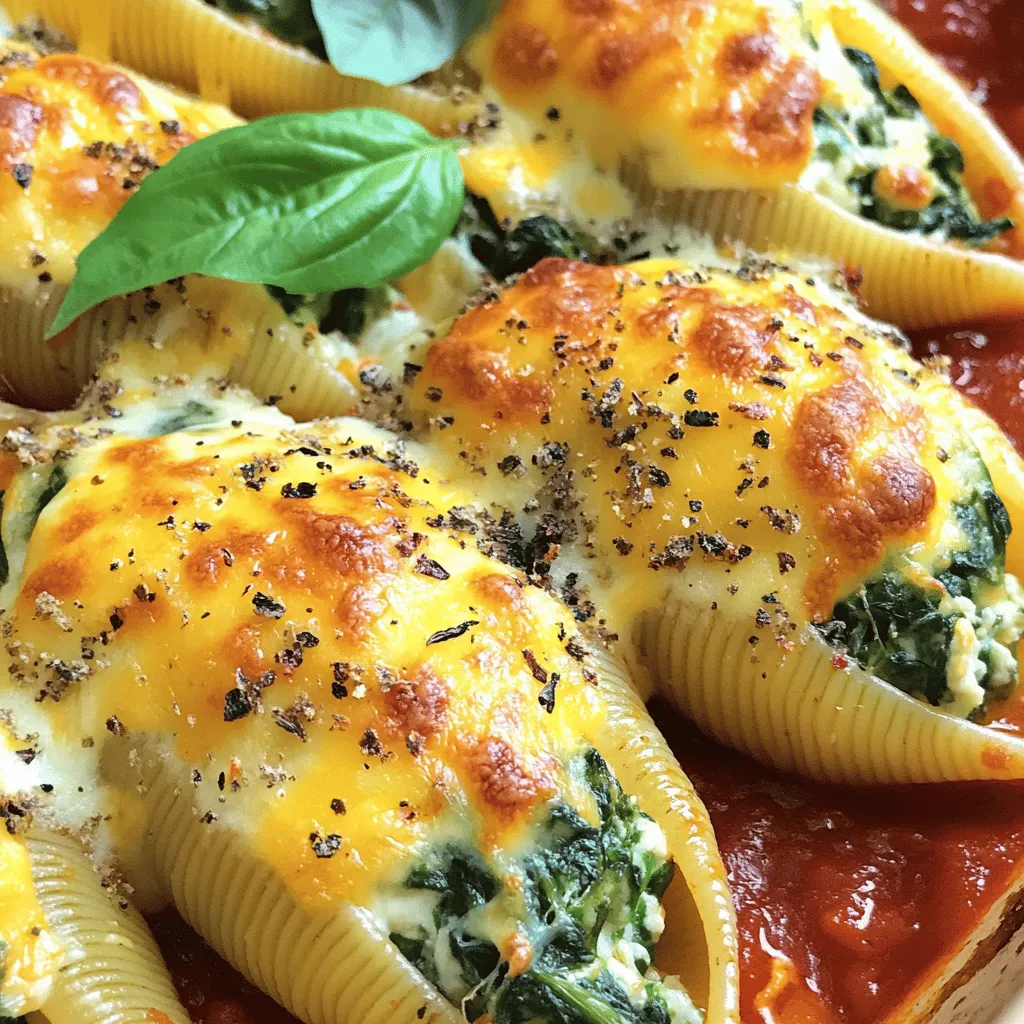
Cheesy Spinach Stuffed Shells Savory and Simple Dish
Welcome to the world of Cheesy Spinach Stuffed Shells! This dish is rich, creamy, and simple to make. You’ll love how jumbo pasta shells…
My Latest Desserts
My Latest Recipes
hey,
i’m !
I’m so happy you’re here!
Cooking is my love language, and I’m excited to share my best dishes with you. Hope they become your favorites too! Let’s enjoy every bite of this journey together.
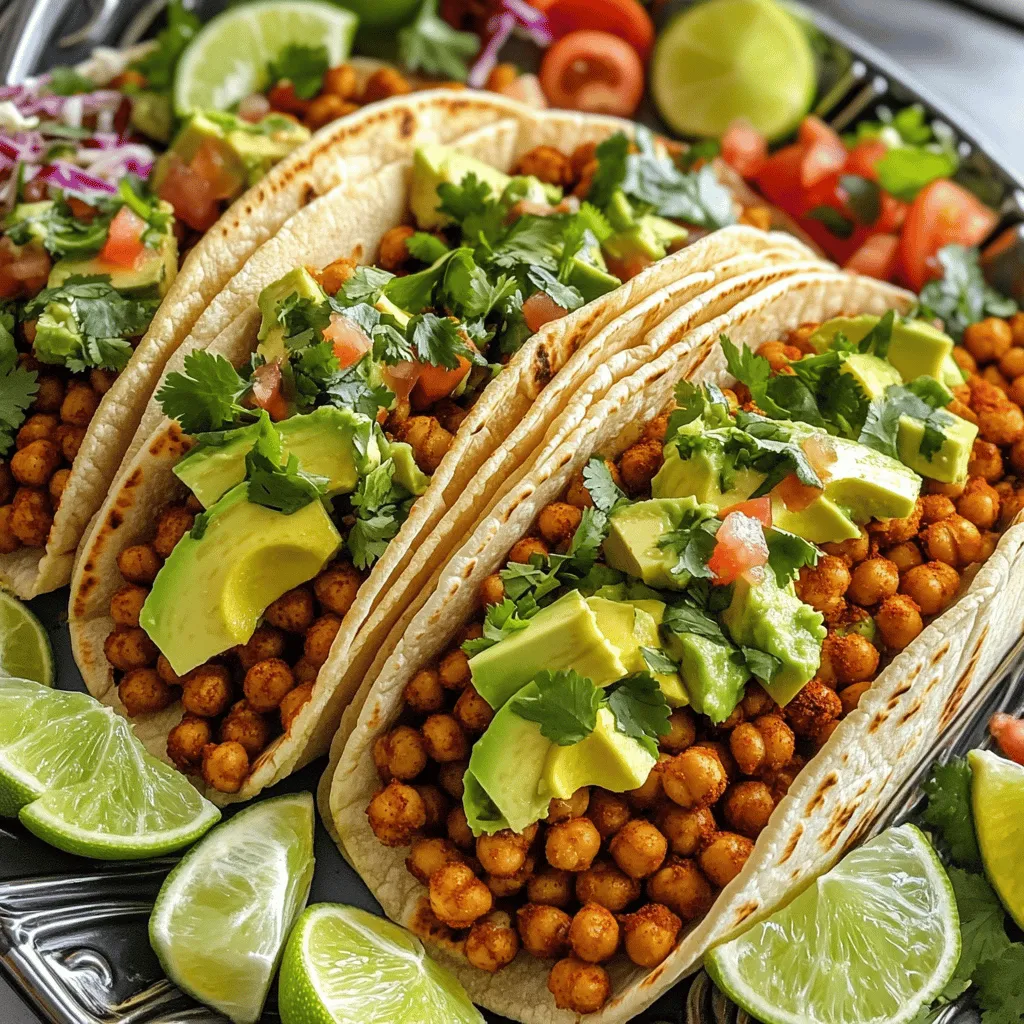
Spicy Chickpea Tacos Flavorful and Quick Meal Ideas
Looking for a quick and tasty meal? Try my Spicy Chickpea Tacos! Packed with flavor and ready in no time, these tacos are a…





![- 1 ripe pineapple, diced - 2 ripe mangos, diced - 1 papaya, peeled and diced - 1 cup strawberries, hulled and halved - 1 kiwi, peeled and sliced - 1 banana, sliced - Juice of 2 limes - 2 tablespoons honey (or maple syrup) - 1 teaspoon grated fresh ginger - Fresh mint leaves for garnish Each fruit in this salad brings its own unique taste. The pineapple adds a sweet tang. Mangos provide a creamy texture. Papaya is soft and sweet. Strawberries give a burst of juiciness. Kiwi adds a zesty note, while banana is sweet and smooth. For the flavor enhancers, fresh lime juice brightens the whole dish. Honey or maple syrup adds sweetness. Grated ginger gives a warm spice that makes it special. I love to garnish with fresh mint leaves. They add a nice green touch and a refreshing aroma. When you prepare this tropical fruit salad, use ripe fruits for the best flavor. You can find the full recipe above to guide you through each step. This salad is perfect for any occasion. Enjoy making it! To start, you need to prepare the fruits. First, take your ripe pineapple. Cut off the top and bottom. Stand it upright and slice off the skin. Remove any brown eyes. Now, dice the fruit into small, bite-sized pieces. Next, grab your mangos. Cut off the sides of the pit. Score the flesh in a grid pattern but do not cut the skin. Then, scoop out the cubes with a spoon. For the papaya, slice it in half and remove the seeds. Use a spoon to scoop out the flesh, then dice it into small pieces. Now, let’s move on to the strawberries. Remove the green tops and cut them in half. Finally, peel the kiwi and slice it into rounds. Do the same for the banana, slicing it into thin pieces. Now that the fruits are ready, grab a large mixing bowl. Carefully add all the diced fruits you prepared. Gently mix them together. Next, let’s make the lime dressing. In a small bowl, whisk together the juice of two limes, two tablespoons of honey, and one teaspoon of grated fresh ginger. Make sure it is well combined. It’s time to bring it all together! Drizzle the lime dressing over the mixed fruits. Use a spatula to gently toss the salad. Be sure not to mash the fruits. Let the salad sit for about ten minutes. This allows the flavors to meld together. When ready to serve, give the salad a light toss again. You can transfer it to a nice serving bowl or individual bowls. For a pop of color and freshness, garnish it with fresh mint leaves. Enjoy your Tropical Fruit Salad with Lime! For the complete recipe, check out the [Full Recipe]. To make a great tropical fruit salad, you need ripe fruits. Here’s how to pick the best ones: - Pineapple: Look for a sweet smell at the base. The skin should be firm, not too soft. - Mango: Choose mangoes that give slightly when you press them. They should smell sweet. - Papaya: A ripe papaya feels soft to the touch. Its skin should be mostly yellow. - Strawberries: Pick bright red berries with no white tips. They should be firm and fresh. - Kiwi: A ripe kiwi gives a little when you press it. The skin should be smooth. - Banana: Select bananas with a few brown spots. They should feel slightly soft. Balancing sweetness with lime juice is key. Here are some tips to get it just right: - Taste the fruit: Some fruits are sweeter than others. Adjust the honey based on their sweetness. - Lime juice: Start with a little lime juice. You can always add more if needed. - Honey or maple syrup: If the salad needs more sweetness, add a bit more honey or syrup. Serving your tropical fruit salad at the right temperature is important. Follow these best practices: - Chill the salad: Let it sit in the fridge for about 30 minutes before serving. This helps the flavors blend. - Serve cold: Cold fruit is more refreshing. Use chilled bowls for serving. - Enjoy soon after making: This salad tastes best fresh. If it sits too long, the fruits can get mushy. For the complete recipe, check out the [Full Recipe]. {{image_2}} You can make your tropical fruit salad even more exciting! Try adding papaya or coconut for a twist. Papaya brings a sweet flavor and creamy texture. Coconut adds a chewy bite and a touch of island vibes. You can use fresh shredded coconut or even toasted coconut flakes for crunch. If you want, pineapple and mango are great to mix in too, giving it extra sweetness. Want a vegan or gluten-free option? This salad is perfect for you! All the fruits are naturally vegan and gluten-free. You can replace honey with maple syrup for a vegan sweetener. Ensure any added toppings, like granola, are gluten-free. This way, everyone can enjoy a refreshing bowl of tropical goodness. Bored with plain lime dressing? Let’s spice it up! You can add a pinch of cinnamon or nutmeg to the lime dressing. This twist gives your salad a warm, cozy flavor. It’s a fun way to explore new tastes. You can also try adding fresh herbs, like basil or cilantro, for a unique touch. These herbs will add a fresh note and surprise your taste buds. For the full recipe, don’t forget to check out the Tropical Paradise Fruit Salad! To keep your tropical fruit salad fresh, store it in a sealed container. This helps prevent air from getting in. Use a bowl with a lid or plastic wrap. Place it in the fridge right after serving. This way, you retain the bright colors and flavors. You can keep the tropical fruit salad in the fridge for about 2 to 3 days. After that, the fruit may get mushy or lose its taste. Check for any signs of spoilage before eating. If it smells bad or looks off, throw it away. Freezing tropical fruit salad is not the best choice. The texture of the fruit changes when frozen. If you want to freeze it, freeze the fruits separately. Pineapple, mango, and papaya freeze well. Just remember, once you thaw them, they will not be the same. For the best taste, enjoy your salad fresh! To make this tropical fruit salad, follow these simple steps: 1. Start by preparing all the tropical fruits. Dice the pineapple, mangos, and papaya into bite-sized pieces. Halve the strawberries and slice the kiwi and banana. 2. In a large mixing bowl, combine all the diced fruits. Gently mix them together, so they stay whole. 3. In a small bowl, whisk together the lime juice, honey, and grated fresh ginger until well combined. 4. Drizzle the lime dressing over the mixed fruits. Toss gently to coat all the fruit evenly without mashing them. 5. Let the salad sit for about 10 minutes at room temperature. This helps the flavors meld together. 6. When ready to serve, give the salad a light toss again. Transfer it to a serving bowl or individual bowls. 7. Garnish with fresh mint leaves for a pop of color and extra freshness. Yes, you can use other fruits! Feel free to swap out or add any of your favorites. Here are some great options: - Blueberries - Raspberries - Dragon fruit - Coconut - Oranges Mixing in different fruits keeps things fun and fresh. Just remember, keep the flavors balanced! The tropical fruit salad is best when fresh. Store it in the fridge for up to 2 days. To keep it fresh: - Use an airtight container. - Avoid adding the dressing until you serve it. This way, the fruits stay crisp and flavorful! This blog post explored how to create a tropical fruit salad. We discussed fresh fruits like pineapple, mango, and strawberries. I shared tips for mixing in flavor enhancers like lime juice and honey. You learned about adjusting sweetness and best serving practices. In the end, this salad is fresh, fun, and healthy. You can customize it to fit your taste. Try different fruits or add spices. Enjoy tropical flavors any time!](https://recipespursuit.com/wp-content/uploads/2025/06/212d84fa-bb23-487a-b350-bbe37e4dc13e-300x300.webp)

![- Cherry tomatoes - Bell pepper (any color) - Zucchini and yellow squash - Button mushrooms - Red onion - Fresh pineapple chunks I love using a mix of colorful veggies. Cherry tomatoes burst with flavor. Bell peppers add crunch and sweetness. Zucchini and yellow squash bring a tender bite. Button mushrooms offer an earthy taste. Red onion gives a mild kick. Fresh pineapple chunks add a tropical twist. Together, they create a beautiful rainbow on your skewers. - Olive oil - Garlic powder - Smoked paprika - Salt and pepper The marinade is key for flavor. I use olive oil to coat the veggies. Garlic powder gives a robust taste. Smoked paprika adds a gentle heat and depth. Don't forget salt and pepper to enhance all the flavors. This simple mix makes the veggies pop when grilled. - Fresh basil or parsley Garnishing your skewers makes them look fancy. I like to sprinkle fresh basil or parsley on top. It adds a burst of color and freshness. This small touch elevates the whole dish. For the complete recipe, check the [Full Recipe]. Start by washing your vegetables and fruits. Rinse the cherry tomatoes, mushrooms, and pineapple chunks. Cut the bell pepper into cubes. Slice the zucchini and yellow squash into thick rounds. Cut the red onion into wedges. Keep the cherry tomatoes, mushrooms, and pineapple whole for great texture. In a large mixing bowl, combine the olive oil, garlic powder, smoked paprika, salt, and pepper. This mix adds flavor to the veggies. Add your prepared vegetables and pineapple to this bowl. Gently toss everything until each piece gets a nice coating. Let them sit and marinate for about 15-20 minutes. This step helps the flavors blend. Grab your skewers, either wooden or metal. Start threading the veggies and pineapple onto them. For a fun, colorful look, use this order: cherry tomato, bell pepper, red onion, mushroom, zucchini, pineapple, and yellow squash. Repeat this pattern until the skewers are full. Remember to leave space at both ends to handle them easily. Preheat your grill or grill pan to medium heat. Once it's hot, place the skewers on the grill. Cook for about 10-12 minutes, turning them occasionally. You want the veggies to be tender and have nice grill marks. This gives them a great taste and look. When they are done, carefully remove the skewers from the grill. Enjoy your colorful and tasty Rainbow Veggie Skewers! For the complete recipe, refer to the [Full Recipe]. To make the best Rainbow Veggie Skewers, you need fresh vegetables. Look for bright colors and firm texture. The best way to choose ripe produce is to feel it. A ripe tomato should be slightly soft, while a bell pepper should be firm and smooth. Seasonal vegetables add flavor and variety. In summer, choose zucchini, corn, and bell peppers. In fall, try butternut squash and mushrooms. These options keep your skewers colorful and tasty. Even cooking means all your veggies grill nicely. Use similar-sized pieces of vegetables. Cut thick slices for larger items, like zucchini and bell peppers. Small items, like cherry tomatoes, can stay whole. To avoid ingredient fall-off, leave space on the skewer. This helps keep everything secure. Push the veggies close together but not too tight. This gives them room to cook evenly and stay on the skewer. You can add more flavor to your skewers with simple seasonings. Try adding lemon juice or fresh herbs like thyme or rosemary. These extra touches can make your dish pop. Different marinades can also change the taste. For a sweet kick, use honey or teriyaki sauce. For a spicy twist, add chili powder or hot sauce. Experiment and find your favorite mix to make your Rainbow Veggie Skewers unique. For the complete recipe, check the [Full Recipe]. {{image_2}} You can change the veggies based on what you have. Seasonal produce works best. In summer, try corn or eggplant. In fall, use butternut squash or Brussels sprouts. You can also swap the bell pepper for carrots or cucumbers. The key is to keep the colors bright. Want to make your skewers heartier? You can add proteins like tofu or chicken. For tofu, press it first to remove extra water. Cut it into cubes, just like your veggies. For chicken, use boneless pieces and cut them into similar sizes. Marinate the proteins with the same mix as the veggies. This brings all the flavors together. Rainbow veggie skewers are perfect for parties. You can create a fun rainbow theme. Lay out the skewers on a bright platter. Pair them with dips like hummus or yogurt sauce. This adds even more color and flavor. Kids love making their own skewers with different colors and tastes. It's a fun way to eat healthy! For the full recipe, check the earlier section. After your meal, let the skewers cool down. This step is key to keeping them fresh. Place the skewers in an airtight container. If you don’t have one, wrap them tightly in plastic wrap. Store them in the fridge for up to three days. This way, you can enjoy the Rainbow Veggie Skewers again! If you want to save the skewers for later, freezing is a great option. First, let them cool completely. Then, arrange them in a single layer on a baking sheet. Place the sheet in the freezer for about an hour. Once frozen, transfer the skewers to a freezer bag. They can last up to three months in the freezer. To reheat, simply take them out and grill for a few minutes until heated through. To make meal prep easy, chop your veggies ahead of time. Store them in separate containers in the fridge. You can also prepare the marinade in advance. When you’re ready to eat, just toss the veggies in the marinade and skewer them. This saves time on busy days and lets you enjoy fresh Rainbow Veggie Skewers anytime! Yes, you can use many vegetables. Try asparagus, bell peppers, or eggplant. You can also add corn, cherry peppers, or even sweet potatoes. Mix and match to find your favorites! Grill on medium heat for great results. Preheat your grill well. Place skewers on the grill and turn them every few minutes. This helps them cook evenly. You want nice grill marks and tender veggies. Look for tender veggies with nice grill marks. They should be soft but not mushy. You can poke them with a fork to check. If they slide off easily, they are done! Yes, you can prep them in advance. Cut veggies and marinate them a few hours ahead. Store them in the fridge. Just grill them when you're ready to eat. Absolutely! They are packed with vitamins and minerals. Each vegetable offers unique health benefits. For example, bell peppers have high vitamin C. Pineapple adds sweetness and fiber. Enjoy this colorful dish guilt-free! For the full recipe, check out the details above. Rainbow Veggie Skewers are a fun, tasty dish you can enjoy year-round. We covered how to pick fresh vegetables, marinate them, and grill them perfectly. You can customize your skewers with proteins and different veggies. Remember to store leftovers properly or freeze them for later. Make these colorful skewers for your next gathering or meal prep. They are a healthy choice and sure to please!](https://recipespursuit.com/wp-content/uploads/2025/07/2286f40c-71bd-414c-b779-d3d729b6956a-300x300.webp)

