Latest & Greatest
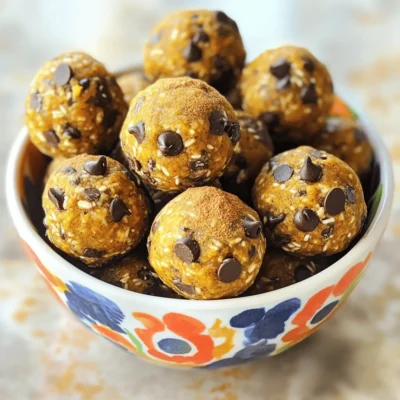
Pumpkin Spice Energy Bites Simple and Tasty Snack
Looking for a quick and healthy snack? These Pumpkin Spice Energy Bites are perfect! They mix tasty flavors with easy
Read more…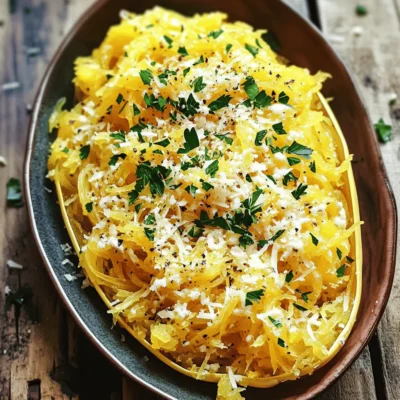
Roasted Garlic Parmesan Spaghetti Squash Delight
Are you ready to turn a humble vegetable into a tasty masterpiece? In this post, I’ll show you how to
Read more…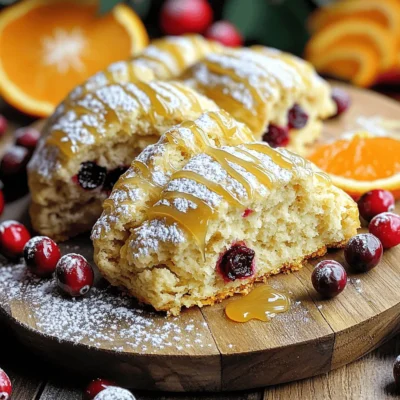
Cranberry Orange Glazed Scones Delightful Breakfast Treat
Get ready to awaken your taste buds with my delightful Cranberry Orange Glazed Scones! This scrumptious breakfast treat combines sweet
Read more…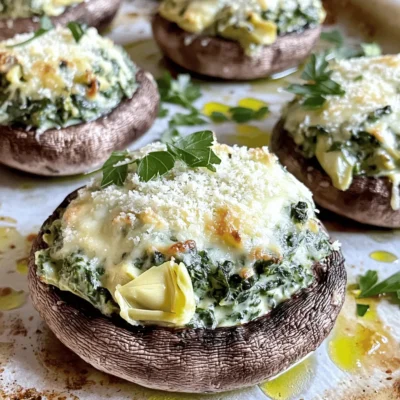
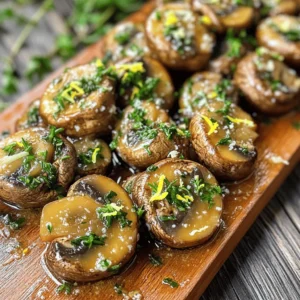
Spinach Artichoke Stuffed Mushrooms Flavorful Delight
Ready for a tasty treat? Spinach Artichoke Stuffed Mushrooms are the perfect mix of flavors. In this post, I’ll guide
Read more…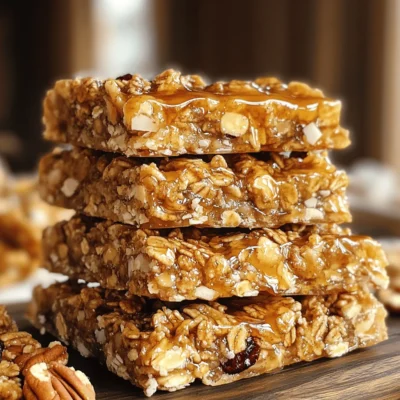
Maple Pecan Sticky Granola Bars Easy and Tasty Snack
If you’re looking for a quick, tasty snack, try my Maple Pecan Sticky Granola Bars! These bars are packed with
Read more…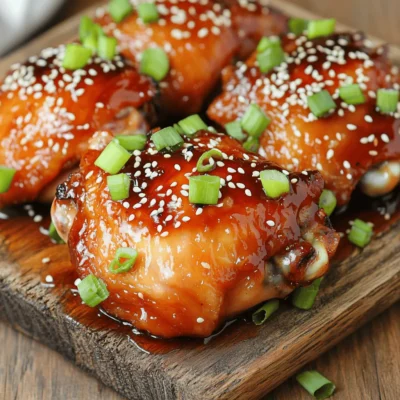
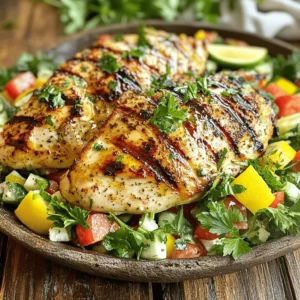
Sriracha Honey Glazed Chicken Thighs Flavorful Delight
Are you ready to take your chicken game to a whole new level? These Sriracha Honey Glazed Chicken Thighs will
Read more…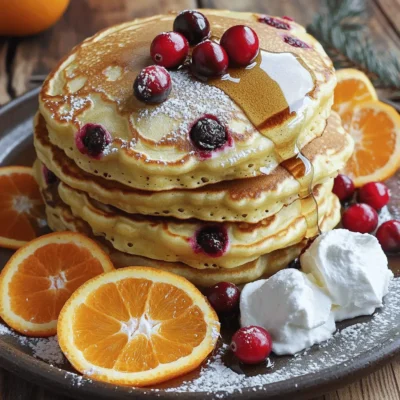
Orange Cranberry Ricotta Pancakes Flavorful Breakfast Treat
Start your morning right with Orange Cranberry Ricotta Pancakes! These fluffy treats burst with fresh flavors, perfect for breakfast or
Read more…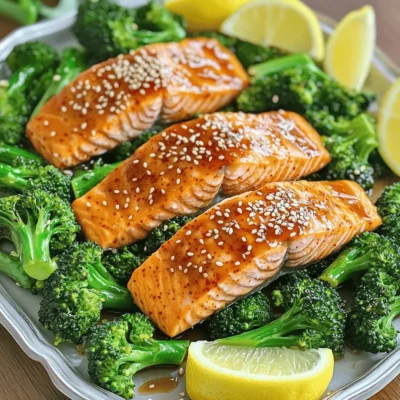
Sheet Pan Sweet Chili Salmon & Broccolini Delight
If you crave a meal that’s fast, fun, and flavorful, you’ve found it! My Sheet Pan Sweet Chili Salmon &
Read more…browse recipes


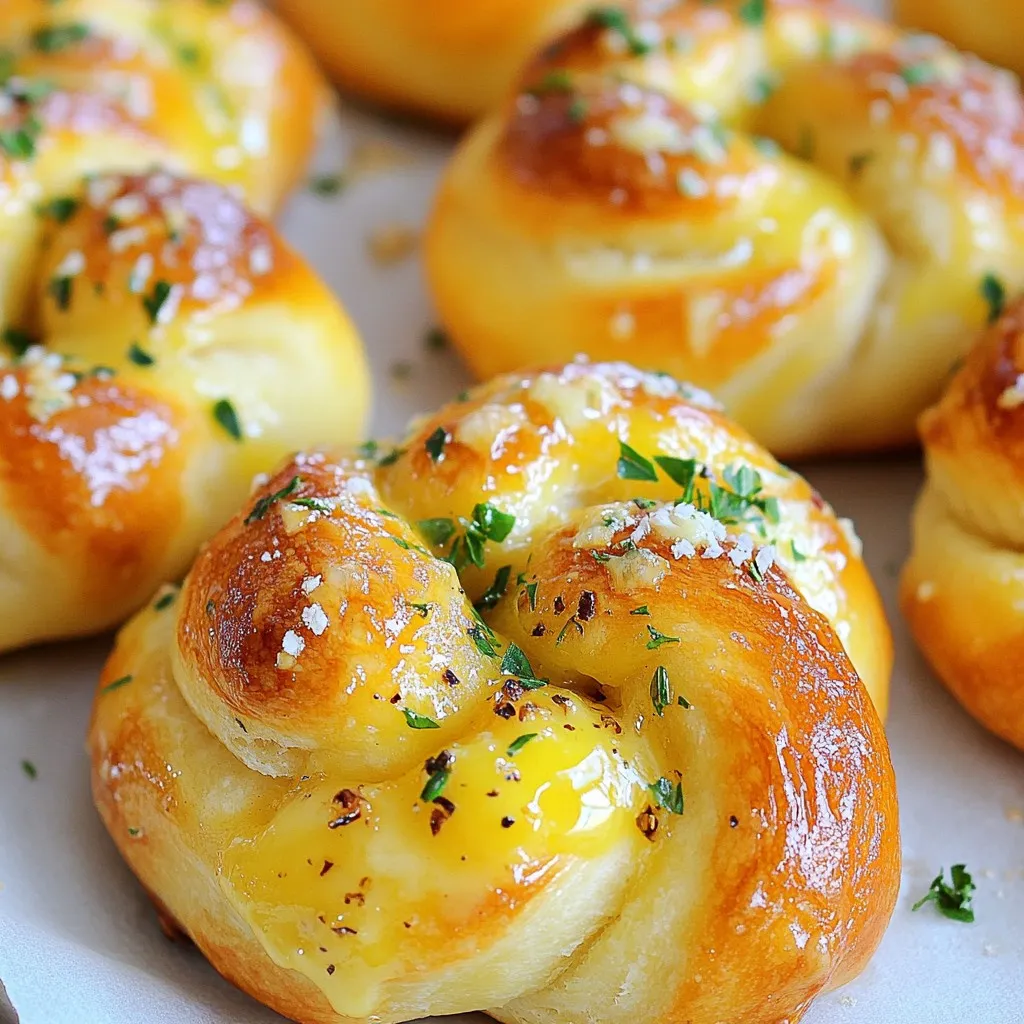
Air Fryer Garlic Knots Simple and Tasty Recipe
If you love easy snacks that taste amazing, you’ll love my Air Fryer Garlic Knots recipe. With simple ingredients like pizza dough and garlic,…
My Latest Desserts
My Latest Recipes

hey,
i’m !
I’m so happy you’re here!
Cooking is my love language, and I’m excited to share my best dishes with you. Hope they become your favorites too! Let’s enjoy every bite of this journey together.


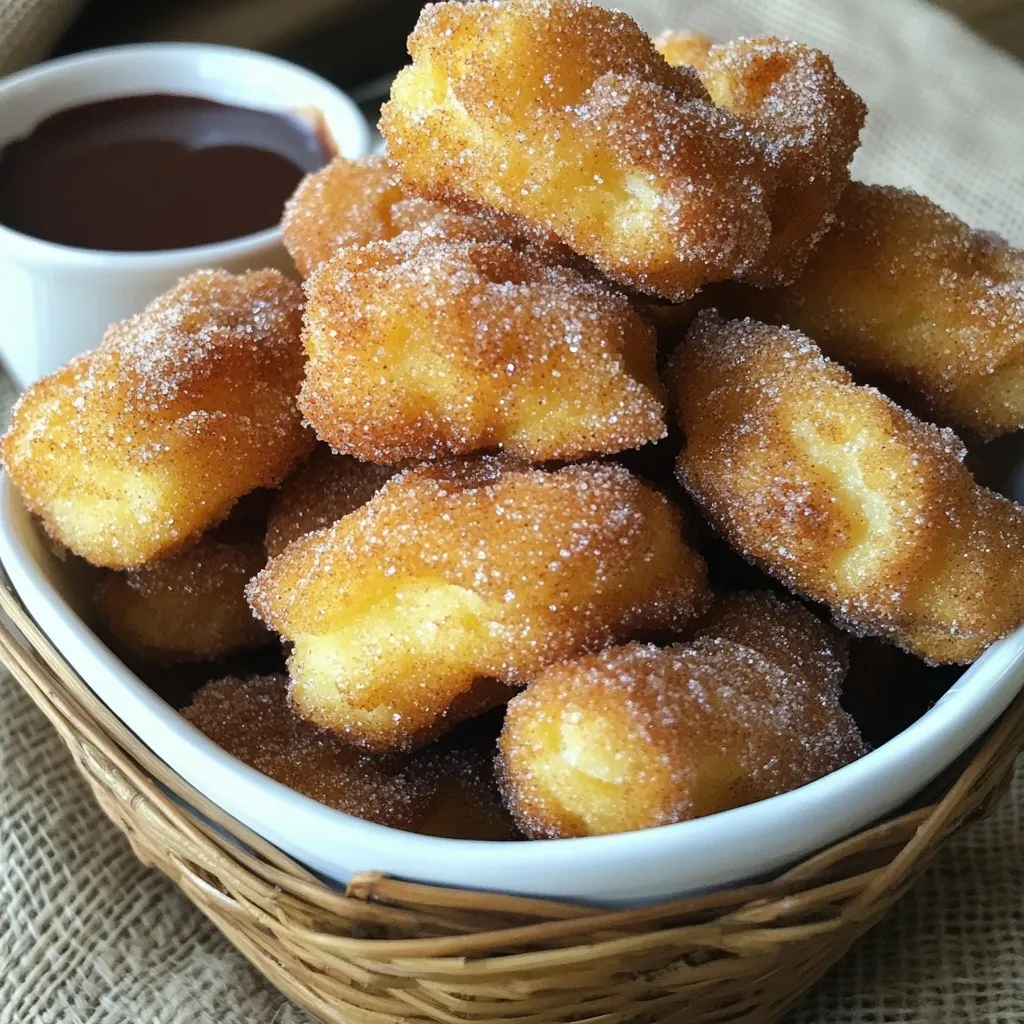
Cinnamon Sugar Churro Bites Irresistible Dessert Treat
Craving a sweet treat? You’re in for a delight with my Cinnamon Sugar Churro Bites! These little bites pack all the flavor of classic…