


Latest & Greatest

Pumpkin Spice Latte Cupcakes Delightful Fall Treat
If you’re craving a sweet way to celebrate fall, these Pumpkin Spice Latte Cupcakes are the answer! With rich flavors
Read more…
Cinnamon Apple Crumble Muffins Irresistible Delight
Cinnamon Apple Crumble Muffins are a sweet hug in a muffin form. With warm spices and fresh apples, they promise
Read more…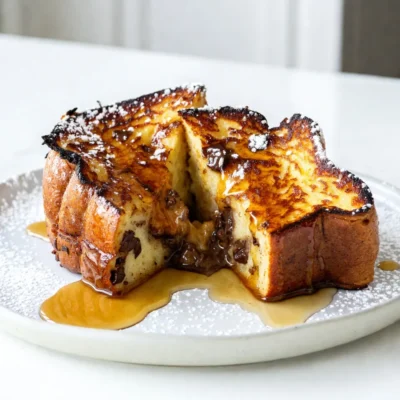
Chocolate Chip Brioche French Toast Delight Recipe
Get ready to treat yourself with the ultimate breakfast: Chocolate Chip Brioche French Toast! This recipe combines sweet, fluffy brioche
Read more…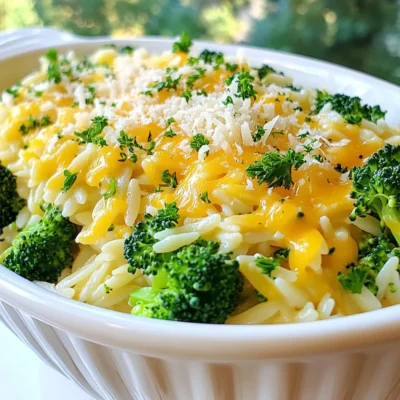
Creamy Broccoli Cheddar Orzo Simple Cozy Meal
Craving a cozy and creamy dish? Let me introduce you to Creamy Broccoli Cheddar Orzo. This simple meal combines tender
Read more…
Lemon Blueberry Crumb Cake Pure and Simple Delight
Craving a sweet treat that bursts with flavor? Look no further! My Lemon Blueberry Crumb Cake is a pure delight.
Read more…
Raspberry White Chocolate Scones Tasty and Easy Recipe
Ready to elevate your baking game? These Raspberry White Chocolate Scones are both tasty and easy to make. I’ll guide
Read more…
Cheesy Garlic Pull-Apart Biscuits Tasty and Easy Recipe
Are you ready to delight your taste buds with Cheesy Garlic Pull-Apart Biscuits? This simple recipe blends gooey cheese, savory
Read more…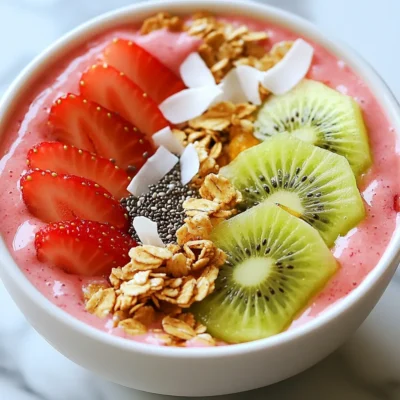
Strawberry Kiwi Smoothie Bowl Healthy and Refreshing Treat
Looking for a healthy and refreshing treat? You’ll love this Strawberry Kiwi Smoothie Bowl! Packed with fresh fruits and creamy
Read more…browse recipes


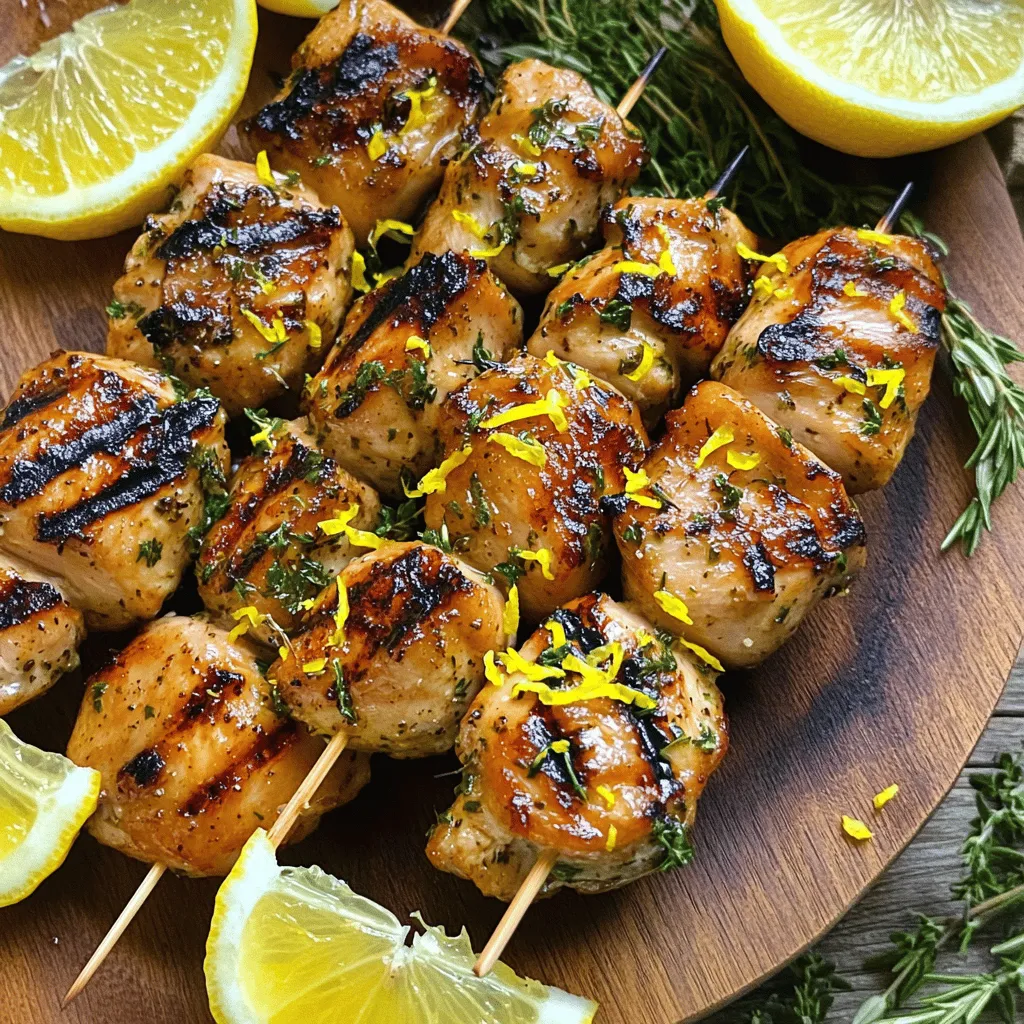
Lemon Herb Chicken Skewers Flavorful Grilling Delight
Ready to elevate your grilling game? These Lemon Herb Chicken Skewers will have everyone coming back for more. With juicy chicken marinated in bright…
My Latest Desserts
My Latest Recipes

hey,
i’m !
I’m so happy you’re here!
Cooking is my love language, and I’m excited to share my best dishes with you. Hope they become your favorites too! Let’s enjoy every bite of this journey together.

![- 1 pound large shrimp, peeled and deveined - 3 tablespoons olive oil - 4 cloves garlic, minced You start with fresh, large shrimp. They should be peeled and deveined to keep the dish clean. The shrimp soak up all the flavors and cook quickly. Olive oil gives a nice base and helps the garlic cook well. Garlic is a must for this dish. It adds a strong, rich flavor that pairs perfectly with shrimp. - Juice and zest of 1 lemon - 1 teaspoon red pepper flakes (optional) - Fresh herbs: parsley and basil Lemon brings a bright taste. The juice adds acidity, and the zest gives a deeper lemon flavor. Red pepper flakes add heat. You can skip them if you prefer a milder dish. Fresh parsley and basil are key herbs. They add freshness and color to your meal. - Salt and pepper to taste Salt and pepper are simple yet important. They enhance all the flavors in your dish. Use them to your liking. Start light, and you can always add more. For the full recipe, check out the detailed steps to create this delicious dish. To start, take your pound of large shrimp, which should be peeled and deveined. In a large bowl, mix the shrimp with 3 tablespoons of olive oil and 4 minced garlic cloves. This blend gives the shrimp a rich flavor. Squeeze the juice of one lemon and add its zest to the bowl. If you enjoy a bit of heat, sprinkle in 1 teaspoon of red pepper flakes. Mix everything well to coat the shrimp evenly. It is important to season with salt and pepper to taste. Cover the bowl with plastic wrap. Let the shrimp marinate in the fridge for about 15 to 20 minutes. This step allows all the flavors to meld together nicely. Now, heat a large skillet over medium-high heat. Once your skillet is hot, add the marinated shrimp. Spread them out in a single layer. Cook the shrimp for about 2 to 3 minutes on one side. You will see them turn pink and opaque. This shift means they are cooking well. After that, flip each shrimp carefully. Continue cooking for an additional 1 to 2 minutes. You want them fully cooked but not overdone, so keep an eye on them. Once the shrimp are done cooking, take the skillet off the heat. Stir in 1 tablespoon each of fresh chopped parsley and basil. This adds a fresh burst of flavor to the dish. Serve your Lemon Garlic Herb Shrimp right away. Drizzle any remaining marinade from the skillet over the top for that extra flavor kick. If you follow this [Full Recipe], your dish will be a hit! To cook shrimp perfectly, aim for 2-3 minutes on one side. Flip the shrimp and cook for another 1-2 minutes. The shrimp will turn pink and opaque when done. An easy way to tell if shrimp are cooked is to look for their curled shape and firm texture. To boost flavor, consider adding spices like paprika or cumin. You can also use fresh herbs such as thyme or dill. To balance the acidity of lemon, pair it with a little honey or maple syrup. This small addition will cut the tartness and make the dish more complex. For a beautiful dish, garnish with lemon slices or fresh herbs. A sprinkle of paprika can add color too. To make it a full meal, serve the shrimp over rice or pasta. You can also pair it with a fresh salad or roasted vegetables for a healthy touch. For the full recipe, check out the [Full Recipe]. {{image_2}} You can add some heat to this dish. Just include more red pepper flakes. If you like it really spicy, add hot sauce. This twist gives you a bold flavor. It wakes up your taste buds. For a creamy version, you can make a sauce. Use heavy cream for a rich taste or coconut milk for a lighter feel. Add the cream to the shrimp while cooking. This makes the dish smooth and delicious. Pair the shrimp with pasta for a hearty meal. Spaghetti or fettuccine work well here. Cook the pasta as you prepare the shrimp. Once the shrimp are done, toss them with the pasta. This creates a filling and flavorful dish. You can find the full recipe for Lemon Garlic Herb Shrimp to get all the details. To store cooked shrimp, let it cool to room temperature. Place shrimp in an airtight container. This helps keep the shrimp fresh and tasty. You can use glass or plastic containers for storage. Make sure the lid fits tightly. Store it in the fridge for up to three days. When reheating shrimp, avoid using high heat. This can make shrimp tough. The best way is to use low heat on the stove. Add a splash of water or broth to keep moisture. You can also use the microwave. Heat in short bursts to prevent overcooking. Make sure to check for warmth throughout. This keeps the flavor and texture just right. If you want to freeze cooked shrimp, place it in a freezer-safe bag. Remove as much air as possible before sealing. Label the bag with the date. You can freeze shrimp for up to three months. When ready to use, thaw shrimp in the fridge overnight. You can also run it under cold water. Once thawed, use it in your favorite dishes like the Lemon Garlic Herb Shrimp. Yes, you can use frozen shrimp for this recipe. Frozen shrimp are convenient and still taste great. To prepare them, first, thaw the shrimp. You can do this by placing them in a bowl of cold water for about 15-20 minutes. After they are thawed, drain and pat them dry. This helps the shrimp absorb the marinade better. Remember, the key to great flavor is marinating them properly, even if they are frozen. Lemon Garlic Herb Shrimp pairs well with many sides. Here are some great options: - Rice: White or brown rice soaks up the shrimp's juices. - Pasta: Toss the shrimp with spaghetti or linguine for a tasty dish. - Salad: A fresh green salad adds crunch and balance. - Vegetables: Roasted or steamed veggies complement the shrimp's flavors. - Bread: A crusty bread is perfect for dipping in leftover sauce. Cooking shrimp is quick and easy. Here are some general times: - Large shrimp: 2-3 minutes per side. - Medium shrimp: About 1-2 minutes per side. - Small shrimp: 1 minute per side. Always look for the shrimp to turn pink and opaque. This shows they are done. Overcooking can make shrimp tough, so keep an eye on them. This blog post covered the essential steps for preparing Lemon Garlic Herb Shrimp. We explored key ingredients, cooking instructions, tips, and fun variations. With simple techniques, you can impress anyone with this dish. Remember, fresh herbs and the right seasonings matter. Enjoy experimenting with spices and pairings. Whether you choose to make it spicy or creamy, there’s a version for everyone. Finally, follow the storage tips to keep leftovers fresh. You’re now ready to create a delightful meal that’s both tasty and satisfying.](https://recipespursuit.com/wp-content/uploads/2025/05/144264bd-c488-416c-bdd4-8c8d03d32288-300x300.webp)
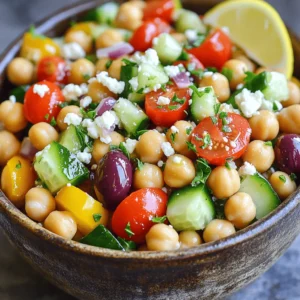
. To keep your avocado chickpea salad fresh, store it in an airtight container. This helps to lock in moisture and flavor. Place the container in the fridge right after serving. If you have leftovers, try to eat them within two days for the best taste. This salad is best enjoyed cold. If you prefer it warm, heat it gently on low. Use a skillet or microwave for a quick warm-up. However, be careful not to overheat. Avocado can become mushy when cooked too much. The salad lasts about 2 to 3 days in the fridge. Check for changes in color or smell. If the avocado turns brown or the salad smells off, it’s time to toss it. Always trust your senses when it comes to food freshness. Yes, you can use frozen chickpeas! First, thaw them in the fridge overnight. Drain and rinse them well before adding to the salad. This keeps the texture nice and firm, just like canned chickpeas. If you have time, you can also cook dried chickpeas. Soak them overnight and cook until tender. This salad is already vegan! Just skip any cheese or non-vegan dressings. Use the creamy texture of the avocado to keep it rich and satisfying. You can add more veggies or seeds for extra flavor and crunch. Avocados are full of healthy fats, vitamins, and fiber. They help keep your heart healthy and your skin glowing. Chickpeas are packed with protein and fiber. They help you feel full and are good for digestion. Together, they make a great mix for a healthy meal. You can enjoy this salad knowing it fuels your body well. For the full recipe, check out Creamy Avocado Chickpea Delight! This blog post covered all you need to make a great avocado and chickpea salad. We discussed important ingredients and optional add-ins to enhance flavor. Step-by-step instructions helped you see how to prepare and mix everything together. We also shared tips for choosing avocados and keeping your salad fresh. You learned about tasty variations and best storage practices. Lastly, we answered common questions about the recipe. Use these ideas to make a salad that you will love!](https://recipespursuit.com/wp-content/uploads/2025/06/81dd8e26-560c-413f-905a-0677278e065b-300x300.webp)
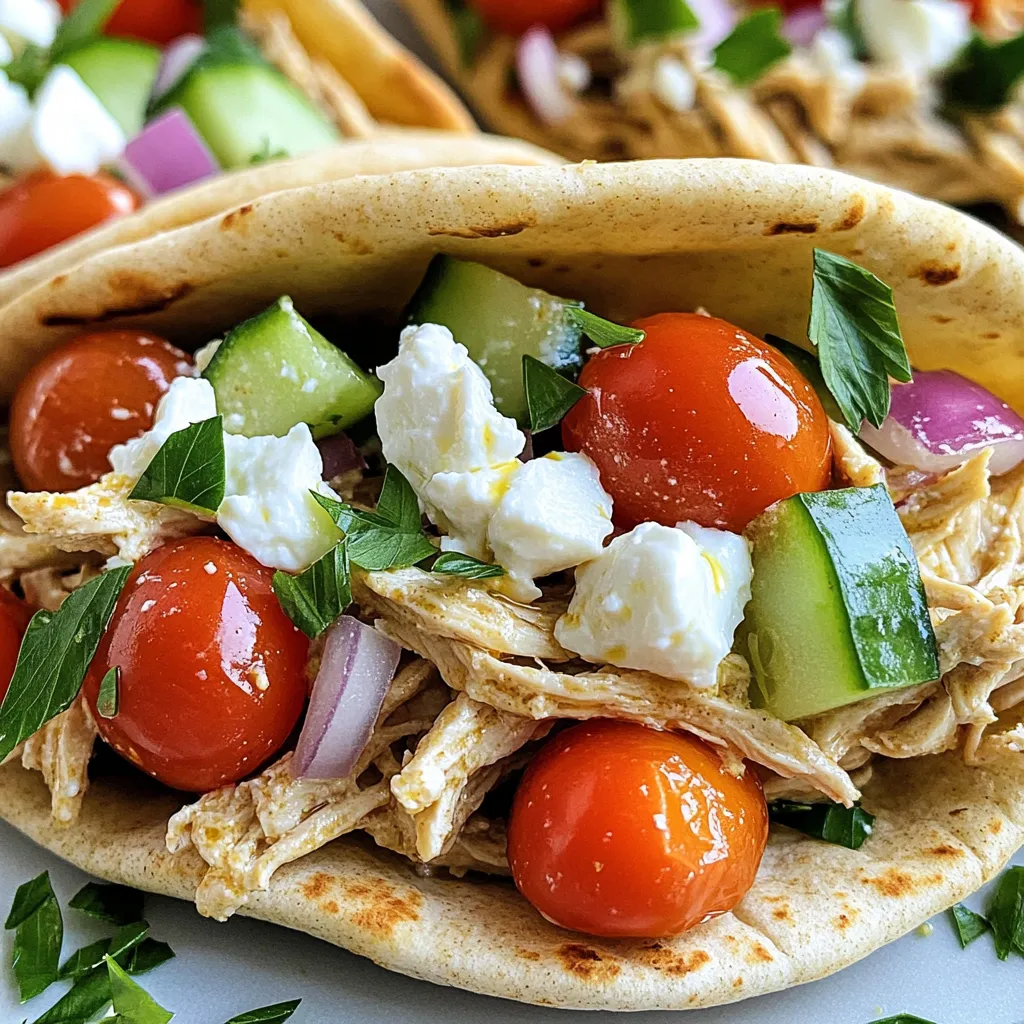
Slow Cooker Creamy Greek Chicken Pitas Delight
Craving a delicious and easy meal? Slow Cooker Creamy Greek Chicken Pitas are the answer! This dish is not just packed with flavor but…