

Latest & Greatest

Garlic Butter Mushroom Tacos 20-Minute Flavor Fix
Looking for a quick, tasty meal that packs a punch? Try these Garlic Butter Mushroom Tacos that you can whip
Read more…
Spicy Garlic Shrimp Tacos Tasty and Simple Dish
Looking for a quick and tasty meal? These Spicy Garlic Shrimp Tacos are your answer! This simple dish packs a
Read more…
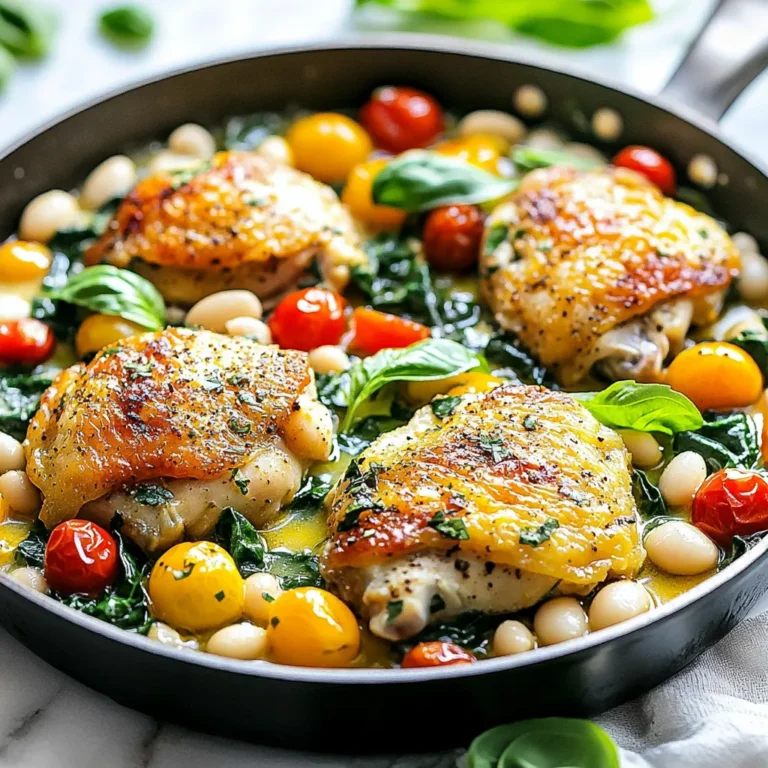
Creamy Mushroom Thyme Chicken Delightful Dinner Dish
Are you ready to impress your family with a delicious dinner? My Creamy Mushroom Thyme Chicken is simple, tasty, and
Read more…
Garlic Herb Chicken And Potatoes Flavorful Delight
If you crave a dish that’s simple yet bursting with flavor, look no further! Garlic Herb Chicken and Potatoes is
Read more…
Creamy Garlic Parmesan Chicken Roll Ups Delightful Dish
Are you ready for a dish that combines rich flavors and simple ingredients? In this post, I’ll show you how
Read more…
Caramel Apple Pie Dip Tasty and Simple Delight
If you love sweet treats and easy recipes, you’re in for a real treat! My Caramel Apple Pie Dip is
Read more…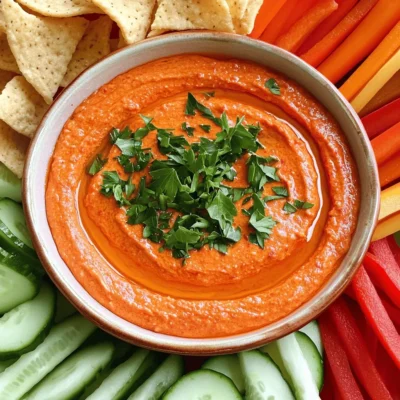
Roasted Red Pepper Goat Cheese Dip Easy and Flavorful
If you’re looking for a tasty treat, you’ve found it! My Roasted Red Pepper Goat Cheese Dip is easy to
Read more…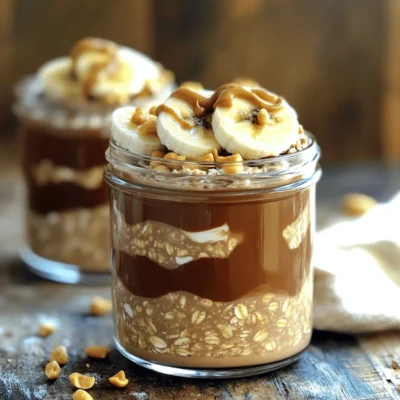
Peanut Butter Chocolate Overnight Oats Easy Delight
Are you ready to enjoy a delicious breakfast that requires minimal effort? Peanut Butter Chocolate Overnight Oats are your answer!
Read more…browse recipes


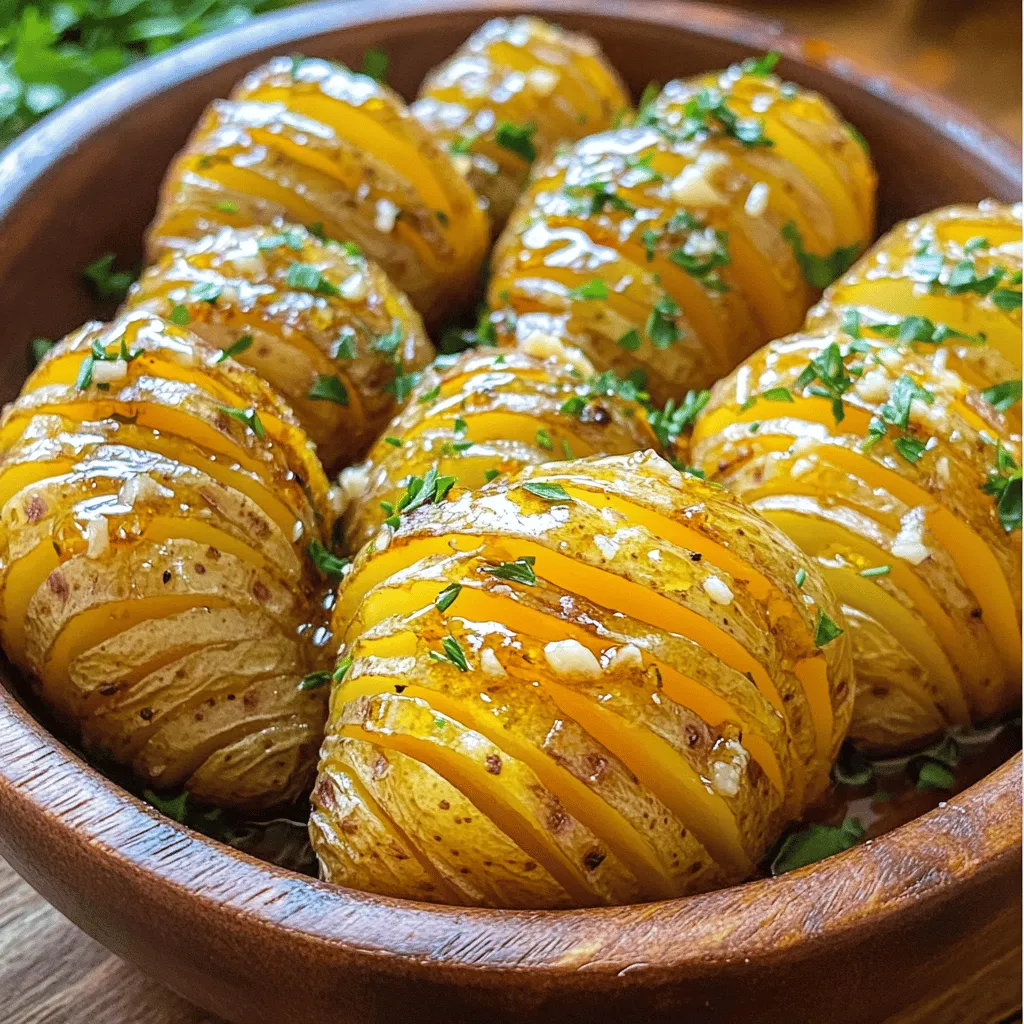
Honey Garlic Butter Hasselback Potatoes Delightful Dish
Get ready to elevate your dinner game with Honey Garlic Butter Hasselback Potatoes! Each crunchy potato slice is packed with rich flavors from butter,…
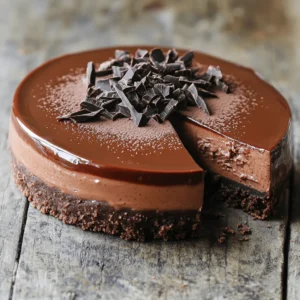
My Latest Desserts
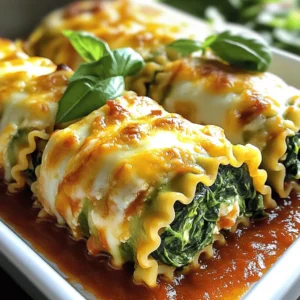
My Latest Recipes

hey,
i’m !
I’m so happy you’re here!
Cooking is my love language, and I’m excited to share my best dishes with you. Hope they become your favorites too! Let’s enjoy every bite of this journey together.

![To make this easy pizza dough, you need just a few simple items: - 2 ¼ teaspoons (1 packet) instant dry yeast - 1 teaspoon sugar - 1 cup warm water (about 110°F) - 2 ½ to 3 cups all-purpose flour - 1 teaspoon salt - 2 tablespoons olive oil If you lack an ingredient, don't worry! Here are some swaps you can use: - Yeast: Use 2 ¼ teaspoons of active dry yeast if you have it. - Sugar: Honey or agave syrup can replace sugar. They work well to feed the yeast. - Flour: Whole wheat flour is a healthier choice. You can also use bread flour for a chewier crust. - Olive oil: Any cooking oil, like canola or vegetable oil, is fine. Want to boost the taste of your dough? Try these additions: - Garlic powder: Add ½ teaspoon for a nice garlic hint. - Italian herbs: Dried oregano or basil gives a lovely flavor. Use 1 teaspoon. - Parmesan cheese: Mix in ¼ cup of grated cheese for a cheesy twist. These simple tips can help you create a pizza dough that suits your taste. Now, you are all set to make the easiest homemade pizza dough! For the full recipe, check out Pizza Perfection: Homemade Dough Delight. First, grab a small bowl. Pour in 1 cup of warm water. Make sure it’s around 110°F. Add 1 teaspoon of sugar and 2 ¼ teaspoons of instant dry yeast. Stir it lightly. This mixture needs to sit for about 5 to 10 minutes. Watch for bubbles or froth. This shows that the yeast is alive and ready to work. Next, take a large mixing bowl. Add 2 ½ cups of all-purpose flour and 1 teaspoon of salt. Whisk them together well. Make a well in the center of the flour. Pour in your frothy yeast mixture and 2 tablespoons of olive oil. Mix it all together with a wooden spoon or your hands. If the dough is sticky, add more flour slowly. You want the dough to come together nicely. Now, place the dough on a floured surface. Knead it for about 5 to 7 minutes. You want it to feel smooth and elastic. Once done, shape it into a ball. Put it in a lightly oiled bowl and turn it to coat. Cover it with a damp cloth. Let it rise in a warm spot for about 1 hour. It should double in size. After it rises, punch the dough down. This helps release the air. If you want two pizzas, divide it into two parts. Shape each part into a ball and let them rest for about 10 minutes. Now, you're ready to roll out the dough and make your pizza! Check the Full Recipe for more details. To get the best dough, start with warm water. The water should feel warm but not hot. If it's too hot, it can kill the yeast. When you mix the water with yeast and sugar, let it sit. This step helps the yeast wake up. After about 5-10 minutes, the mixture should look frothy. This means the yeast is active and ready to work. Use all-purpose flour for a nice texture. If the dough feels sticky, add more flour slowly. Knead the dough for about 5-7 minutes. This helps develop gluten, making the dough elastic. A smooth and soft dough is what you want. One common mistake is rushing the yeast activation. Always let the yeast mixture sit long enough. If it doesn’t foam, start again. Another mistake is adding too much flour at once. This can make the dough dry. Instead, add flour little by little until it feels right. Don’t skip kneading. It’s important for the dough. If you don’t knead enough, your dough won't rise well. Also, avoid leaving the dough in a cold place. A warm area helps it rise faster. To know if the dough is ready, look for size and texture. It should double in size after rising. You can gently press a finger into the dough. If the indent stays, it’s ready. If it springs back, it needs more time. Once ready, punch it down gently to release air. This step is key before shaping it. Then, divide the dough if needed and let it rest. This rest period makes rolling easier. For more tips, check the Full Recipe for Easiest Homemade Pizza Dough. {{image_2}} You can make a whole wheat pizza dough by swapping all-purpose flour for whole wheat flour. This change gives your crust a nutty taste and extra fiber. Use the same amount of flour, but add a bit more water. Whole wheat flour absorbs more liquid. Start with 1 cup of warm water and add more if needed. This dough will also be denser but still tasty. For a gluten-free option, use gluten-free flour or a blend of flours. Look for a mix that includes xanthan gum. This helps with the dough's texture. Replace the yeast with a gluten-free yeast blend. Mix the dry ingredients first, then add warm water and olive oil. This dough may need less kneading. Roll it out gently to keep it from breaking. To add flavor to your dough, mix in dried herbs. You can use oregano, basil, or garlic powder. Just add 1-2 teaspoons of your chosen herbs to the flour before mixing. This small change gives your crust a great taste and aroma. You can also add grated cheese like Parmesan for extra flavor. Get creative with your dough and make it your own! For the full recipe, check out the recipe section. To store unused dough, wrap it tightly in plastic wrap. This keeps it fresh. You can also place it in an airtight container. Make sure to push out any air. Store it at room temperature for up to 2 hours. If you wait longer, refrigerate it. It lasts up to 3 days in the fridge. Freezing pizza dough is easy. First, shape the dough into a ball. Then, wrap it in plastic wrap. Place the wrapped dough in a freezer bag. This protects it from freezer burn. You can freeze it for up to 3 months. When ready to use, move it to the fridge overnight. Let it thaw slowly for the best results. If you have leftover dough, refrigerate it right away. Store it in an airtight container. It will stay good for about 3 days. When you are ready to use it, take it out and let it sit at room temperature. This helps the dough get back to a nice, soft texture. You can use it for another pizza or even breadsticks. You should let the dough rise for about one hour. This time allows the yeast to work. It makes the dough light and fluffy. The dough will double in size when it’s ready. If your kitchen is cool, it might take a bit longer. You can check it after 30 minutes. If it’s not puffy yet, give it more time. Yes, you can use active dry yeast. Just remember, it needs a little more time to rise. Mix the yeast with warm water and sugar first. Let it sit for about 5-10 minutes until it bubbles. Then you can add it to your flour. This helps activate the yeast properly, just like in the recipe. The best flour for pizza dough is all-purpose flour. It gives a nice balance of chewiness and crispiness. If you want a more authentic taste, try "00" flour. This Italian flour is finer and makes great pizza. You can also mix in some whole wheat flour for extra flavor and nutrition. Just remember to adjust the water if you change the flour type. For the full recipe, check out the [Full Recipe]. In this blog post, we covered the key steps for making pizza dough, from ingredients to storage. You learned about ingredient swaps to fit your needs and how to achieve the best dough texture. I shared tips for avoiding mistakes and checking dough readiness. Don't forget the variations, like whole wheat and gluten-free options. Storing your dough properly helps you enjoy your pizza whenever you want. With these details, you’re set to make great pizza dough at home! Enjoy the process and get creative with flavors.](https://recipespursuit.com/wp-content/uploads/2025/05/8cbfd0b4-a5e1-40ea-a717-8c4cd603c146-300x300.webp)


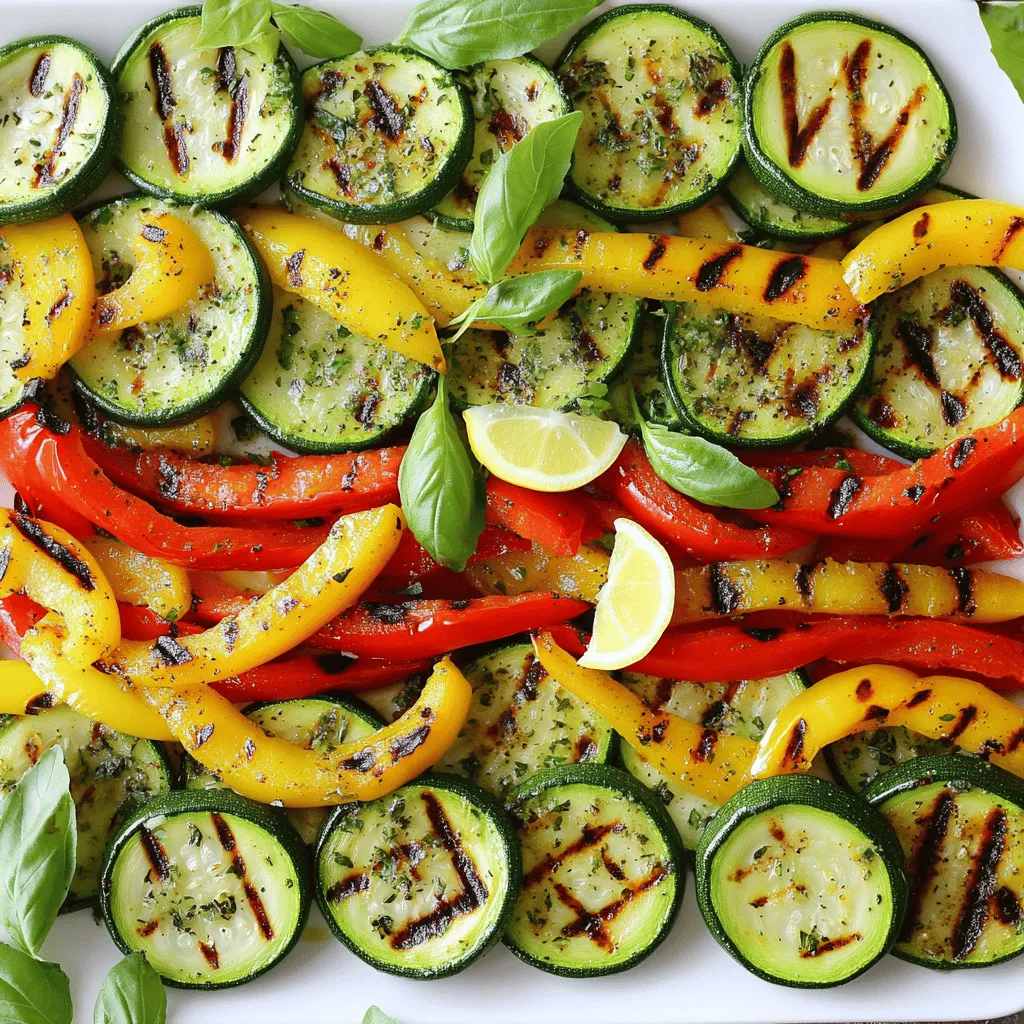
Grilled Zucchini and Peppers Tasty Healthy Choice
Looking for a tasty, healthy side dish? Grilled Zucchini and Peppers are the perfect choice! This dish is easy to make and bursting with…