
Latest & Greatest
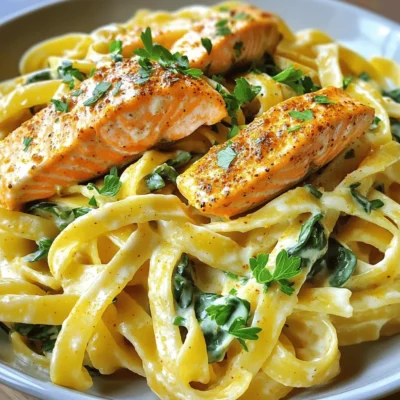
Cajun Salmon Alfredo Pasta Flavorful Dinner Recipe
Looking for a dinner that packs bold flavor and creamy goodness? Look no further! This Cajun Salmon Alfredo Pasta recipe
Read more…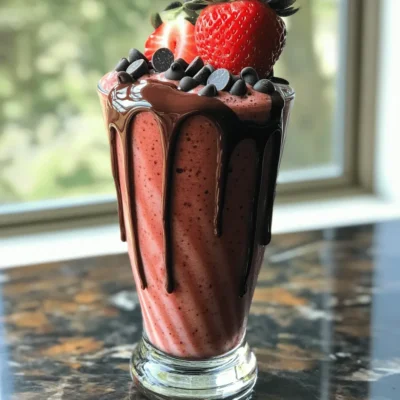
Chocolate Covered Strawberry Smoothie Delightful Blend
Are you ready to indulge in a treat that’s both tasty and healthy? My Chocolate Covered Strawberry Smoothie is a
Read more…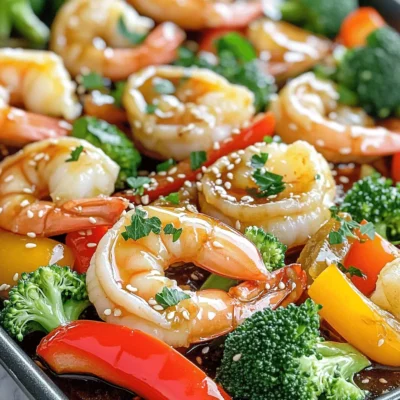
Sheet Pan Honey Garlic Shrimp Simple and Tasty Meal
Looking for a quick, tasty meal? Try my Sheet Pan Honey Garlic Shrimp! This dish combines shrimp, colorful veggies, and
Read more…
Raspberry White Chocolate Blondies Easy and Tasty Treat
Are you ready to indulge in a sweet and fruity delight? Today, I’m sharing my favorite recipe: Raspberry White Chocolate
Read more…
Air Fryer French Toast Sticks Crispy and Tasty Treat
Looking for a quick and tasty breakfast? Let me introduce you to Air Fryer French Toast Sticks! These golden treats
Read more…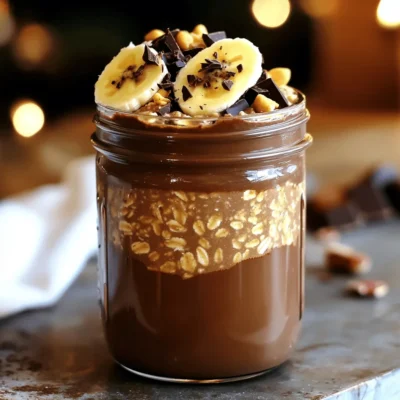
Peanut Butter Chocolate Overnight Oats Easy Delight
Start your day right with my Peanut Butter Chocolate Overnight Oats! This quick, simple recipe mixes creamy peanut butter and
Read more…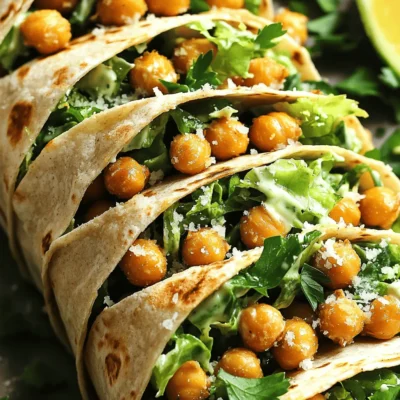
Crispy Chickpea Caesar Wraps Easy and Delicious Meal
Want a quick, tasty meal that’s packed with flavor? Crispy Chickpea Caesar Wraps are just the answer! With crunchy chickpeas,
Read more…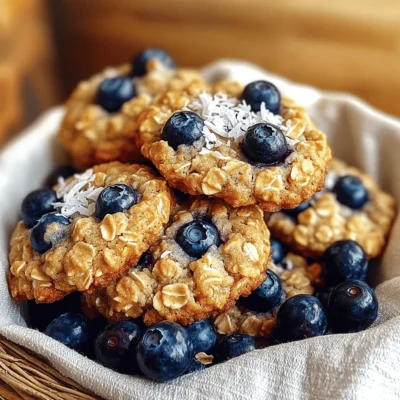
Blueberry Oatmeal Breakfast Cookies Easy and Delicious
If you’re looking for a quick and tasty breakfast, you’ve hit the jackpot! These blueberry oatmeal breakfast cookies are not
Read more…browse recipes


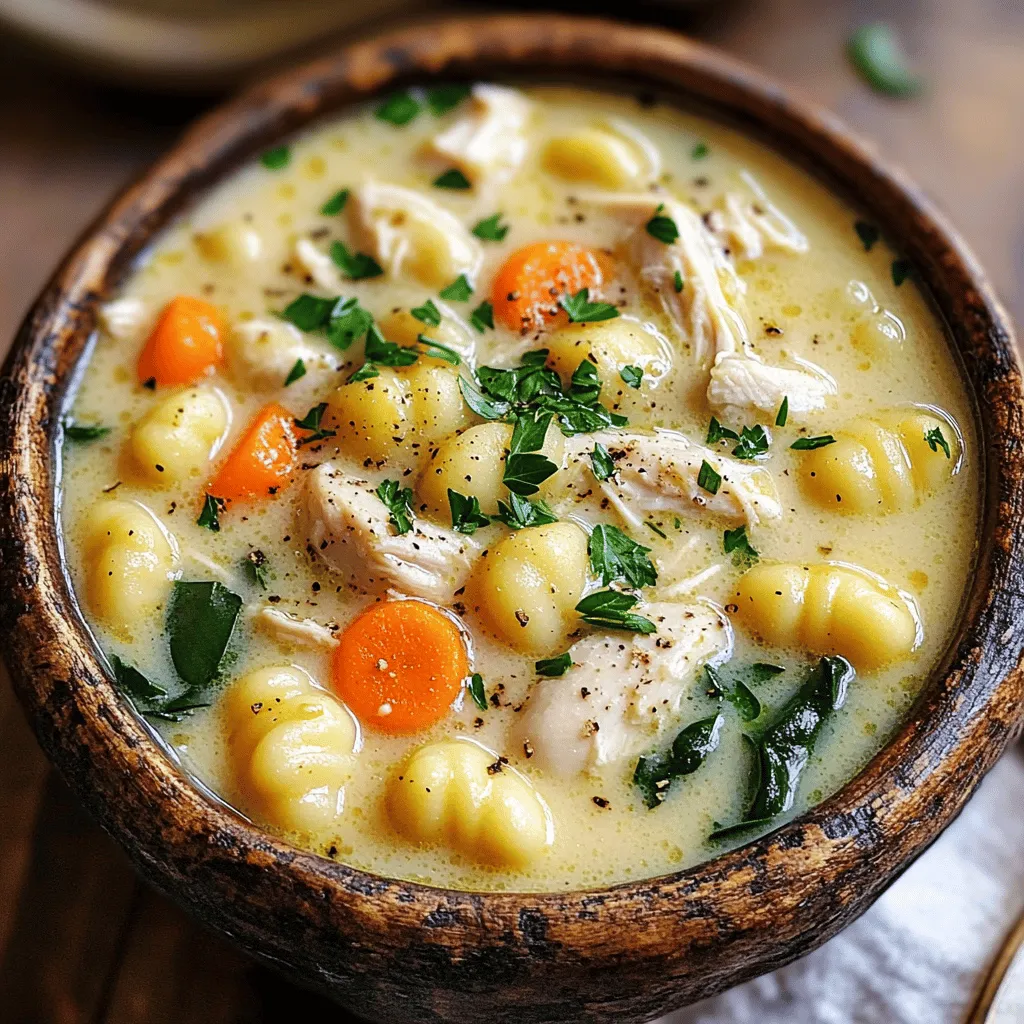
Creamy Chicken Gnocchi Soup Simple Comfort Recipe
Warm up your kitchen with my Creamy Chicken Gnocchi Soup! This cozy dish is full of flavor and comfort. With simple ingredients and easy…
My Latest Desserts
My Latest Recipes

hey,
i’m !
I’m so happy you’re here!
Cooking is my love language, and I’m excited to share my best dishes with you. Hope they become your favorites too! Let’s enjoy every bite of this journey together.


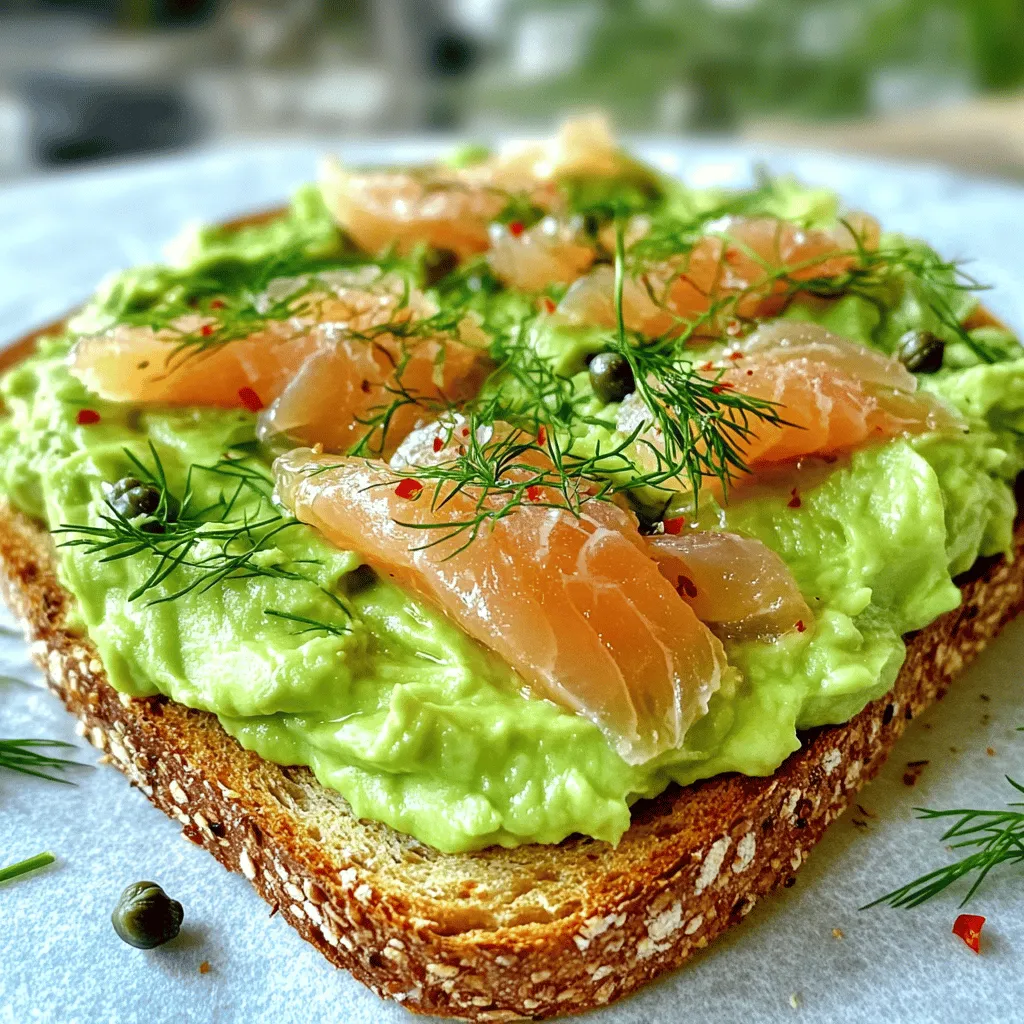
Smoked Salmon Avocado Toast Healthy Breakfast Recipe
Looking for a healthy breakfast that packs a punch? Smoked salmon avocado toast is your answer! This colorful dish combines creamy avocado with rich…