Latest & Greatest
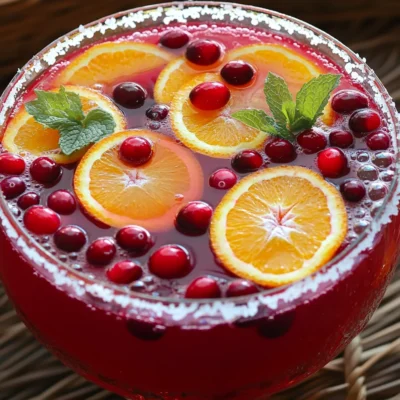
Sparkling Cranberry Orange Punch Festive and Refreshing
Looking for a festive drink that will wow your guests? Sparkling Cranberry Orange Punch is the perfect blend of sweet
Read more…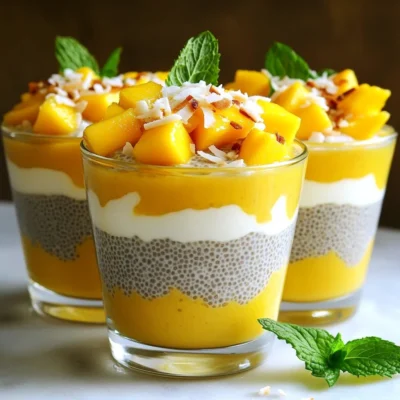
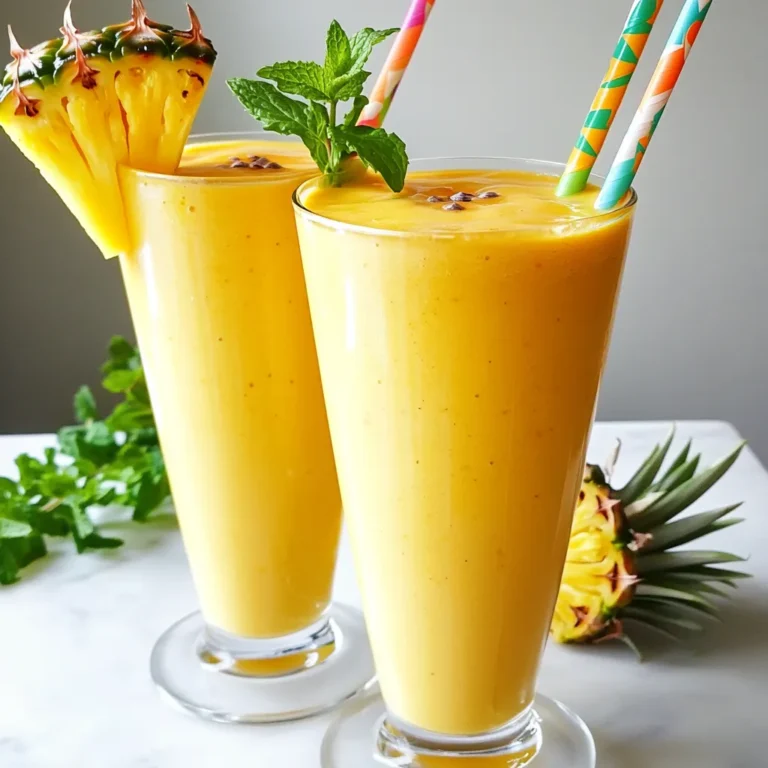
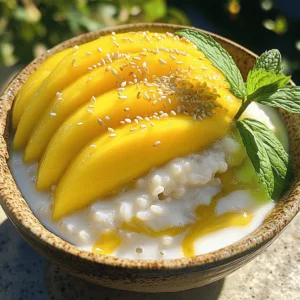
Mango Coconut Chia Pudding Cups Refreshing Delight
Are you ready to try a treat that’s both healthy and tasty? Mango Coconut Chia Pudding Cups are your answer!
Read more…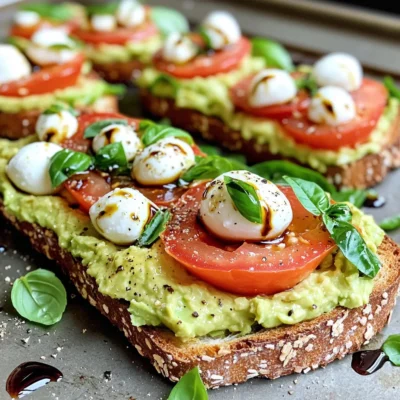
Minute Caprese Avocado Toast Quick and Tasty Meal
Are you hungry for a quick, tasty meal? Look no further! My Minute Caprese Avocado Toast is simple to make
Read more…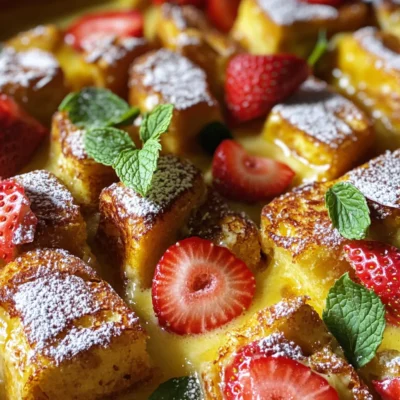
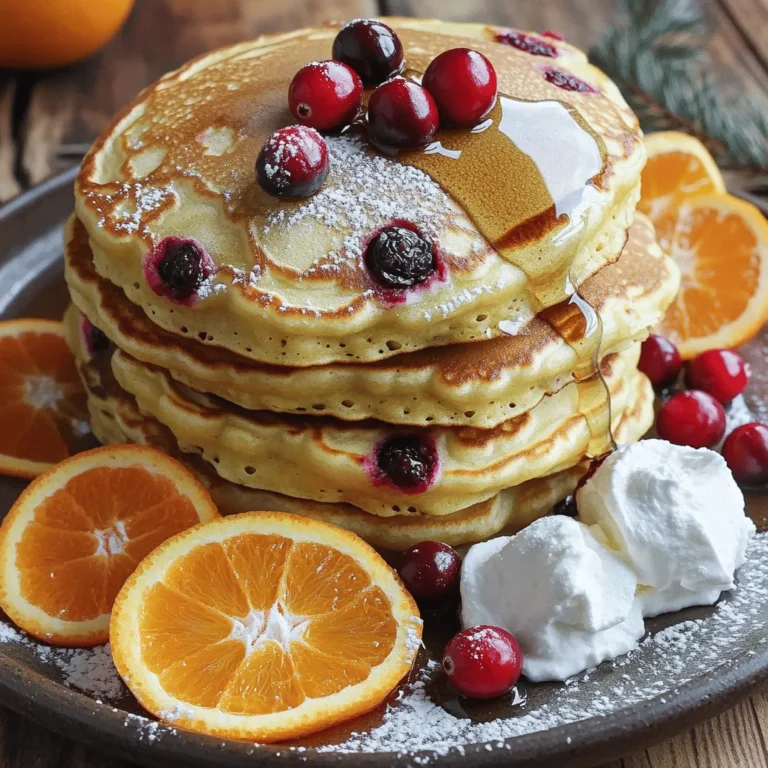
Strawberry Cheesecake French Toast Bake Delight
Are you ready to impress your family and friends with a delicious Strawberry Cheesecake French Toast Bake? This fun twist
Read more…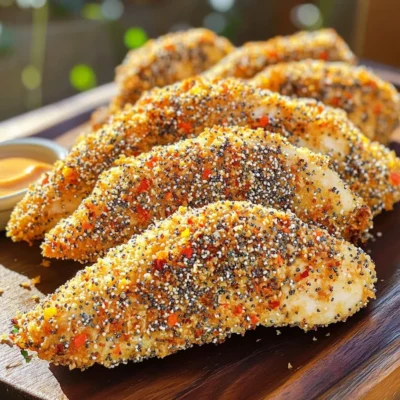
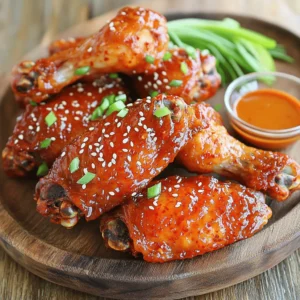
Air Fryer Everything Bagel Chicken Tenders Delight
Get ready to take your dinner game to the next level with Air Fryer Everything Bagel Chicken Tenders! These tasty
Read more…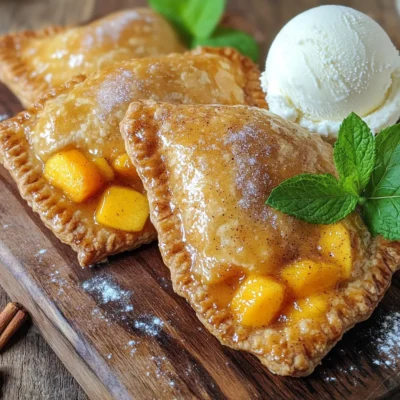
Air Fryer Cinnamon Sugar Peach Hand Pies Delight
Get ready to delight your taste buds with my Air Fryer Cinnamon Sugar Peach Hand Pies! Bursting with juicy peaches
Read more…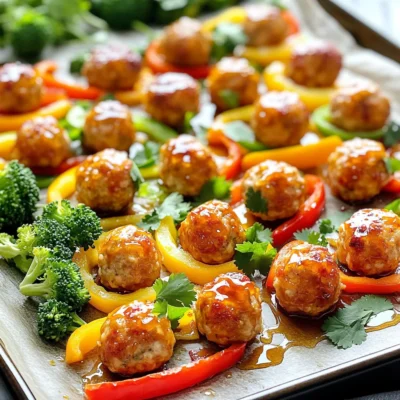
Sheet-Pan Honey Garlic Chicken Meatballs Delight
Get ready to savor a dish that’s simple, flavorful, and fun! My Sheet-Pan Honey Garlic Chicken Meatballs are your answer
Read more…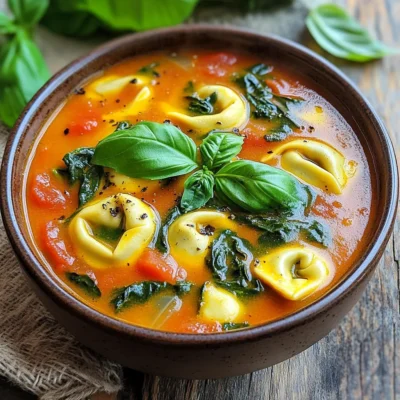
Slow Cooker Tomato Basil Tortellini Soup Delight
Welcome to your new favorite comfort food: Slow Cooker Tomato Basil Tortellini Soup! This recipe combines rich flavors with simple
Read more…browse recipes
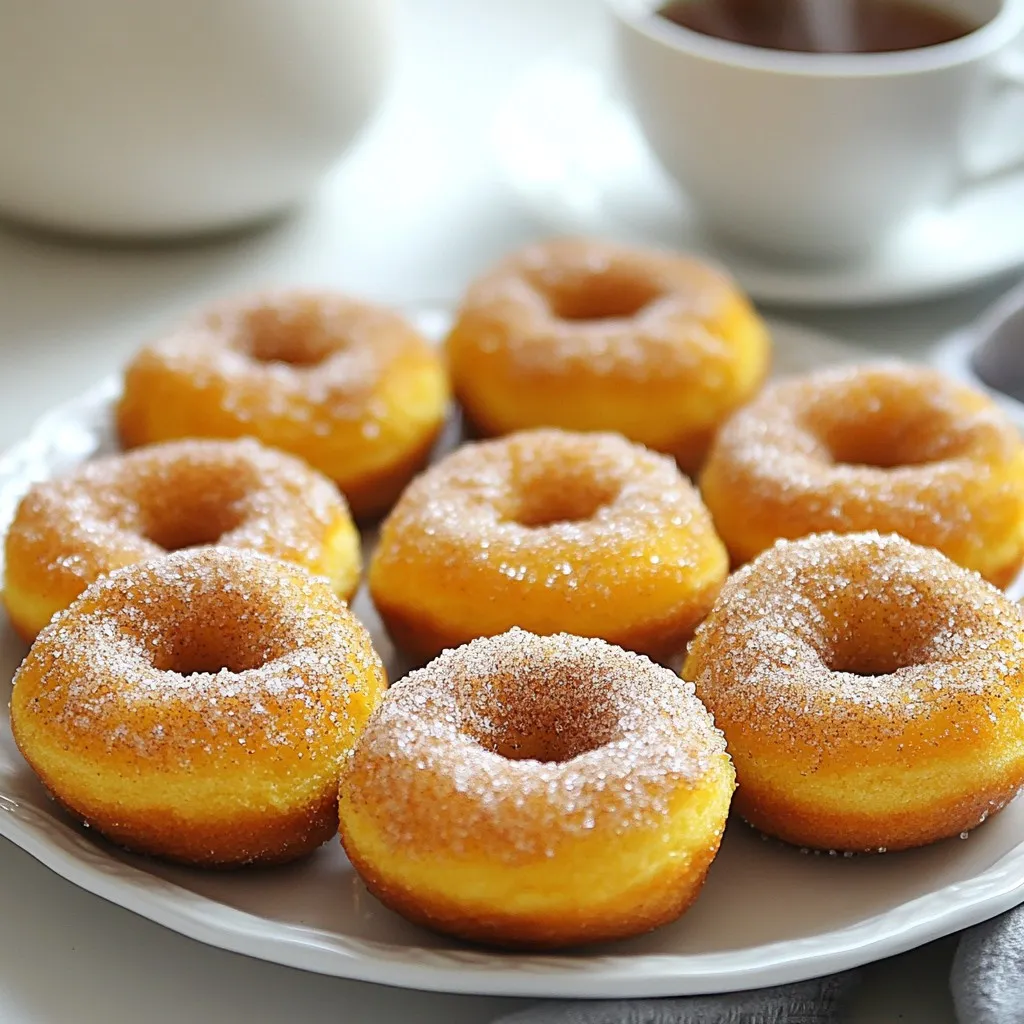
Cinnamon Sugar Pumpkin Donuts Irresistible Treat
Craving a sweet treat that captures the essence of fall? Look no further! My Cinnamon Sugar Pumpkin Donuts are moist, fluffy, and coated in…
My Latest Desserts
My Latest Recipes

hey,
i’m !
I’m so happy you’re here!
Cooking is my love language, and I’m excited to share my best dishes with you. Hope they become your favorites too! Let’s enjoy every bite of this journey together.
Cinnamon Sugar Pumpkin Donuts Irresistible Treat
Craving a sweet treat that captures the essence of fall? Look no further! My Cinnamon Sugar Pumpkin Donuts are moist, fluffy, and coated in…
