Latest & Greatest

Thai Red Curry Chicken Meatballs Savory and Simple Dish
If you’re looking for a dish that packs a punch and offers comfort, Thai Red Curry Chicken Meatballs are a
Read more…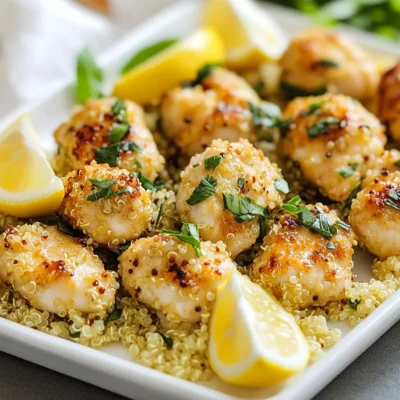
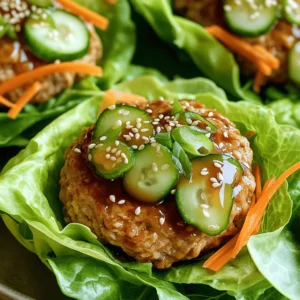
Lemon Herb Quinoa Chicken Bites Savory Delight
Are you ready for a tasty treat? In this blog post, I’ll guide you through making Lemon Herb Quinoa Chicken
Read more…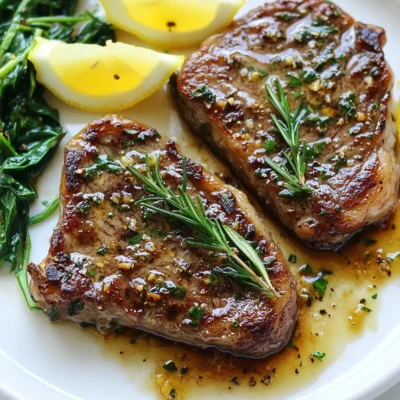
Garlic Butter Steak Skillet Flavorful Dinner Recipe
Looking for a quick and tasty dinner idea? You’ll love my Garlic Butter Steak Skillet recipe! It’s packed with flavor
Read more…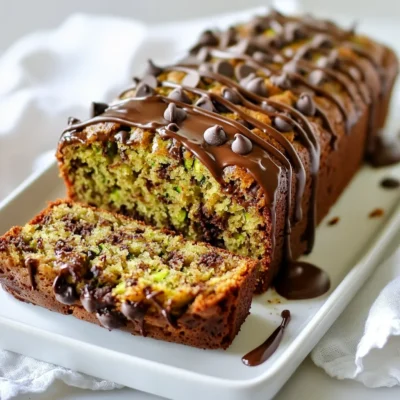
Chocolate Chip Zucchini Bread Savory and Moist Recipe
Are you ready to bake something deliciously unique? This Chocolate Chip Zucchini Bread recipe is not only moist but also
Read more…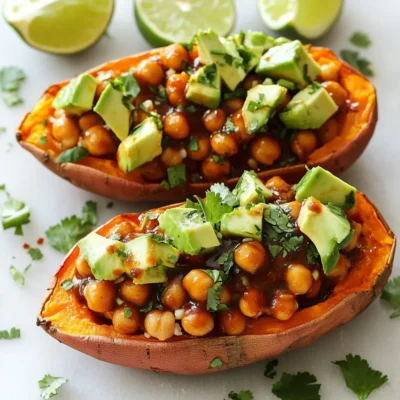
BBQ Chickpea Stuffed Sweet Potatoes Tasty and Simple
If you’re looking for a fun and healthy meal, try BBQ Chickpea Stuffed Sweet Potatoes. This dish blends sweet, savory,
Read more…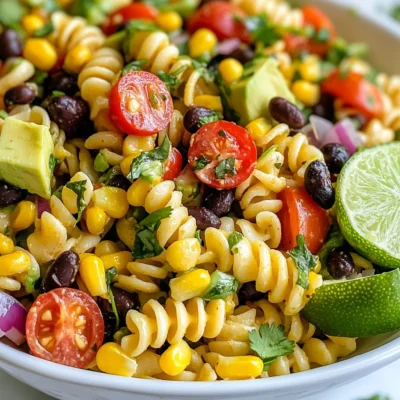
Zesty Southwest Pasta Salad Flavorful and Fresh Dish
Ready to spice up your meal routine? My Zesty Southwest Pasta Salad is bursting with flavor and freshness. In this
Read more…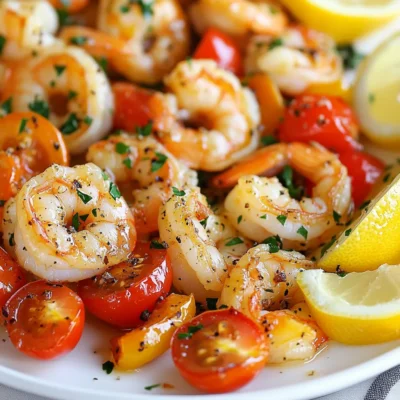
Sheet Pan Lemon Garlic Shrimp Fresh and Easy Meal
Ready to whip up a meal that’s fresh, easy, and bursting with flavor? This Sheet Pan Lemon Garlic Shrimp recipe
Read more…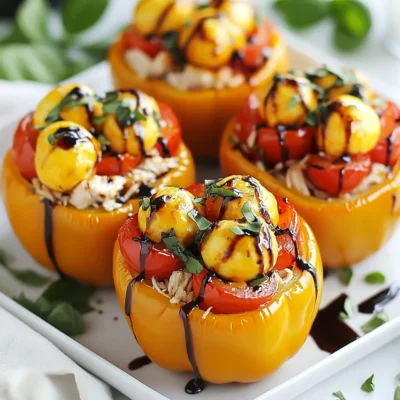
Caprese Chicken Stuffed Peppers Flavorful Delight
Are you ready to spice up your dinner routine? These Caprese Chicken Stuffed Peppers are not only colorful but packed
Read more…browse recipes
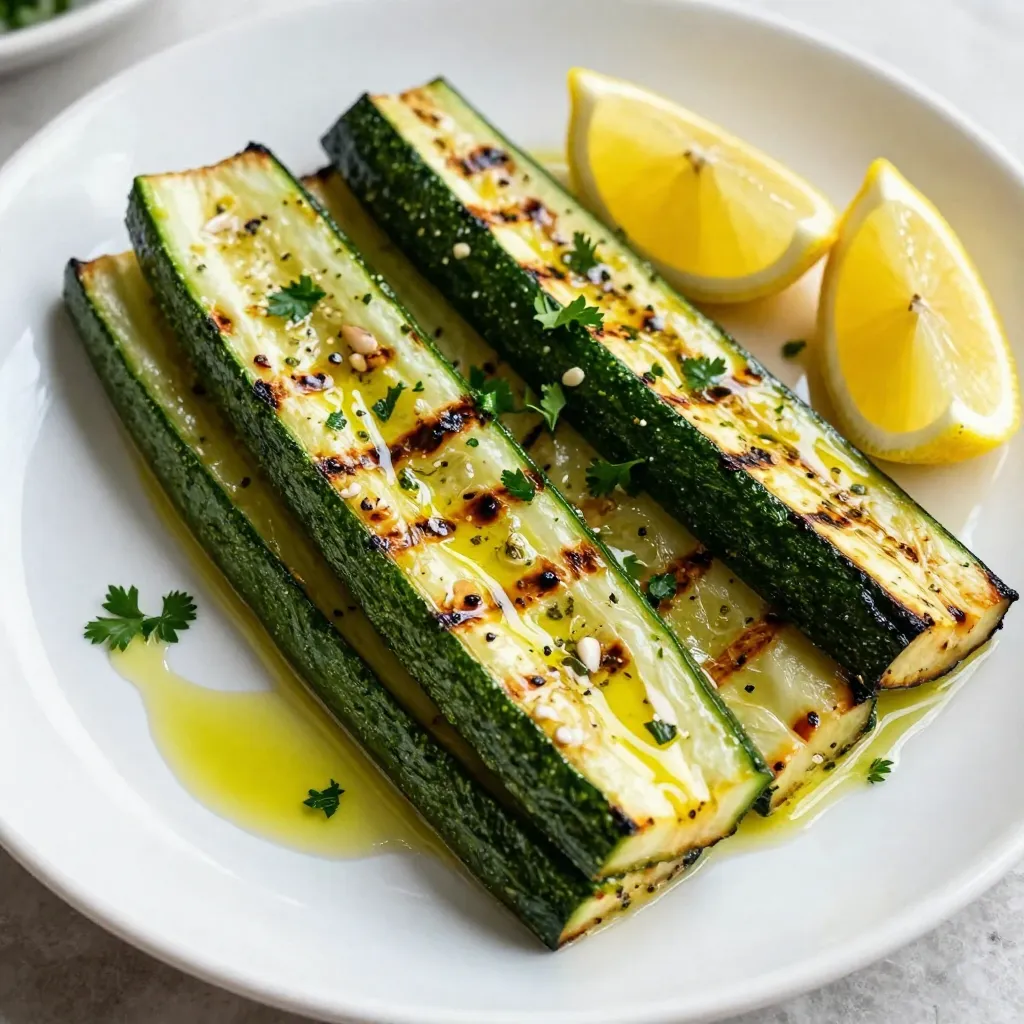
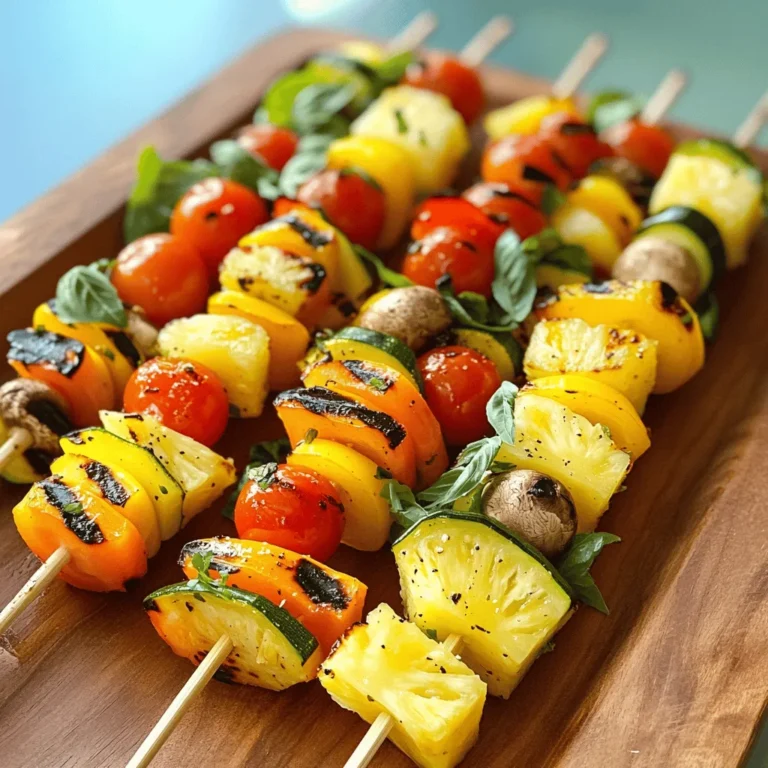
Lemon Herb Grilled Zucchini Perfectly Grilled Delight
Grilling season is here, and nothing captures summer better than Lemon Herb Grilled Zucchini. This quick dish bursts with fresh flavor and is a…
My Latest Desserts
My Latest Recipes

hey,
i’m !
I’m so happy you’re here!
Cooking is my love language, and I’m excited to share my best dishes with you. Hope they become your favorites too! Let’s enjoy every bite of this journey together.


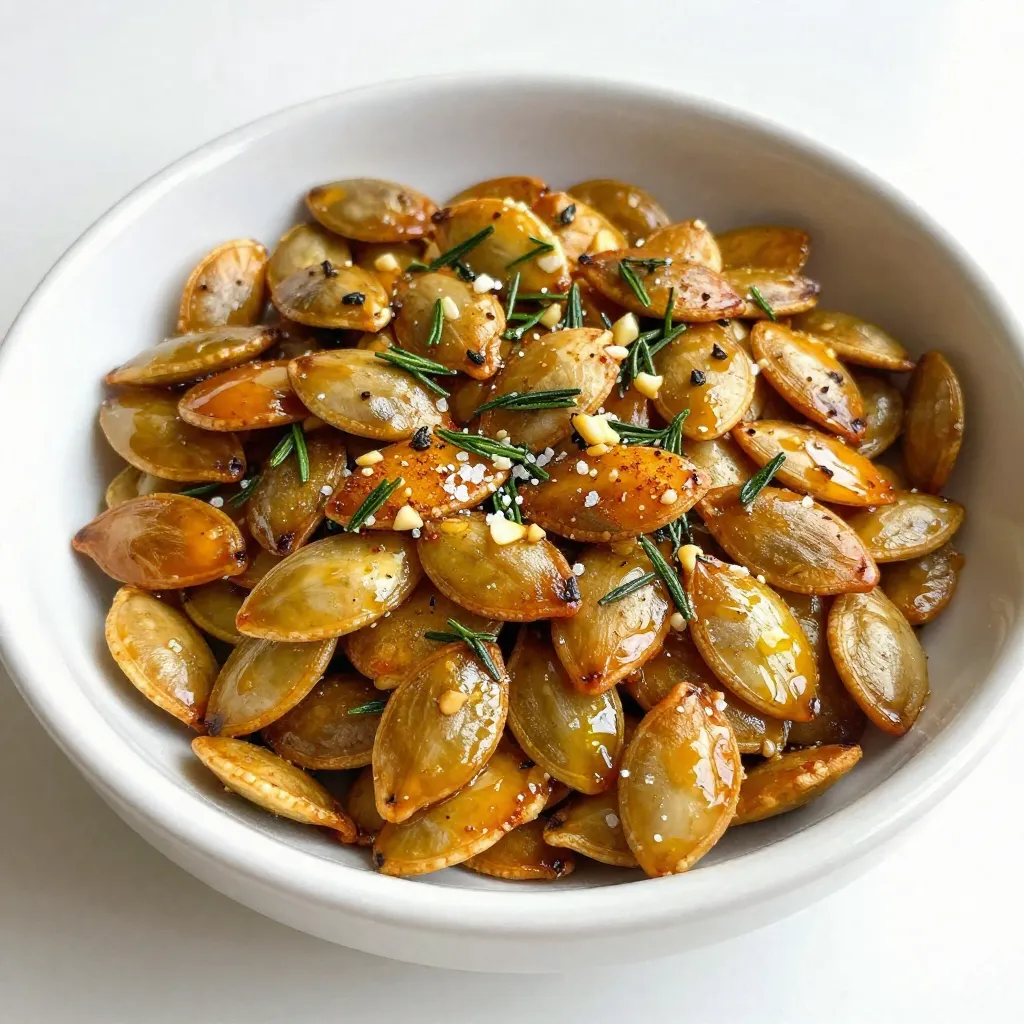
Garlic Herb Roasted Pumpkin Seeds Flavorful Snack Treat
Looking for a tasty snack that’s easy to make? You’re in the right place! Garlic Herb Roasted Pumpkin Seeds are crunchy, full of flavor,…