

Latest & Greatest

Garlic Butter Mushroom Risotto Creamy Flavor Delight
If you crave creamy, savory dishes, you’ll love my Garlic Butter Mushroom Risotto. This dish combines rich flavors that warm
Read more…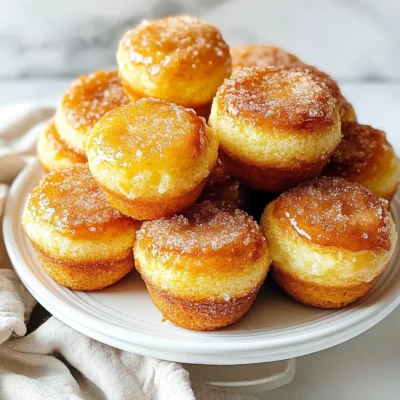
Cinnamon Sugar Doughnut Muffins Simple and Tasty Treat
Are you ready to delight your taste buds? Cinnamon Sugar Doughnut Muffins are the perfect blend of sweet and spice.
Read more…
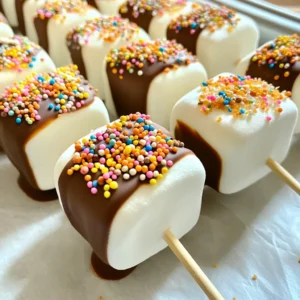
Chocolate Caramel Pretzel Bites Savory Snack Treat
Get ready to treat your taste buds! Chocolate Caramel Pretzel Bites mix sweet and salty for a snack you can’t
Read more…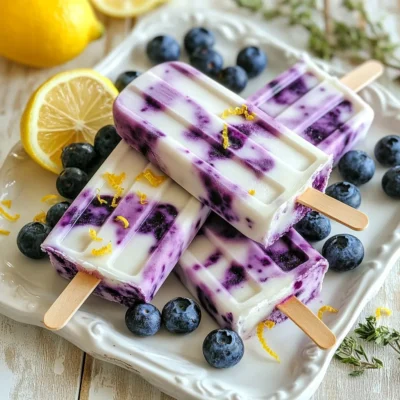
Blueberry Lemon Greek Yogurt Popsicles Refreshing Treat
Craving a cool, tasty treat? Look no further! These Blueberry Lemon Greek Yogurt Popsicles are your perfect summer snack. Packed
Read more…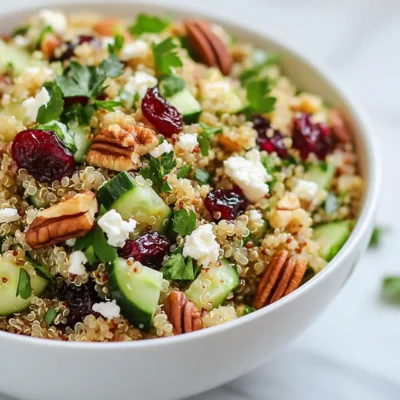
Cranberry Pecan Quinoa Salad Fresh and Healthy Delight
Looking for a fresh and healthy salad that bursts with flavor? You’ll love this Cranberry Pecan Quinoa Salad! Packed with
Read more…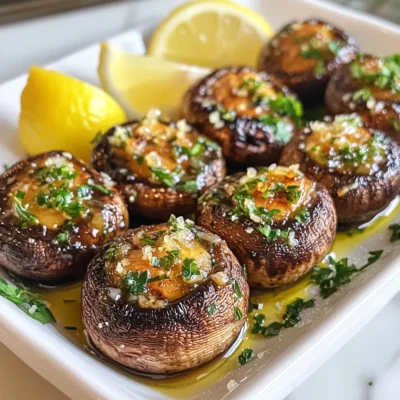
Garlic Parmesan Roasted Mushrooms Flavorsome Delight
If you crave a tasty side dish, look no further than Garlic Parmesan Roasted Mushrooms. These little bites are savory
Read more…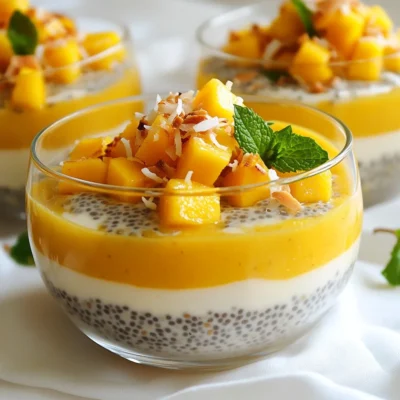
Mango Coconut Chia Pudding Simple and Healthy Recipe
If you’re looking for a delicious treat that’s also healthy, you’ve found it! My Mango Coconut Chia Pudding recipe is
Read more…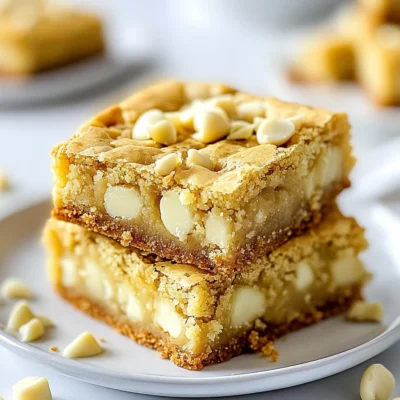
White Chocolate Macadamia Blondies Delightful Treats
If you love sweet treats, you’re in for a real delight! These White Chocolate Macadamia Blondies are easy to make
Read more…browse recipes


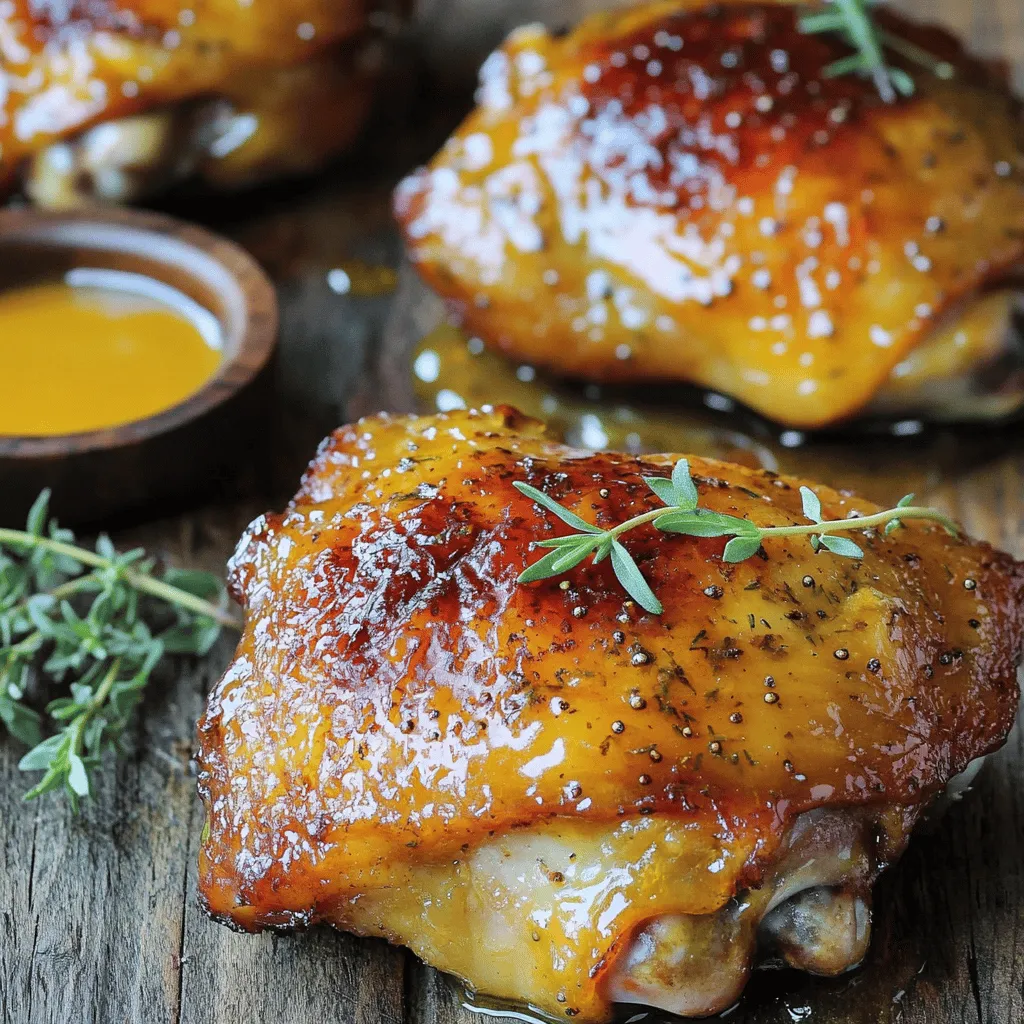
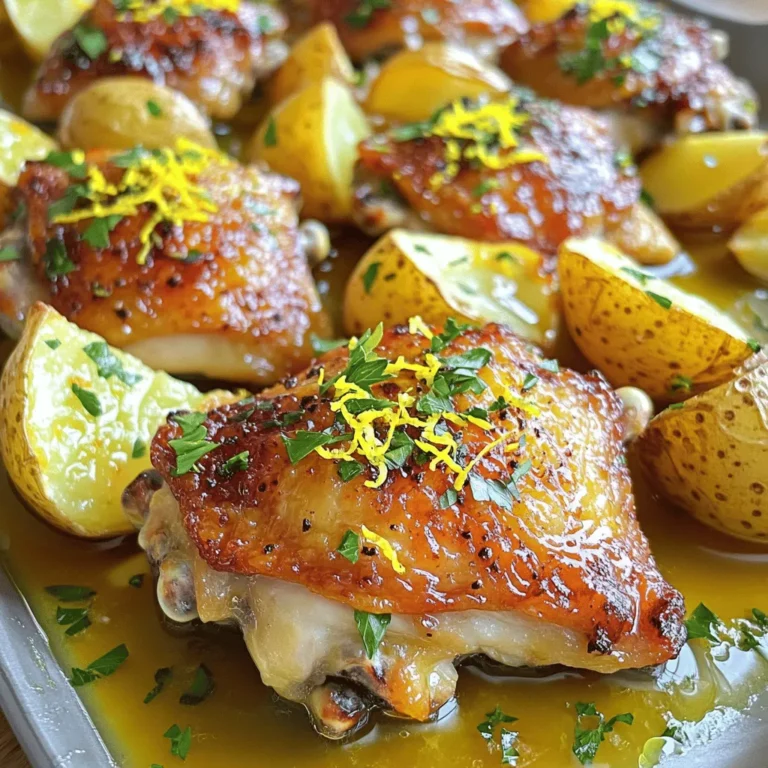
Honey Mustard Chicken Thighs Savory and Simple Recipe
Are you ready to elevate your dinner game with a dish that’s both savory and simple? Honey Mustard Chicken Thighs are a true delight,…
My Latest Desserts
My Latest Recipes

hey,
i’m !
I’m so happy you’re here!
Cooking is my love language, and I’m excited to share my best dishes with you. Hope they become your favorites too! Let’s enjoy every bite of this journey together.


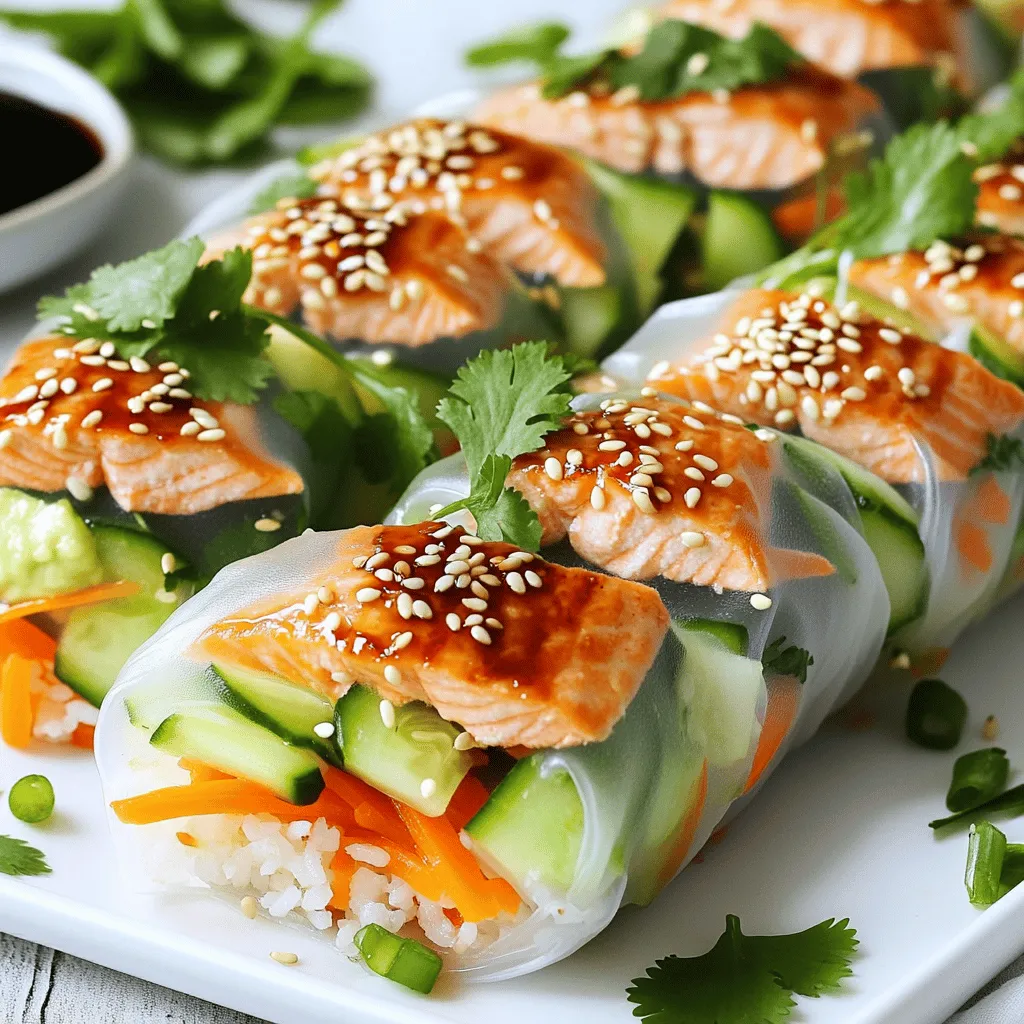
Teriyaki Salmon Rice Paper Rolls Tasty and Simple Recipe
If you’re craving a fresh, tasty dish, try Teriyaki Salmon Rice Paper Rolls. This recipe is simple and packed with flavor! You’ll love the…