Latest & Greatest
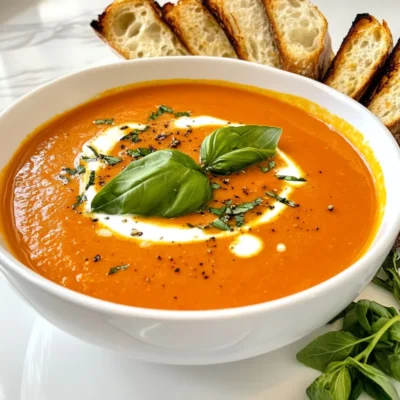
Instant Pot Creamy Tomato Soup Flavorful and Easy Recipe
If you crave a warm bowl of comfort, my Instant Pot Creamy Tomato Soup is perfect for you. This simple
Read more…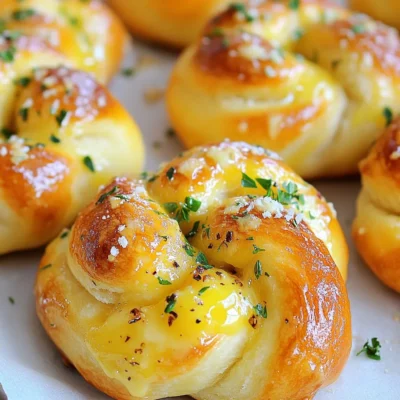
Air Fryer Garlic Knots Simple and Tasty Recipe
If you love easy snacks that taste amazing, you’ll love my Air Fryer Garlic Knots recipe. With simple ingredients like
Read more…
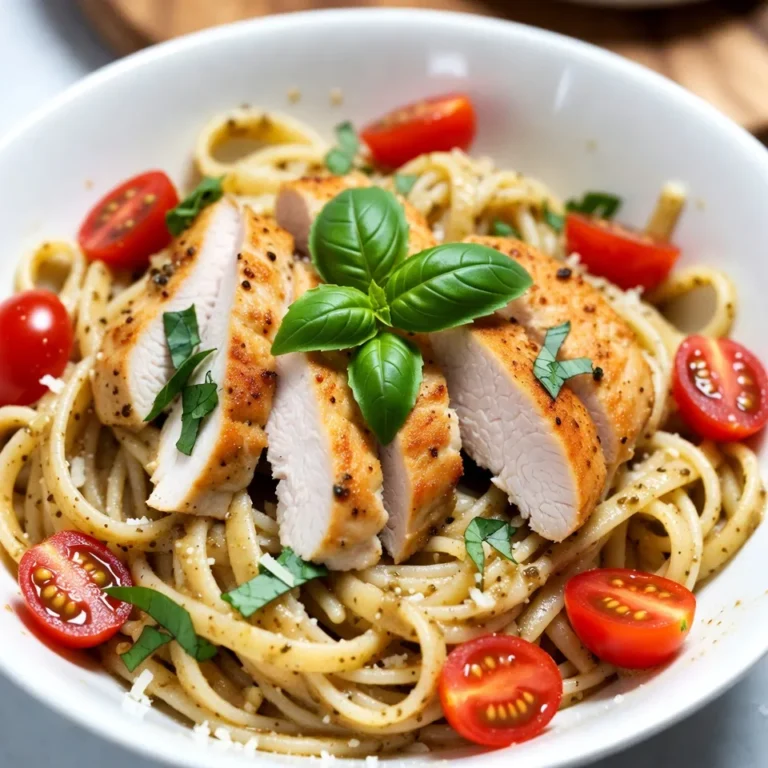
Creamy Garlic Shrimp Linguine Simple and Flavorful Dish
Are you ready to impress your family and friends with a delicious meal that’ll leave them craving more? This Creamy
Read more…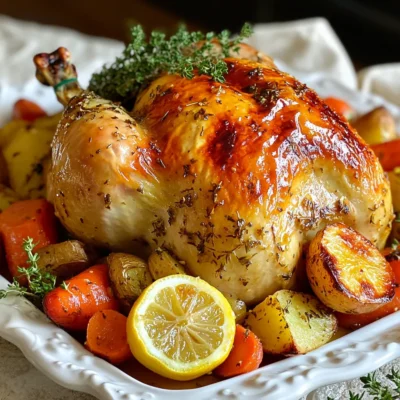
Garlic Herb Roasted Chicken Juicy and Flavorful Meal
Looking to impress at your next dinner? Garlic Herb Roasted Chicken is the answer! This dish brings together juicy chicken,
Read more…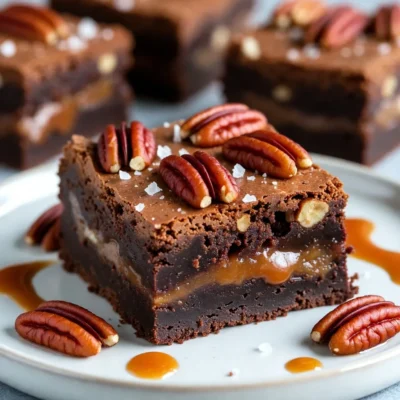
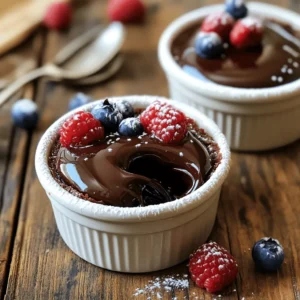
Caramel Pecan Brownies Rich and Decadent Delight
Indulge in the rich, gooey goodness of Caramel Pecan Brownies! These decadent treats mix chocolatey brownies with sweet caramel and
Read more…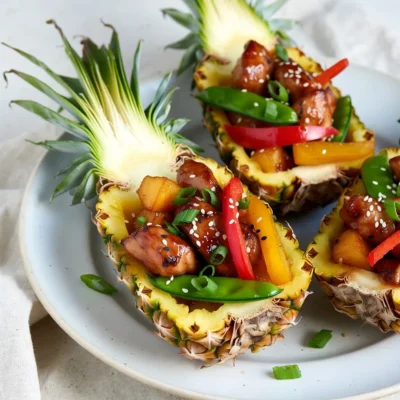
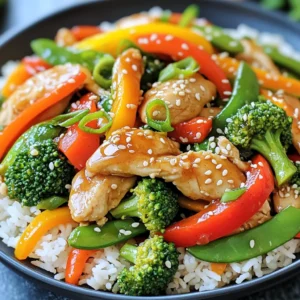
Teriyaki Chicken Pineapple Bowls Flavorful Summer Treat
If you’re craving a vibrant summer dish, look no further than Teriyaki Chicken Pineapple Bowls! This recipe brings together juicy
Read more…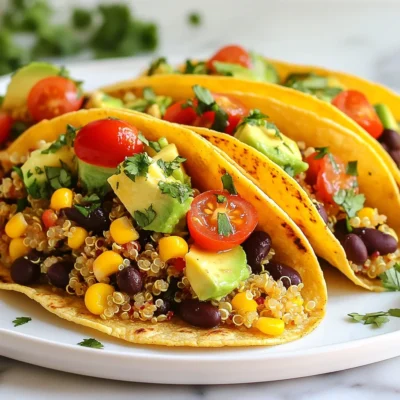
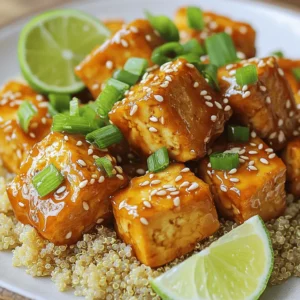
Zesty Lime Quinoa Tacos Flavorful and Healthy Meal
Looking for a fun and healthy meal? Try my Zesty Lime Quinoa Tacos! These tasty tacos are filled with fluffy
Read more…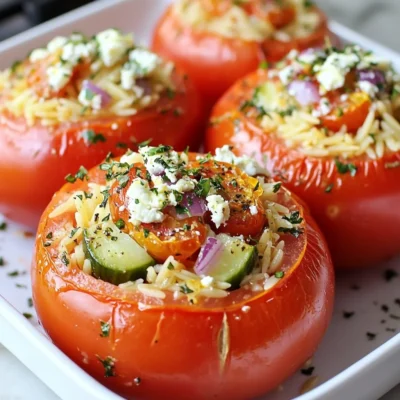
Mediterranean Orzo Stuffed Tomatoes Flavorful Delight
Are you ready for a vibrant burst of flavor? Mediterranean Orzo Stuffed Tomatoes are a delicious treat packed with fresh
Read more…browse recipes


Cinnamon Sugar Pumpkin Donuts Irresistible Treat
Craving a sweet treat that captures the essence of fall? Look no further! My Cinnamon Sugar Pumpkin Donuts are moist, fluffy, and coated in…
My Latest Desserts
My Latest Recipes

hey,
i’m !
I’m so happy you’re here!
Cooking is my love language, and I’m excited to share my best dishes with you. Hope they become your favorites too! Let’s enjoy every bite of this journey together.


Teriyaki Shrimp Bowls Simple and Flavorful Meal
Looking for a meal that’s both simple and bursting with flavor? You’ve come to the right place! Teriyaki shrimp bowls combine tasty shrimp, fresh…

