
Latest & Greatest
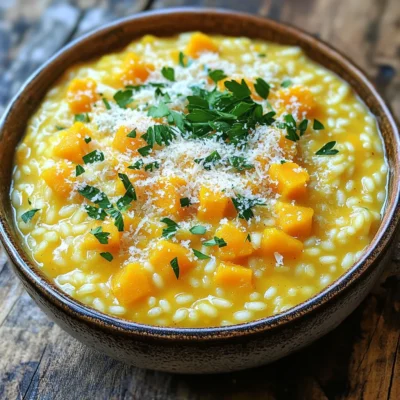
Creamy One-Pot Butternut Squash Risotto Delight
Step into a world of creamy comfort with my One-Pot Butternut Squash Risotto Delight! This dish combines rich flavors and
Read more…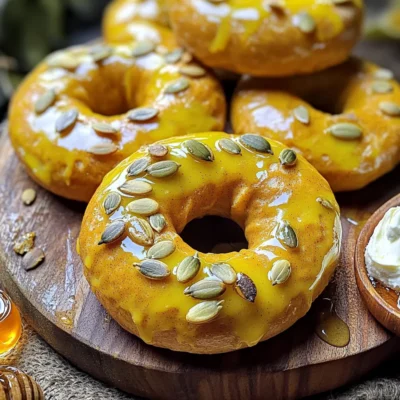
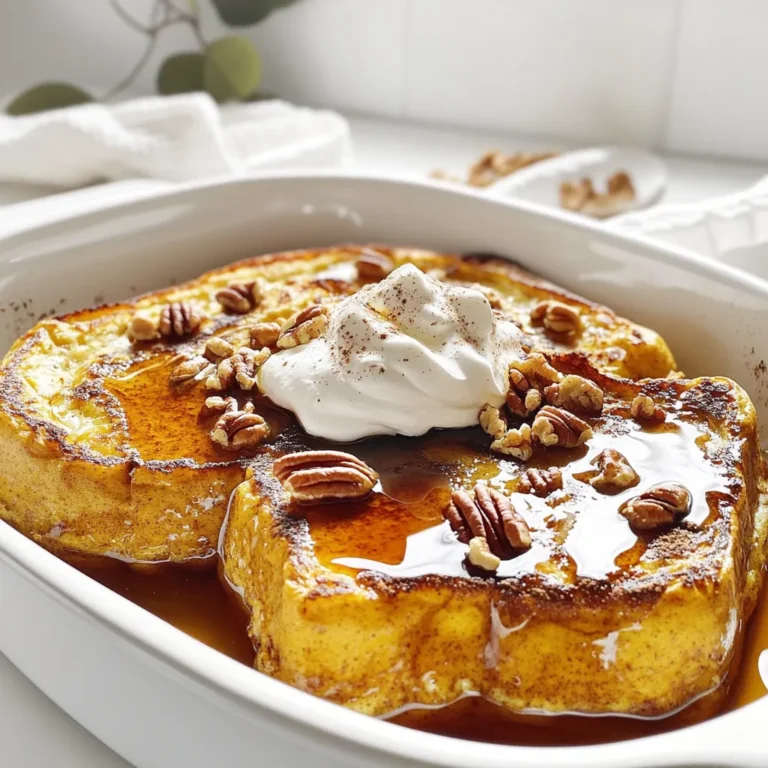
Bakery-Style Pumpkin Spice Bagels Simple and Tasty
Craving something warm and spicy? You’re in for a treat with my Bakery-Style Pumpkin Spice Bagels! These bagels blend rich
Read more…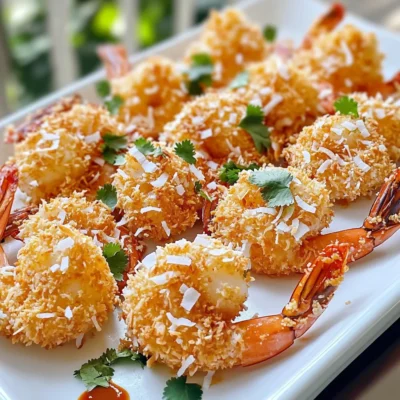
Air Fryer Coconut Shrimp with Chili Sauce Delight
Are you ready to elevate your appetizer game? In this guide, I’ll show you how to make Air Fryer Coconut
Read more…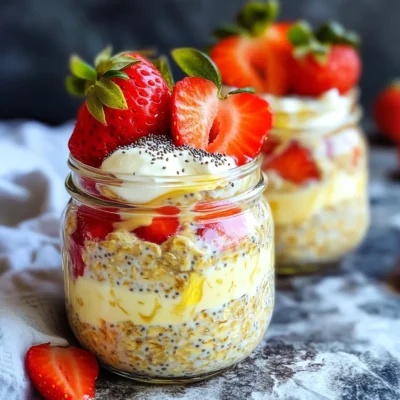
Strawberry Cheesecake Overnight Oats Tasty and Easy Recipe
If you crave a quick breakfast that tastes like dessert, you’re in the right place! My Strawberry Cheesecake Overnight Oats
Read more…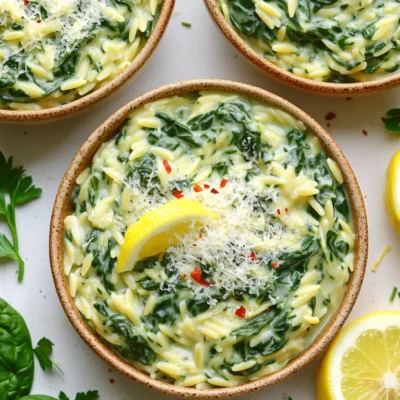
Creamy Lemon Spinach Orzo Skillet Fresh and Flavorful
Looking for a quick and tasty meal? My Creamy Lemon Spinach Orzo Skillet mixes fresh flavors for a delightful dish.
Read more…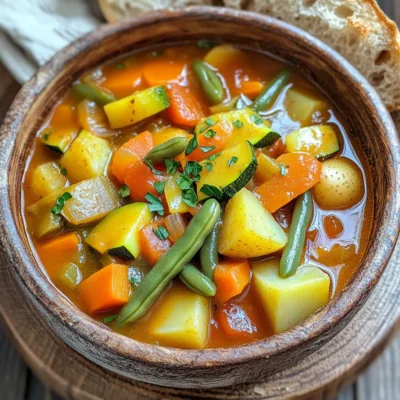
Slow Cooker Rustic Vegetable Stew Hearty and Satisfying
Looking for a warm meal that warms your soul? The Slow Cooker Rustic Vegetable Stew is just what you need.
Read more…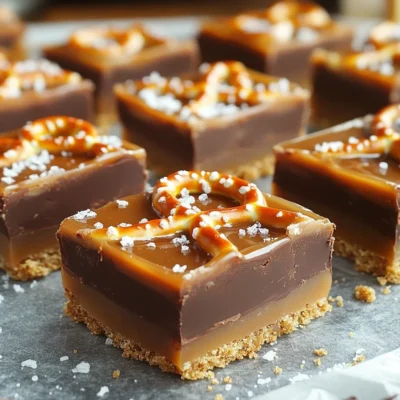
No-Bake Salted Caramel Pretzel Bars Delightful Treat
Craving a sweet and salty treat without turning on the oven? You’re in for a treat! These No-Bake Salted Caramel
Read more…
Sheet-Pan Garlic Butter Gnocchi and Shrimp Delight
Looking for a quick and tasty dinner? Your search ends here! My Sheet-Pan Garlic Butter Gnocchi and Shrimp Delight combines
Read more…browse recipes


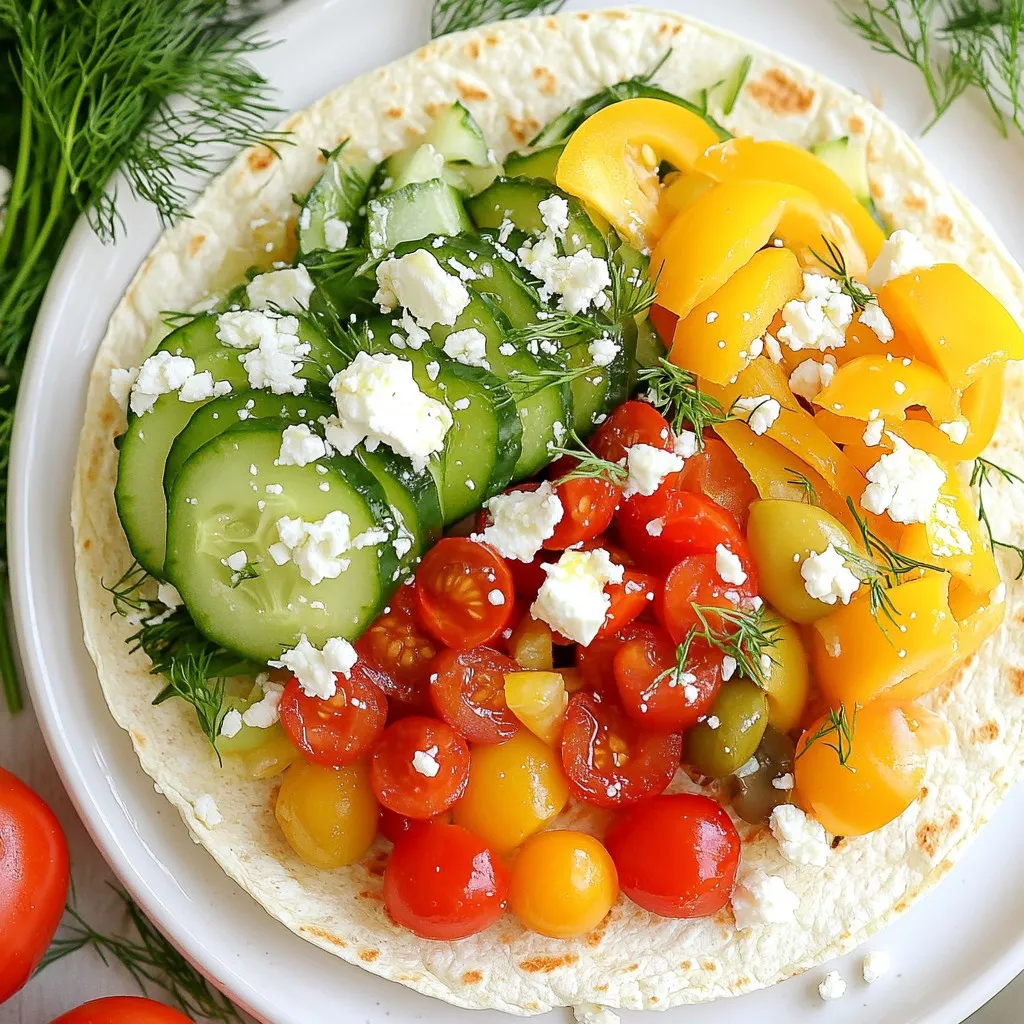
Greek Hummus Veggie Wraps Flavorful and Healthy Meal
Looking for a quick, healthy meal? Greek Hummus Veggie Wraps are your answer! Packed with fresh veggies, creamy hummus, and a whole wheat wrap,…
My Latest Desserts
My Latest Recipes

hey,
i’m !
I’m so happy you’re here!
Cooking is my love language, and I’m excited to share my best dishes with you. Hope they become your favorites too! Let’s enjoy every bite of this journey together.


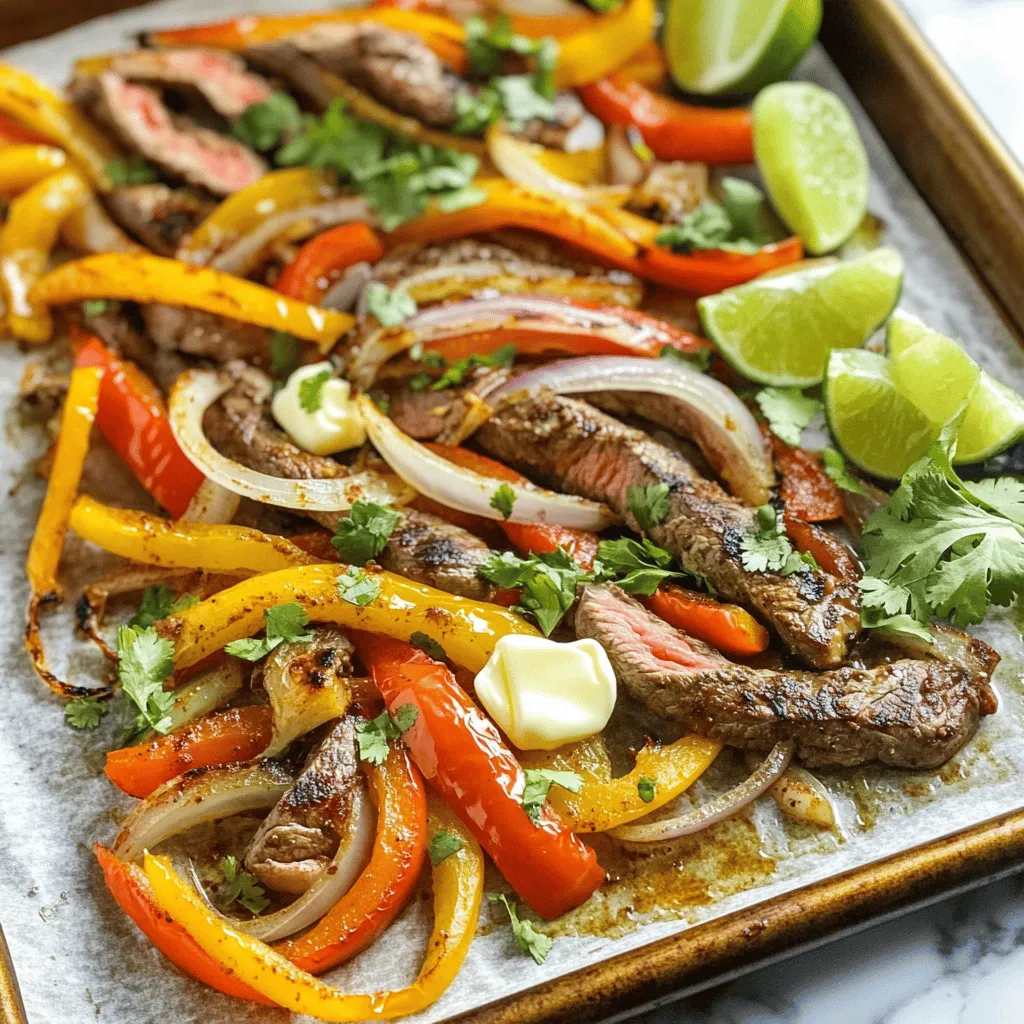
Sheet-Pan Garlic Butter Steak Fajitas Delightful Dish
Are you ready to elevate your weeknight dinner? With my Sheet-Pan Garlic Butter Steak Fajitas, you’ll enjoy a feast of bold flavors and easy…