
Latest & Greatest
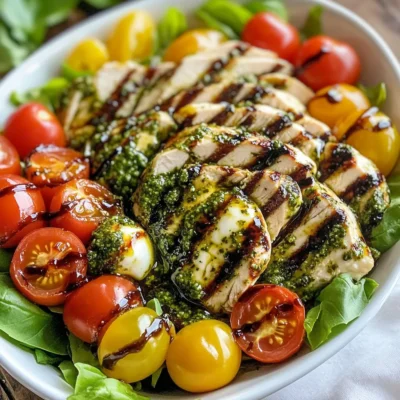
Pesto Chicken Caprese Salad Fresh and Flavorful Dish
Looking for a fresh and tasty meal? This Pesto Chicken Caprese Salad is the answer! Packed with vibrant flavors and
Read more…
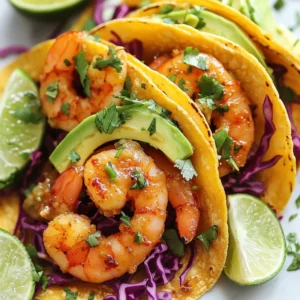
Spicy Cajun Shrimp Tacos Flavorful and Easy Meal
Looking to spice up your weeknight dinner? Join me in crafting Spicy Cajun Shrimp Tacos — a dish that packs
Read more…browse recipes


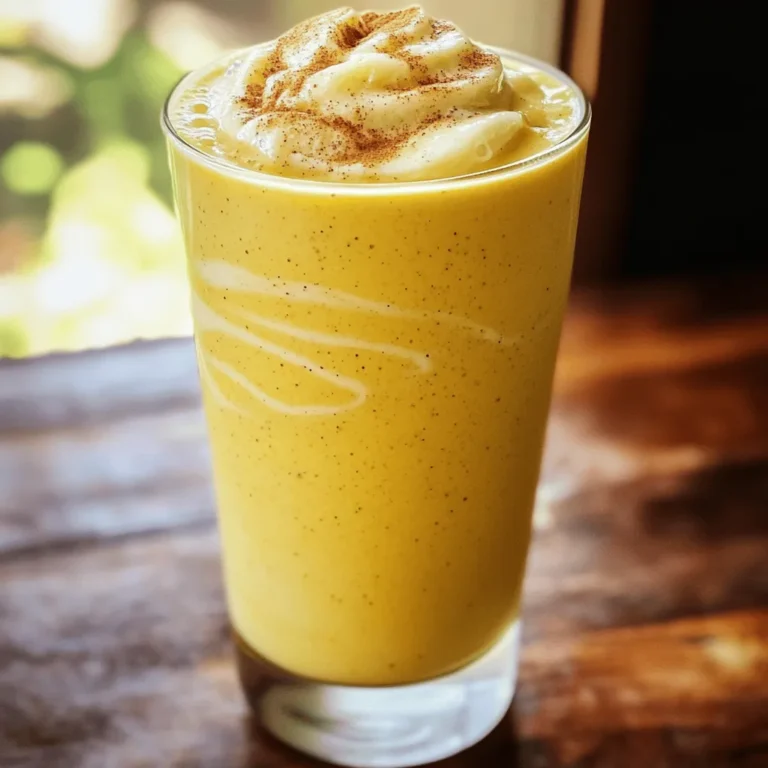
Avocado Mango Smoothie Delicious and Creamy Blend
Dive into a creamy delight with this Avocado Mango Smoothie! This recipe combines ripe avocado, sweet mango, and banana for a luscious blend you’ll…
My Latest Desserts
My Latest Recipes

hey,
i’m !
I’m so happy you’re here!
Cooking is my love language, and I’m excited to share my best dishes with you. Hope they become your favorites too! Let’s enjoy every bite of this journey together.
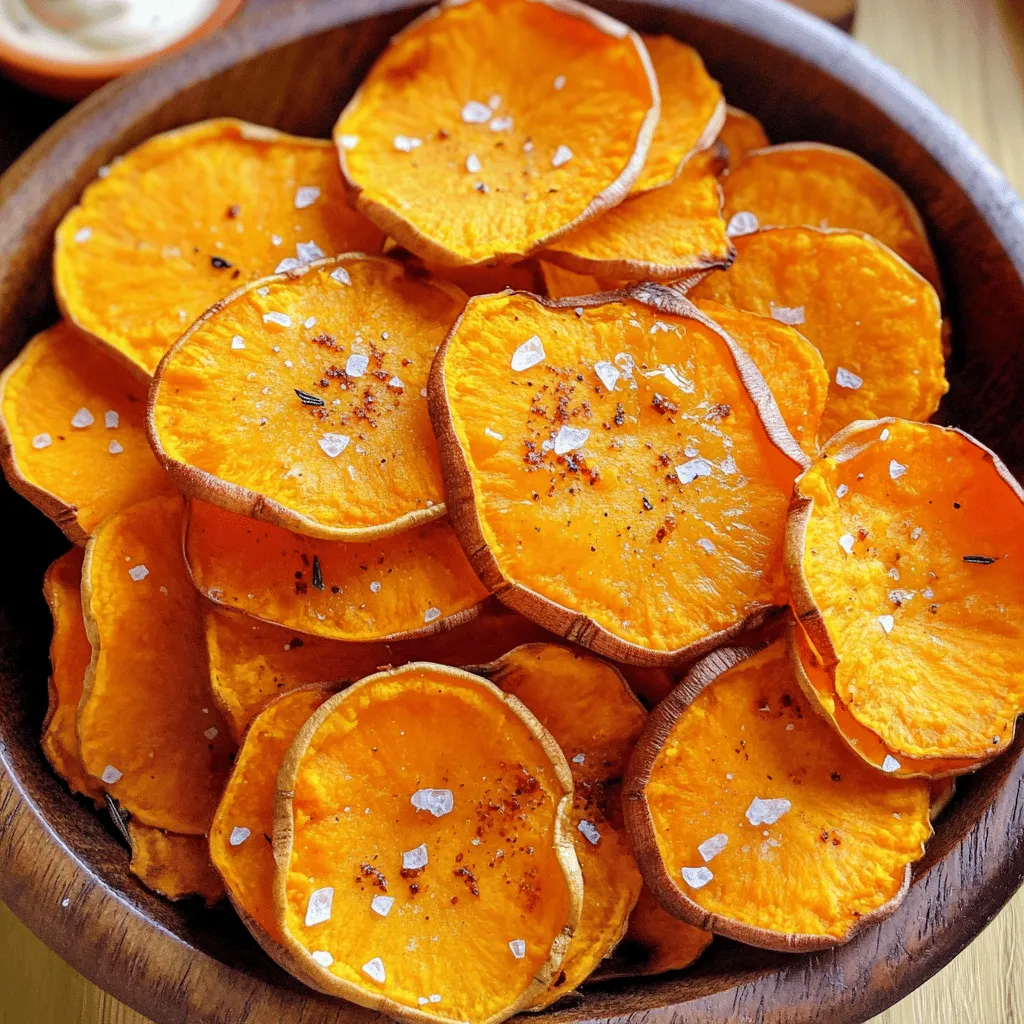
Crispy Baked Sweet Potato Chips Perfect for Snacking
Are you ready to enjoy a crunchy snack that’s both tasty and healthy? These crispy baked sweet potato chips are perfect for satisfying your…