Latest & Greatest
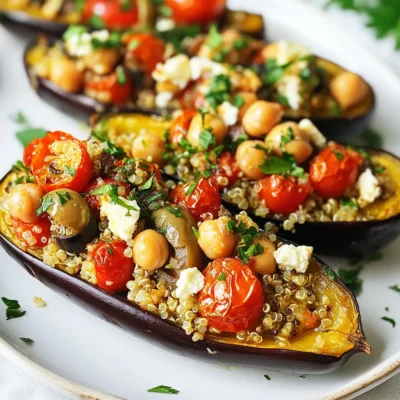
Mediterranean Stuffed Eggplant Flavorful and Easy Dish
Ready to elevate your dinner game? Mediterranean Stuffed Eggplant is a simple yet mouthwatering dish that bursts with flavor. With
Read more…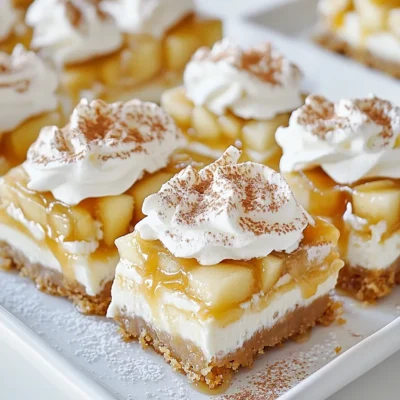
Apple Pie Cheesecake Bars Irresistibly Tasty Treat
If you love desserts that blend flavors perfectly, then you’ll adore these Apple Pie Cheesecake Bars. With a buttery crust,
Read more…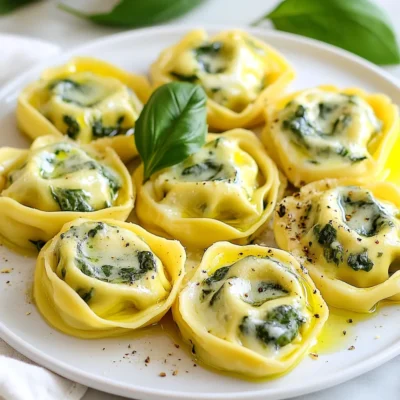
Creamy Spinach Stuffed Tortellini Tasty Italian Dish
Are you ready to dive into a creamy, cheesy delight? This Creamy Spinach Stuffed Tortellini is a tasty Italian dish
Read more…
Sweet Thai Chili Salmon Flavorful Dinner Delight
If you’re craving a quick and tasty dinner, look no further than Sweet Thai Chili Salmon. This dish is not
Read more…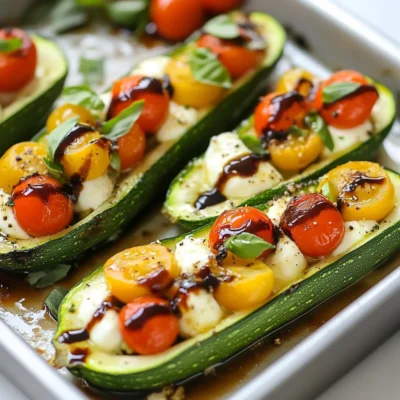
Caprese Zucchini Boats Fresh and Flavorful Recipe
Looking for a delicious, healthy meal? Try these Caprese Zucchini Boats! They are easy to make and packed with fresh
Read more…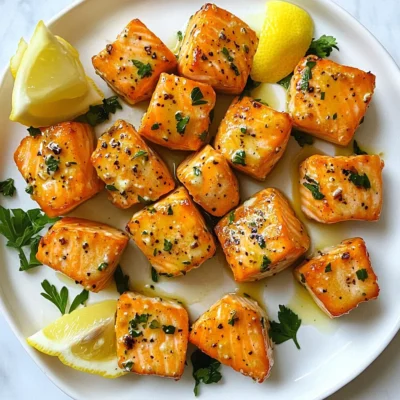
Garlic Butter Salmon Bites Easy and Tasty Recipe
If you’re craving a quick and tasty dish, Garlic Butter Salmon Bites are a must-try! In this easy recipe, you’ll
Read more…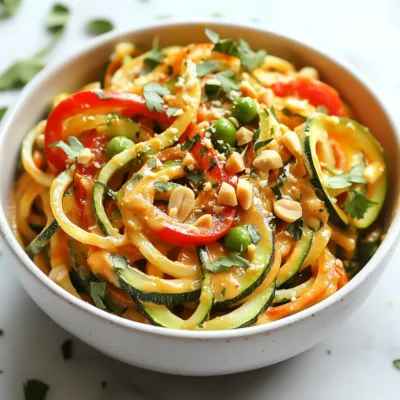
Spicy Thai Peanut Zoodles Flavorful and Easy Recipe
Are you ready to spice up your dinner routine? Spicy Thai Peanut Zoodles are here to impress! This easy recipe
Read more…
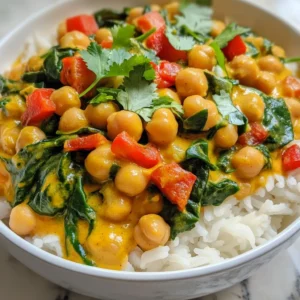
Thai Red Curry Chicken Meatballs Savory and Simple Dish
If you’re looking for a dish that packs a punch and offers comfort, Thai Red Curry Chicken Meatballs are a
Read more…browse recipes


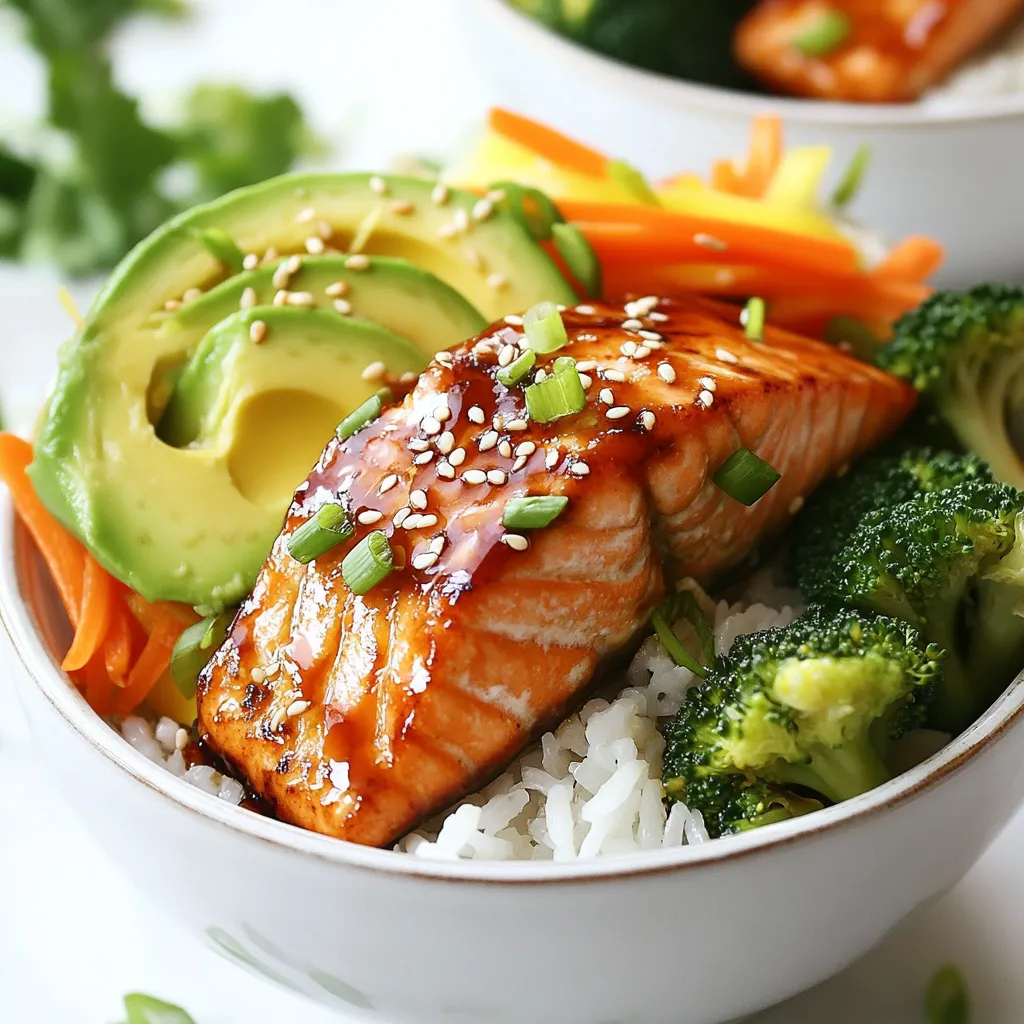
Teriyaki Glazed Salmon Bowls Flavorful and Nutritious
Are you ready to spice up your meal routine? Teriyaki Glazed Salmon Bowls are packed with flavor and nutrition, making them perfect for any…
My Latest Desserts
My Latest Recipes

hey,
i’m !
I’m so happy you’re here!
Cooking is my love language, and I’m excited to share my best dishes with you. Hope they become your favorites too! Let’s enjoy every bite of this journey together.
![To make a delicious spaghetti squash primavera, you'll need these main ingredients: - 1 medium spaghetti squash - 1 tablespoon olive oil - 1 small onion, diced - 2 cloves garlic, minced - 1 red bell pepper, sliced - 1 zucchini, sliced - 1 cup cherry tomatoes, halved - 1 cup broccoli florets - 1 teaspoon dried Italian herbs - Salt and pepper to taste You can also add optional ingredients for extra flavor, like: - 1/4 cup grated Parmesan cheese - Fresh basil leaves for garnish Each serving of spaghetti squash primavera has about 150 calories. It’s low in carbs and high in fiber. This dish is rich in vitamins A and C, plus potassium and folate. These nutrients help support your immune system and keep your skin healthy. When picking a spaghetti squash, look for one that feels heavy for its size. The skin should be a pale yellow or golden color. Avoid any that have soft spots. For the vegetables, choose fresh and firm options. Sweet bell peppers and zucchini bring great flavor. Broccoli adds crunch and color. You can mix in seasonal veggies for variety. First, preheat your oven to 400°F (200°C). Take the medium spaghetti squash and cut it in half lengthwise. Use a spoon to scoop out the seeds. Drizzle olive oil inside each half and sprinkle with salt and pepper. Place the halves cut side down on a parchment-lined baking sheet. Roast them in the oven for 40 to 50 minutes. When finished, the flesh should be soft and easily scraped into strands with a fork. While the squash roasts, heat olive oil in a large skillet over medium heat. Add the diced onion and minced garlic. Sauté them until the onion turns clear, about 3 to 4 minutes. Next, toss in the sliced bell pepper, zucchini, cherry tomatoes, and broccoli. Add dried Italian herbs, and cook for another 5 to 7 minutes. The veggies should be tender, yet still crisp. Once the spaghetti squash is done, take it out of the oven and let it cool slightly. Use a fork to scrape the squash into strands. Add these strands to the skillet with your sautéed veggies. Gently mix everything together, adding salt and pepper to taste. Let it cook on low heat for 2 to 3 minutes to blend the flavors. Serve your spaghetti squash primavera hot. You can add Parmesan cheese and fresh basil leaves for a nice touch. For the complete guide, check the Full Recipe. To cook spaghetti squash, the best method is roasting. This brings out its natural sweetness. Preheat the oven to 400°F (200°C). Cut the squash in half and scoop out the seeds. Drizzle olive oil inside and season with salt and pepper. Place it cut side down on a baking sheet. Roast for 40-50 minutes until tender. If you're short on time, you can use a microwave. Cut the squash in half and place it in a microwave-safe dish with a bit of water. Cover it with plastic wrap and microwave for about 10-12 minutes. Check for doneness, and it should be soft enough to scrape into strands. For a complete meal, serve spaghetti squash primavera with garlic bread or a fresh salad. Garlic bread adds a nice crunch and flavor. A light salad can balance the dish and add freshness. When plating, use a large bowl or plate. Spoon the squash and veggies onto one side. Garnish with grated Parmesan and fresh basil leaves. This adds color and makes it look appetizing. One common mistake is overcooking the vegetables. They should be tender but still crisp. Keep an eye on them while sautéing. Another mistake is not seasoning properly. Taste your dish as you cook. Adjust salt and pepper as needed for the best flavor. A little seasoning can make a big difference. For the full recipe on how to prepare this delightful dish, refer to the [Full Recipe]. {{image_2}} You can switch up the veggies in spaghetti squash primavera based on what’s fresh. In spring, use asparagus and peas for a vibrant touch. In summer, cherry tomatoes and bell peppers shine. Fall brings squash and kale, while winter offers hearty root veggies. You can also add spices like cumin or paprika for an extra kick. A splash of soy sauce or balsamic vinegar can boost the flavor profile too. To make this dish vegan, simply omit the Parmesan cheese or replace it with a plant-based option. For a gluten-free version, this recipe is already safe. You can also make it low-carb by skipping the squash and using spiralized zucchini or cauliflower rice instead. These swaps keep the dish light while still being filling. If you have a crowd, double the recipe with ease. Just roast two spaghetti squashes and increase the veggie amounts. For meal prep, store the cooked squash and veggies separately. This way, you can enjoy fresh meals all week long. Leftovers can last in the fridge for up to four days. You can also freeze them for a quick meal later. For the full recipe, check out the cooking instructions above. To keep your spaghetti squash primavera fresh, use airtight containers. Store leftovers in the fridge within two hours of cooking. If you want to freeze it, let it cool first. Use freezer-safe bags or containers. Label them with the date. This will help you remember when you made it. When reheating spaghetti squash primavera, use a skillet over medium heat. Add a splash of olive oil to avoid dryness. Stir gently to warm it up evenly. If you use a microwave, place it in a microwave-safe dish. Cover it with a damp paper towel to keep moisture in. This prevents sogginess. In the fridge, spaghetti squash primavera lasts about three to four days. In the freezer, it can stay fresh for up to three months. Check for signs of spoilage, such as a sour smell or mold. If any appear, it's best to toss it out. Keeping an eye on these details helps you enjoy your dish longer. For the complete recipe, check out the Full Recipe. Spaghetti squash is a type of winter squash. When you cook it, the flesh turns into strands. These strands resemble spaghetti, making it a fun pasta substitute. You can use it in many dishes, just like you would with regular pasta. It has a mild flavor, so it takes on the taste of sauces well. This makes it a great base for dishes like spaghetti squash primavera. Yes, you can prepare spaghetti squash primavera ahead of time. First, cook the squash and veggies as usual. Let them cool, then store them in airtight containers. You can keep them in the fridge for up to three days. When you are ready to eat, simply reheat the dish. But be careful not to overcook the veggies again. This way, you enjoy a quick meal without losing taste. Spaghetti squash is very healthy. It has fewer calories than regular pasta, making it a great option for many diets. It is high in vitamins A and C, which help your immune system. Many people think it lacks fiber, but it actually has a good amount. This helps with digestion and keeps you full. So, if you swap out regular pasta for spaghetti squash, you still get a satisfying meal. In this article, we explored the delicious world of spaghetti squash primavera. We covered key ingredients, cooking techniques, and variations to fit any diet. I shared tips on selecting fresh produce and avoiding common cooking mistakes. Cooking with spaghetti squash is fun and healthy. It’s a great way to enjoy meals while keeping them light. I hope you feel inspired to try this dish and customize it to your taste. Enjoy your cooking adventure!](https://recipespursuit.com/wp-content/uploads/2025/05/843a933d-4218-4f32-9f28-b6b41975ac8f-300x300.webp)

Chocolate Chip Cookie Dough Bites Tasty Sweet Snack
Are you ready to indulge in a sweet treat that satisfies your cravings? Chocolate chip cookie dough bites are the perfect snack for anyone,…