Latest & Greatest
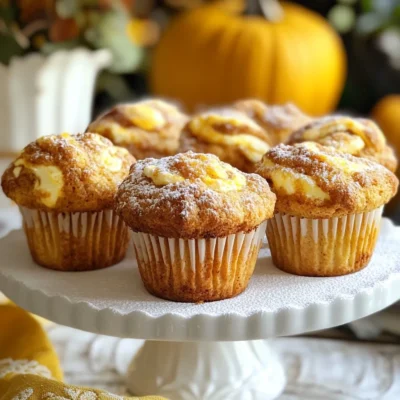
Pumpkin Cream Cheese Muffins That Delight Every Bite
Get ready to indulge in the warm, cozy flavors of fall with my Pumpkin Cream Cheese Muffins! These delightful treats
Read more…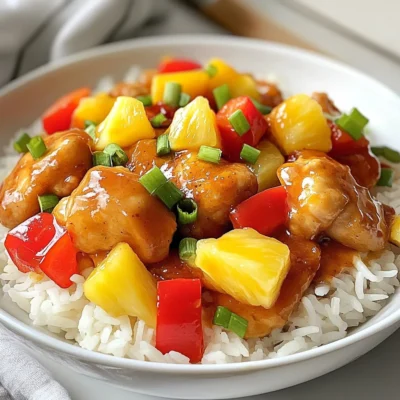
Sweet Hawaiian Chicken Skillet Flavorful Dinner Delight
Are you ready for a tasty, quick meal? The Sweet Hawaiian Chicken Skillet is your new go-to dish! This one-pan
Read more…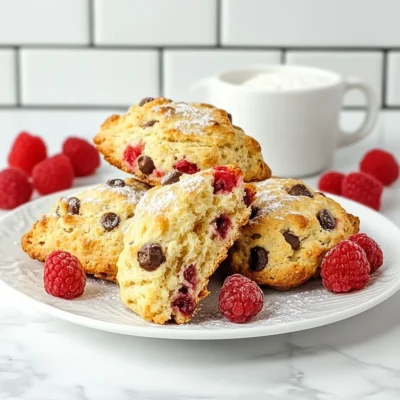
Raspberry Chocolate Chip Scones Tasty and Simple Recipe
Welcome to the world of Raspberry Chocolate Chip Scones! If you crave a treat that’s both sweet and tart, you’re
Read more…
Garlic Butter Squash Noodles Flavorful and Simple Dish
Looking for a quick, tasty dish? You’ll love these Garlic Butter Squash Noodles! This simple recipe gives you smooth, flavorful
Read more…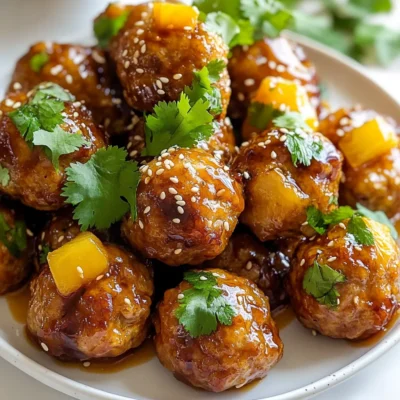
Pineapple Teriyaki Meatballs Flavorful and Easy Recipe
Want to impress your family or guests with a delicious, easy-to-make dish? Pineapple Teriyaki Meatballs are the answer! This fun
Read more…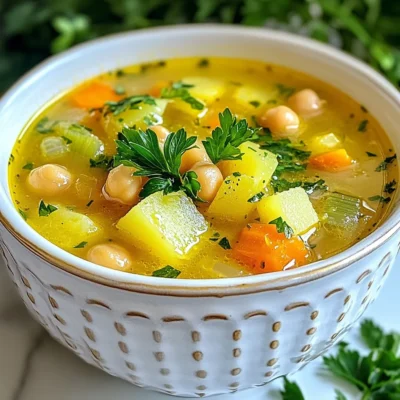
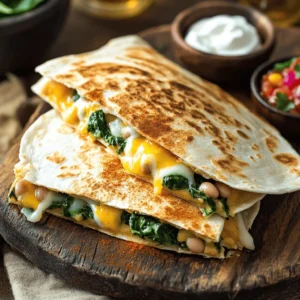
Lemon Garlic Chickpea Soup Flavorful and Healthy Meal
Looking for a tasty and healthy meal? This Lemon Garlic Chickpea Soup is your answer! Packed with flavor and nutrition,
Read more…
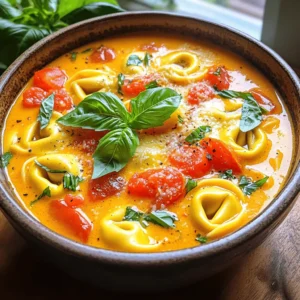
Creamy Tortellini Spinach Soup Flavorful Comfort Dish
Cozy up with a bowl of my creamy tortellini spinach soup, the ultimate comfort dish! Packed with rich flavors from
Read more…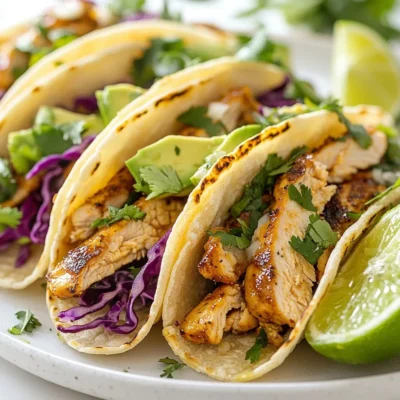
Honey Lime Chicken Tacos Flavorful and Simple Meal
Are you ready to spice up dinner with a tasty and fun meal? Honey Lime Chicken Tacos bring bold flavor
Read more…browse recipes


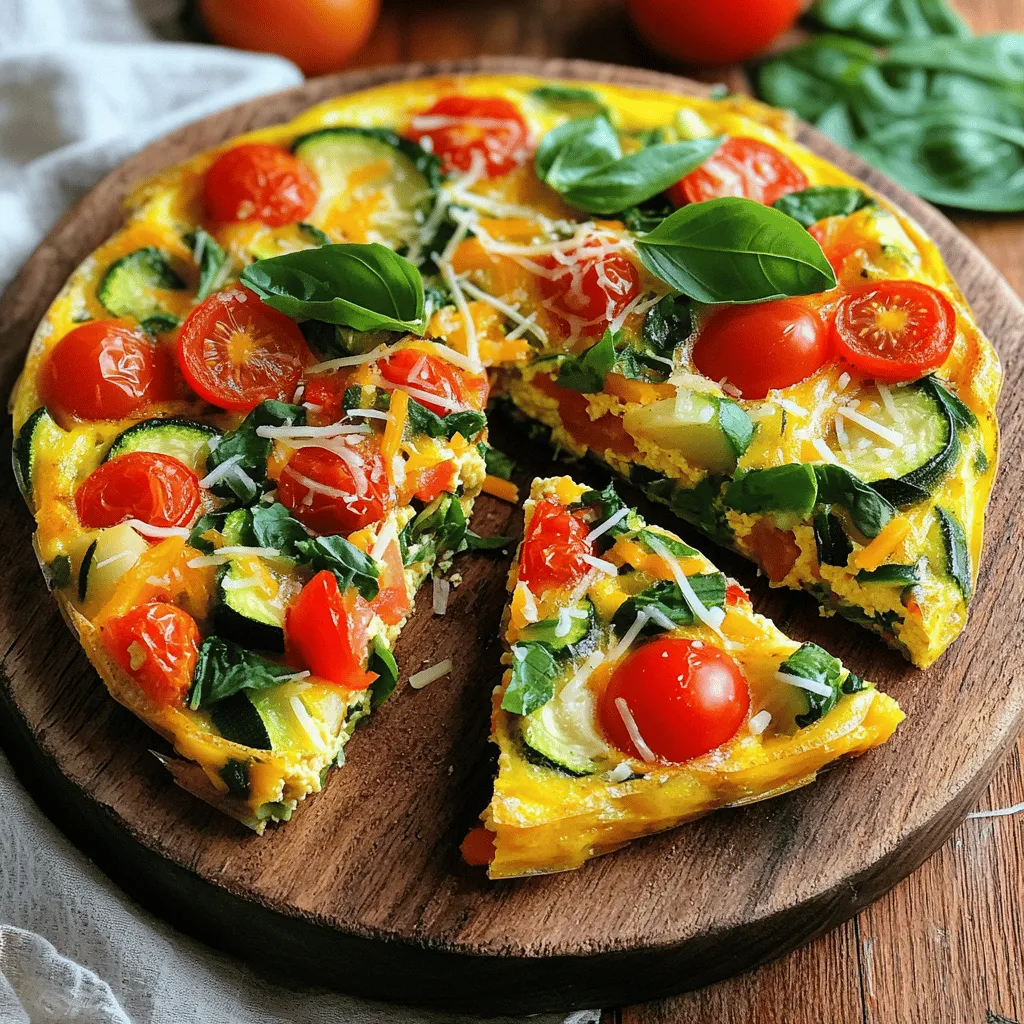
Savory Vegetable Frittata Healthy and Tasty Option
Looking for a healthy and tasty meal? A savory vegetable frittata packs loads of flavor and nutrients into every bite. Whether you’re cooking for…
My Latest Desserts
My Latest Recipes

hey,
i’m !
I’m so happy you’re here!
Cooking is my love language, and I’m excited to share my best dishes with you. Hope they become your favorites too! Let’s enjoy every bite of this journey together.


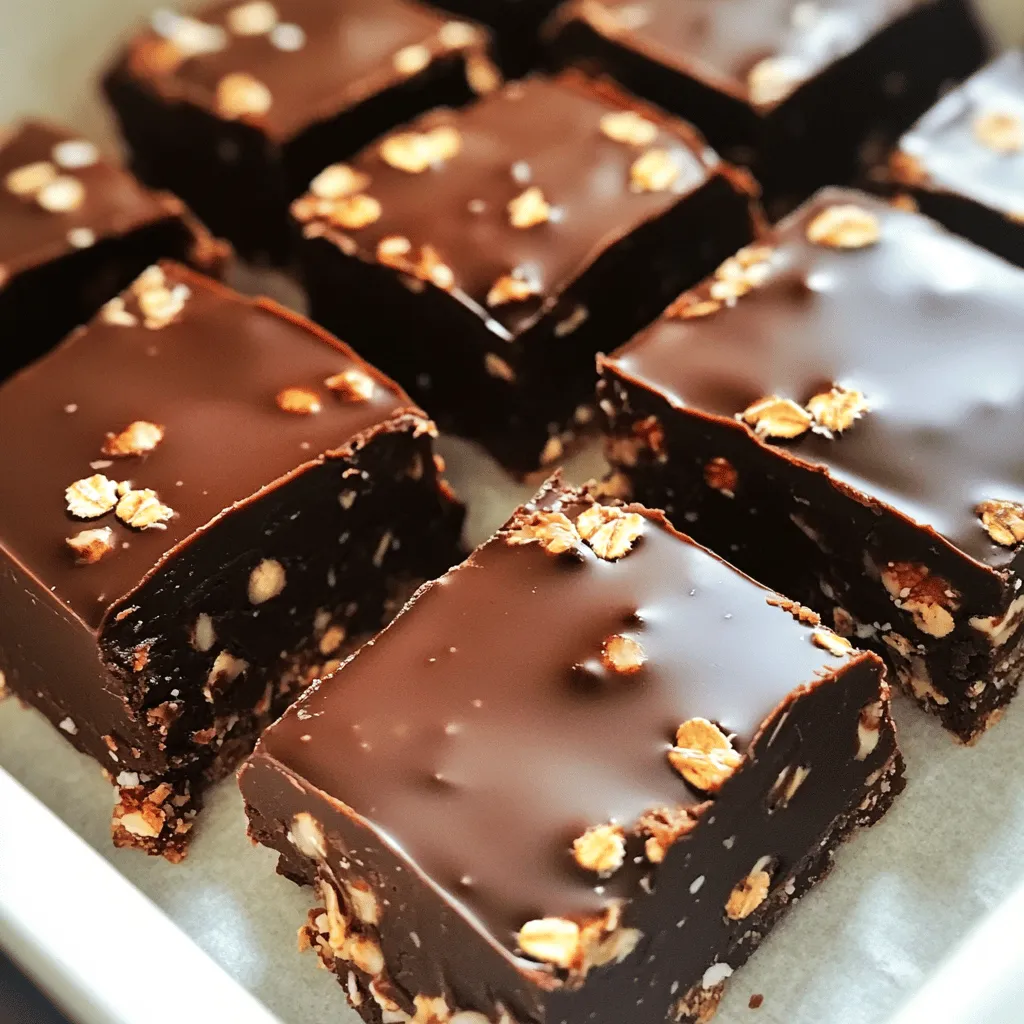
No-Bake Chocolate Oat Bars Easy and Delicious Treat
Are you looking for a sweet treat that’s quick, easy, and requires no baking? You’re in luck! No-bake chocolate oat bars are your answer.…