


Latest & Greatest
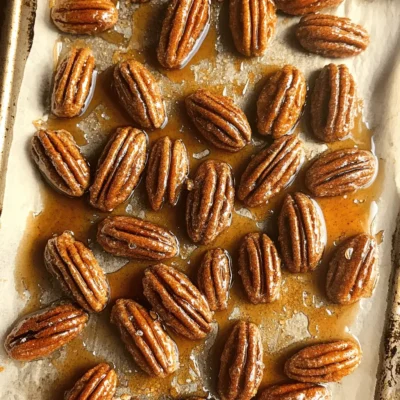
Maple Cinnamon Roasted Pecans Simple and Tasty Treat
Looking for a quick and delicious treat? Maple Cinnamon Roasted Pecans are your answer! This simple recipe packs a sweet
Read more…
Spinach Artichoke Stuffed Bread Irresistible Delight
Are you ready for a tasty treat that’s sure to impress? Spinach Artichoke Stuffed Bread is both delicious and fun
Read more…
No Bake Oreo Cheesecake Delightfully Easy Recipe
Are you ready to indulge in a creamy, chocolatey treat that’s a breeze to whip up? This No Bake Oreo
Read more…
Italian Wedding Soup Flavorful and Hearty Recipe
If you’re ready to warm your heart and soul with a cozy dish, Italian Wedding Soup fits the bill. This
Read more…
Cinnamon Swirl Banana Bread Easy and Delicious Recipe
Do you love the sweet smell of fresh baked bread? If so, you’ll adore my Cinnamon Swirl Banana Bread recipe!
Read more…
Sriracha Honey Chicken Wings Tasty and Easy Recipe
Looking for a finger-licking treat? Sriracha Honey Chicken Wings are your answer! This tasty and easy recipe packs a sweet
Read more…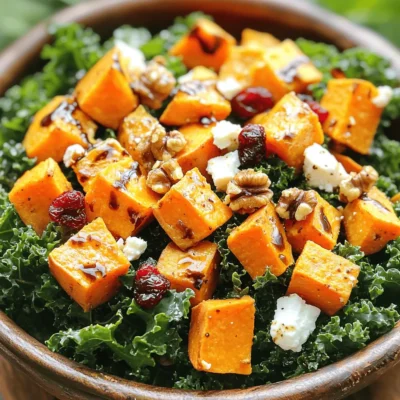
Roasted Sweet Potato Kale Salad Tasty and Healthy Meal
Looking for a tasty and healthy meal? Look no further! This Roasted Sweet Potato Kale Salad packs a flavorful punch
Read more…
Spinach Artichoke Stuffed Chicken Tasty Dinner Recipe
Are you ready to impress dinner guests with a delightful dish? Spinach Artichoke Stuffed Chicken brings creamy goodness and savory
Read more…browse recipes


75. Cauliflower Fried Rice Flavorful and Quick Meal
Looking for a quick and tasty meal? You’ve come to the right place! This cauliflower fried rice recipe is healthy, easy, and packed with…
My Latest Desserts
My Latest Recipes

hey,
i’m !
I’m so happy you’re here!
Cooking is my love language, and I’m excited to share my best dishes with you. Hope they become your favorites too! Let’s enjoy every bite of this journey together.


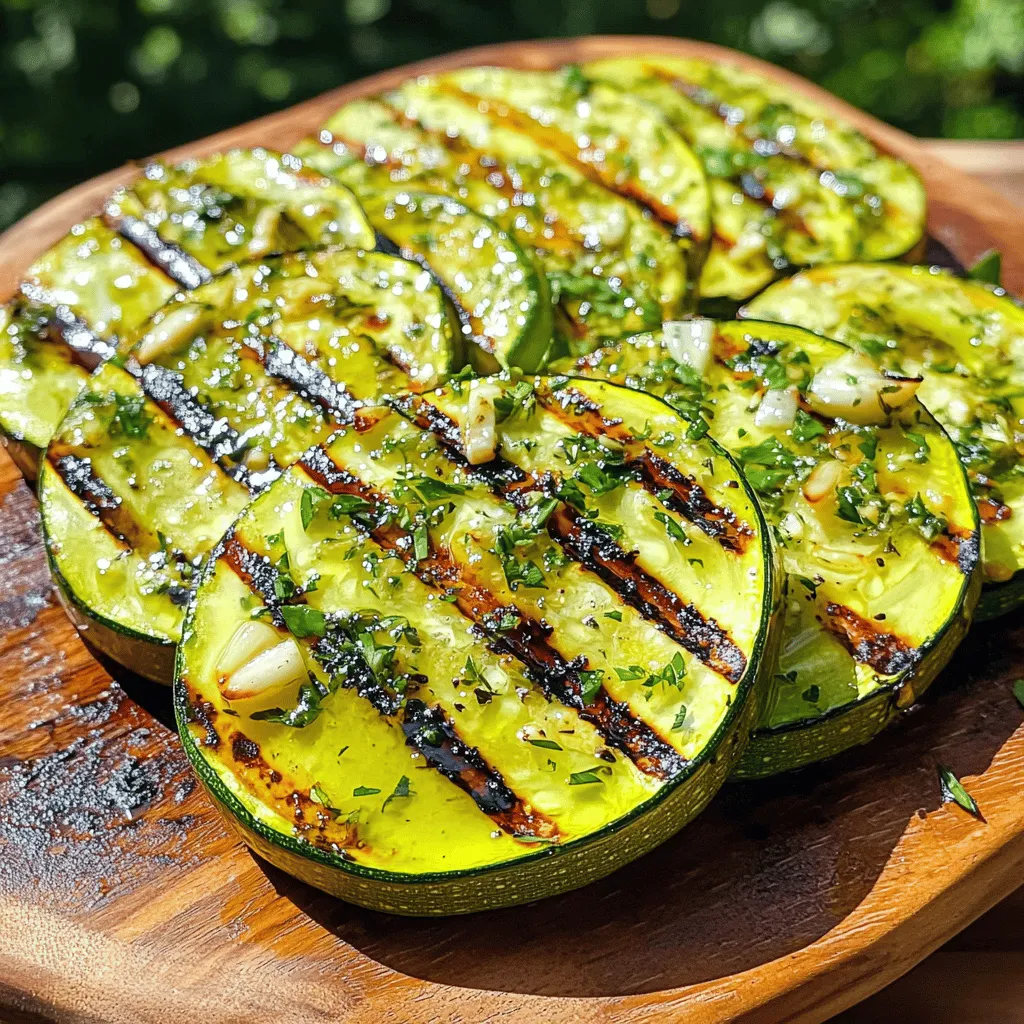
Lemon Herb Grilled Zucchini Fresh and Tasty Recipe
If you’re looking for a fresh and tasty side dish, you’re in the right place! My Lemon Herb Grilled Zucchini recipe is easy to…