
Latest & Greatest

Garlic Herb Chicken Meatballs Simple and Flavorful Meal
Looking for a simple and tasty meal? Garlic Herb Chicken Meatballs are your answer. These meatballs burst with flavor and
Read more…
Teriyaki Chicken Noodle Soup Flavorful and Easy Recipe
If you’re craving a warm, comforting bowl that bursts with flavor, you’re in the right place! My Teriyaki Chicken Noodle
Read more…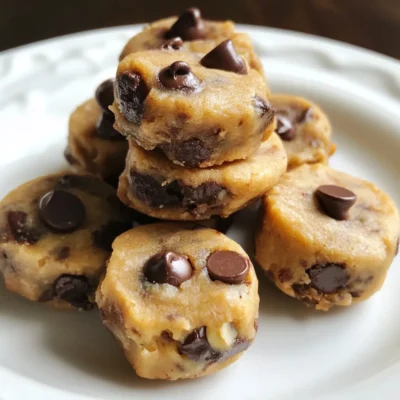
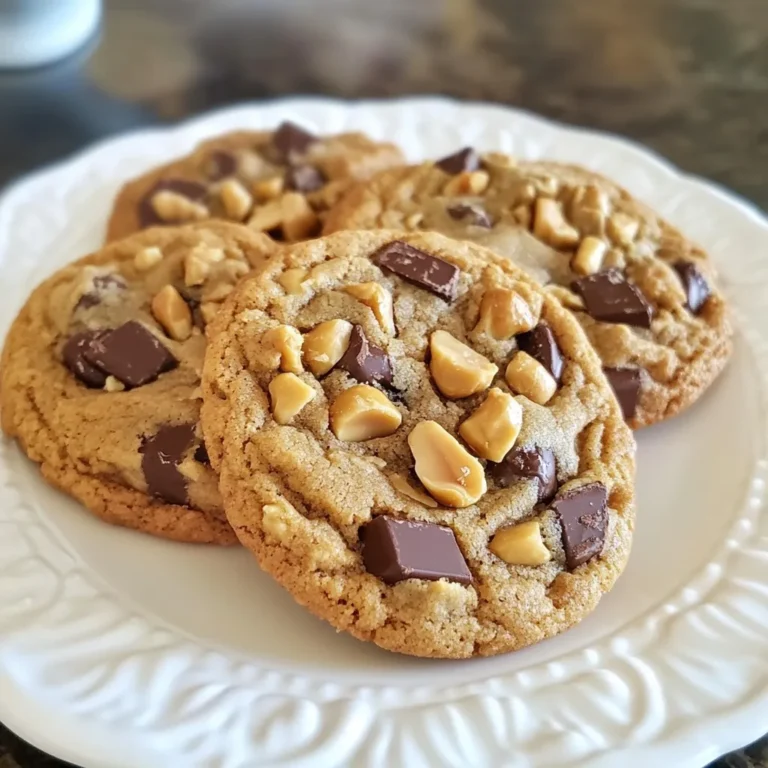
Chocolate Chip Cookie Dough Bites Tasty Sweet Snack
Are you ready to indulge in a sweet treat that satisfies your cravings? Chocolate chip cookie dough bites are the
Read more…
Creamy Tomato Spinach Tortellini Soup Comfort Dish
Imagine diving into a warm bowl of Creamy Tomato Spinach Tortellini Soup, the perfect comfort dish. I’ll show you how
Read more…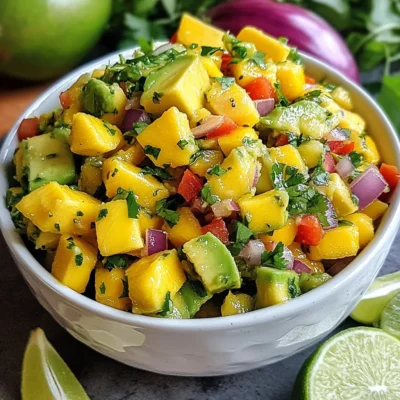
Mango Avocado Salsa Fresh and Flavorful Delight
Get ready to enjoy a fresh and flavorful delight with Mango Avocado Salsa! This vibrant dish combines sweet mango and
Read more…
Creamy Parmesan Mushroom Chicken Easy Dinner Recipe
Are you ready to impress your family with a delicious meal? My Creamy Parmesan Mushroom Chicken is the ultimate easy
Read more…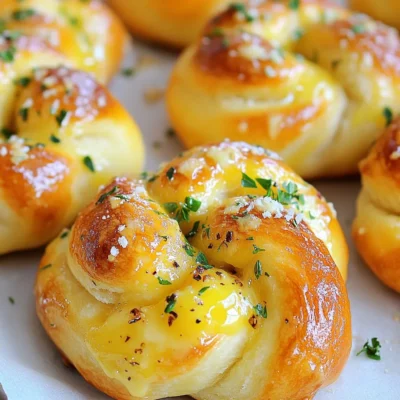
Air Fryer Garlic Knots Simple and Tasty Recipe
If you love easy snacks that taste amazing, you’ll love my Air Fryer Garlic Knots recipe. With simple ingredients like
Read more…
Creamy Garlic Shrimp Linguine Simple and Flavorful Dish
Are you ready to impress your family and friends with a delicious meal that’ll leave them craving more? This Creamy
Read more…browse recipes


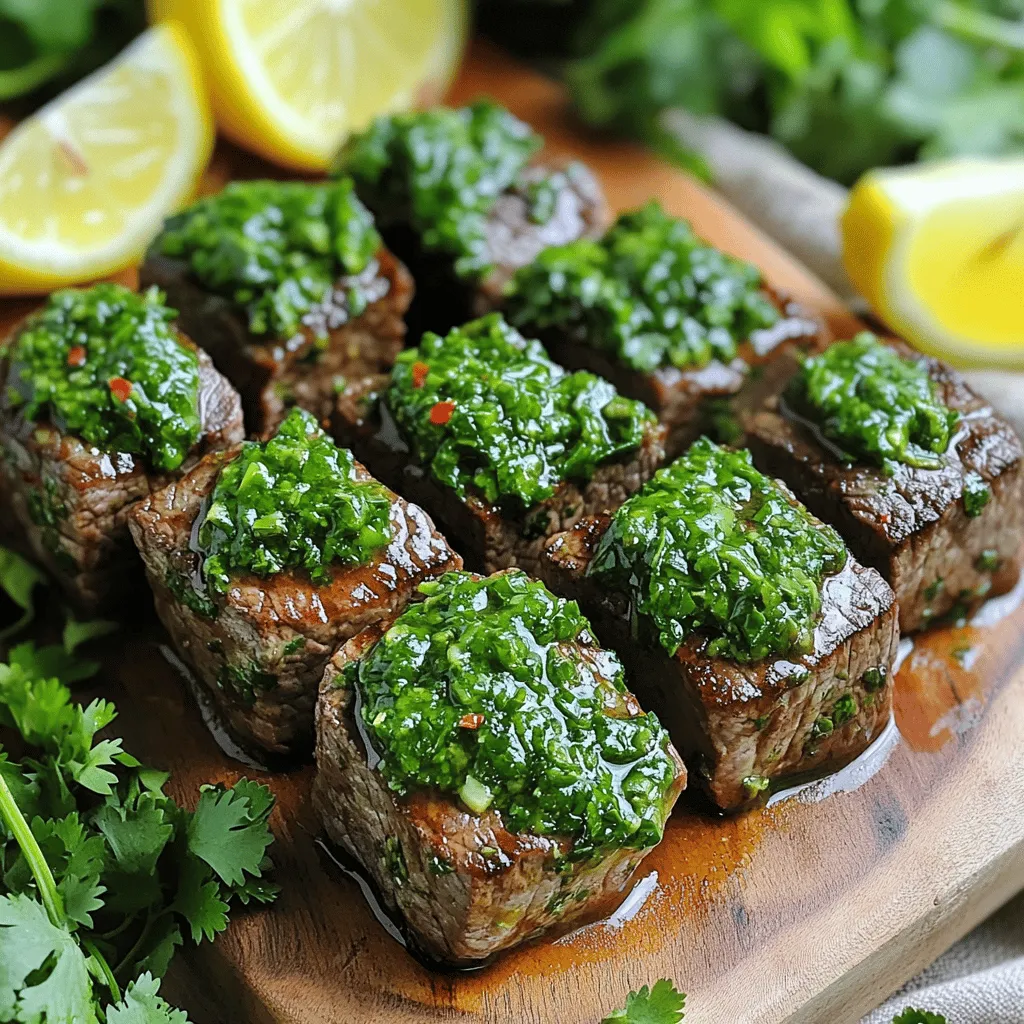
Air Fryer Chimichurri Steak Bites Flavorful Recipe
Are you ready to elevate your dinner game with a sizzle? My Air Fryer Chimichurri Steak Bites are the perfect mix of juicy steak…
My Latest Desserts
My Latest Recipes

hey,
i’m !
I’m so happy you’re here!
Cooking is my love language, and I’m excited to share my best dishes with you. Hope they become your favorites too! Let’s enjoy every bite of this journey together.
![To make these mocha chocolate chip cookies, you need the following ingredients: - 1 cup unsalted butter, softened - 1 cup brown sugar, packed - 1/2 cup granulated sugar - 2 large eggs - 2 teaspoons vanilla extract - 2 1/4 cups all-purpose flour - 1/2 cup cocoa powder - 1 teaspoon baking soda - 1/2 teaspoon salt - 2 tablespoons instant coffee granules - 1 cup semi-sweet chocolate chips - 1/2 cup milk chocolate chips - 1/4 teaspoon espresso powder (optional) These ingredients create a cookie that is rich and full of flavor. The butter gives a nice texture, while the sugars add sweetness. The cocoa powder and coffee granules bring that mocha taste. If you prefer using grams, here are some helpful conversions: - Butter: 227 grams - Brown sugar: 220 grams - Granulated sugar: 100 grams - All-purpose flour: 280 grams - Cocoa powder: 50 grams - Instant coffee granules: 14 grams - Semi-sweet chocolate chips: 175 grams - Milk chocolate chips: 90 grams Using grams can improve accuracy in your baking. This precision helps create the best texture and flavor. You can make some easy swaps if you need to. Here are a few ideas: - Butter: Use coconut oil for a dairy-free option. - Brown sugar: White sugar can work, but it will change the taste. - Eggs: Try unsweetened applesauce or a flax egg for a vegan option. - Cocoa powder: Carob powder can replace cocoa if you want a different flavor. - Chocolate chips: You can use dark chocolate or white chocolate for a twist. These substitutions still keep the cookies tasty. Don’t be afraid to get creative with your ingredients! For the full recipe, check the earlier sections. Making mocha chocolate chip cookies is simple and fun. You will mix, bake, and cool. The process ensures you get soft, chewy cookies every time. Follow these steps closely for the best treat. 1. Mixing: Start by preheating your oven to 350°F (175°C). Line your baking sheet with parchment paper. In a large bowl, cream 1 cup of softened butter, 1 cup of brown sugar, and 1/2 cup of granulated sugar until fluffy. Add 2 large eggs, one at a time. Mix well after each. Stir in 2 teaspoons of vanilla extract. In another bowl, whisk together 2 1/4 cups of all-purpose flour, 1/2 cup of cocoa powder, 1 teaspoon of baking soda, 1/2 teaspoon of salt, and 2 tablespoons of instant coffee granules. If you want, add 1/4 teaspoon of espresso powder. Gradually mix the dry ingredients into the wet ingredients. Fold in 1 cup of semi-sweet chocolate chips and 1/2 cup of milk chocolate chips. 2. Baking: Scoop tablespoon-sized balls of dough onto your prepared baking sheet. Space them about 2 inches apart. Bake for 10-12 minutes. The edges should be set, and the centers should look soft. 3. Cooling: Once baked, remove the cookies from the oven. Let them cool on the baking sheet for about 5 minutes. After that, transfer them to a wire rack to cool completely. - Mixing: Ensure your butter is soft. This helps create a light texture. Avoid overmixing the dough. This keeps cookies soft. - Baking: Keep an eye on the cookies. Ovens can vary, so check them a minute early if needed. - Cooling: Wait the full 5 minutes before moving cookies. This helps them set without breaking. These steps will help you create the perfect mocha chocolate chip cookies. For more detailed instructions, refer to the Full Recipe. To get the best cookies, start with room-temperature butter. This helps mix the butter and sugars better. Cream them until light and fluffy. This step adds air, making your cookies soft. Use fresh ingredients, especially the instant coffee. Fresh coffee gives a stronger taste. Don't overmix the dough. Mix until just combined for a tender cookie. Many people forget to measure ingredients correctly. Use proper measuring cups for dry and wet ingredients. Too much flour will make cookies dry. Another mistake is baking at the wrong temperature. Always preheat your oven. Check your cookies early. They should look set but soft in the middle when done. If you have leftover chocolate chips, toss them into pancakes or oatmeal. You can also add extra cocoa powder to smoothies for a chocolate boost. Any remaining coffee granules can enhance your morning brew. Don’t waste any ingredients; they can add flavor to other dishes! Check the Full Recipe for more ideas and fun ways to enjoy these cookies. {{image_2}} You can play with flavors in your mocha chocolate chip cookies! Try adding nuts for a crunchy bite. Chopped walnuts or pecans work great. You can also mix in spices. A pinch of cinnamon or nutmeg can add warmth. For a little heat, add a dash of cayenne pepper. Each twist creates a new cookie experience. Want to make gluten-free cookies? Swap all-purpose flour for a gluten-free blend. Check that the blend includes xanthan gum for the best texture. For a vegan version, use plant-based butter and flax eggs. Mix 1 tablespoon of ground flaxseed with 2.5 tablespoons of water. Let it sit until it turns gel-like, then add it to your dough. These simple swaps let everyone enjoy your cookies! You can change your cookies with the seasons. For winter, add peppermint extract or crushed candy canes. This gives a festive touch for the holidays. In the fall, try adding pumpkin spice or even a bit of maple syrup. These flavors keep your mocha chocolate chip cookies exciting all year round. For the full recipe, check out [Full Recipe]. To keep your mocha chocolate chip cookies fresh, store them in an airtight container. This helps keep them soft and chewy. Place parchment paper between layers if stacking cookies. Avoid direct sunlight and heat, as they can dry out your treats. You can freeze these cookies for up to three months. First, let them cool completely. Then, wrap each cookie tightly in plastic wrap or foil. Place the wrapped cookies in a freezer bag. When ready to enjoy, just thaw them at room temperature. To reheat cookies for a fresh taste, preheat your oven to 300°F (150°C). Place cookies on a baking sheet and heat for about five minutes. This warms them up without making them hard. You can also microwave for about ten seconds for a quick fix. To keep your cookies soft, store them in an airtight container. You can also add a slice of bread to the container. The bread will keep the cookies moist. If you want to enjoy warm cookies, reheat them briefly in the microwave. Just 10 seconds will do! Yes, you can use dark chocolate instead of semi-sweet. Dark chocolate adds a richer flavor. It can make the cookies taste more intense. Just make sure to adjust the sweetness if you prefer. Dark chocolate has less sugar than semi-sweet. You can make the dough ahead of time and chill it. Wrap the dough in plastic wrap and refrigerate for up to 3 days. When you're ready, scoop and bake the cookies straight from the fridge. You can also freeze the dough for up to 3 months. Just thaw it in the fridge before baking. Yes, mocha chocolate chip cookies are safe to eat if slightly underbaked. They will firm up as they cool. However, make sure they are not raw in the center. If you're unsure, bake them a little longer to be safe. Mocha chocolate chip cookies pair well with coffee or milk. A scoop of vanilla ice cream can also be a great treat. For a fun twist, try them with a glass of cold brew coffee. The flavors blend perfectly, making every bite delicious. You learned how to make delicious mocha chocolate chip cookies. We covered ingredients, step-by-step instructions, and tips to avoid mistakes. Variations let you customize the flavor to your taste. Storing and reheating options keep your cookies fresh and soft. You can bake these cookies with confidence now. Enjoy your treats, share them, and impress your friends with your skills! Happy baking!](https://recipespursuit.com/wp-content/uploads/2025/05/c76ea64e-2179-4a3a-b38b-7edc46d3c150-300x300.webp)


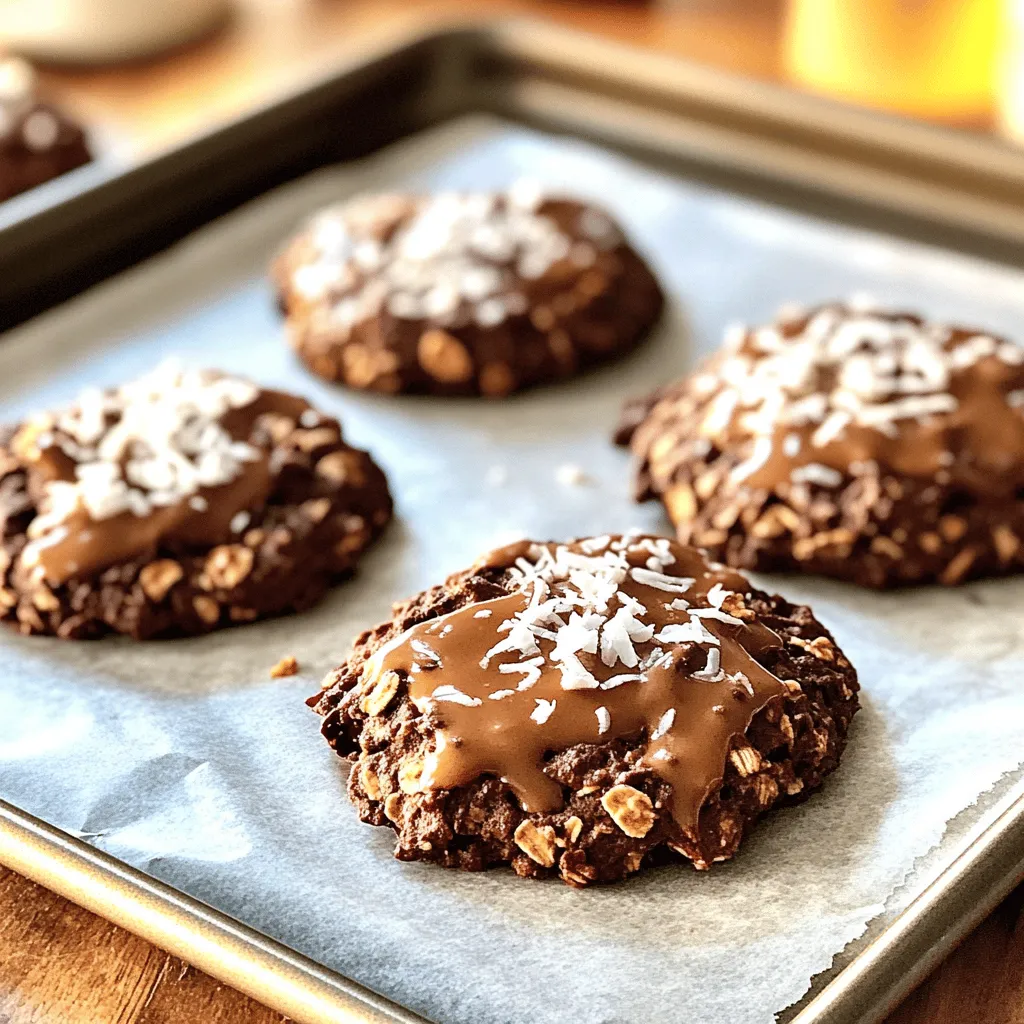
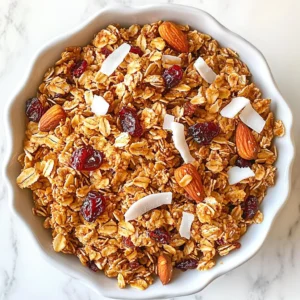
No-Bake Chocolate Oatmeal Cookies Simple Delight
Looking for a sweet treat that’s easy to make? No-Bake Chocolate Oatmeal Cookies are the perfect solution! With just a few simple ingredients, you’ll…