
Latest & Greatest

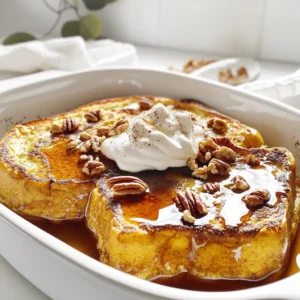
Pumpkin Cheesecake Swirl Muffins Delightful and Easy
Get ready to indulge in a fall favorite that’s both delightful and easy! These Pumpkin Cheesecake Swirl Muffins bring together
Read more…
No Bake Chocolate Mint Cheesecake Bars Delightful Treat
Are you ready to whip up a dessert that’s both easy and delicious? These No Bake Chocolate Mint Cheesecake Bars
Read more…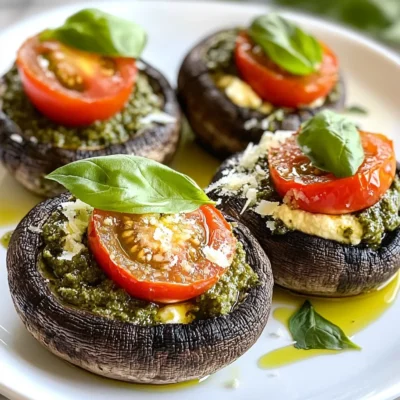
Pesto Ricotta Stuffed Portobello Mushrooms Delight
Are you ready to savor a dish that’s simple yet bursting with flavor? My Pesto Ricotta Stuffed Portobello Mushrooms are
Read more…
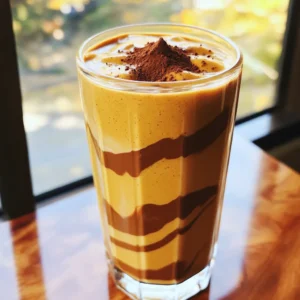
Salted Caramel Hot Chocolate Irresistible Delight
Are you ready to dive into a warm treat that’ll thrill your taste buds? Salted Caramel Hot Chocolate is a
Read more…
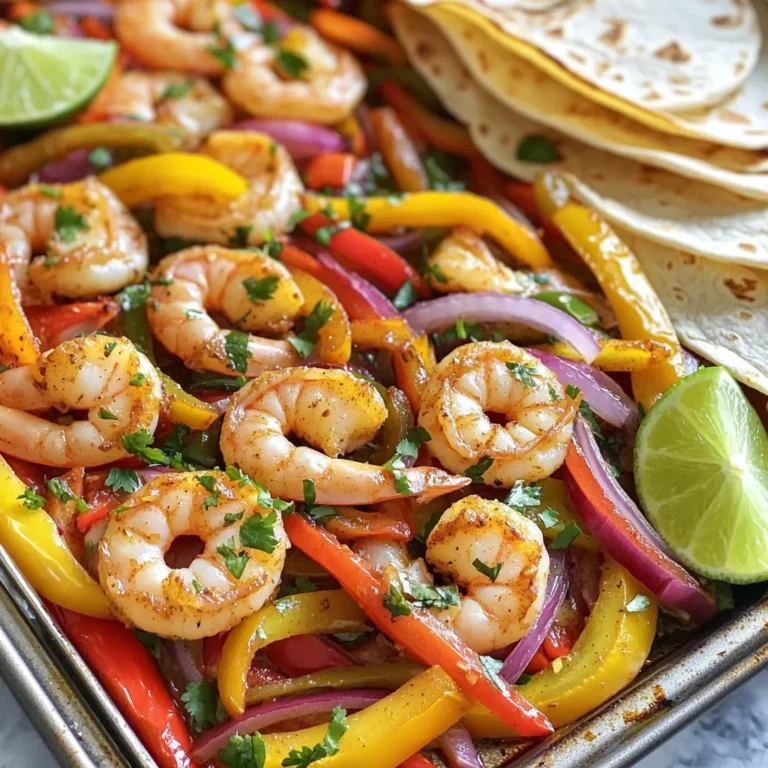
Lemon Garlic Butter Scallops Quick and Tasty Recipe
If you crave a quick and easy dinner, look no further! This Lemon Garlic Butter Scallops recipe is your answer.
Read more…
Pumpkin Cheesecake Swirl Brownies Delightful Treat
Get ready for a treat that combines two favorites: pumpkin and chocolate! These Pumpkin Cheesecake Swirl Brownies are rich, fudgy,
Read more…
Air Fryer Honey Garlic Chicken Bites Flavor Boost
Are you ready to take your meals to the next level? I’ve got a tasty treat for you: Air Fryer
Read more…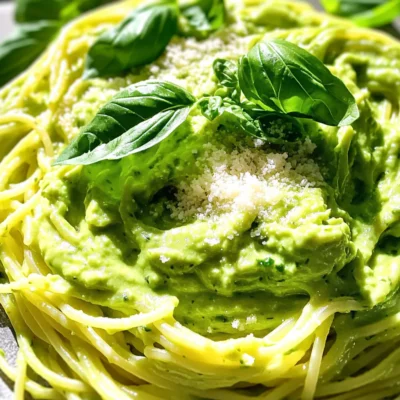
Creamy Avocado Pasta Simple and Flavorful Dish
If you love quick meals bursting with flavor, you’ll adore creamy avocado pasta. This simple dish combines rich avocados with
Read more…browse recipes


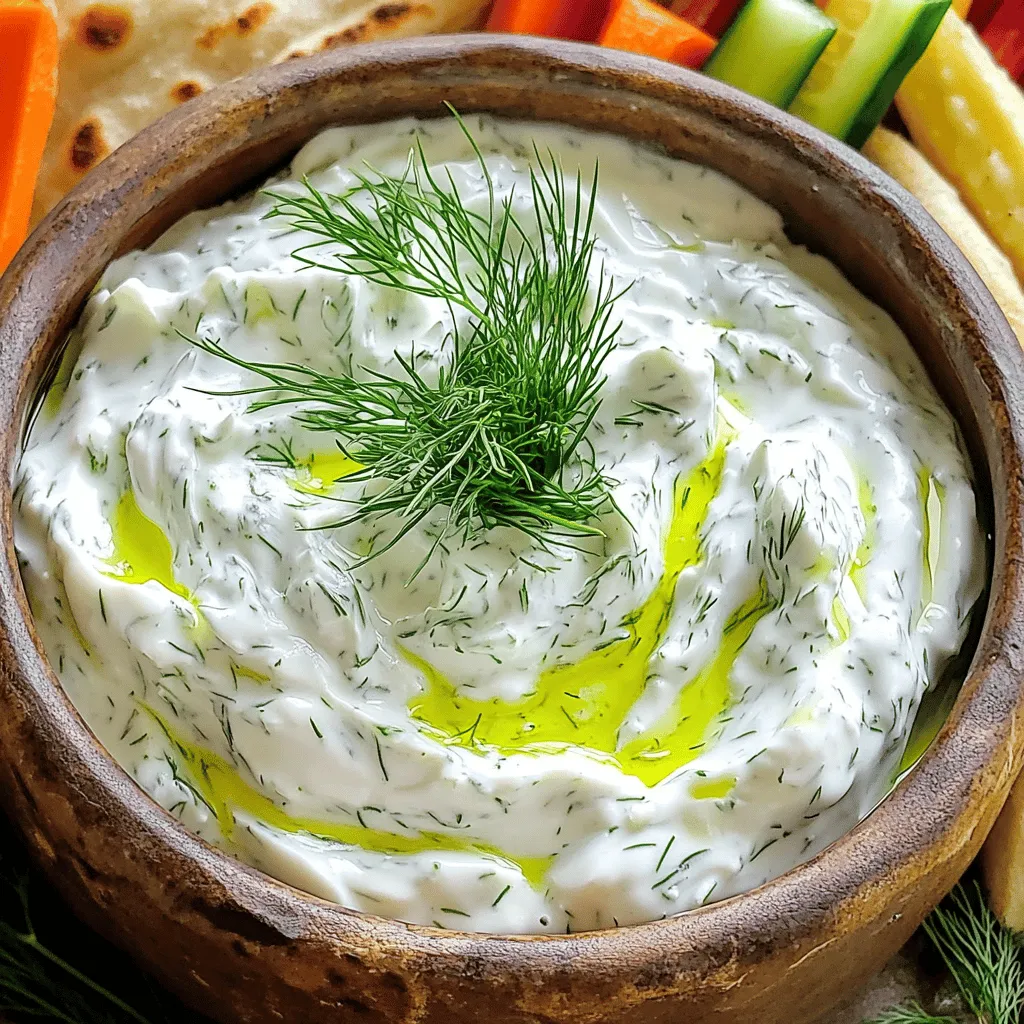
Classic Tzatziki Sauce Fresh and Flavorful Recipe
If you’re craving a fresh and flavorful dip, look no further than classic tzatziki sauce. This simple recipe combines creamy Greek yogurt with cool…
My Latest Desserts
My Latest Recipes

hey,
i’m !
I’m so happy you’re here!
Cooking is my love language, and I’m excited to share my best dishes with you. Hope they become your favorites too! Let’s enjoy every bite of this journey together.


Crispy Coconut Chicken Tenders Perfect for Dinner
If you’re searching for a dinner recipe that’s both easy and delicious, look no further! Crispy Coconut Chicken Tenders are a fun twist on…