Latest & Greatest
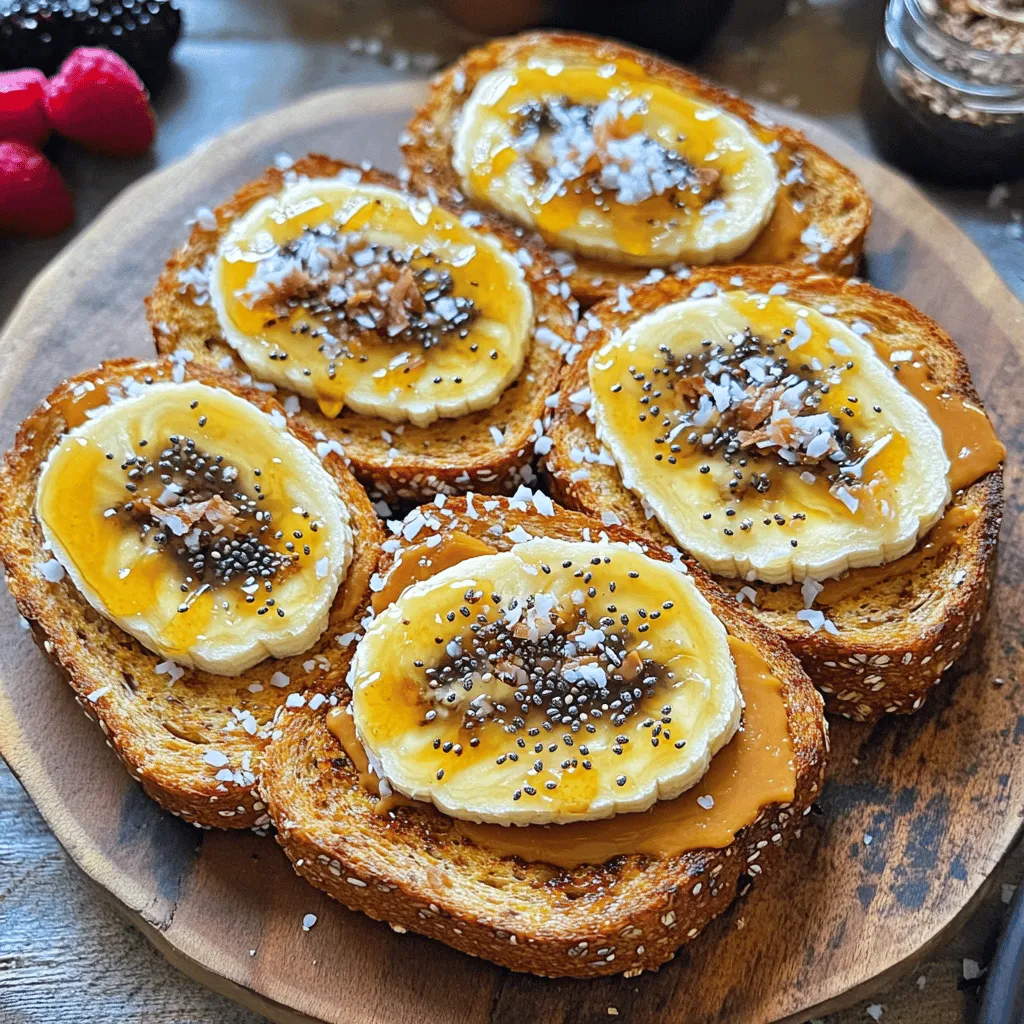
Peanut Butter Toast Deliciously Simple Breakfast Snack
Looking for a quick and tasty breakfast? Peanut butter toast is a winner! This simple snack combines wholesome ingredients and
Read more…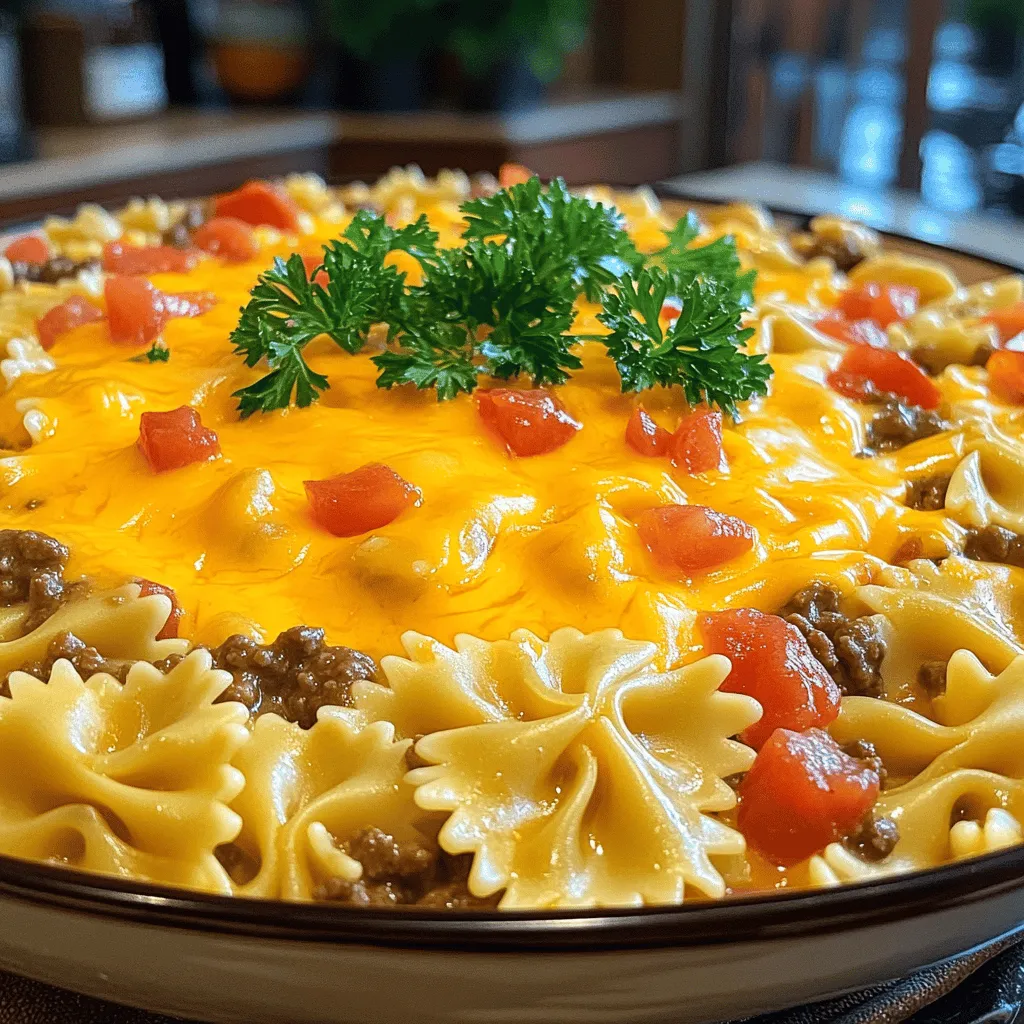
Cheesy Beef and Bowtie Pasta Creamy Dinner Delight
Are you ready to make a dinner that will leave everyone asking for seconds? My Cheesy Beef and Bowtie Pasta
Read more…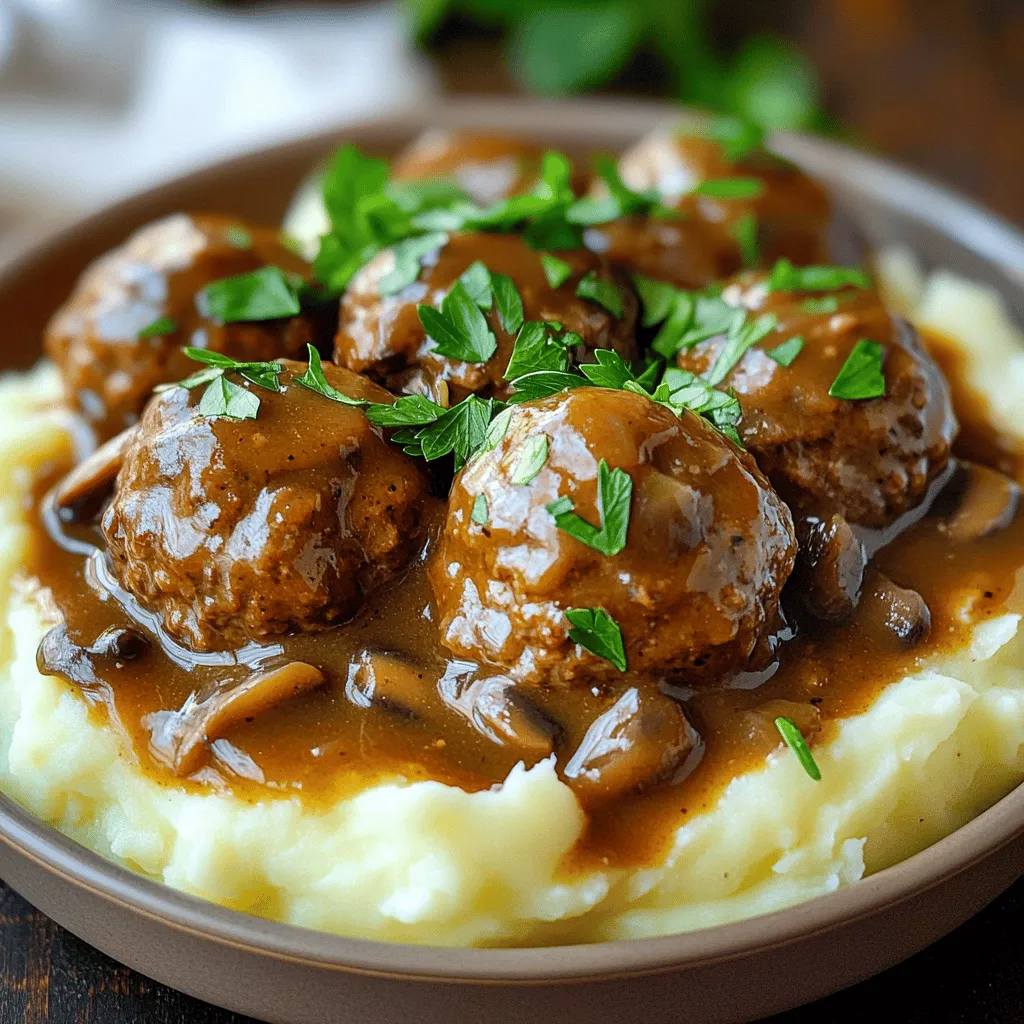
Savory Slow Cooker Salisbury Steak Meatballs Recipe
Get ready to enjoy my Savory Slow Cooker Salisbury Steak Meatballs! This recipe combines juicy ground beef and pork for
Read more…
Crockpot Angel Chicken Flavorful Comfort Meal
If you crave a warm, comforting meal that practically cooks itself, you need to try Crockpot Angel Chicken. This tasty
Read more…
Vegetable Quiche Savory and Satisfying Dish
Looking for a dish that’s both savory and satisfying? You’ve come to the right place! My Vegetable Quiche recipe is
Read more…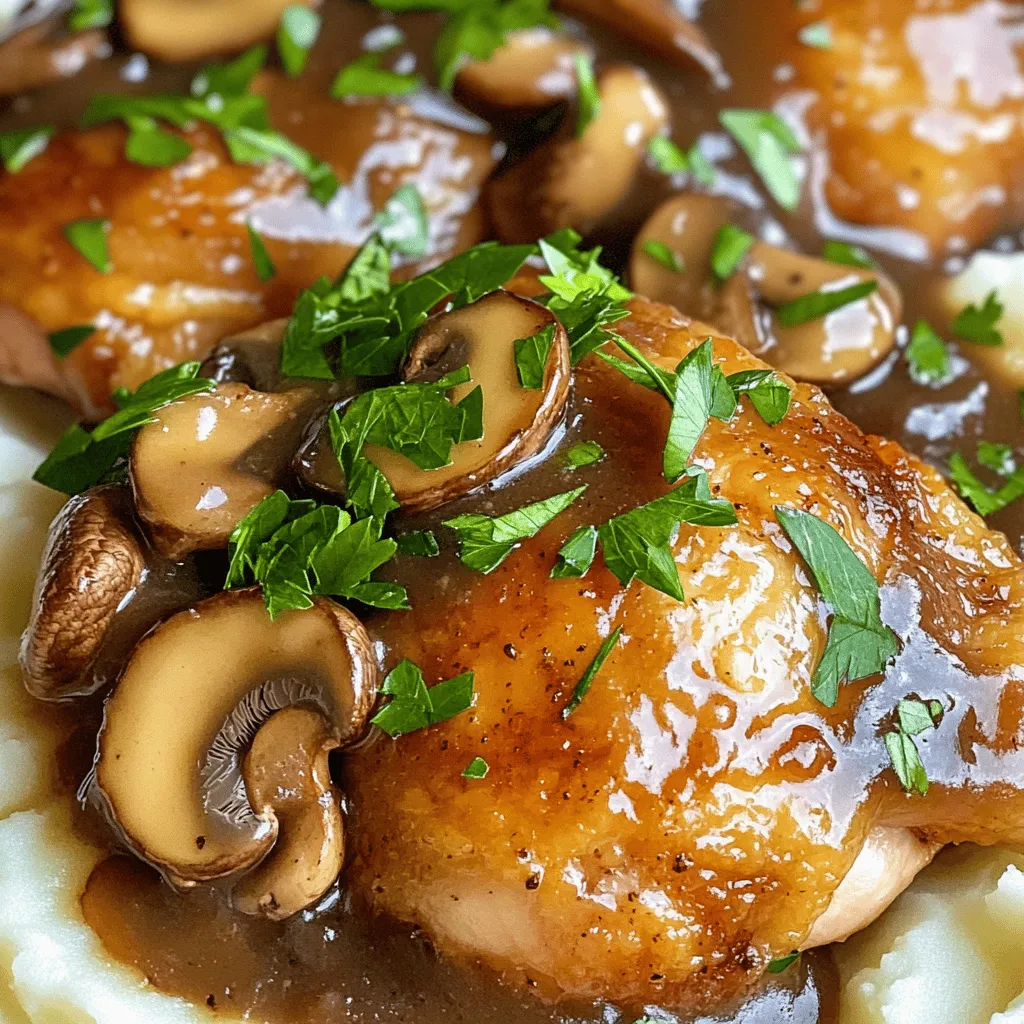
Mushroom Chicken Recipe Simple and Flavorful Meal
Are you ready to make a delicious Mushroom Chicken dish? This simple and flavorful meal comes together quickly, making it
Read more…
Crockpot Mexican Chicken Flavorful and Easy Dish
Are you ready to spice up your dinner routine? This Crockpot Mexican Chicken is a flavorful and easy dish that
Read more…
Spring Hash Brown Crust Quiche Fresh and Flavorful Recipe
Spring is here, and it’s the perfect time for a fresh and flavorful dish! Today, I’ll share my Spring Hash
Read more…browse recipes


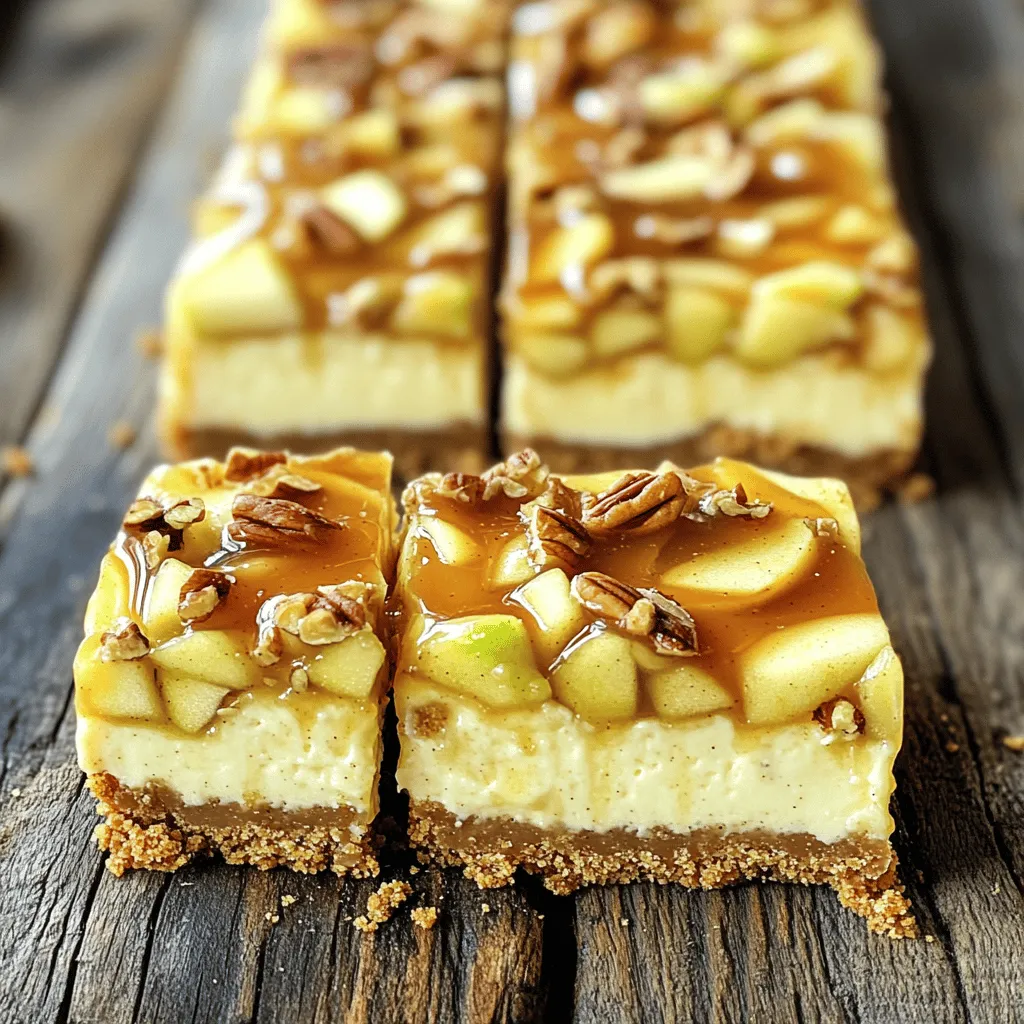
Caramel Apple Cheesecake Bars Delectable Fall Treat
Fall is here, and it’s time to indulge in sweet treats like my Caramel Apple Cheesecake Bars. Imagine creamy cheesecake layered with apple goodness,…
My Latest Desserts
My Latest Recipes

hey,
i’m !
I’m so happy you’re here!
Cooking is my love language, and I’m excited to share my best dishes with you. Hope they become your favorites too! Let’s enjoy every bite of this journey together.


![To make a delicious Raspberry Almond Milkshake, gather these simple ingredients: - 1 ½ cups fresh or frozen raspberries - 1 cup almond milk - ½ cup vanilla ice cream (or dairy-free alternative) - 1 tablespoon almond butter - 1 tablespoon honey or maple syrup - ½ teaspoon pure vanilla extract - ½ cup crushed ice (if using fresh raspberries) - Whipped cream (optional) - Sliced almonds (for garnish) These ingredients come together to create a creamy and fruity treat. Fresh raspberries give a bright flavor. Almond milk offers a nutty base, while vanilla ice cream adds richness. Almond butter deepens the taste and gives extra creaminess. You can adjust the sweetness with honey or maple syrup. This way, it fits your taste just right. The crushed ice works well if you choose fresh raspberries, making your shake extra cold and refreshing. Using sliced almonds as a garnish adds a nice crunch. You can also top your shake with whipped cream for a fun touch. This Raspberry Almond Milkshake is not just tasty; it looks great too! For the full recipe, check out the details. - Step 1: Prepare Raspberries If you use fresh raspberries, rinse them well under cool water. If you use frozen raspberries, there’s no need to thaw them. Just measure 1 ½ cups for the blender. - Step 2: Combine Ingredients in Blender Place the prepared raspberries in the blender. Next, add 1 cup of almond milk, ½ cup of vanilla ice cream, and 1 tablespoon of almond butter. Also, add 1 tablespoon of honey or maple syrup and ½ teaspoon of pure vanilla extract. If using fresh raspberries, add ½ cup of crushed ice. - Step 3: Blend Until Smooth Blend all the ingredients on high speed. Stop to scrape down the sides if needed. Keep blending until the mixture is creamy and frothy. - Step 4: Adjust Sweetness Taste the milkshake. If you want it sweeter, add more honey or maple syrup. Blend again briefly to mix any extra sweetness in. - Step 5: Serve in Glasses Pour the milkshake into chilled glasses. This keeps it cool and refreshing. - Step 6: Add Toppings For a special touch, add whipped cream on top if you like. Sprinkle some sliced almonds for crunch and a nice look. Follow these steps for a creamy and delightful Raspberry Almond Milkshake. For the complete recipe, check out [Full Recipe]. To make a great raspberry almond milkshake, I have some helpful tips. - Use frozen raspberries for a thicker texture: Frozen raspberries give your milkshake a nice, thick feel. They blend well and chill your drink without needing extra ice. - Chill your glasses for a frosty experience: Before you pour your milkshake, chill your glasses in the freezer. This keeps your milkshake colder for longer. - Adjust sweetness based on personal preference: Taste your milkshake as you make it. If it needs more sweetness, add honey or maple syrup. Blend again to mix it well. These tips ensure you create the perfect raspberry almond milkshake every time. For a full recipe, check the details above. Enjoy your treat! {{image_2}} You can change the Raspberry Almond Milkshake in fun ways. Here are some ideas to try: - Chocolate Raspberry Almond Milkshake: Add two tablespoons of cocoa powder or a few chocolate chips. Blend it in with the other ingredients. This will give your shake a rich chocolate flavor. The sweet raspberries mix well with chocolate for a treat everyone loves. - Banana Almond Milkshake with Raspberries: Toss in one ripe banana. It adds creaminess and a nice sweetness. Blend it with the raspberries. This version boosts potassium and makes your shake even more filling. - Vegan Almond Milkshake Alternatives: Use a dairy-free ice cream. Coconut or cashew ice cream works great. You can also skip the ice cream. Just blend the raspberries, almond milk, and almond butter for a lighter version. This keeps it creamy and delicious while being vegan. Experiment with these options to find your favorite twist! Check out the Full Recipe for more tips and steps. If you have leftover raspberry almond milkshake, you can store it easily. - Best practices for refrigerating: Pour the milkshake into an airtight container. Make sure to seal it well. Store it in the fridge for up to two days. The milkshake tastes best when fresh. - How to freeze for later use: You can freeze the milkshake, but it may change. Pour it into a freezer-safe container and leave some space for expansion. It will stay fresh for up to a month. When ready to enjoy, let it thaw in the fridge. - Consistency changes when stored: After freezing, the texture may become a bit grainy. Blend it again after thawing to make it smooth and creamy. You might need to add a splash of almond milk to restore the right consistency. For the full recipe, check the section above to recreate this delicious treat! What can I substitute for almond milk? You can use any plant milk. Options include soy, oat, or coconut milk. Each adds a unique flavor. Choose one that you like best! Can I make this milkshake without ice cream? Yes! If you skip the ice cream, add more almond milk. You can also use frozen bananas for creaminess. This keeps your shake thick and smooth. How long will the milkshake last in the fridge? The milkshake stays good for about 1 day. It may separate, so stir before drinking. For the best taste, drink it fresh. Is this recipe suitable for vegans? Yes, this milkshake is vegan. Just use dairy-free ice cream and maple syrup. You can enjoy it without any animal products. How to make it less sweet? To reduce sweetness, cut back on honey or syrup. You can also leave out the almond butter. This way, you keep the flavor without too much sugar. For the complete recipe, check out the Full Recipe section! This blog post covered a simple raspberry almond milkshake recipe. You learned about the key ingredients, step-by-step instructions, and helpful tips. I also shared fun variations and storage tips for leftovers. Making your milkshake tasty and unique is easy. You can try different flavors or adjust the sweetness. Enjoy your delicious creation and share it with friends!](https://recipespursuit.com/wp-content/uploads/2025/06/49fa1b8d-d129-415e-bcb4-8bf9d6e7b913-300x300.webp)
Mouthwatering Teriyaki Chicken Tasty Quick Recipe
Are you craving a dish that’s quick, tasty, and packed with flavor? Look no further than this Mouthwatering Teriyaki Chicken recipe! With juicy chicken…
. Enjoy cooking! - Combine soy sauce, honey, rice vinegar, sesame oil, minced garlic, and ginger. - Whisk until well blended. Creating a great teriyaki marinade is key. The blend of soy sauce and honey gives that sweet and salty taste. Rice vinegar adds a nice tang. Sesame oil brings in a nutty flavor. Garlic and ginger add depth and warmth. - Place chicken thighs in a resealable bag or dish. - Pour marinade over the chicken and refrigerate for 30 minutes. Marinating is vital. It lets the chicken soak up those tasty flavors. Using a resealable bag makes it easy to coat every piece. If you can, flip the bag halfway through for even flavor. - Preheat grill or grill pan and discard leftover marinade. - Grill chicken thighs until internal temperature reaches 165°F (75°C). Grilling gives a nice char and smoky taste. Make sure your grill is hot before adding the chicken. This helps get those beautiful grill marks. I usually cook for about 6-7 minutes on each side. - Let chicken rest, slice into strips, and serve over rice. - Add garnishes of sesame seeds and green onions. Resting the chicken is important. It keeps the juices inside, making each bite juicy. Slicing it into strips makes it easy to serve. Lay it over fluffy white rice, then sprinkle sesame seeds and green onions for a fresh look. For the full recipe, check the section above. - To achieve perfect grill marks, ensure the grill is preheated properly. - Let chicken rest after cooking to retain juices. - Consider adding mushrooms or bell peppers to the marinade for extra flavor. - Use low-sodium soy sauce for a healthier option. - Arrange the rice on a platter with sliced chicken on top. - Use a colorful side of steamed vegetables for an attractive presentation. {{image_2}} You can switch up the main protein in teriyaki chicken. - Use chicken breast instead of thighs for a leaner option. - Substitute with tofu for a vegetarian version. Tofu absorbs the marinade well, giving it great flavor. You can cook teriyaki chicken in various ways. - Bake in the oven at 375°F (190°C) for 25-30 minutes. This method keeps the chicken juicy. - Stir-fry chicken pieces in a skillet for a quick, easy meal. Just cook until they are golden brown and cooked through. Feel free to get creative with flavors. - Experiment with pineapple juice for a tropical twist. This adds sweetness and acidity. - Add sriracha for a spicy version of teriyaki chicken. It gives a nice kick that balances the sweetness. These variations ensure that everyone can enjoy teriyaki chicken in their own favorite way. You can find the full recipe to get started on this delicious dish. Keep any leftover chicken and rice in an airtight container. This helps keep the food fresh. Store in the refrigerator for up to 3 days. If you wait too long, it may spoil. You can freeze marinated chicken before cooking. This makes for quick meal prep later. Cooked chicken can also be frozen for up to 2 months. Just make sure to seal it well. To reheat, use a microwave or the stovetop. Add a splash of water to keep it moist. This way, your teriyaki chicken stays delicious and tender. Enjoy your meal! To make teriyaki chicken less salty, you should use low-sodium soy sauce. You can also reduce the amount of soy sauce in the recipe. This way, you keep the flavor but cut down on the saltiness. Yes, you can cook teriyaki chicken in an air fryer. Set it to 375°F (190°C) and cook for about 15-20 minutes. Flip the chicken halfway through for even cooking. Serve teriyaki chicken over rice. Add steamed vegetables on the side. For an extra touch, garnish with sesame seeds and chopped green onions. This adds color and flavor to your meal. To check if the teriyaki chicken is cooked, use a meat thermometer. The internal temperature should reach 165°F (75°C). This ensures it is safe to eat and juicy. This blog post covered how to make teriyaki chicken that is both tasty and easy. We discussed the main ingredients, cooking steps, and helpful tips to enhance flavor. You can customize your dish with different proteins or cooking methods. Remember to store any leftovers properly for future meals. Teriyaki chicken can be simple, versatile, and enjoyable for any occasion. Now you’re ready to cook and impress your friends and family with this delicious dish!](https://recipespursuit.com/wp-content/uploads/2025/05/fab40ec2-7461-42af-860b-045b61ea2976.webp)
