Latest & Greatest
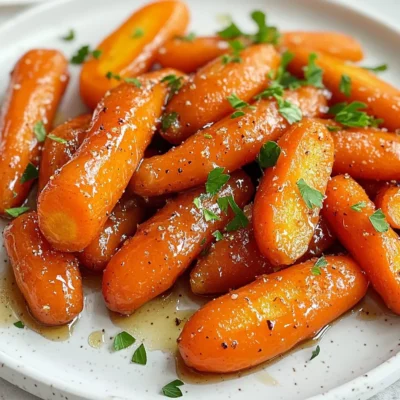
Brown Sugar Maple Roasted Carrots Irresistible Delight
Are you ready to elevate your side dish game? Brown Sugar Maple Roasted Carrots are a sweet and savory delight
Read more…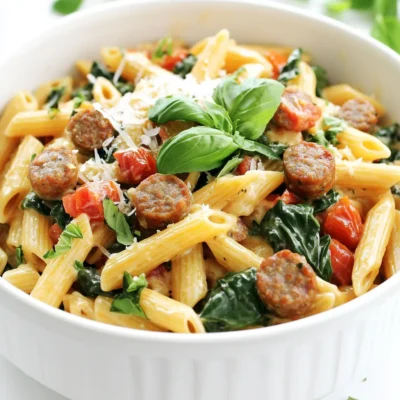
Slow Cooker Creamy Tuscan Sausage Pasta Delight
Looking for a warm, filling meal that practically cooks itself? My Slow Cooker Creamy Tuscan Sausage Pasta Delight is just
Read more…
Warm Salted Caramel Hot Chocolate Irresistible Treat
Indulge in the ultimate comfort drink with my Warm Salted Caramel Hot Chocolate! This rich, creamy delight combines the deep
Read more…
Funfetti Sugar Cookies Bakery Style Easy Recipe
Who doesn’t love a delicious sugar cookie bursting with color? Today, I’ll show you how to make Funfetti Sugar Cookies
Read more…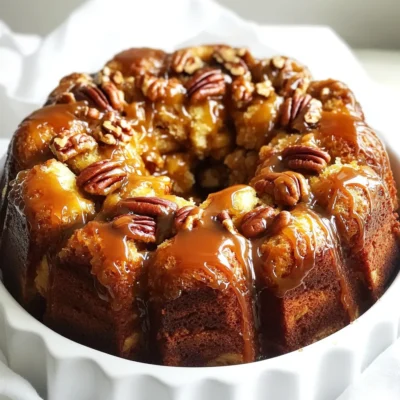
Caramel Pecan Sticky Monkey Bread Irresistible Delight
Get ready for a warm and sweet treat! This Caramel Pecan Sticky Monkey Bread combines gooey caramel, crunchy pecans, and
Read more…
Better Than Takeout Honey Sesame Chicken Delight
Craving a tasty and easy meal? Let me show you how to whip up my Better Than Takeout Honey Sesame
Read more…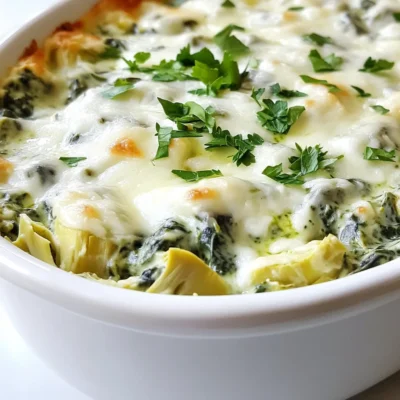
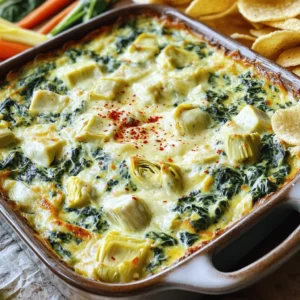
Slow Cooker Creamy Spinach Artichoke Dip Delight
Looking for a crowd-pleasing dip that’s easy to make? You’ve found it! My Slow Cooker Creamy Spinach Artichoke Dip will
Read more…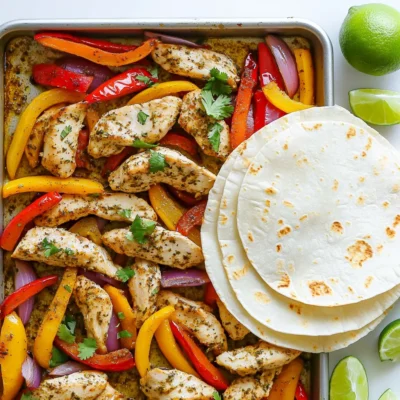
Sheet Pan Garlic Herb Chicken Fajitas Simple Recipe
Ready to spice up your dinner routine? This Sheet Pan Garlic Herb Chicken Fajitas recipe is simple, quick, and bursting
Read more…browse recipes

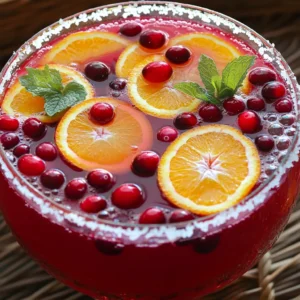

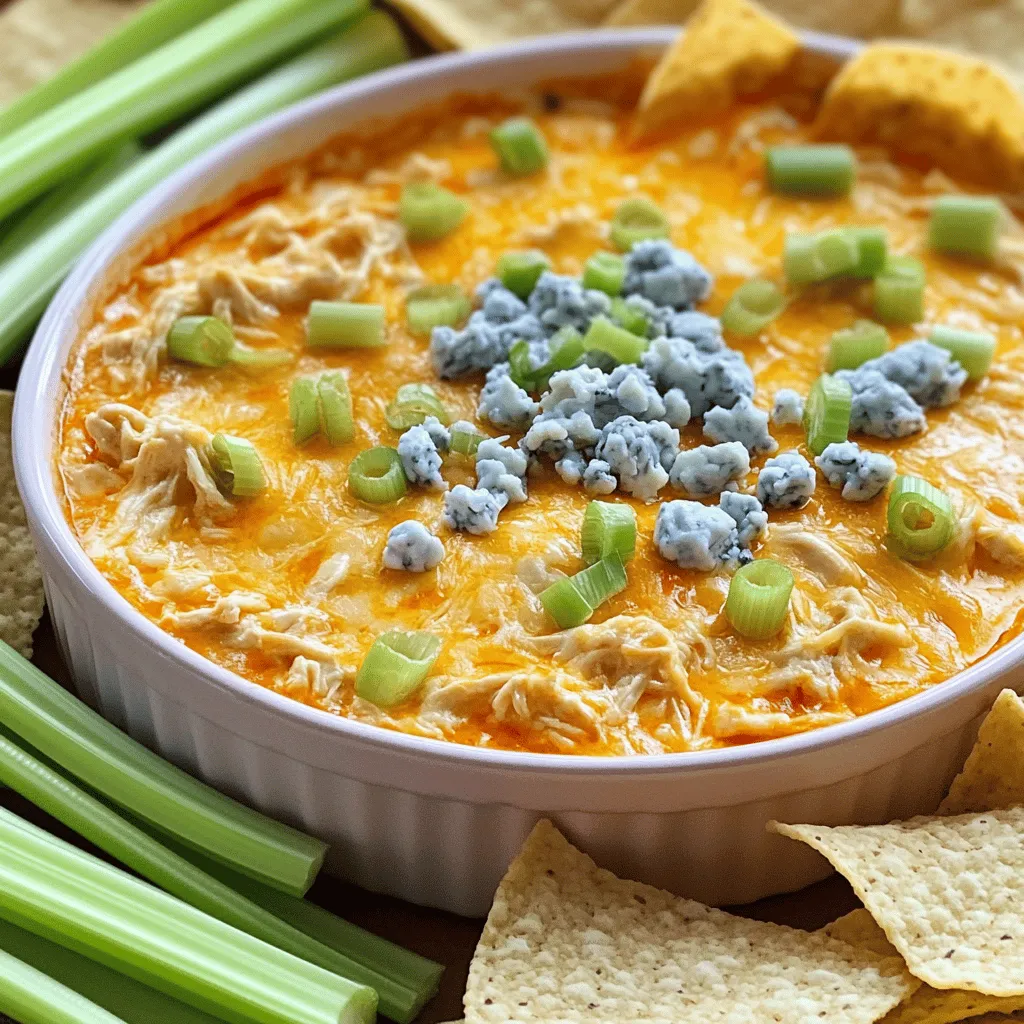
Slow Cooker Buffalo Chicken Dip Tasty and Simple Recipe
Are you ready to impress your guests with a dish that’s both simple and delicious? This Slow Cooker Buffalo Chicken Dip packs bold flavors…
My Latest Desserts
My Latest Recipes

hey,
i’m !
I’m so happy you’re here!
Cooking is my love language, and I’m excited to share my best dishes with you. Hope they become your favorites too! Let’s enjoy every bite of this journey together.

. You learned how to make spicy shrimp tacos using simple ingredients and steps. I shared tips on adjusting spiciness, presentation, and variations for dietary needs. These tacos are easy to customize and store for later. Remember, cooking should be fun. Try different proteins and toppings to find your favorites. Enjoy the process, and your shrimp tacos will shine at any meal!](https://recipespursuit.com/wp-content/uploads/2025/04/64f13316-c47d-4720-b0a3-101643cb7328-300x300.webp)
. Enjoy your cooking! To keep your gnocchi from turning mushy, use a large pot of boiling salted water. Only cook the gnocchi until they float, usually 2-3 minutes. After cooking, drain them well. Avoid letting them sit in water. If you want variations, try pan-frying them for a crispy texture. This adds a nice contrast to the creamy sauce. To bring out more flavor, consider adding crushed red pepper flakes or a pinch of nutmeg. These spices can elevate the dish. Fresh herbs like basil and parsley add brightness. Chop them finely and stir them in just before serving. This keeps their flavor fresh and vibrant. For sides, a simple arugula salad with lemon vinaigrette works well. It balances the creaminess of the gnocchi. You can also serve garlic bread to soak up the sauce. For wine, a crisp white like Sauvignon Blanc pairs perfectly. It complements the richness of the dish without overpowering it. For a full recipe of Creamy Tuscan Gnocchi, be sure to check out the complete instructions above! {{image_2}} If you want a gluten-free version of creamy Tuscan gnocchi, use gluten-free gnocchi. Many brands offer this option. You can find them in grocery stores. Check the label to ensure they meet your needs. Adjust cooking methods if you use gluten-free gnocchi. Cook them according to the package instructions. Keep an eye on the texture, as they can cook faster than regular gnocchi. Adding protein can make this dish even better. You can use chicken, shrimp, or a vegetarian option like chickpeas. For chicken, chop it into bite-sized pieces. Cook it in the skillet before adding the garlic. Cook for about 5-7 minutes until it’s no longer pink. If you prefer shrimp, add them after the tomatoes. Cook for about 3-4 minutes until they turn pink. For a vegetarian twist, toss in cooked chickpeas or lentils. They add protein and pair well with the creamy sauce. You can easily change the vegetables in this recipe based on what’s fresh. In spring, try asparagus or peas. In fall, use butternut squash or kale. Incorporating seasonal herbs can also brighten the dish. Fresh basil works well, but you can also use parsley or thyme. Just add them at the end for the best flavor. For more details on the full recipe, visit the Full Recipe section. To keep your creamy Tuscan gnocchi fresh, store leftovers in an airtight container. This helps prevent moisture loss and keeps flavors intact. You can keep it in the refrigerator for up to three days. If you need to store it longer, consider freezing it. In the freezer, it can last for up to three months. When reheating, the goal is to maintain texture and flavor. The stovetop is the best method. Simply add a splash of water or broth to your gnocchi and warm it over low heat. Stir often to ensure even heating. If you choose the microwave, use a microwave-safe dish. Heat in short bursts, stirring in between, to avoid hot spots. Creamy sauces can be tricky to freeze. They can separate when thawed. To prepare your creamy sauce for freezing, let it cool completely. Then, transfer it to a freezer-safe container. When you’re ready to use it, thaw it in the fridge overnight. Reheat slowly on the stovetop, adding a little cream or broth to help restore creaminess. You can use both store-bought and homemade gnocchi. Store-bought gnocchi is quick and easy. You can find it in most grocery stores. It cooks fast and tastes great. Homemade gnocchi offers a fresh taste. It can be made with potatoes or ricotta. If you love cooking, try making your own! To make this dish dairy-free, swap heavy cream for coconut cream or cashew cream. Use nutritional yeast instead of Parmesan cheese for a cheesy flavor. There are also many plant-based cheese options available. These swaps keep the dish creamy and tasty without dairy. Yes, you can make this dish ahead of time. Cook the gnocchi and sauce separately. Store them in airtight containers in the fridge. When you're ready to eat, combine them and heat on the stove. This method keeps the gnocchi from getting mushy. You can also freeze the dish, but the texture may change. For the best taste, I recommend making it fresh. For the full recipe, click here! In this post, we explored how to make creamy Tuscan gnocchi. We covered ingredients, cooking methods, and tips for perfecting this dish. From sautéing vegetables to making a rich sauce, each step matters. I shared variations for dietary needs and storage tips for leftovers. Remember, cooking is fun and flexible. Feel free to adjust as you like. Enjoy your cooking adventure with creamy Tuscan gnocchi!](https://recipespursuit.com/wp-content/uploads/2025/07/d60eff59-53a2-4d2d-a692-01878c85ab0b-300x300.webp)
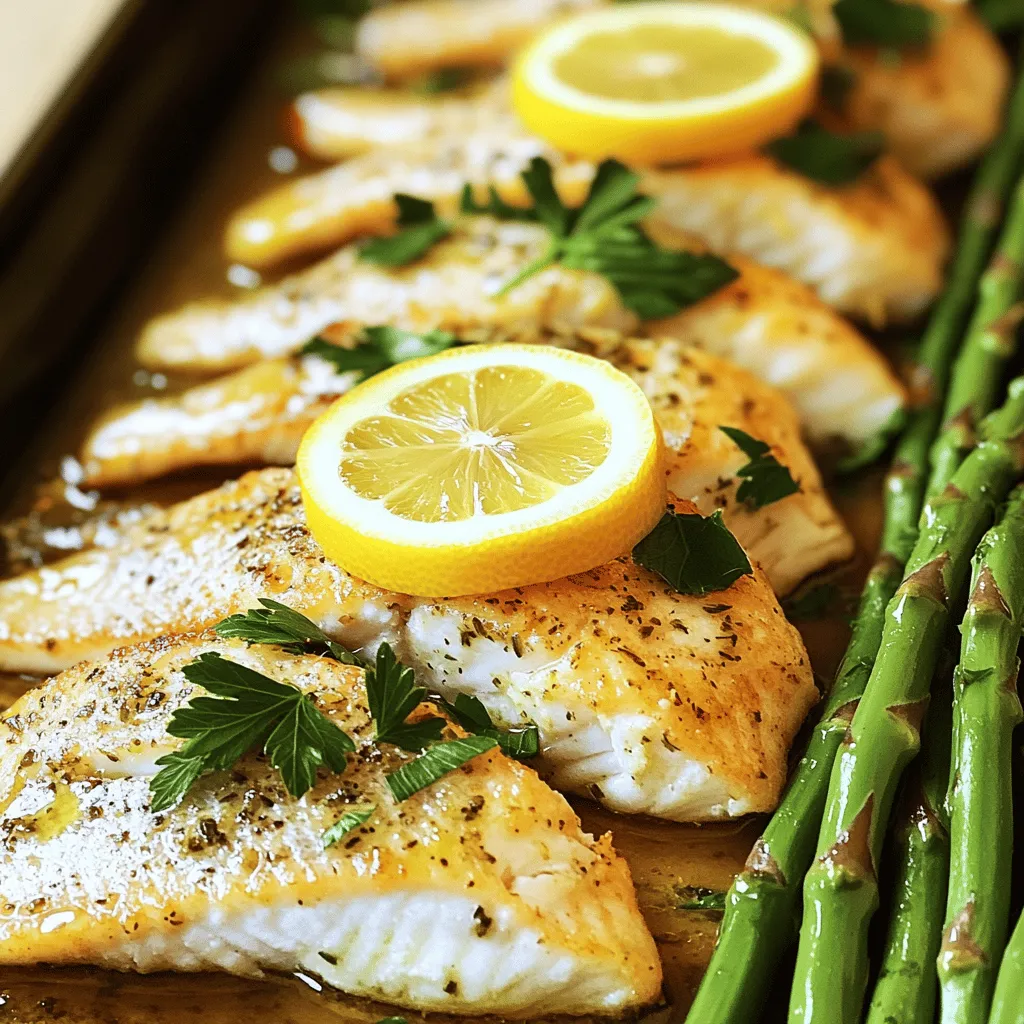
23. Baked Lemon Herb Tilapia with Asparagus Delight
Looking for a quick, healthy meal that bursts with flavor? Try my Baked Lemon Herb Tilapia with Asparagus! This dish is simple to make…