
Latest & Greatest
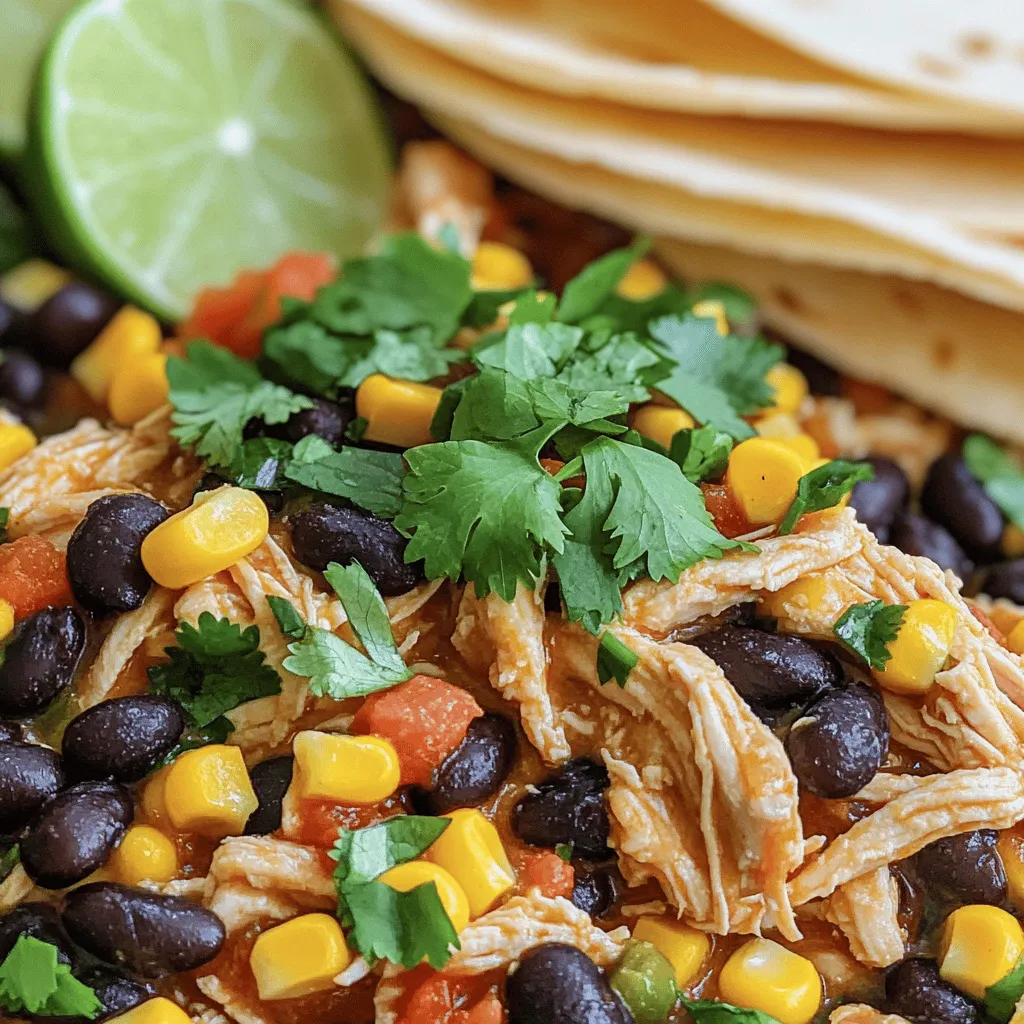
Crockpot Mexican Chicken Flavorful and Easy Dish
Are you ready to spice up your dinner routine? This Crockpot Mexican Chicken is a flavorful and easy dish that
Read more…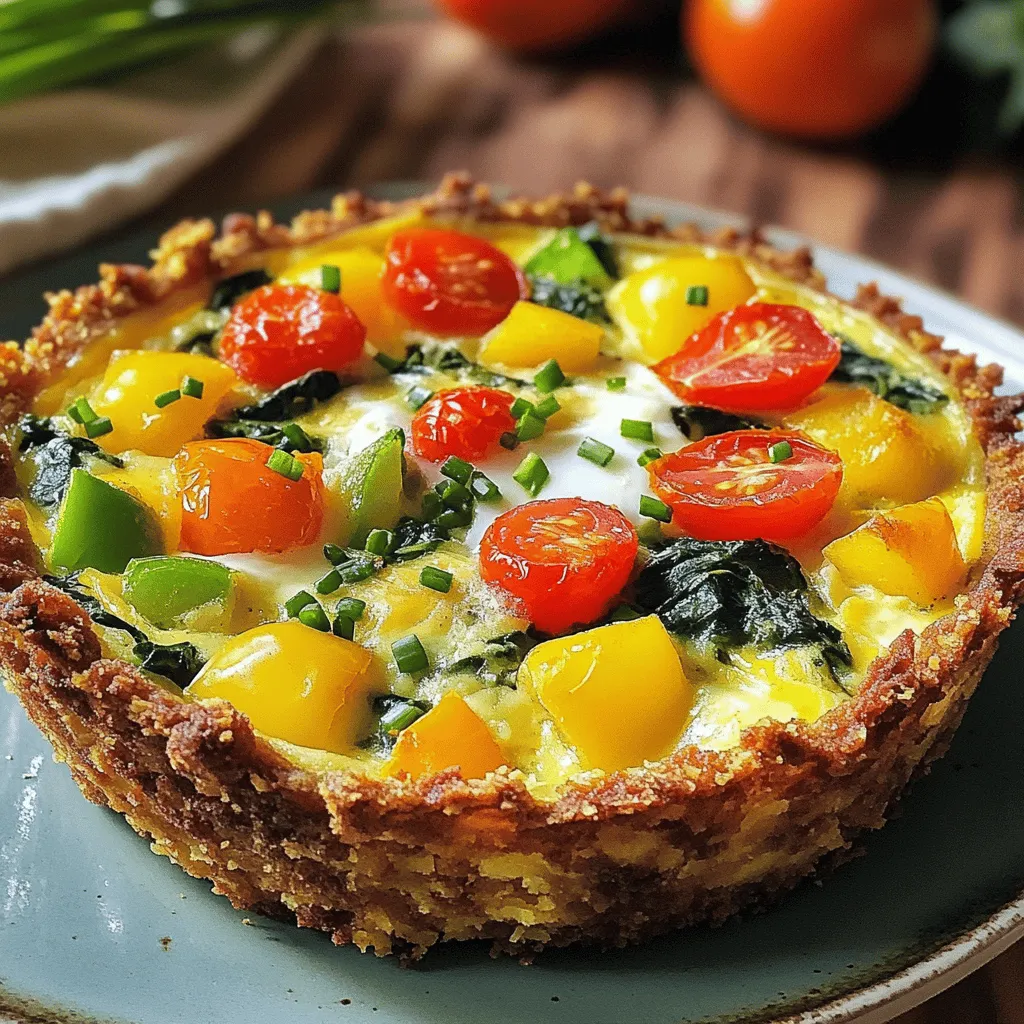
Spring Hash Brown Crust Quiche Fresh and Flavorful Recipe
Spring is here, and it’s the perfect time for a fresh and flavorful dish! Today, I’ll share my Spring Hash
Read more…browse recipes


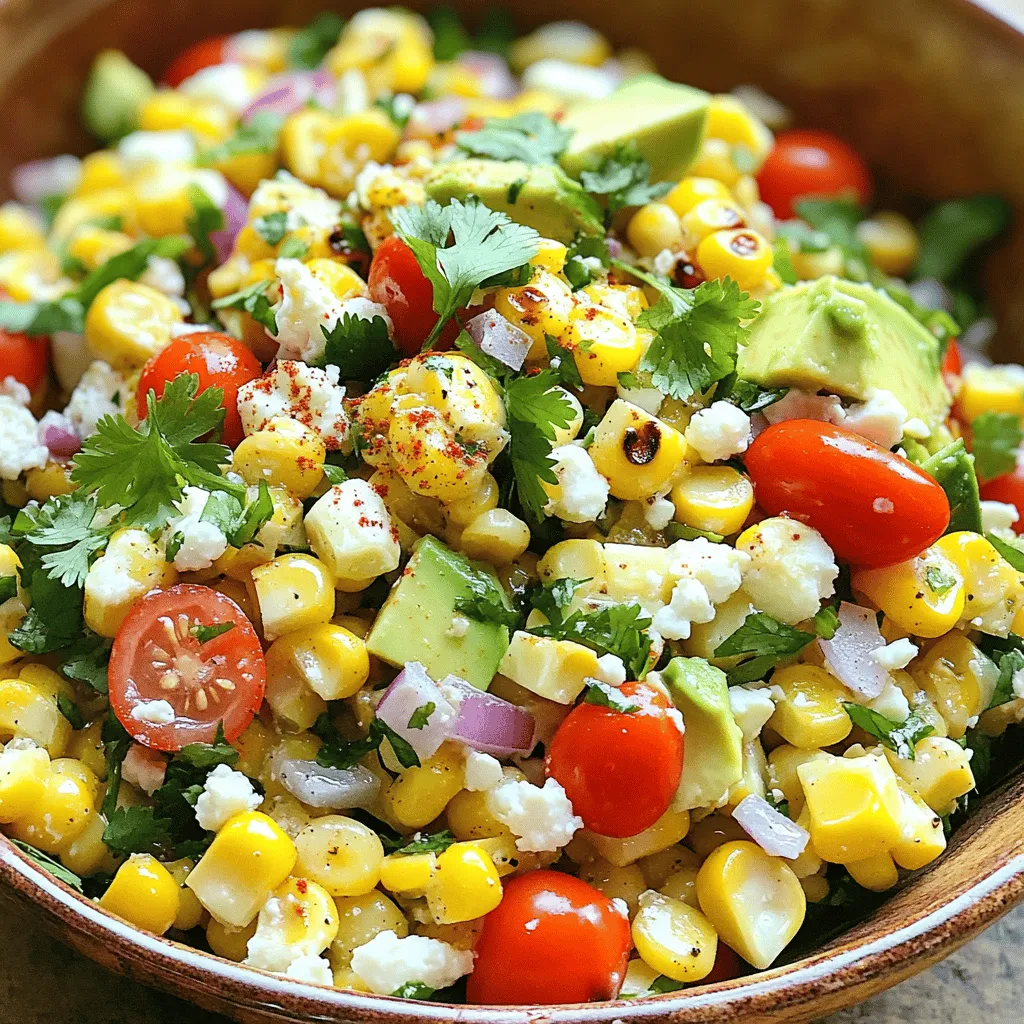
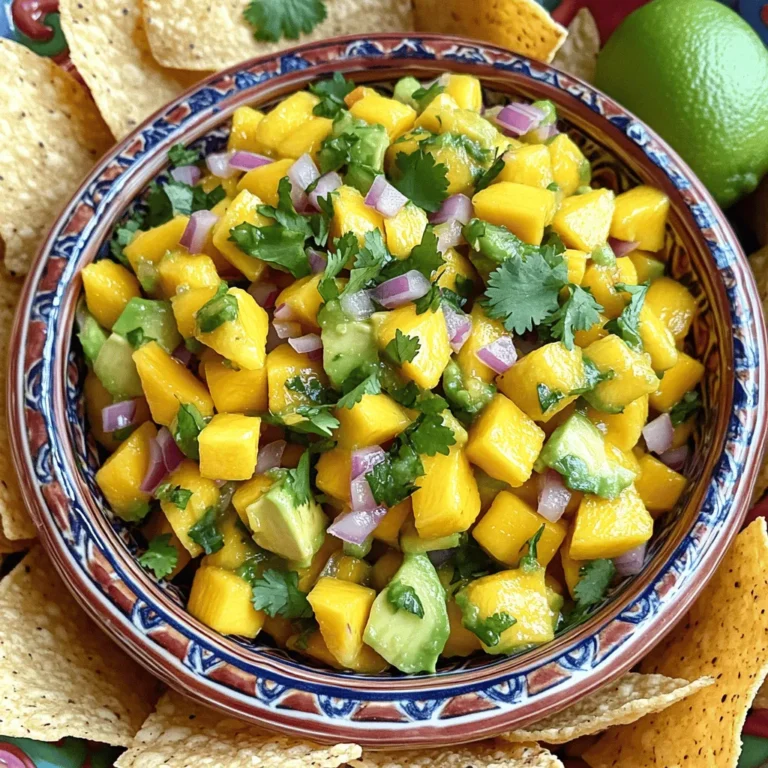
Mexican Street Corn Salad Bright and Tasty Delight
Are you ready to bite into something fresh and flavorful? Mexican Street Corn Salad brings the vibrant taste of the streets right to your…
My Latest Desserts
My Latest Recipes

hey,
i’m !
I’m so happy you’re here!
Cooking is my love language, and I’m excited to share my best dishes with you. Hope they become your favorites too! Let’s enjoy every bite of this journey together.


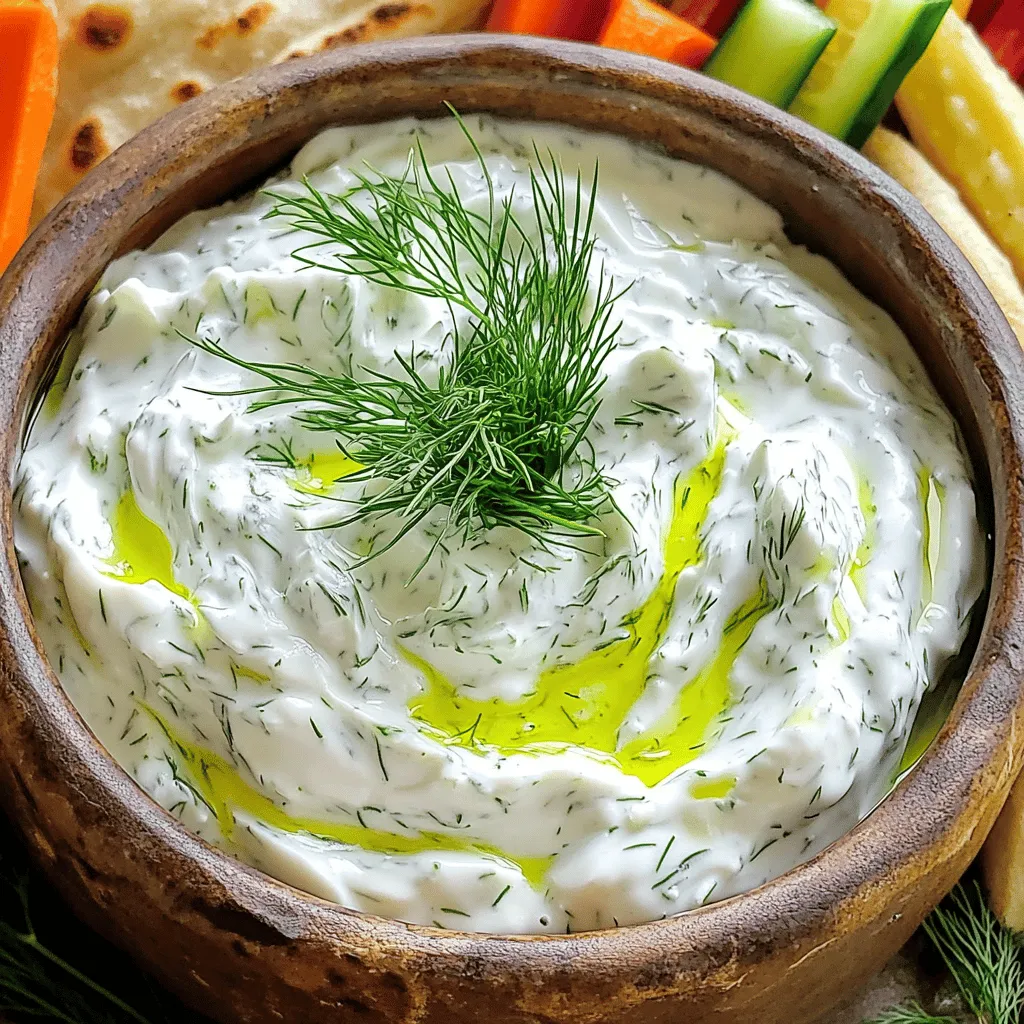
Classic Tzatziki Sauce Fresh and Flavorful Recipe
If you’re craving a fresh and flavorful dip, look no further than classic tzatziki sauce. This simple recipe combines creamy Greek yogurt with cool…