

Latest & Greatest

Delicious Smothered Pork Chops Simple and Flavorful
Are you ready to elevate your dinner game? These Delicious Smothered Pork Chops are simple and packed with flavor. In
Read more…
Chicken Spaghetti Savory Recipe for Family Meal
Are you ready to create a meal your family will love? This Chicken Spaghetti recipe delivers rich flavors and comfort
Read more…
Peanut Butter Toast Deliciously Simple Breakfast Snack
Looking for a quick and tasty breakfast? Peanut butter toast is a winner! This simple snack combines wholesome ingredients and
Read more…
Cheesy Beef and Bowtie Pasta Creamy Dinner Delight
Are you ready to make a dinner that will leave everyone asking for seconds? My Cheesy Beef and Bowtie Pasta
Read more…
Savory Slow Cooker Salisbury Steak Meatballs Recipe
Get ready to enjoy my Savory Slow Cooker Salisbury Steak Meatballs! This recipe combines juicy ground beef and pork for
Read more…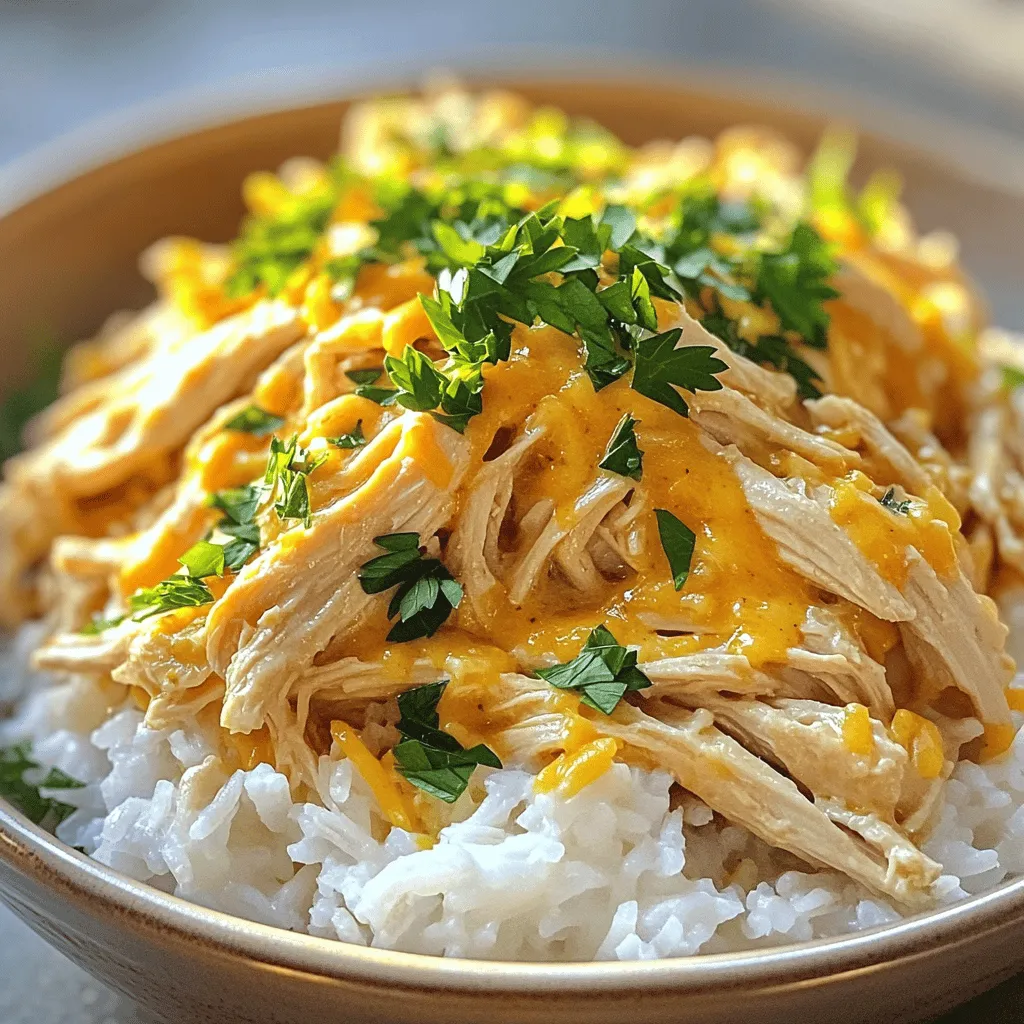
Crockpot Angel Chicken Flavorful Comfort Meal
If you crave a warm, comforting meal that practically cooks itself, you need to try Crockpot Angel Chicken. This tasty
Read more…
Vegetable Quiche Savory and Satisfying Dish
Looking for a dish that’s both savory and satisfying? You’ve come to the right place! My Vegetable Quiche recipe is
Read more…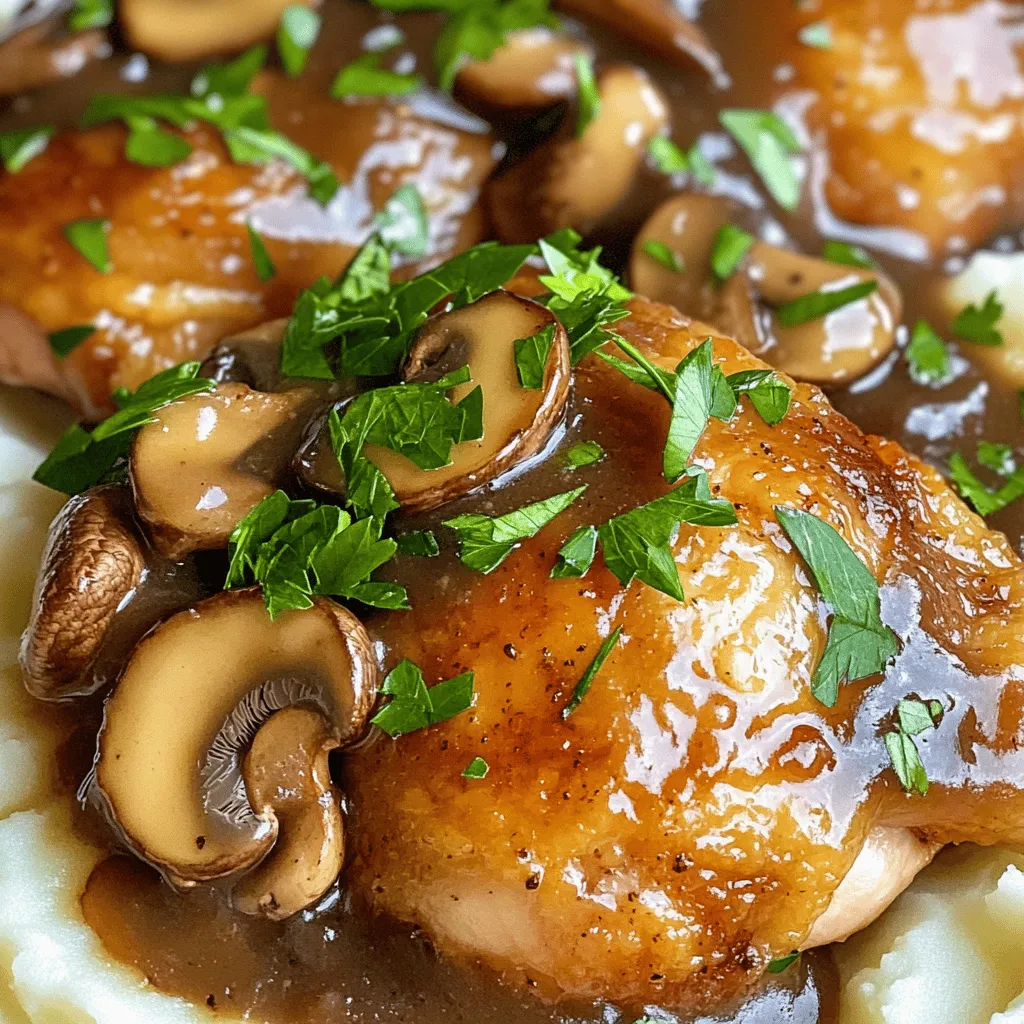
Mushroom Chicken Recipe Simple and Flavorful Meal
Are you ready to make a delicious Mushroom Chicken dish? This simple and flavorful meal comes together quickly, making it
Read more…browse recipes


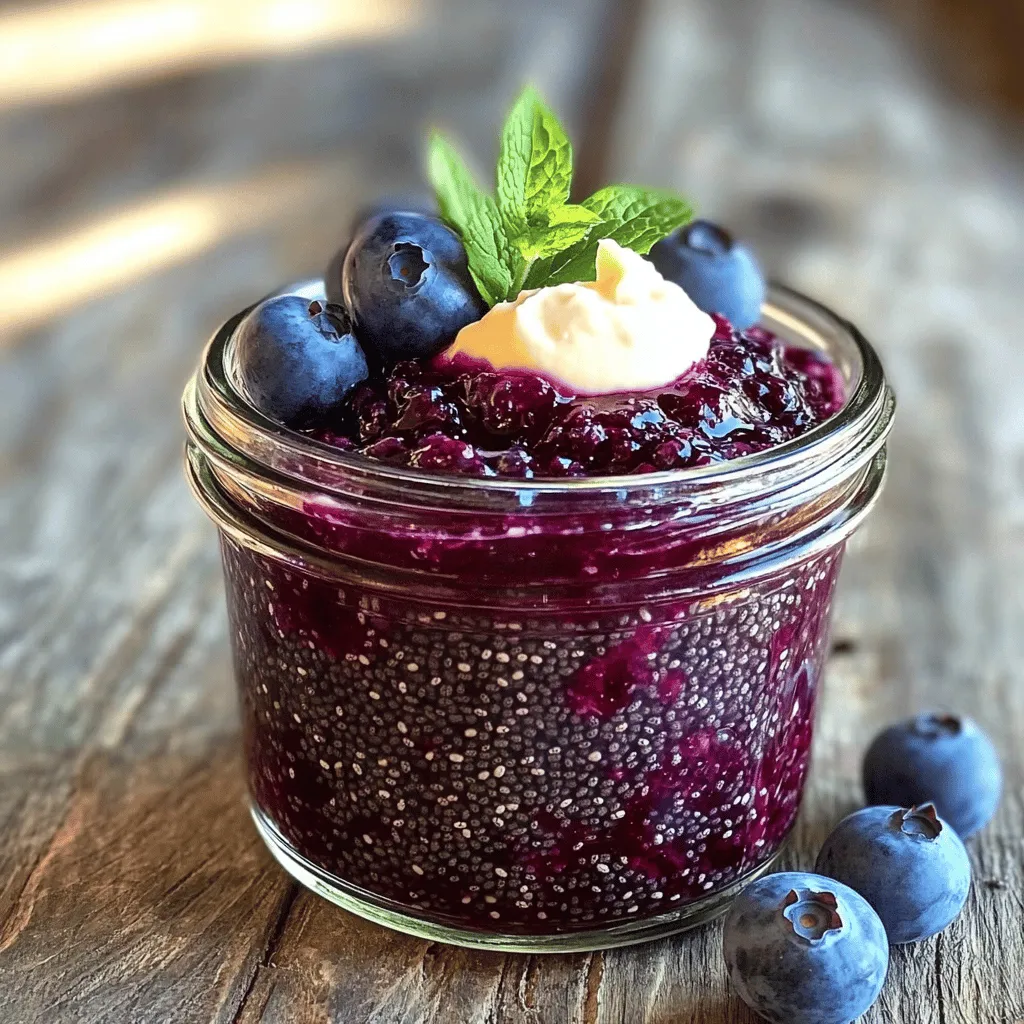
73. Blueberry Chia Seed Jam Simple and Delicious Recipe
If you’re craving a tasty and healthy spread, you’ve come to the right place! Making Blueberry Chia Seed Jam is simple and fun. I…
My Latest Desserts
My Latest Recipes

hey,
i’m !
I’m so happy you’re here!
Cooking is my love language, and I’m excited to share my best dishes with you. Hope they become your favorites too! Let’s enjoy every bite of this journey together.

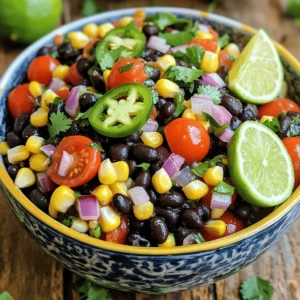
![- 2 ripe avocados, diced - 1 cup fresh corn kernels (or 1 can of corn, drained) - 1 red bell pepper, diced - 1 small red onion, finely chopped - 1/2 cup cherry tomatoes, halved - 1/4 cup fresh cilantro, chopped - 2 tablespoons lime juice - 1 tablespoon olive oil - 1 teaspoon ground cumin - Salt and pepper to taste - Optional: 1 jalapeño, finely chopped (for heat) The ingredients in this salad create a bright, fresh taste. Avocados add creaminess, while corn gives a sweet crunch. Red bell pepper brings color and flavor. Red onion adds a bit of sharpness. Cherry tomatoes add juiciness, and cilantro gives a fresh herb note. Lime juice and olive oil work together to dress the salad and balance the flavors. Ground cumin adds a warm kick. If you want heat, toss in jalapeño. Just remember to adjust the amount based on your spice level. This salad is not just tasty; it is also full of nutrients. - Caloric content per serving: About 180 calories - Macronutrient breakdown: - Proteins: 3g - Carbohydrates: 18g - Fats: 12g The health benefits are impressive. Avocados provide healthy fats, while corn offers fiber. Bell peppers and tomatoes are rich in vitamins. Cilantro has antioxidant properties. This salad is not only a feast for the eyes but also for your body. Check out the full recipe for more cooking tips and steps! To prepare fresh corn, start by boiling it. Place the corn in a pot of water and boil for 3-5 minutes. You want the corn to be tender but not mushy. After boiling, drain the corn and cool it by running it under cold water. This step stops the cooking process and keeps the corn crisp. For dicing avocados, choose ripe ones. Cut them in half and remove the pit. Use a spoon to scoop out the flesh. Dice it into cubes right in the skin. To prevent browning, add a bit of lime juice on the diced avocado. This keeps the bright green color. In a large bowl, combine the diced avocados, fresh corn, diced red bell pepper, chopped red onion, halved cherry tomatoes, and chopped cilantro. Mix the ingredients well, but do it gently. Avocados are soft and can mash easily. You want big, beautiful pieces of avocado in your salad. To make the dressing, whisk together lime juice, olive oil, ground cumin, salt, and pepper in a small bowl. Whisk it well to blend all the flavors. Once mixed, pour the dressing over the salad. Toss everything together gently. If you enjoy some spice, fold in the finely chopped jalapeño at this point. Add it based on your heat preference. Taste the salad and adjust the seasoning as needed. Let the salad sit for about 10 minutes before serving. This helps all the flavors blend well together. For the full recipe, check out the [Full Recipe]. Choosing ripe avocados is key for this salad. Look for avocados that feel slightly soft when you press them gently. Avoid any with dark spots or deep indentations. Fresh corn adds a sweet crunch. You can use kernels from fresh corn or canned corn. If using fresh corn, pick ears with plump, bright kernels. For tomatoes, choose firm, bright cherry tomatoes. They should smell sweet and fresh. For cilantro, look for bright green leaves with no yellow or brown spots. The fresher your ingredients, the better your salad will taste. If you want heat, add chopped jalapeño to your salad. For sweetness, try a splash of honey or more lime juice. You can also add fruits like mango or pineapple for a sweet twist. For more flavor, mix in fresh herbs like basil or mint. These will enhance the taste without overpowering the dish. To serve your salad attractively, use a large bowl to showcase the colors. You can also serve individual portions in small cups or jars. This adds a fun touch. For garnishes, consider adding extra cilantro leaves or slices of lime on top. These not only look pretty but also add a burst of flavor. Your guests will love the bright colors and fresh looks of your avocado corn salad. For the full recipe, check the details above! {{image_2}} You can swap avocados for other creamy options. Try using mashed bananas or silken tofu for a unique taste. If you want a nutty flavor, try using tahini instead. For vegan or gluten-free options, use chickpeas or white beans. They add protein and texture to the salad without changing the flavor. To give your salad a Mexican twist, add diced jalapeños and cotija cheese. This cheese adds a salty flavor that complements the fresh ingredients. For a Mediterranean version, use feta cheese and fresh oregano. You can also toss in some crushed nuts. Walnuts or almonds add a nice crunch. Using seasonal veggies can really change the vibe of your salad. In summer, add diced cucumber or zucchini for extra freshness. In fall, mix in roasted butternut squash for a warm touch. You can also add fruits like mango or pineapple. These fruits bring sweetness and a juicy burst to your salad. For the full recipe, check out the Avocado Corn Fiesta Salad. To keep your avocado corn salad fresh, store it in an airtight container. This helps prevent air from getting in. Place a piece of plastic wrap directly on the surface of the salad before sealing the lid. This extra layer can help keep moisture in. To stop avocados from browning, add a bit more lime juice on top before sealing. The acidity in lime juice slows down oxidation. If you have leftover salad, try to eat it within one day for the best taste and texture. You don’t really need to reheat avocado corn salad. It tastes best fresh and cold. If you want to warm it slightly, do it gently in the microwave for a few seconds. Be careful not to overheat it, as this can change the texture. For a next-day meal, serve the salad over greens or in a wrap. It also works great as a topping for tacos or grilled chicken. You can also mix it with some cooked quinoa for a filling lunch. For more ideas, check the Full Recipe for inspiration. Avocado corn salad lasts about 1-2 days in the fridge. The key is to check for signs of spoilage. If you see browning on the avocados or a sour smell, it’s best to toss it. To keep it fresh longer, store it in an airtight container. This limits air exposure and slows down browning. Yes, you can make this salad ahead of time. To keep it fresh, prepare the ingredients separately. Dice the veggies and store them in the fridge. Mix the dressing in a jar. Just before serving, combine everything. This keeps the avocados bright and the texture crisp. Avocado corn salad pairs well with grilled chicken or fish. You can also serve it with tacos or burritos for a tasty meal. If you want a lighter option, try it with baked tortilla chips. For a complete meal, add some rice or quinoa on the side. You can find the full recipe for this salad in the earlier sections. This blog post covered how to make a delicious avocado corn salad. We talked about the key ingredients, nutritional benefits, and easy steps to prepare the dish. You learned tips for choosing the best items and ideas for fun variations. Proper storage tips will help keep your salad fresh. Give this salad a try and enjoy its fresh flavor. It's perfect for any meal or snack. Happy cooking!](https://recipespursuit.com/wp-content/uploads/2025/07/491824c3-e7aa-4715-9847-14609800f85a-300x300.webp)


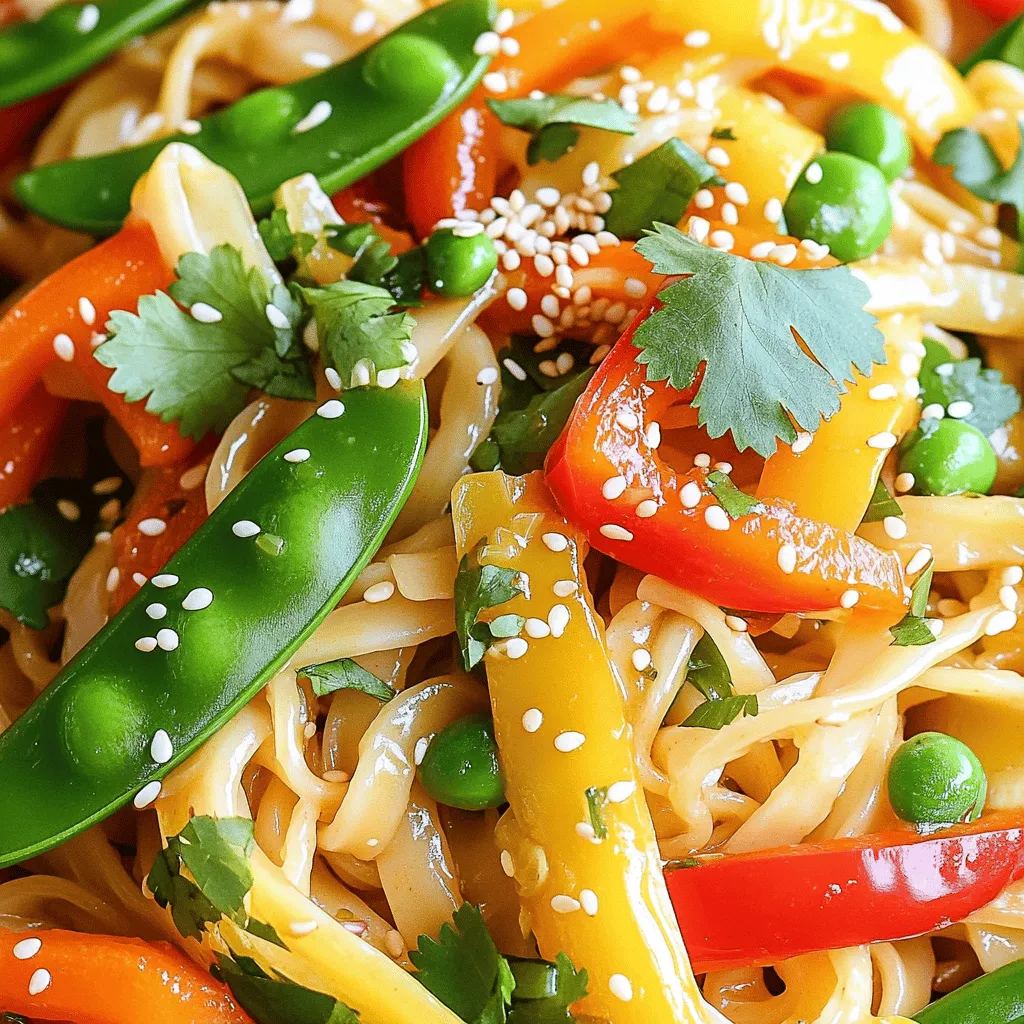
Spicy Garlic Noodle Stir-Fry Easy and Flavorful Meal
If you crave a meal that’s both easy and bursting with flavor, look no further than this Spicy Garlic Noodle Stir-Fry. With just a…