Latest & Greatest
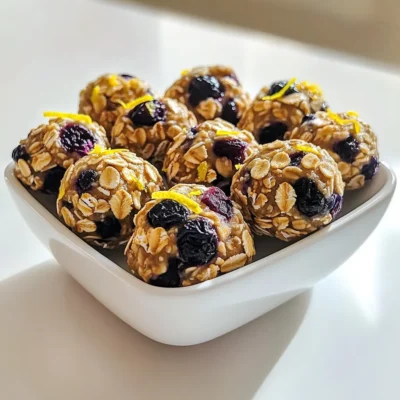
Blueberry Lemon Energy Bites Quick and Healthy Snack
Looking for a quick and healthy snack? These Blueberry Lemon Energy Bites are perfect for you! They are easy to
Read more…
Spinach Ricotta Stuffed Chicken Savory Delight Recipe
Are you ready to impress at your next dinner? Look no further than my Spinach Ricotta Stuffed Chicken recipe. This
Read more…
No-Bake Chocolate Covered Strawberry Bars Delight
If you adore sweets but dread baking, I have just the treat for you! These No-Bake Chocolate Covered Strawberry Bars
Read more…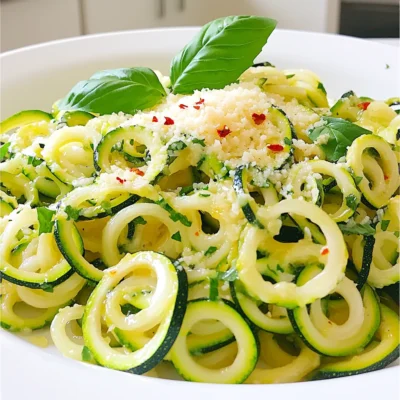
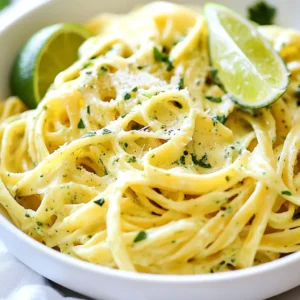
Minute Garlic Parmesan Zucchini Noodles Delightfully Easy
If you’re craving a quick and tasty meal, I’ve got just the dish for you! Minute Garlic Parmesan Zucchini Noodles
Read more…
Sheet-Pan Teriyaki Meatball Bowls Flavorful and Simple
Ready for a meal that’s flavorful and easy? Let’s dive into my Sheet-Pan Teriyaki Meatball Bowls! This dish combines juicy
Read more…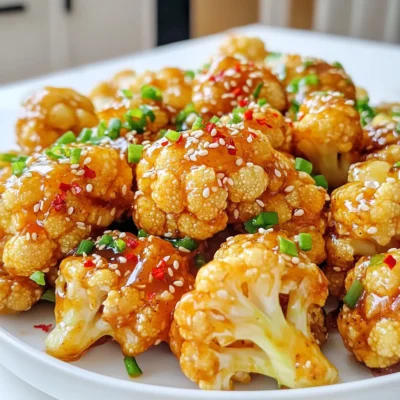
Air Fryer Spicy Honey Garlic Cauliflower Delight
Are you ready to elevate your snack game? In this article, I’ll show you how to whip up Air Fryer
Read more…
Instant Pot Loaded Baked Potato Soup Creamy Delight
Looking for a comforting bowl of soup that’s quick and easy? Try my Instant Pot Loaded Baked Potato Soup! Just
Read more…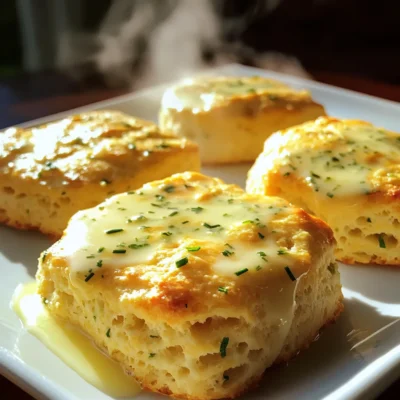
Savory Cheddar Herb Drop Biscuits Simple and Tasty
If you crave warm, tasty biscuits, you’re in the right place! My Savory Cheddar Herb Drop Biscuits are simple to
Read more…browse recipes


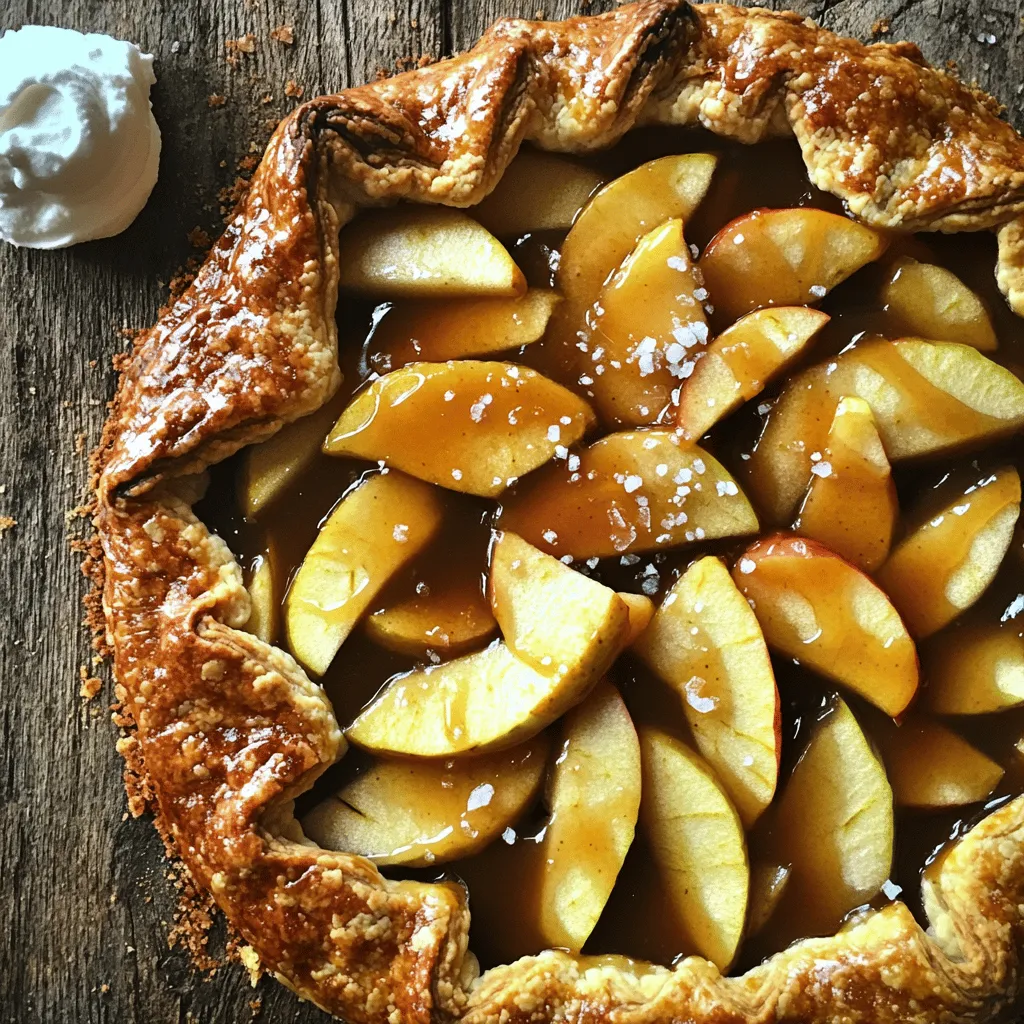
Salted Caramel Apple Galette Simple Autumn Delight
Looking for a warm, sweet treat this autumn? Try my Salted Caramel Apple Galette! This easy recipe combines juicy apples and rich caramel in…
My Latest Desserts
My Latest Recipes

hey,
i’m !
I’m so happy you’re here!
Cooking is my love language, and I’m excited to share my best dishes with you. Hope they become your favorites too! Let’s enjoy every bite of this journey together.
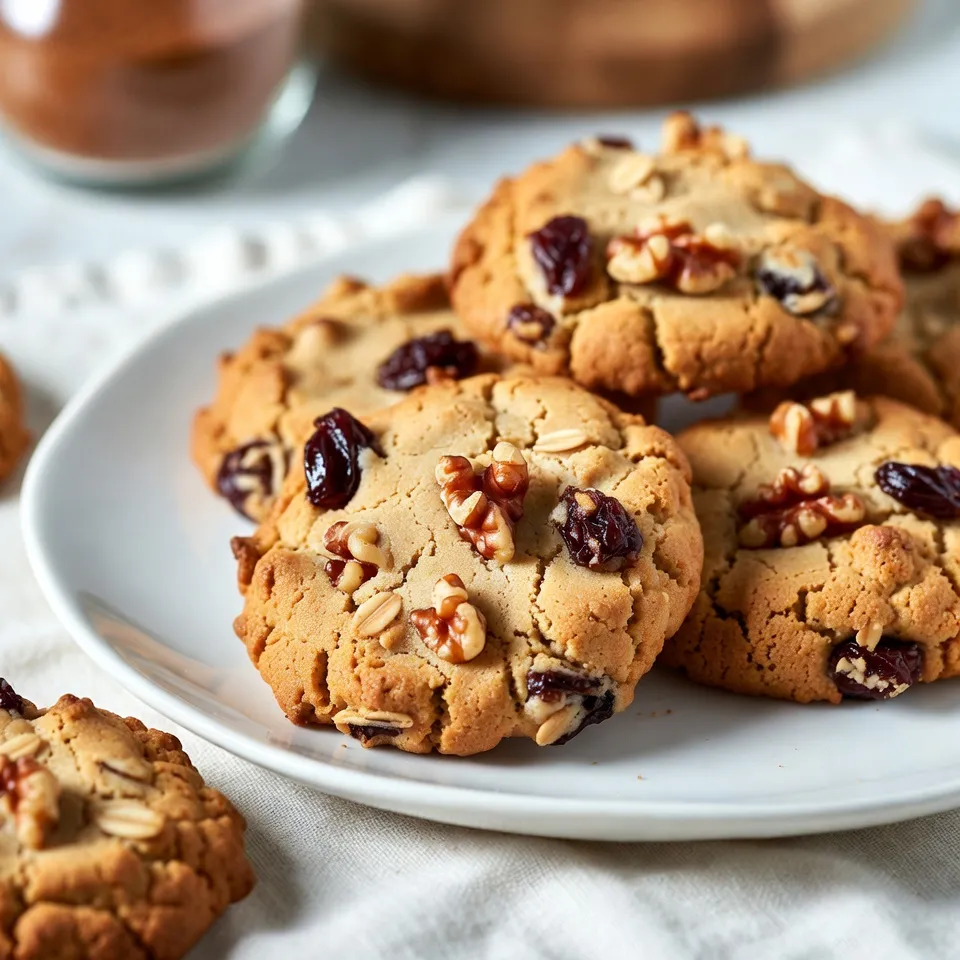
Chewy Oatmeal Raisin Cookies Irresistible and Easy
Are you ready to bake the ultimate chewy oatmeal raisin cookies? These delicious treats are perfect for any time snack or dessert. With simple…