Looking for a tasty snack that everyone can enjoy? My nut-free granola bars are simple to make and packed with flavor! In this guide, I’ll share the essential ingredients and step-by-step instructions to whip up these delicious bars. Whether you need a quick breakfast or an energy boost, these treats are perfect for kids and adults alike. Let’s dive into the recipe and see how easy it is to create your own!
Ingredients
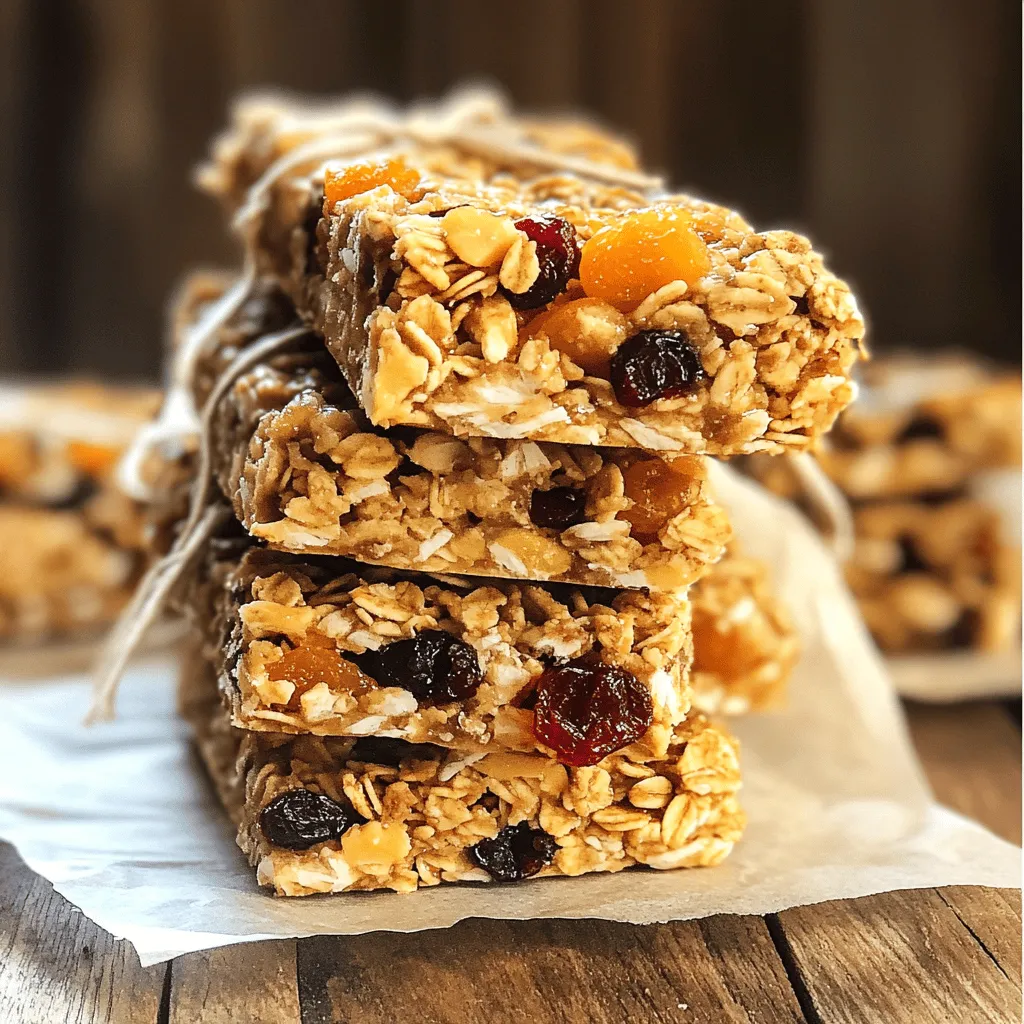
Essential Ingredients for Nut-Free Granola Bars
To make nut-free granola bars, you need a few key items:
– 2 cups rolled oats: These provide a hearty base. They give your bars a nice chewy texture.
– 1 cup puffed rice cereal: This adds a light crunch. It makes the bars more fun to eat.
– 1/4 cup coconut oil: Melted coconut oil helps bind the bars. It also adds a hint of flavor.
– Natural sweeteners: You can use either 1/2 cup honey or 1/2 cup maple syrup. Honey is thick and sweet. Maple syrup gives a nice, earthy flavor.
– 1/2 cup dried fruit: Choose from cranberries, apricots, or raisins. Chop them up to mix well.
– 1/4 cup seeds: Pumpkin or sunflower seeds are great options. They add crunch and nutrition.
Optional Ingredients for Enhanced Flavor
You can enhance your granola bars with these fun options:
– 1/4 cup dark chocolate chips: These add sweetness and richness. They make your bars feel like a treat.
– Spices: Adding 1/2 teaspoon cinnamon can boost flavor. You can try other spices too, like nutmeg or ginger.
Nutritional Information
Each bar has about 150 calories. This can vary based on the added ingredients.
Health benefits include:
– Rolled oats provide fiber. This helps with digestion.
– Dried fruits add vitamins. They give natural sweetness too.
– Seeds offer protein and healthy fats. They keep you full longer.
Step-by-Step Instructions
Preparation Guide
1. Preheat the oven to 350°F (175°C). This helps the bars bake evenly.
2. Prepare the baking pan by lining an 8×8 inch pan with parchment paper. Leave some paper hanging over the edges for easy removal.
3. Mix the dry ingredients in a large bowl. Combine rolled oats, puffed rice cereal, chopped dried fruit, seeds, dark chocolate chips, cinnamon, and a pinch of salt. Stir until well mixed.
Incorporating Wet Ingredients
1. Whisk the wet ingredients in a separate bowl. Use honey (or maple syrup), melted coconut oil, and vanilla extract. Make sure they blend well together.
2. Pour the wet mixture over the dry ingredients. Stir until all the dry ingredients are evenly coated. This ensures a great texture in every bite.
Baking and Cooling Tips
1. Bake the mixture in your preheated oven for 20-25 minutes. Look for the edges to turn golden brown. This indicates they are done.
2. Cool the bars in the pan. Let them sit completely before lifting them out using the parchment paper overhang.
3. Cut the cooled bars into your preferred size. Store them in an airtight container at room temperature.
Enjoy making your nut-free granola bars with this simple and tasty recipe!
Tips & Tricks
Perfecting Your Nut-Free Granola Bars
To make the best nut-free granola bars, you must press the mixture down firmly. This step ensures the bars hold together well. Use a spatula to press down hard. Aim for a flat, even layer. If the bars are too loose, they may crumble when you cut them.
Baking time can change based on your oven. Some ovens run hot or cool. Keep an eye on your bars as they bake. Look for a golden edge that shows they are ready. If unsure, use a toothpick to check the center. It should come out clean.
Customizations for Taste
Feel free to switch out ingredients to match your taste. You can use different dried fruits, like raisins or figs. Each fruit will add its own unique flavor. Want a protein boost? Add protein powder. Superfoods like chia seeds or hemp seeds can also make your bars healthier.
Experiment with spices to change the flavor. Cinnamon is a classic, but try nutmeg or ginger too. Each spice adds warmth and depth.
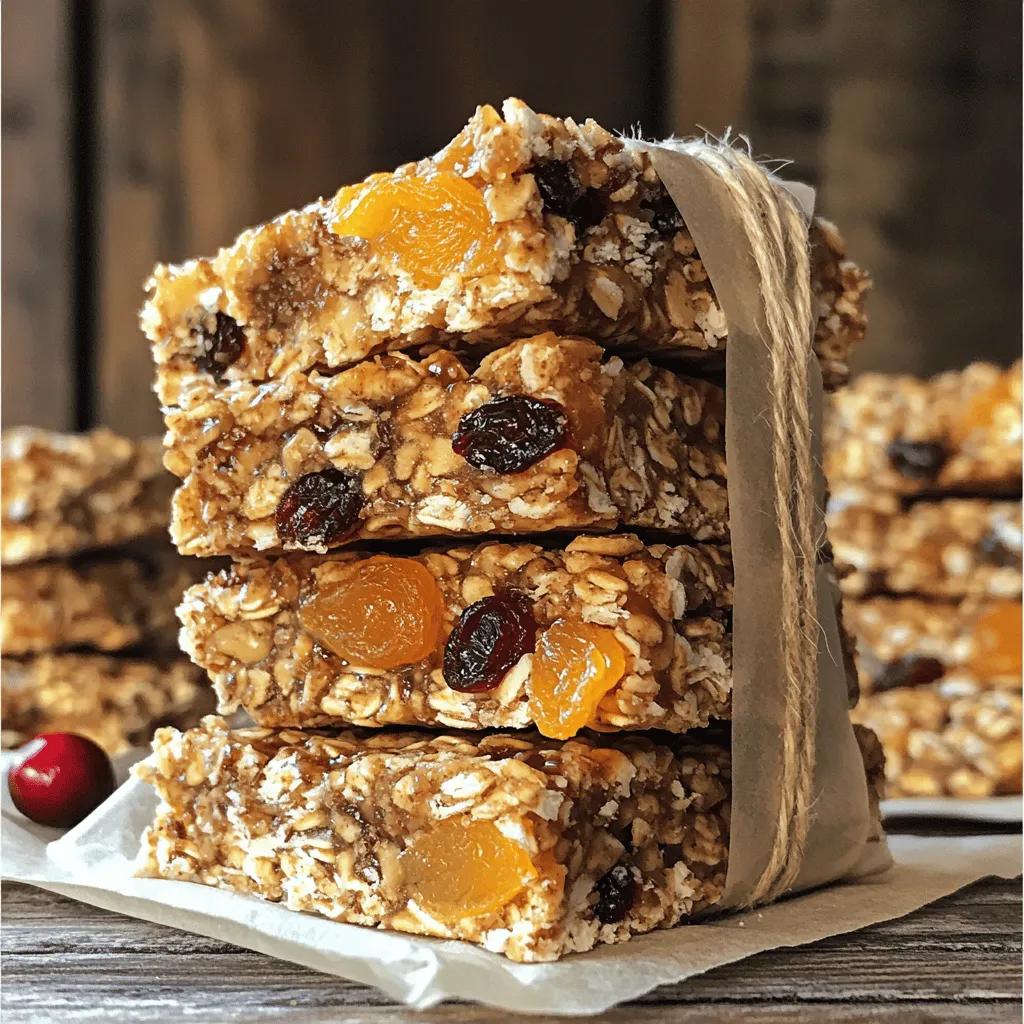
Presentation Ideas
Serving your granola bars can be fun! Wrap each bar in parchment paper. Tie it with a string for a cute look. It makes them easy to grab and go. You can also stack them in a jar for a nice display.
For storage, use an airtight container. This keeps them fresh for longer. Store them at room temperature for easy access. If you make a lot, consider freezing extras. Just wrap them well before freezing. Enjoy your healthy snacks!
Variations
Flavor Variations
You can spice up your nut-free granola bars with fun flavors. Try adding pumpkin spice for a warm, cozy taste. Cocoa powder gives a rich, chocolatey twist. Both options are easy and delicious. You can even mix herbs or spices for a savory touch. Consider adding a pinch of rosemary or thyme for a unique flavor.
Texture Modifications
The texture of your granola bars can change how they feel. You can choose between crunchy or chewy bars. For a crunchy version, bake them a bit longer. If you prefer chewy, take them out sooner. You can also switch up the cereals. Use corn flakes for a light crunch or bran flakes for more fiber. Each cereal gives a different bite.
Dietary Adaptations
You can easily adapt these bars to fit your diet. To make them gluten-free, use gluten-free oats and cereals. For a vegan option, swap honey for maple syrup. You can also explore other allergen-friendly ingredients. Use sunbutter instead of nut butter or try different seeds. This way, everyone can enjoy these tasty snacks.
Storage Info
Best Practices for Storing Nut-Free Granola Bars
To keep your nut-free granola bars fresh, store them in an airtight container. This container should be kept at room temperature. If you do this, the bars will stay fresh for up to one week. For longer storage, consider the fridge. In the fridge, they can last for two weeks. Make sure the container seals tightly to prevent moisture.
Freezing Options
You can freeze nut-free granola bars for longer storage. To freeze, wrap each bar in plastic wrap or foil. Then, place them in a freezer bag. Make sure to remove all air before sealing the bag. When you want to eat one, take it out and let it thaw at room temperature for about 30 minutes. For best texture, avoid microwaving them. Thawing at room temperature keeps the bars chewy and tasty.
Catering to Your Family’s Preferences
Making a big batch is great for busy weeks. You can cut the bars into pieces and store them separately. This way, you can grab a bar anytime. To keep flavors interesting, try adding different dried fruits or seeds each time. Change it up! This keeps every batch unique and fun for your family. Enjoy these healthy snacks anytime.
FAQs
How long do homemade nut-free granola bars last?
Homemade nut-free granola bars can last about one week at room temperature. To keep them fresh, store them in an airtight container. For longer storage, consider freezing them. Wrap each bar in plastic wrap, then place them in a freezer bag. They can last up to three months in the freezer. This method helps maintain their taste and texture.
Can I substitute honey with another sweetener?
Yes, you can use other sweeteners instead of honey. Maple syrup is a great choice. It adds a unique flavor and keeps the bars moist. You can also try agave nectar or brown rice syrup. Each sweetener has its own taste and may alter the final flavor slightly. You may need to adjust the amount based on how sweet you want your bars.
Are nut-free granola bars healthy?
Nut-free granola bars offer many health benefits. They provide fiber from oats and dried fruits. These ingredients help with digestion and keep you full. Seeds add protein and healthy fats, which are great for energy. However, be mindful of added sugars, especially if you use sweeteners. Choose natural options to keep your bars healthy.
What are the best brands for store-bought nut-free granola bars?
If you prefer store-bought options, look for brands like MadeGood or Enjoy Life. These brands focus on allergy-friendly snacks. They offer nut-free granola bars made with wholesome ingredients. Always check labels to ensure they meet your needs. Some brands may offer flavors with added protein or superfoods for extra nutrition.
Nut-free granola bars are simple and fun to make at home. We explored essential ingredients, like rolled oats and natural sweeteners, to create a perfect base. Customizing flavors and textures allows for endless possibilities. Proper storage ensures your bars stay fresh. By following these steps, you can enjoy healthy snacks that suit your family’s needs. Keep experimenting with flavors and ingredients to make these bars truly your own. Enjoy your tasty creations and share them with others!